Page 21 of 554

disengage it. If you turned the wheel to the left to engage
the lock, turn the wheel slightly to the left to disengage it.
Automatic Transmission Ignition Interlock System
This system prevents the key from being removed unless
the shift lever is in PARK. It also prevents shifting out of
PARK unless the key is in the ON positions, and the
brake pedal is depressed.
SECURITY ALARM SYSTEM Ð IF EQUIPPED
This system monitors the vehicle doors and ignition for
unauthorized operation. When the alarm is activated, the
system provides both audible and visible signals. For the
first three minutes the horn will sound and the headlights
and security telltale will flash repeatedly. For an addi-
tional 15 minutes only, the headlights and security telltale
will flash. The engine will run only if a valid Sentry Keyt
is used to start the vehicle. Use of the Sentry Keytwill
disable the alarm.
Rearming of the System:
The Security Alarm System will rearm itself after the 15
additional minutes of headlights and security telltale
flashing, if the system has not been disabled. If the
condition which initiated the alarm is still present, the
system will ignore that condition and monitor the re-
maining doors and ignition.
To Set the Alarm
The alarm will set when you use the power door locks, or
use the Remote Keyless Entry (RKE) Transmitter to
LOCK the doors. After all the doors are locked and
closed, the SECURITY light in the instrument cluster will
flash rapidly to signal that the system is arming. The
SECURITY light in the instrument panel cluster will flash
rapidly for about 16 seconds to indicate that the alarm is
being set. After the alarm is set, the SECURITY light will
flash at a slower rate to indicate that the system is armed.
THINGS TO KNOW BEFORE STARTING YOUR VEHICLE 19
2
Page 28 of 554

NOTE:The vehicle must be equipped with an auto-
matic transmission to be equipped with Remote Start.
How To Use Remote Start
All of the following conditions must be met before the
engine will remote start:
²Shift lever in PARK
²Doors closed
²Hood closed
²HAZARD switch off
²BRAKE switch inactive (brake pedal not pressed)
²Ignition key removed from ignition switch
²Battery at an acceptable charge level, and
²RKE PANIC button not pressed.
To Enter Remote Start Mode
Press and release the REMOTE START button
on the RKE transmitter twice, within five sec-
onds. The parking lights will flash and the horn
will chirp twice (if programmed). Then, the
engine will start and the vehicle will remain in the
Remote Start mode for a 15-minute cycle.
NOTE:
²The park lamps will turn on and remain on during
Remote Start mode.
²For security, power window and power sunroof op-
eration (if equipped) are disabled when the vehicle is
in the Remote Start mode.
²The engine can be started two consecutive times (two
15-minute cycles) with the RKE transmitter. However,
the ignition switch must be cycled to the ON position
before you can repeat the start sequence for a third
cycle.
26 THINGS TO KNOW BEFORE STARTING YOUR VEHICLE
Page 64 of 554

²Brake status (service and parking brakes)
²Accelerator status (including vehicle speed)
²Engine control status (including engine speed)
²Transmission gear selection
²Cruise control status
²Traction/stability control status
²Tire pressure monitoring system (TPMS) status (if
equipped)
Child Restraint
Everyone in your vehicle needs to be buckled up all the
time Ð babies and children, too. Every state in the United
States and all Canadian provinces require that small
children ride in proper restraint systems. This is the law,
and you can be prosecuted for ignoring it.Children 12 years and younger should ride properly
buckled up in a rear seat, if available. According to crash
statistics, children are safer when properly restrained in
the rear seats rather than in the front.
WARNING!
In a collision, an unrestrained child, even a tiny baby,
can become a missile inside the vehicle. The force
required to hold even an infant on your lap can
become so great that you could not hold the child, no
matter how strong you are. The child and others
could be badly injured. Any child riding in your
vehicle should be in a proper restraint for the child's
size.
62 THINGS TO KNOW BEFORE STARTING YOUR VEHICLE
Page 139 of 554

Your vehicle is equipped with plastic headlight lenses
that are lighter and less susceptible to stone breakage
than glass headlights.
Plastic is not as scratch resistant as glass and therefore
different lens cleaning procedures must be followed.To minimize the possibility of scratching the lenses and
reducing light output, avoid wiping with a dry cloth. To
remove road dirt, wash with a mild soap solution fol-
lowed by rinsing.
Do not use abrasive cleaning components, solvents, steel
wool or other abrasive materials to clean the lenses.
Daytime Running Lights (Canada Only and Fleet
Vehicles)
The headlights on your vehicle will illuminate when the
engine is started and the transmission is in any gear
except PARK. This provides a constant9Lights ON9
condition until the ignition is turned OFF. The lights
illuminate at less than 50% of normal intensity. If the
parking brake is applied, the Daytime Running Lights
(DRL) will turn OFF. Also, if a turn signal is activated, the
DRL lamp on the same side of the vehicle will turn off for
the duration of the turn signal activation. Once the turn
signal is no longer active, the DRL lamp will illuminate.
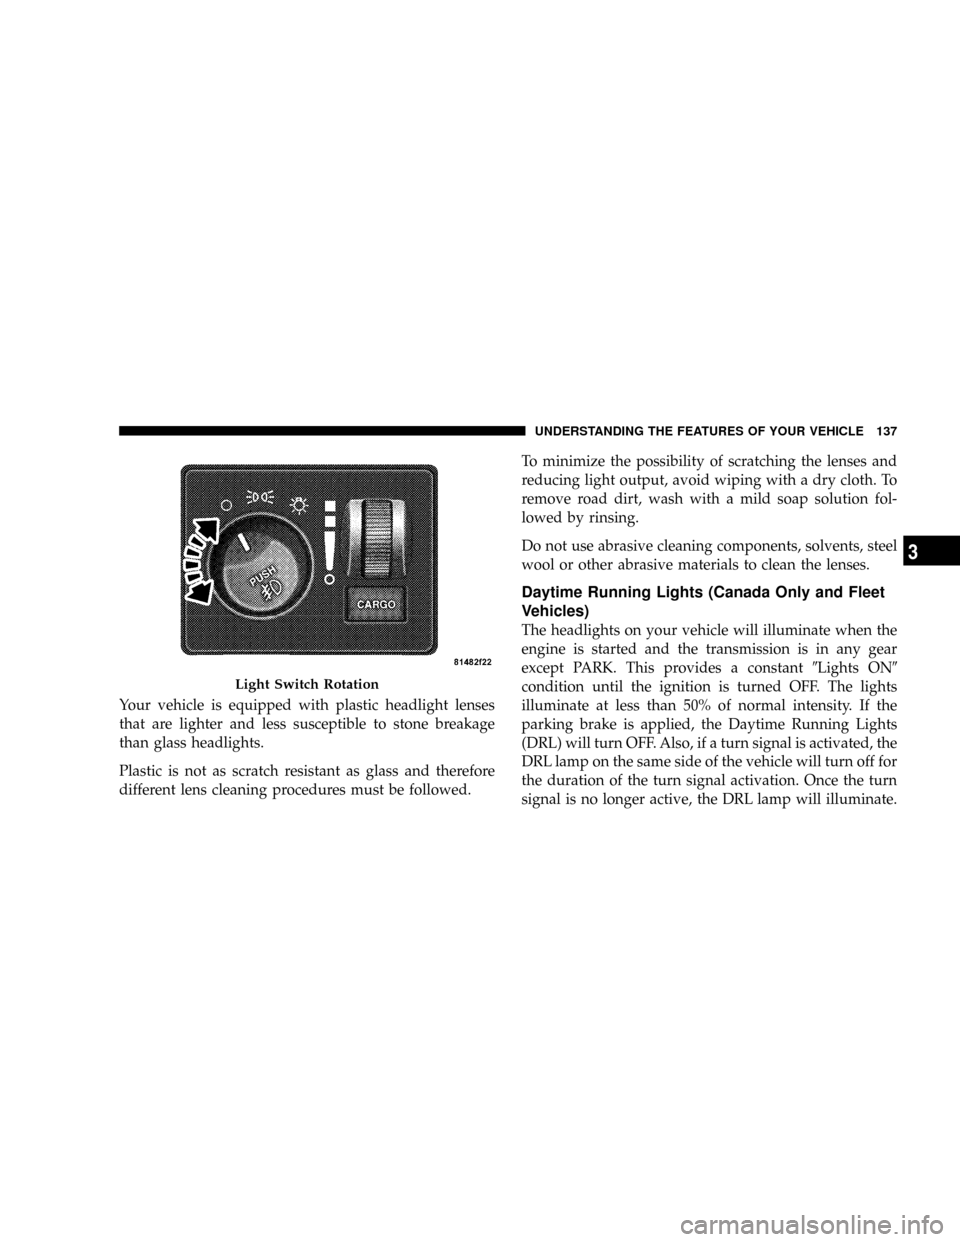
Light Switch Rotation
UNDERSTANDING THE FEATURES OF YOUR VEHICLE 137
3
Page 146 of 554
DRIVER ADJUSTABLE PEDALS Ð IF EQUIPPED
The power adjustable accelerator and brake pedals allow
the driver to establish a comfortable position relative to
the steering wheel and pedals.
Adjustment
1. Position the driver seat so that you are at least 10 in
(254 mm) away from the airbag located in the center of
the steering wheel.
2. Fasten and adjust the seatbelts.
3. Move the adjustable pedal switch, located to the left of
the steering column near the parking brake release, in the
direction you desire to move the pedals.
4. The pedalscannotbe adjusted when the vehicle is in
REVERSE or when the Electronic Speed Control is SET.
Adjustable Pedals Switch
144 UNDERSTANDING THE FEATURES OF YOUR VEHICLE
Page 148 of 554

To Activate
Push the ON/OFF button to the ON position. In the
instrument cluster, the word ªCRUISEº illuminates when
the system is on.
To Set At A Desired Speed
When the vehicle has reached the desired speed, press
and release the SET button. Release the accelerator and
the vehicle will operate at the selected speed.
To Deactivate
A soft tap on the brake pedal, normal braking, clutch
pressure while slowing the vehicle, or pressing the CAN-
CEL button will deactivate speed control without erasing
the memory. Pushing the ON/OFF button to the OFF
position or turning off the ignition erases the memory.
WARNING!
Leaving the Speed Control ON when not in use is
dangerous. You could accidentally set the system to
cause it to go faster than you want. You could lose
control and have an accident. Always leave the sys-
tem OFF when you aren't using it.
To Resume Speed
To resume a previously set speed, push and release the
RESUME button. Resume can be used at any speed above
20 mph (32 km/h).
To Vary The Speed Setting
When the speed control is on, speed can be increased by
pressing and holding the ACCEL button. When the
button is released, a new set speed will be established.
146 UNDERSTANDING THE FEATURES OF YOUR VEHICLE
Page 195 of 554
INSTRUMENTS AND CONTROLS
1 Ð Headlight Switch 6 Ð Passenger Airbag 11 Ð TPMS ªLight Loadº Reset Switch* 16 Ð Transfer Case Control Switch*
2 Ð Air Outlets 7 Ð Glove Box 12 Ð Power Sliding Back Glass Switch* 17 Ð Parking Brake Release Lever
3 Ð Instrument Cluster 8 Ð Passenger Airbag On/Off Switch* 13 Ð Cupholders 18 Ð Adjustable Pedal Control Switch*
4 Ð Climate Controls 9 Ð Power Outlet 14 Ð ESP Off Switch* * If Equipped
5 Ð Radio 10 Ð Heated Seat Switch 15 Ð Cigar Lighter
UNDERSTANDING YOUR INSTRUMENT PANEL 193
4
Page 204 of 554

CAUTION!
Prolonged driving with the MIL on could cause
damage to the engine control system. It also could
affect fuel economy and drivability.
If the MIL is flashing, severe catalytic converter
damage and power loss will soon occur. Immediate
service is required.
19. Brake System Warning Light
This light illuminates when the ignition key is turned to
the ON position and remains on for a few seconds. If the
light stays on longer, it may be an indication that the
parking brake has not been released. This light will
illuminate if the brake fluid is low, especially when
braking or accelerating hard. This light will illuminate if
the ABS indicator light has a malfunction. This light will
flash if the engine is running and the parking brake is on.If the light remains on when the parking brake is
released, it indicates a possible brake hydraulic system
malfunction. In this case, the light will remain on until
the cause is corrected.
If brake failure is indicated, immediate repair is necessary
and continued operation of the vehicle in this condition is
dangerous.
Acceleration which causes the rear wheels to slip for a
period of time may result in the red brake light illumi-
nating and a brake switch code being set on ABS
equipped vehicles. Depressing the brake pedal should
extinguish the red brake light.
20. ABS Warning Light
This light monitors the Anti-Lock Brake System
which is described elsewhere in this manual. This
light will come on when the ignition key is turned to the
ON position and may stay on for five seconds. If the ABS
light remains on or comes on during driving, it indicates
202 UNDERSTANDING YOUR INSTRUMENT PANEL