2008 DODGE RAM 3500 GAS key
[x] Cancel search: keyPage 414 of 554
NOTE:Steps 1 through 5 are requirements that must be
met prior to depressing the transfer case Neutral (N)
button, and must continue to be met until one second
elapses and the shift has been completed. If any of these
requirements (with the exception of step 3 - key ON) are
not met prior to depressing the Neutral (N) button, or are
no longer met during the one second time, then all of the
mode position indicator lights will flash continuously
until all requirements are met, or until the Neutral (N)
button is released.
NOTE:The ignition key must be ON for a transfer case
shift to take place and for the position indicator lights to
be operable. If the key is not ON, the shift will not take
place and no position indicator lights will be on or
flashing.NOTE:Flashing Neutral position indicator light indi-
cates that shift requirements have not been met.
WARNING!
You or others could be injured if you leave the
vehicle unattended with the transfer case in the
NEUTRAL position without first fully engaging the
parking brake. The transfer case NEUTRAL position
disengages both the front and rear driveshafts from
the powertrain and will allow the vehicle to move
despite the transmission position. The parking brake
should always be applied when the driver is not in
the vehicle.
412 STARTING AND OPERATING
Page 441 of 554
TOWING A DISABLED VEHICLE
Proper towing or lifting equipment is required to prevent
damage to your vehicle. Use only tow bars and other
equipment designed for the purpose, following equip-
ment manufacturer's instructions. Use of safety chains is
mandatory. Attach a tow bar or other towing device to
the main structural members of the vehicleÐnot to
bumpers or associated brackets. State and local laws
applying to vehicles under tow must be observed.
4-Wheel Drive Vehicles
CAUTION!
To avoid damage to the transfer case while towing,
always use one of the following methods.NOTE:The transfer case must be in the neutral position,
and the transmission must be in PARK (automatic trans-
mission), or in gear (manual transmission) to tow a 4WD
vehicle with one end of the vehicle raised.
The manufacturer recommends towing with all wheels
OFFthe ground. Acceptable methods are to tow the
vehicle on a flatbed or with one end of vehicle raised and
the opposite end on a towing dolly.
2±Wheel Drive Vehicles
Provided that the transmission is operable, tow with the
transmission in NEUTRAL and the ignition key in the
OFF position along with the front wheels raised and the
rear wheels on the ground. Speed must not exceed 30
mph (50 km/h) and distance must not exceed 15 mi (25
km).
WHAT TO DO IN EMERGENCIES 439
6
Page 450 of 554
tightened. Press the odometer reset button to turn the
message off. If the problem persists, the message will
appear the next time the vehicle is started. This might
indicate a damaged cap. If the problem is detected twice
in a row, the system will turn on the Malfunction
Indicator Light (MIL). Resolving the problem will turn
the MIL light off.
EMISSIONS INSPECTION AND MAINTENANCE
PROGRAMS
In some localities, it may be a legal requirement to pass
an inspection of your vehicle's emissions control system.
Failure to pass could prevent vehicle registration.
For states which have an Inspection and Mainte-
nance (I/M) requirement, this check verifies the
following: the Malfunction Indicator Lamp (MIL)
is functioning and is not on when the engine is running,
and that the On Board Diagnostic (OBD) system is ready
for testing.Normally, the OBD system will be ready. The OBD
system maynotbe ready if your vehicle was recently
serviced, if you recently had a dead battery, or a battery
replacement. If the OBD system should be determined
not ready for the I/M test, your vehicle may fail the test.
Your vehicle has a simple ignition key actuated test
which you can use prior to going to the test station. To
check if your vehicle's OBD system is ready, you must do
the following:
1. Insert your ignition key into the ignition switch.
2. Turn the ignition to the ON position, but do not crank
or start the engine.
3. If you crank or start the engine, you will have to start
this test over.
4. As soon as you turn your key to the ON position, you
will see your MIL symbol come on as part of a normal
bulb check.
448 MAINTAINING YOUR VEHICLE
Page 451 of 554

5. Approximately 15 seconds later, one of two things will
happen:
a. The MIL will blink for approximately five seconds
and then remain on until the first engine crank or the
key is turned off. This means that your vehicle's OBD
system isnot readyand you shouldnotproceed to the
I/M station.
b. The MIL will remain fully illuminated until the first
engine crank or the key is turned off. This means that
your vehicle's OBD system isreadyand you can
proceed to the I/M station.
If your OBD system isnot ready,you should see your
authorized dealer or repair facility. If your vehicle was
recently serviced, or had a battery failure or replacement,
you may need to do nothing more than drive your
vehicle as you normally would in order for your OBD
system to update. A recheck with the above test routine
may then indicate that the system is now ready.Regardless of whether your vehicle's OBD system is
ready or not ready, if the MIL symbol is illuminated
during normal vehicle operation, you should have your
vehicle serviced before going to the I/M station. The I/M
station can fail your vehicle because the MIL symbol is on
with the engine running.
REPLACEMENT PARTS
Use of genuine Mopartparts for normal/scheduled
maintenance and repairs is highly recommended to en-
sure the designed performance. Damage or failures
caused by the use of non-Mopartparts for maintenance
and repairs will not be covered by the manufacturer's
warranty.
MAINTAINING YOUR VEHICLE 449
7
Page 496 of 554
²Any time you store your vehicle, or keep it out of
service (i.e., vacation) for two weeks or more, run the
air conditioning system at idle for about five minutes
in the fresh air and high blower setting. This will
ensure adequate system lubrication to minimize the
possibility of compressor damage when the system is
started again.
NOTE:When reinstalling the IOD fuse push firmly until
fully seated; the gauges in the instrument cluster will do
a full sweep when the ignition key is cycled to RUN. This
is a normal condition.
NOTE:
When the vehicle is shipped from the factory, the
IOD fuse is in the up, or extracted position. If the radio,
interior lamps, keyless entry, or other features do not work
with the key OFF, check the position of the fuse (or check
to see if the fuse is blown) to ensure that it is fully seated.
When the IOD fuse is extracted, the instrument cluster in
the odometer window will display9NO FUSE.º
REPLACEMENT LIGHT BULBS
LIGHT BULBS Ð Interior Bulb No.
Overhead Console Lights............... TS212-2
Dome Light............................7679
NOTE:For lighted switches, see your authorized dealer
for replacement instructions.
All of the inside bulbs are brass or glass-wedge base.
Aluminum base bulbs are not approved.
LIGHT BULBS Ð Exterior Bulb No.
Backup...............................3057
Center High Mounted Stop Light............. 912
Fog Light...........................9006LL
Headlight (Halogen)...................... H13
Side Marker, Park & Turn Signal.........3157NAK
Rear License Plate Light.................... 168
Rear Cargo Light......................... 912
494 MAINTAINING YOUR VEHICLE
Page 541 of 554
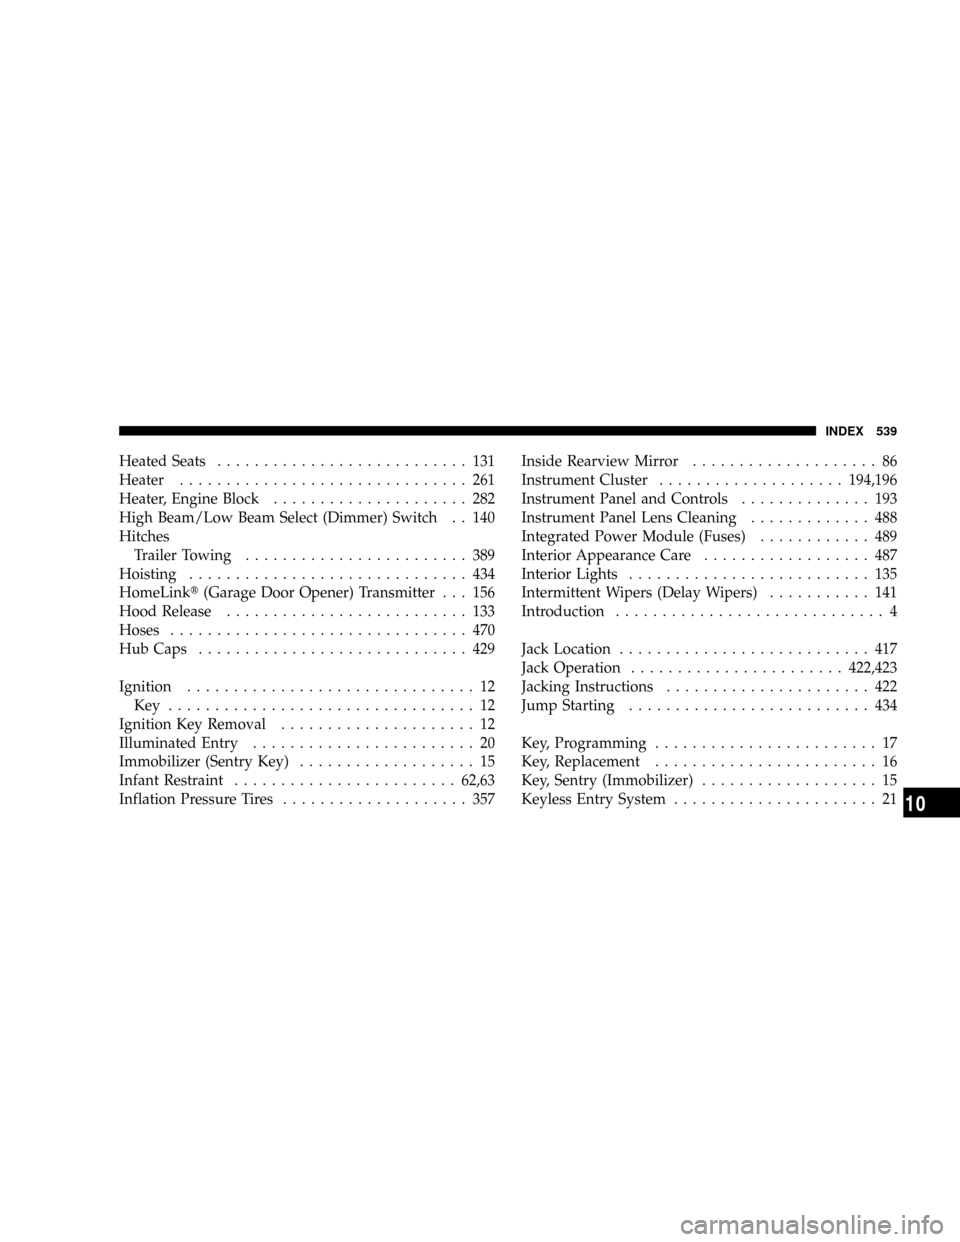
Heated Seats........................... 131
Heater............................... 261
Heater, Engine Block..................... 282
High Beam/Low Beam Select (Dimmer) Switch . . 140
Hitches
Trailer Towing........................ 389
Hoisting.............................. 434
HomeLinkt(Garage Door Opener) Transmitter . . . 156
Hood Release.......................... 133
Hoses................................ 470
Hub Caps............................. 429
Ignition............................... 12
Key ................................. 12
Ignition Key Removal..................... 12
Illuminated Entry........................ 20
Immobilizer (Sentry Key)................... 15
Infant Restraint........................62,63
Inflation Pressure Tires.................... 357Inside Rearview Mirror.................... 86
Instrument Cluster....................194,196
Instrument Panel and Controls.............. 193
Instrument Panel Lens Cleaning............. 488
Integrated Power Module (Fuses)............ 489
Interior Appearance Care.................. 487
Interior Lights.......................... 135
Intermittent Wipers (Delay Wipers)........... 141
Introduction............................. 4
Jack Location........................... 417
Jack Operation.......................422,423
Jacking Instructions...................... 422
Jump Starting.......................... 434
Key, Programming........................ 17
Key, Replacement........................ 16
Key, Sentry (Immobilizer)................... 15
Keyless Entry System...................... 21
INDEX 539
10
Page 542 of 554
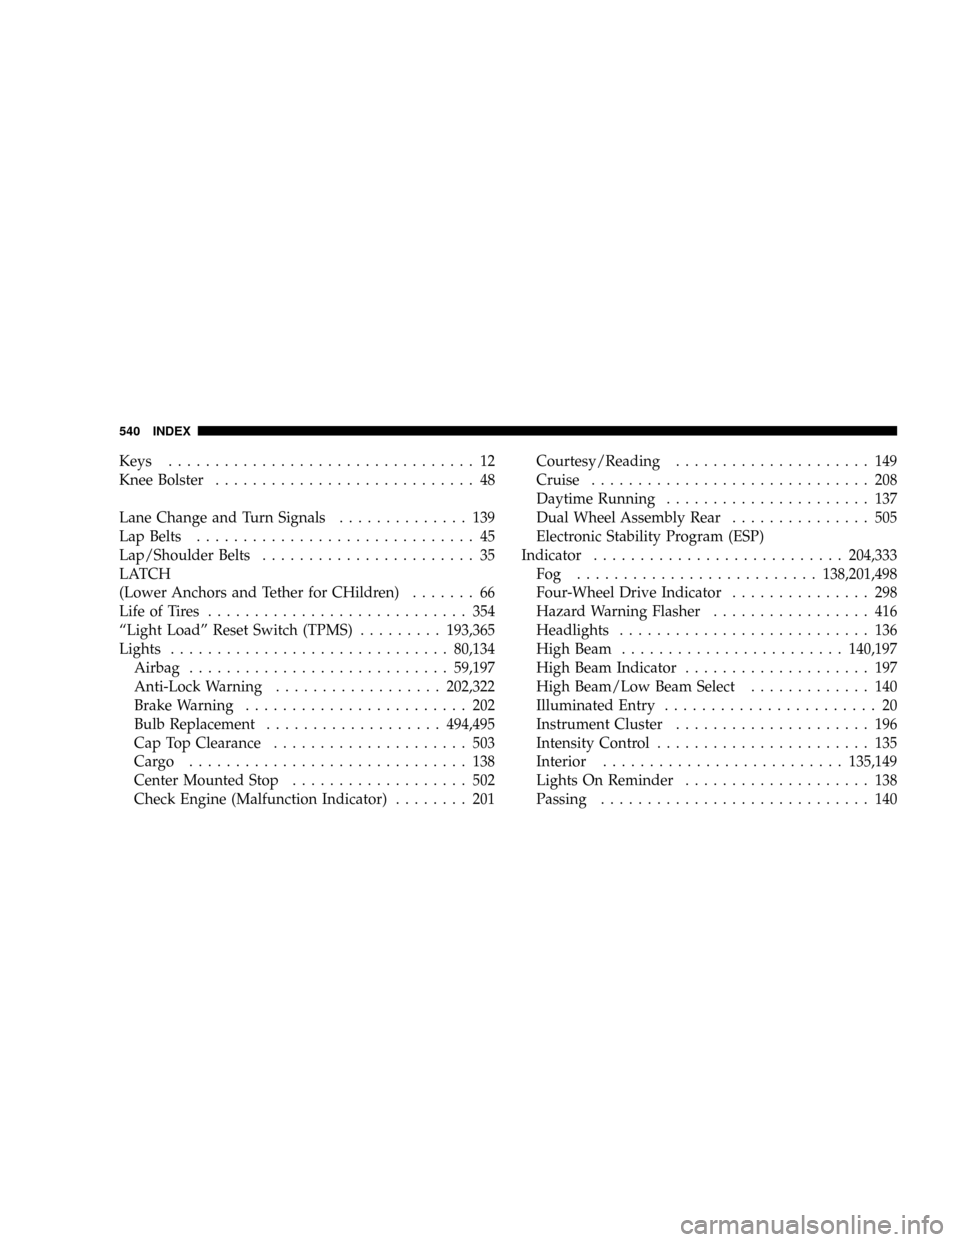
Keys................................. 12
Knee Bolster............................ 48
Lane Change and Turn Signals.............. 139
Lap Belts.............................. 45
Lap/Shoulder Belts....................... 35
LATCH
(Lower Anchors and Tether for CHildren)....... 66
Life of Tires............................ 354
ªLight Loadº Reset Switch (TPMS).........193,365
Lights..............................80,134
Airbag............................59,197
Anti-Lock Warning..................202,322
Brake Warning........................ 202
Bulb Replacement...................494,495
Cap Top Clearance..................... 503
Cargo .............................. 138
Center Mounted Stop................... 502
Check Engine (Malfunction Indicator)........ 201Courtesy/Reading..................... 149
Cruise.............................. 208
Daytime Running...................... 137
Dual Wheel Assembly Rear............... 505
Electronic Stability Program (ESP)
Indicator...........................204,333
Fog ..........................138,201,498
Four-Wheel Drive Indicator............... 298
Hazard Warning Flasher................. 416
Headlights........................... 136
High Beam........................140,197
High Beam Indicator.................... 197
High Beam/Low Beam Select............. 140
Illuminated Entry....................... 20
Instrument Cluster..................... 196
Intensity Control....................... 135
Interior..........................135,149
Lights On Reminder.................... 138
Passing............................. 140
540 INDEX
Page 543 of 554
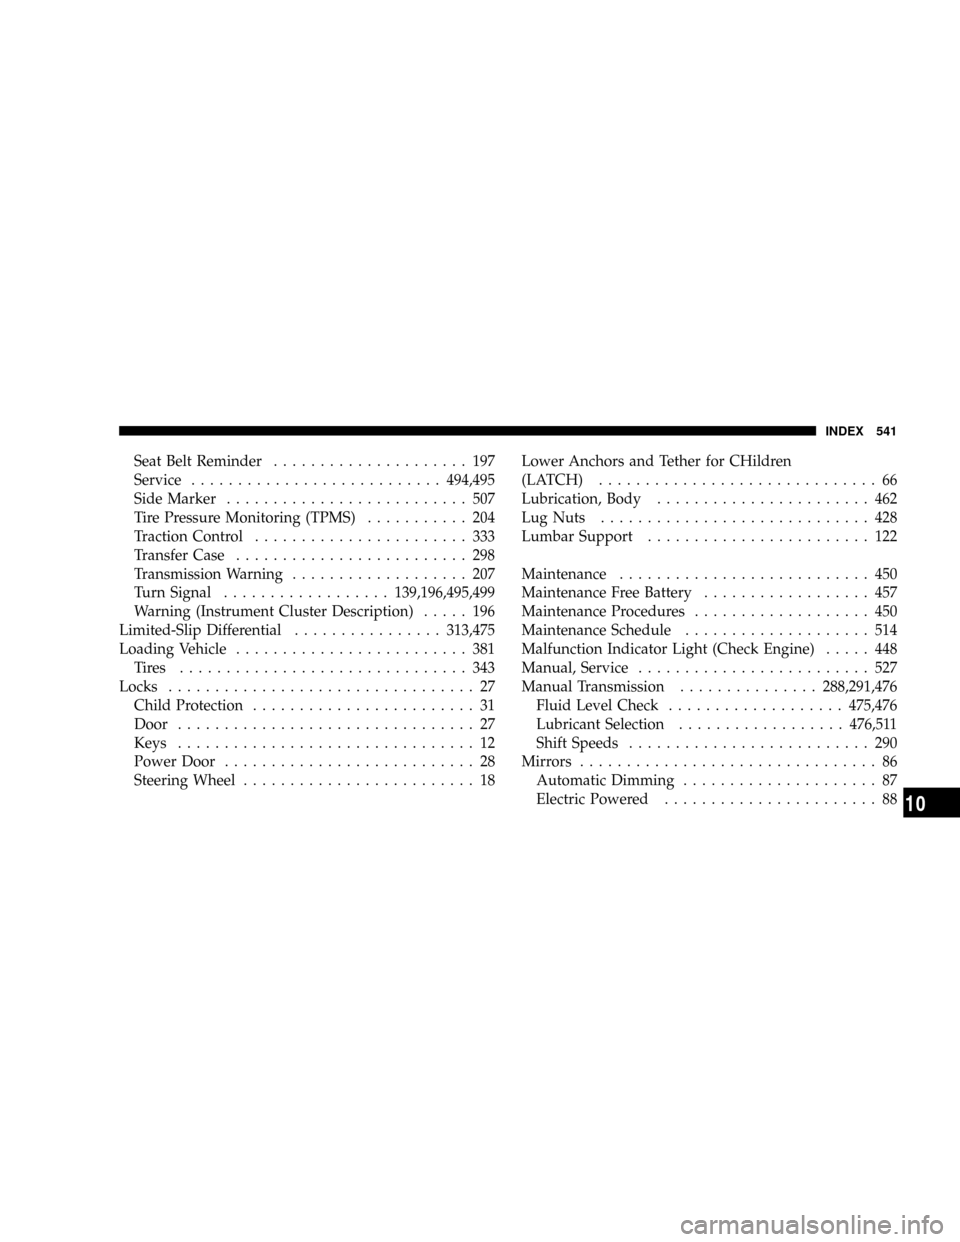
Seat Belt Reminder..................... 197
Service...........................494,495
Side Marker.......................... 507
Tire Pressure Monitoring (TPMS)........... 204
Traction Control....................... 333
Transfer Case......................... 298
Transmission Warning................... 207
Turn Signal..................139,196,495,499
Warning (Instrument Cluster Description)..... 196
Limited-Slip Differential................313,475
Loading Vehicle......................... 381
Tires ............................... 343
Locks................................. 27
Child Protection........................ 31
Door................................ 27
Keys................................ 12
Power Door........................... 28
Steering Wheel......................... 18Lower Anchors and Tether for CHildren
(LATCH).............................. 66
Lubrication, Body....................... 462
Lug Nuts............................. 428
Lumbar Support........................ 122
Maintenance........................... 450
Maintenance Free Battery.................. 457
Maintenance Procedures................... 450
Maintenance Schedule.................... 514
Malfunction Indicator Light (Check Engine)..... 448
Manual, Service......................... 527
Manual Transmission...............288,291,476
Fluid Level Check...................475,476
Lubricant Selection..................476,511
Shift Speeds.......................... 290
Mirrors................................ 86
Automatic Dimming..................... 87
Electric Powered....................... 88
INDEX 541
10