2008 DODGE RAM 3500 GAS window
[x] Cancel search: windowPage 241 of 554
Changing Tape Direction
If you wish to change the direction of tape travel (side
being played), press Preset 6. The lighted arrow in the
display window will show the new direction.
Metal Tape Selection
If a standard metal tape is inserted into the player, the
player will automatically select the correct equalization.
Pinch Roller Release
If ignition power or the radio ON/OFF switch is turned
off, the pinch roller will automatically retract to protect
the tape from any damage. When power is restored to the
tape player, the pinch roller will automatically reengage
and the tape will resume play.
Noise Reduction
The Dolby Noise Reduction System* is on whenever the
tape player is on, but may be switched off.
To turn off the Dolby Noise Reduction System: Press
Preset 1 after you insert the tape. The NR light in the
display will go off when the Dolby System is off.
* ºDolbyº noise reduction is manufactured under license
from Dolby Laboratories Licensing Corporation. Dolby
and the double-D symbol are trademarks of Dolby Labo-
ratories Licensing Corporation.
UNDERSTANDING YOUR INSTRUMENT PANEL 239
4
Page 266 of 554
Circulation
The cab is designed with features to promote outside air
circulation. There are grilles in the cab back panel. These
are air exhausters that provide the means for regular
exchange of cab air.
Side window demisters direct airflow specifically to the
window glass to help prevent interior fogging of the
glass. They are located in the extreme outside upper
edges of the instrument panel. The demisters also pro-
vide extra air ducts for circulation. They are in operation
whenever the Floor, Mix or Defrost modes are in use. To
remove frost from the side windows, it is best to use the
full defrost mode.
NOTE:When you turn off the engine you may hear a
hissing sound from under the hood for a short period of
time. This is a normal condition that occurs if the air
conditioning system has been on. It is not an indication of
a problem with the air conditioning system.
Air Conditioning with Dual Zone Temperature
Control Ð If Equipped
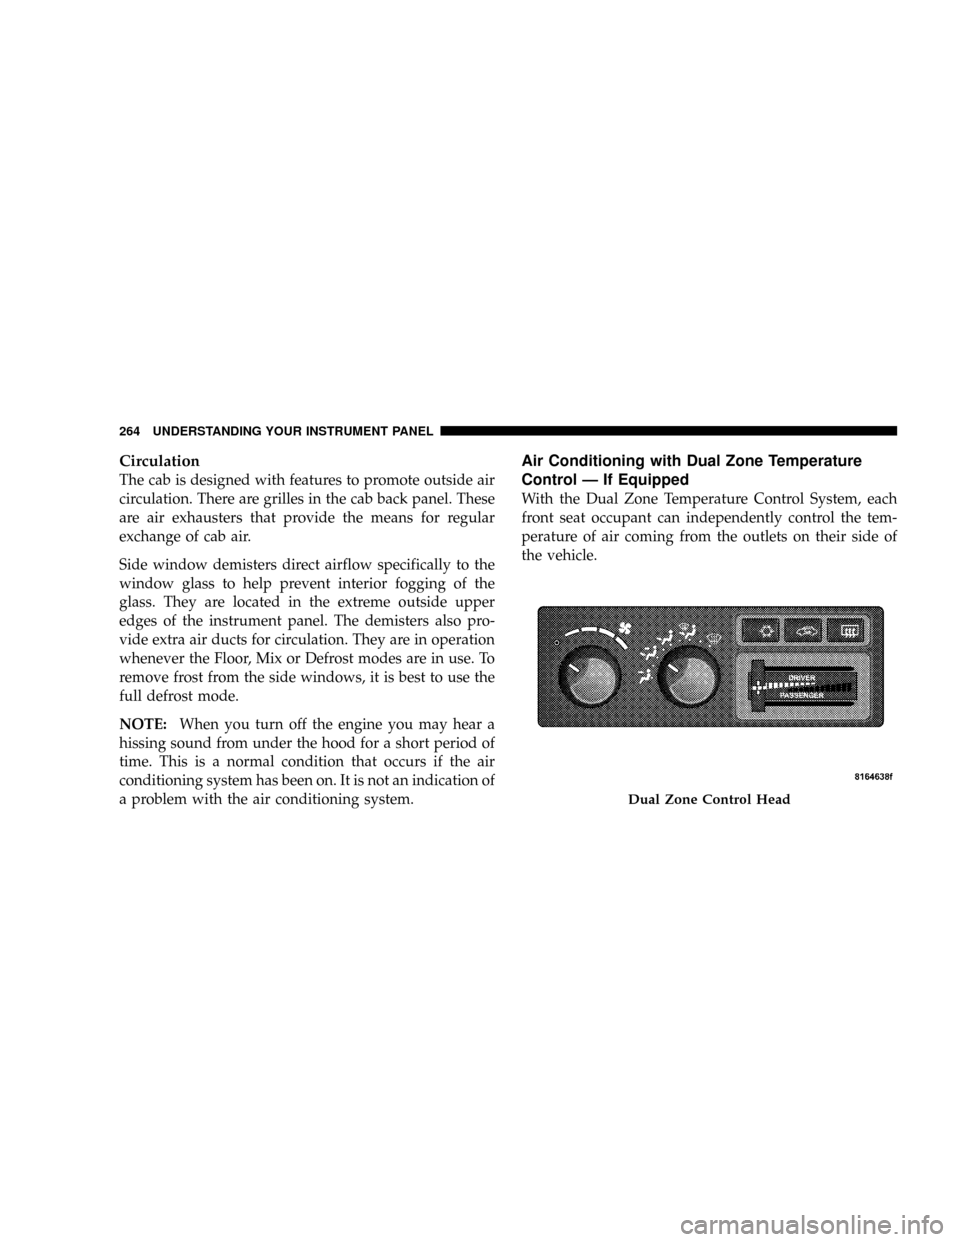
With the Dual Zone Temperature Control System, each
front seat occupant can independently control the tem-
perature of air coming from the outlets on their side of
the vehicle.
Dual Zone Control Head
264 UNDERSTANDING YOUR INSTRUMENT PANEL
Page 268 of 554
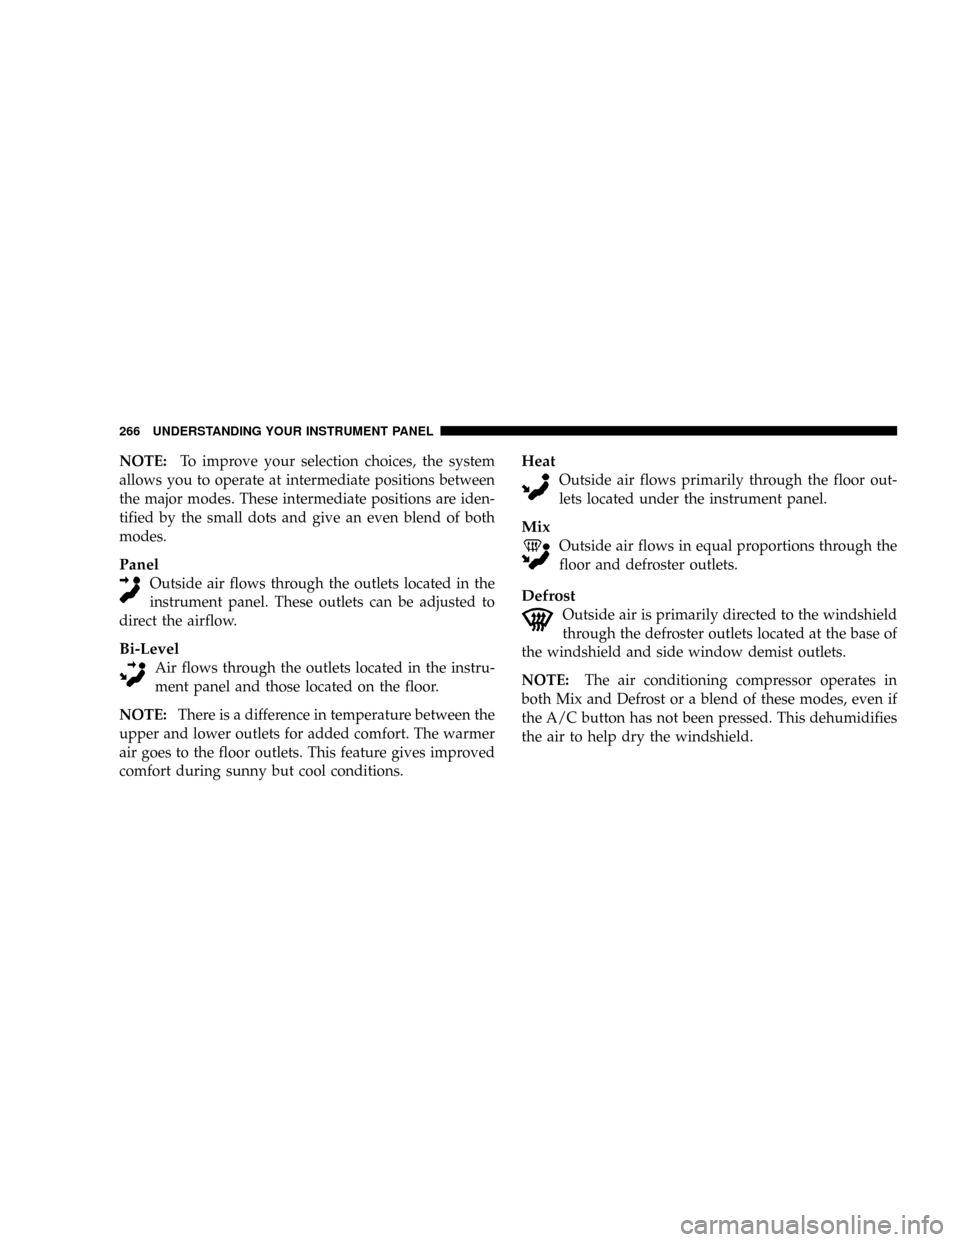
NOTE:To improve your selection choices, the system
allows you to operate at intermediate positions between
the major modes. These intermediate positions are iden-
tified by the small dots and give an even blend of both
modes.
Panel
Outside air flows through the outlets located in the
instrument panel. These outlets can be adjusted to
direct the airflow.
Bi-Level
Air flows through the outlets located in the instru-
ment panel and those located on the floor.
NOTE:There is a difference in temperature between the
upper and lower outlets for added comfort. The warmer
air goes to the floor outlets. This feature gives improved
comfort during sunny but cool conditions.
Heat
Outside air flows primarily through the floor out-
lets located under the instrument panel.
Mix
Outside air flows in equal proportions through the
floor and defroster outlets.
Defrost
Outside air is primarily directed to the windshield
through the defroster outlets located at the base of
the windshield and side window demist outlets.
NOTE:The air conditioning compressor operates in
both Mix and Defrost or a blend of these modes, even if
the A/C button has not been pressed. This dehumidifies
the air to help dry the windshield.
266 UNDERSTANDING YOUR INSTRUMENT PANEL
Page 270 of 554
Circulation
The cab is designed with features to promote outside air
circulation. There are grilles in the cab back panel. These
are air exhausters that provide the means for regular
exchange of cab air.
Side window demisters direct airflow specifically to the
window glass to help prevent interior fogging of the
glass. They are located in the extreme outside upper
edges of the instrument panel. The demisters also pro-
vide extra air ducts for circulation. They are in operation
whenever the Floor, Mix or Defrost modes are in use.
NOTE:When you turn off the engine you may hear a
hissing sound from under the hood for a short period of
time. This is a normal condition that occurs if the air
conditioning system has been on. It is not an indication of
a problem with the air conditioning system.
Operating Tips
Fast Cooldown
For a fast cooldown, turn the blower fan rotary knob to
the extreme right position, turn the mode control to the
panel fresh position, press the snowflake button to turn
on the air conditioning, and drive with the windows
open for the first few minutes. Once the hot air has been
expelled, close the windows and press the recirculation
pushbutton, on dual-zone control, or switch the mode
from panel/fresh to panel/recirculate on single-zone
control. When a comfortable condition has been reached,
choose a mode position and adjust the temperature
control slide and blower speed as necessary to maintain
comfort. For high humidity conditions it may be neces-
sary to remain in the Recirculation mode to maintain
comfort.
268 UNDERSTANDING YOUR INSTRUMENT PANEL
Page 271 of 554

Window Fogging
Windows will fog on the inside when the humidity inside
the vehicle is high. This often occurs in mild or cool
temperatures when it's rainy or humid. In most cases
turning on the air conditioning (pressing the snowflake
button) will clear the fog. Adjust the temperature control,
air direction and blower speed to maintain comfort.
As the temperature gets colder it may be necessary to
direct air onto the windshield by using MIX Mode
position on the control. Adjust the temperature control
and blower speed to maintain comfort. Higher blower
speeds will reduce fogging. Interior fogging on the
windshield can be quickly removed by selecting the
defrost mode.
Regular cleaning of the inside of the windows with a
non-filming cleaning solution (vinegar and water works
very well) will help prevent contaminates (cigarettesmoke, perfumes, etc.) from sticking to the windows.
Contaminates increase the rate of window fogging.
Summer Operation
Air conditioned vehicles must be protected with a high
quality antifreeze coolant during summer to provide
proper corrosion protection and to raise the boiling point
of the coolant for protection against overheating. A 50 %
concentration is recommended. For proper coolant type,
refer to ªRecommended Fluids and Genuine Partsº in
Section 7.
When using the air conditioner in extremely heavy traffic
in hot weather, especially when towing a trailer, addi-
tional engine cooling may be required. If this situation is
encountered, operate the transmission in a lower gear to
increase engine RPM, coolant flow and fan speed. When
stopped in heavy traffic, it may be necessary to shift into
NEUTRAL and depress the accelerator slightly for fast
idle operation to increase coolant flow and fan speed.
UNDERSTANDING YOUR INSTRUMENT PANEL 269
4
Page 372 of 554

the ignition key is cycled, this sequence will repeat,
providing the system fault still exists. A system fault can
occur by any of the following scenarios:
1. Signal interference due to electronic devices or driving
next to facilities emitting the same Radio Frequencies as
the TPM sensors.
2. Installing aftermarket window tinting that affects ra-
dio wave signals.
3. Accumulation of snow or ice around the wheels or
wheel housings.
4. Using tire chains on the vehicle.
5. Using wheels/tires not equipped with TPM sensors.
6. Loss of communication with the trigger modules or
tire pressure monitoring sensors.
NOTE: Your vehicle is equipped with a non-matching
full size spare wheel and tire assembly.1. This spare tire does not have a tire pressure monitor-
ing sensor. Therefore, the TPMS will not monitor the tire
pressure in the spare tire.
2. If you install the full size spare tire in place of a road
tire that has a pressure below the low-pressure warning
limit, upon the next ignition key cycle, a chime will
sound and the TPM Telltale Light will still turn ON due
to the low tire.
3. However, after driving the vehicle for up to 10 min-
utes above 15 mph (25 km/h), the TPM Telltale Light will
flash on and off for 75 seconds and then remain on solid.
4. For each subsequent ignition key cycle, a chime will
sound and the TPM Telltale Light will flash on and off for
75 seconds and then remain on solid.
5. Once you repair or replace the original road tire, and
reinstall it on the vehicle in place of the full size spare tire,
the TPMS will update automatically and the TPM Telltale
370 STARTING AND OPERATING
Page 377 of 554
NOTE:Intentional tampering with emissions control
systems can result in civil penalties being assessed
against you.
Carbon Monoxide Warnings
WARNING!
Carbon monoxide (CO) in exhaust gases is deadly.
Follow the precautions below to prevent carbon
monoxide poisoning:
²Do not inhale exhaust gases. They contain carbon
monoxide, a colorless and odorless gas which can kill.
Never run the engine in a closed area, such as a
garage, and never sit in a parked vehicle with the
engine running for an extended period. If the vehicle is
stopped in an open area with the engine running formore than a short period, adjust the ventilation system
to force fresh, outside air into the vehicle.
²Guard against carbon monoxide with proper mainte-
nance. Have the exhaust system inspected every time
the vehicle is raised. Have any abnormal conditions
repaired promptly. Until repaired, drive with all side
windows fully open.
²Keep the liftgate closed when driving your vehicle to
prevent carbon monoxide and other poisonous ex-
haust gases from entering the vehicle.
ADDING FUEL
Adding Fuel (Gas Engines)
The fuel tank filler tube has a restricting door about 2 in
(50 mm) inside the opening. If using a portable fuel
container, it should have a flexible nozzle long enough to
force open the restricting door.
STARTING AND OPERATING 375
5
Page 490 of 554
Glass Surfaces
All glass surfaces should be cleaned on a regular basis
with MopartGlass Cleaner or any commercial
household-type glass cleaner. Never use an abrasive type
cleaner. Use caution when cleaning the inside rear win-
dow equipped with electric defrosters or the right rear
quarter window equipped with the radio antenna. Do
not use scrapers or other sharp instruments which may
scratch the elements. When cleaning the rearview mirror,
spray cleaner on the towel or rag that you are using. Do
not spray cleaner directly on the mirror.
Cleaning Plastic Instrument Cluster Lenses
The lenses in front of the instruments in this vehicle are
molded in clear plastic. When cleaning the lenses, care
must be taken to avoid scratching the plastic.1. Clean with a wet soft rag. A mild soap solution may be
used, but do not use high alcohol content or abrasive
cleaners. If soap is used, wipe clean with a clean damp
rag.
2. Dry with a soft tissue.
Seat Belt Maintenance
Do not bleach, dye or clean the belts with chemical
solvents or abrasive cleaners. This will weaken the fabric.
Sun damage can also weaken the fabric.
If the belts need cleaning, use a mild soap solution or
lukewarm water. Do not remove the belts from the car to
wash them.
Replace the belts if they appear frayed or worn or if the
buckles do not work properly.
Dry with a soft tissue.
488 MAINTAINING YOUR VEHICLE