Page 198 of 554

INSTRUMENT CLUSTER DESCRIPTION
1. Check Gauges ± Premium Cluster Only
This light illuminates when the Voltmeter, Engine
Oil Pressure or Engine Coolant Temperature
gauges indicate a reading either too high or too low.
Examine the gauges carefully, and follow the instructions
contained below for each indicated problem.
NOTE:When the ignition switch is turned to OFF, the
Fuel Gauge, Voltmeter, Oil Pressure and Engine Coolant
Temperature gauges may not show accurate readings.
When the engine is not running, turn the ignition switch
to ON to obtain accurate readings.
2. Voltmeter
When the engine is running, the gauge indicates
the electrical system voltage. The pointer should
stay within the normal range if the battery is charged. Ifthe pointer moves to either extreme left or right and
remains there during normal driving, the electrical sys-
tem should be serviced.
NOTE:If the gauge pointer moves to either extreme of
the gauge, the ªCheck Gaugesº indicator will illuminate
and a single chime will sound. The ªCheck Gaugesº
indicator may also illuminate prior to the voltage gauge
moving out of normal range. In either case, see you local
authorized Dealer for system service.
3. Turn Signal Indicators
Lights in instrument cluster flash when outside turn
signals are operating.
4. Tachometer
The Tachometer indicates engine speed in revolutions per
minute.
196 UNDERSTANDING YOUR INSTRUMENT PANEL
Page 199 of 554

CAUTION!
Do not operate the engine with the tachometer
pointer at high rpm for extended periods. Engine
damage may occur.
5. Airbag Indicator Light
The indicator lights and remains lit for six to eight
seconds when the ignition is first turned ON. If the light
stays on, flickers or comes on while driving, have the
airbag system checked by an authorized dealer.
6. High Beam Indicator
This indicator shows that headlights are on high
beam.
7. Seat Belt Reminder Light
When the ignition switch is first turned ON, this
light will turn on for five to eight seconds as a bulbcheck. During the bulb check, if the driver's seat belt is
unbuckled, a chime will sound. After the bulb check or
when driving, if the driver's seat belt remains unbuckled,
the Seat Belt Warning Light will flash or remain on
continuously. Refer to9Enhanced Driver Seat Belt Re-
minder System (BeltAlertt)9in the Occupant Restraints
section for more information.(See page 46 for more
information.)
8. Speedometer
The Speedometer shows the vehicle speed in miles per
hour and/or kilometers per hour (mph/kph).
9. Oil Pressure Gauge Ð Premium Cluster Only
The pointer should always indicate some oil pres-
sure when the engine is running. A continuous
high or low reading, under normal driving conditions,
may indicate a lubrication system malfunction. Immedi-
ate service should be obtained from an authorized dealer.
UNDERSTANDING YOUR INSTRUMENT PANEL 197
4
Page 203 of 554

release the Trip Odometer button on the instrument
cluster. To reset the oil change indicator system (after
performing the scheduled maintenance) refer to the fol-
lowing procedure.
1. Turn the ignition switch to the ON position(Do not
start the engine).
2. Fully depress the accelerator pedal slowly three
times within 10 seconds.
3. Turn the ignition switch to the OFF/LOCK position.
NOTE:If the indicator message illuminates when you
start the vehicle, the oil change indicator system did not
reset. If necessary repeat this procedure.
17. Front Fog Light Indicator Ð If Equipped
This light shows when the front fog lights are ON.18. Malfunction Indicator Light
This light is part of an onboard diagnostic system
which monitors the emissions and engine control
system. If the vehicle is ready for emissions
testing, the light will come on when the ignition is first
turned on and remain on, as a bulb check, until the
engine is started. If the vehicle is not ready for emissions
testing the light will come on when the ignition is first
turned on and remain on for 15 seconds, then blink for 5
seconds, and remain on until the vehicle is started. If the
bulb does not come on during starting, have the condi-
tion investigated promptly.
If this light comes on and remains on while driving, it
suggests a potential engine control problem and the need
for system service.
Although your vehicle will usually be drivable and not
need towing, see your authorized dealer for service as
soon as possible.
UNDERSTANDING YOUR INSTRUMENT PANEL 201
4
Page 210 of 554

31. CRUISE Light
This indicator lights when the electronic speed control
system is turned on.
32. Coolant Temperature Light ± Base Cluster Only
This light indicates engine coolant temperature is
to high. If the light comes on, stop the vehicle, shift
into NEUTRAL, and increase the engine idle
speed for two to three minutes. If the light does not turn
off, shut your engine OFF and allow it to cool. See an
authorized dealer for service immediately. Refer to
ªCooling Systemº under ªMaintaining Your Vehicleº in
section 7.
CAUTION!
Do not leave your vehicle unattended with the en-
gine running as you would not be able to react to the
temperature indicator if the engine overheats.NOTE:Engine idle speed will automatically increase to
1000 rpm at elevated coolant temperatures to improve
engine cooling.
33. Battery Voltage Indicator Light ± Base Cluster
Only
When the engine is running, this light indicates
the electrical system voltage is out of normal
range. This indicator may also illuminate prior to the
voltage gauge moving out of normal range. In either case,
see you local authorized dealer for system service.
34. Oil Pressure Indicator light ± Base Cluster Only
This light indicates continuous high or low oil
pressure, and under normal driving conditions,
may indicate a lubrication system malfunction. Immedi-
ate service should be obtained.
208 UNDERSTANDING YOUR INSTRUMENT PANEL
Page 302 of 554

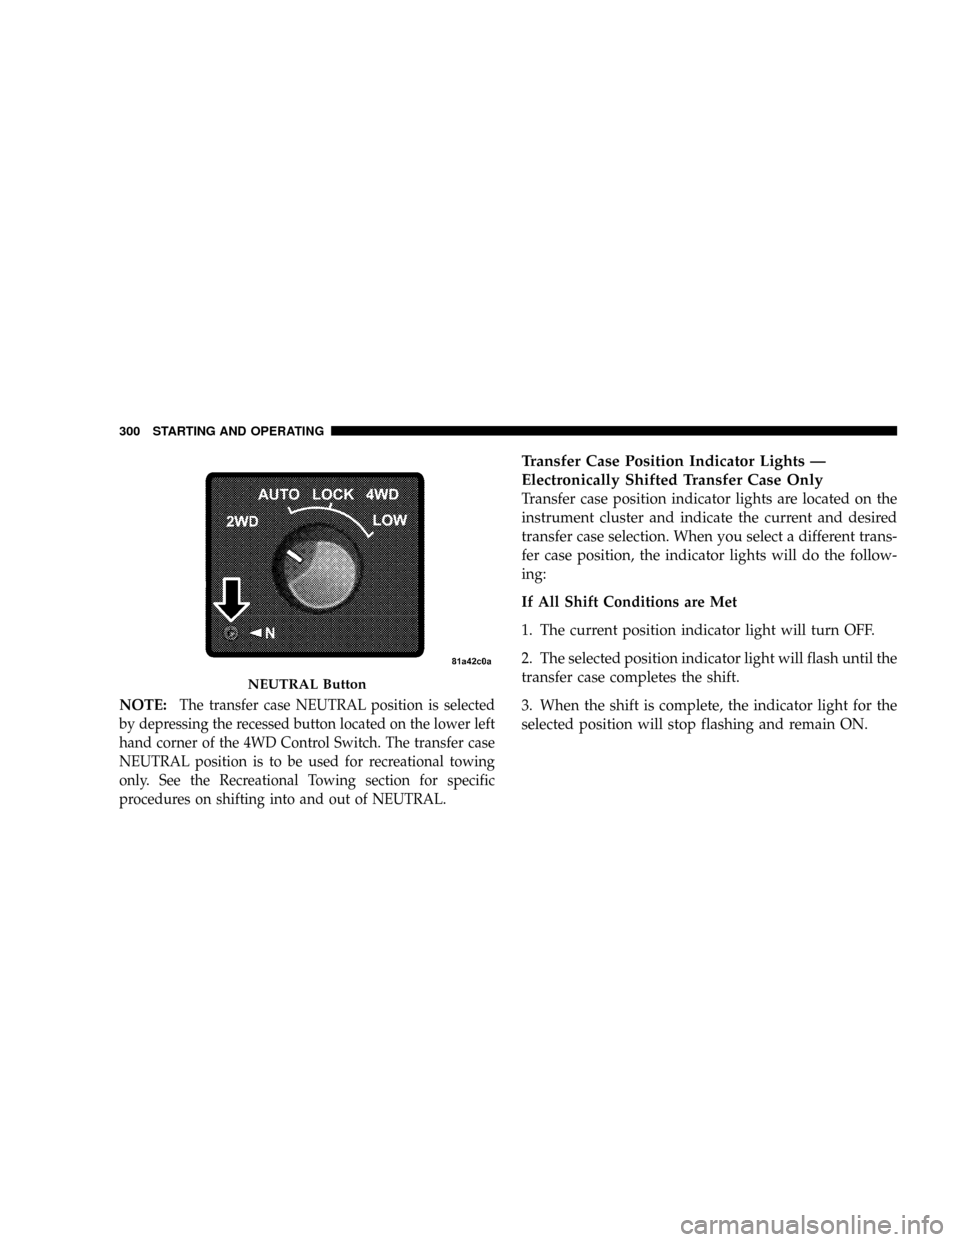
NOTE:The transfer case NEUTRAL position is selected
by depressing the recessed button located on the lower left
hand corner of the 4WD Control Switch. The transfer case
NEUTRAL position is to be used for recreational towing
only. See the Recreational Towing section for specific
procedures on shifting into and out of NEUTRAL.
Transfer Case Position Indicator Lights Ð
Electronically Shifted Transfer Case Only
Transfer case position indicator lights are located on the
instrument cluster and indicate the current and desired
transfer case selection. When you select a different trans-
fer case position, the indicator lights will do the follow-
ing:
If All Shift Conditions are Met
1. The current position indicator light will turn OFF.
2. The selected position indicator light will flash until the
transfer case completes the shift.
3. When the shift is complete, the indicator light for the
selected position will stop flashing and remain ON.
NEUTRAL Button
300 STARTING AND OPERATING
Page 308 of 554

4. After the desired position indicator light is ON (not
flashing), shift transmission back into gear (release clutch
on manual transmissions).
NOTE:If steps 1 or 2 of either the Preferred or Alternate
Procedure are not satisfied prior to attempting the shift or
if they no longer are being met while the shift attempt is
in process then the desired position indicator light will
flash continuously while the original position indicator
light is ON, until all requirements have been met.
NOTE:The ignition key must be ON for a shift to take
place and for the position indicator lights to be operable.
If the key is not ON then the shift will not take place and
no position indicator lights will be on or flashing.
NOTE:If your are leaving your vehicle stored for longer
than 21 days, refer to the section on ªVehicle Storage.ºElectronically Shifted Transfer Case Operating
Information/Precautions (4 Position Switch) Ð If
Equipped
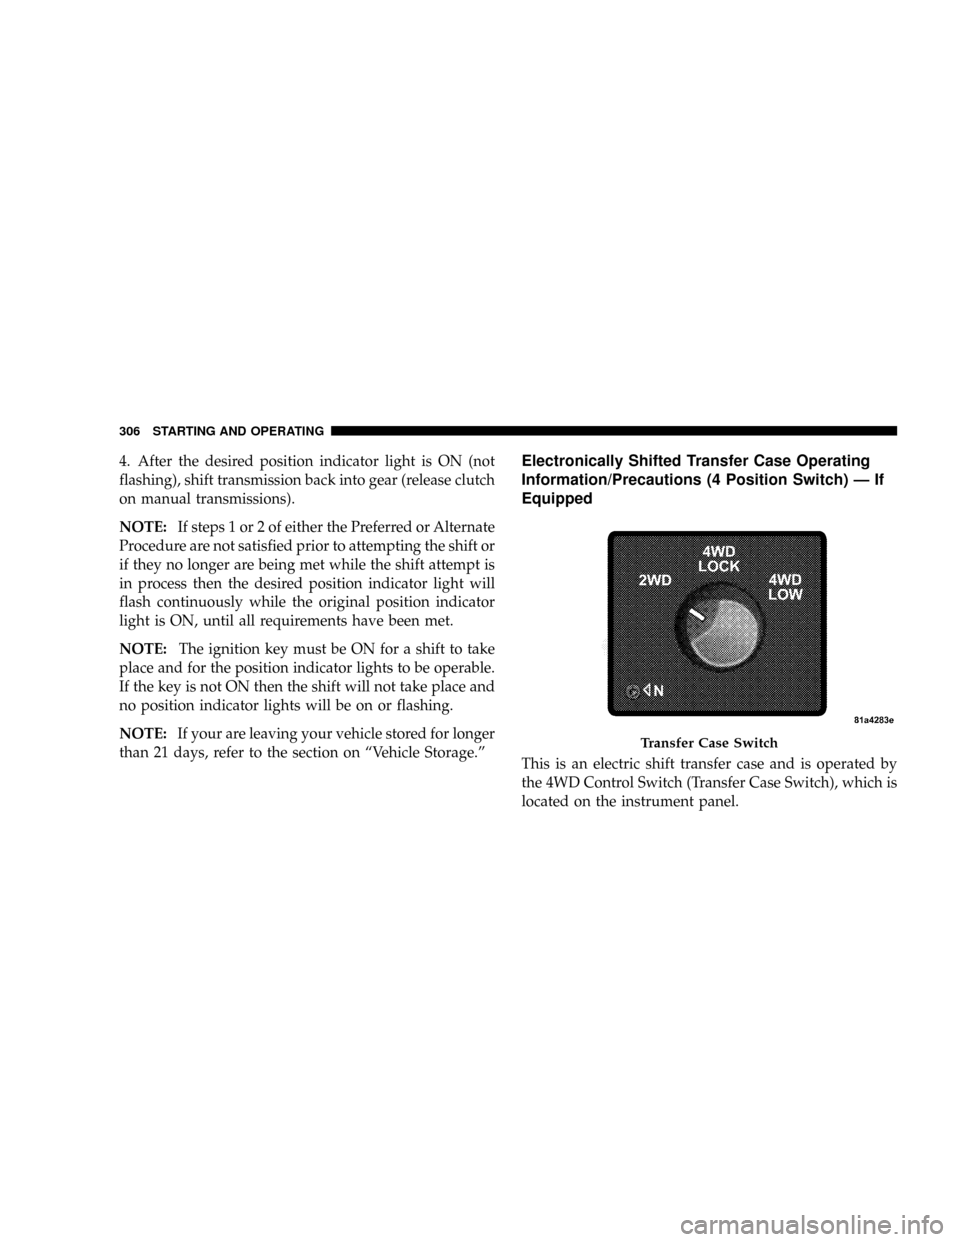
This is an electric shift transfer case and is operated by
the 4WD Control Switch (Transfer Case Switch), which is
located on the instrument panel.
Transfer Case Switch
306 STARTING AND OPERATING
Page 310 of 554

Transfer Case Position Indicator Lights Ð
Electronically Shifted Transfer Case Only
Transfer case position indicator lights are located in the
instrument cluster and indicate the current and desired
transfer case selection. When you select a different trans-
fer case position, the indicator lights will do the follow-
ing:
If All Shift Conditions Are Met:
1. The current position indicator light will turn OFF.
2. The selected position indicator light will flash until the
transfer case completes the shift.
3. When the shift is complete, the indicator light for the
selected position will stop flashing and remain ON.
If One or More Shift Conditions Are Not Met:
1. The indicator light for the current position will remain
ON.2. The newly selected position indicator light will con-
tinue to flash.
3. The transfer casewill notshift.
NOTE:Before retrying a selection, make certain that all
the necessary requirements for selecting a new transfer
case position have been met. To retry the selection, turn
the control knob back to the current position, wait five
seconds, and retry selection. To find the shift require-
ments, refer to the9Shifting Procedure9for your transfer
case, located in this section of the owner's manual.
The ªSERVICE 4WDº warning light monitors the electric
shift 4WD system. If this light remains on after engine
start up or illuminates during driving, it means that the
4WD system is not functioning properly and that service
is required.
308 STARTING AND OPERATING
Page 315 of 554

Alternate Procedure
1. Bring the vehicle to complete stop.
2. With the key ON and the engine either OFF or
running, shift the transmission into NEUTRAL (depress
clutch on manual transmissions).
3. Rotate the transfer case control switch to the desired
position.
4. After the desired position indicator light is ON (not
flashing), shift transmission back into gear (release clutch
on manual transmissions).
NOTE:If steps 1 or 2 of either the Preferred or Alternate
Procedure are not satisfied prior to attempting the shift
then the desired position indicator light will flash con-
tinuously while the original position indicator light is
ON, until all requirements have been met.NOTE:The ignition key must be ON for a shift to take
place and for the position indicator lights to be operable.
If the key is not ON then the shift will not take place and
no position indicator lights will be on or flashing.
NOTE:If your are leaving your vehicle stored for longer
than 21 days, refer to the section on ªVehicle Storage.º
LIMITED-SLIP DIFFERENTIAL ± IF EQUIPPED
The limited-slip differential provides additional traction
on snow, ice, mud, sand and gravel, particularly when
there is a difference between the traction characteristics
of the surface under the right and left rear wheels. During
normal driving and cornering, the limited-slip unit per-
forms similarly to a conventional differential. On slip-
pery surfaces, however, the differential delivers more of
the driving effort to the rear wheel having the better
traction.
The limited-slip differential is especially helpful during
slippery driving conditions. With both rear wheels on a
STARTING AND OPERATING 313
5