Page 376 of 504

þCheck for signs of tire wear or visible tire damage
before towing a trailer. Refer to the Tires±General
Information section of this manual on Tread Wear
Indicators for the proper inspection procedure.
þWhen replacing tires refer to the Tires±General Infor-
mation section of this manual on Replacement Tires for
proper tire replacement procedures. Replacing tires
with a higher load carrying capacity will not increase
the vehicle's GVWR and GAWR limits.
Towing Requirements Ð Trailer Brakes
þ
Donotinterconnect the hydraulic brake system or
vacuum system of your vehicle with that of the trailer.
This could cause inadequate braking and possible
personal injury.
þAn electronically actuated trailer brake controller is
required when towing a trailer with electronically
actuated brakes. When towing a trailer equipped with
a hydraulic surge actuated brake system, an electronic
brake controller is not required.
þTrailer brakes are recommended for trailers over 1,000
lbs (454 kg) and required for trailers in excess of 2,000
lbs (907 kg).
CAUTION!
If the trailer weighs more than 1,000 lbs (454 kg)
loaded, it should have its own brakes and they
should be of adequate capacity. Failure to do this
could lead to accelerated brake lining wear, higher
brake pedal effort, and longer stopping distances.
376 STARTING AND OPERATING
Page 377 of 504
WARNING!
Do not connect trailer brakes to your vehicle's hy-
draulic brake lines. It can overload your brake sys-
tem and cause it to fail. You might not have brakes
when you need them and could have an accident.
Towing any trailer will increase your stopping dis-
tance. When towing you should allow for additional
space between your vehicle and the vehicle in front
of you. Failure to do so could result in an accident.
Towing Requirements Ð Trailer Lights & Wiring
Whenever you pull a trailer, regardless of the trailer size,
stop lights and turn signals on the trailer are required for
motoring safety.
The Trailer Tow Package may includea4and7pin
wiring harness. Use a factory approved trailer harness
and connector.
NOTE:Do not cut or splice wiring into the vehicles
wiring harness.
STARTING AND OPERATING 377
5
Page 385 of 504

1. Bring the vehicle to a complete stop.
2. Shut OFF the engine.
3. Depress the brake pedal.
4. Shift automatic transmission to N (NEUTRAL), or
depress the clutch on manual transmissions.
5. Shift transfer case lever into N (NEUTRAL).
6. Start the engine.
7. Shift automatic transmission into Reverse (R).
8. Release brake pedal for five seconds and ensure that
there is no vehicle movement.
9. Repeat steps 7 and 8 with the transmission in Drive
(D).
10. Shut OFF the engine and place the ignition key to the
unlocked OFF position.11. Shift automatic transmission into P (PARK).
12. Apply the parking brake.
13. Attach vehicle to tow vehicle with tow bar.
14. Release the parking brake.
CAUTION!
Damage to the automatic transmission may occur if
the transmission is shifted into P (PARK) with the
transfer case in N (NEUTRAL) and the engine RUN-
NING. With the transfer case in N (NEUTRAL)
ensure that the engine is OFF prior to shifting the
transmission into P (PARK)
STARTING AND OPERATING 385
5
Page 386 of 504
Returning to Normal Operation Ð Manual Shift
Transfer Case
Use the following procedure to prepare your vehicle for
normal usage:
1. Bring the vehicle to a complete stop.
2. Shut OFF the engine.
3. Depress the brake pedal.
4. Shift automatic transmission to N (NEUTRAL), or
depress the clutch on manual transmissions.
5. Shift transfer case lever to desired position.
6. Shift automatic transmission into P (Park).
WARNING!
You or others could be injured if you leave the
vehicle unattended with the transfer case in the N
(NEUTRAL) position without first fully engaging the
parking brake. The transfer case N (NEUTRAL) po-
sition disengages both the front and rear driveshafts
from the powertrain and will allow the vehicle to
move regardless of the transmission position. The
parking brake should always be applied when the
driver is not in the vehicle.
386 STARTING AND OPERATING
Page 393 of 504
NOTE:The winch mechanism is designed for use with
the jack extension tube only. Use of an air wrench or other
power tools is not recommended and can damage the
winch.
Tire Changing Procedure
WARNING!
Getting under a jacked-up vehicle is dangerous. The
vehicle could slip off the jack and fall on you. You
could be crushed. Never get any part of your body
under a vehicle that is on a jack. Never start or run
the engine while the vehicle is on a jack. If you need
to get under a raised vehicle, take it to a service center
where it can be raised on a lift.
Do not raise this vehicle using a bumper jack. The jack is
designed as a tool for changing tires on this vehicle only.It is not recommended that the jack be used for service
purposes or to lift more than one wheel at a time.
Preparations
Park the vehicle on a firm level surface, avoiding ice or
slippery areas. Set the parking brake and place the gear
selector in PARK (automatic transmission) or REVERSE
(manual transmission). On four-wheel drive vehicles,
shift the transfer case to the ª4Lº position.
WARNING!
Do not attempt to change a tire on the side of the
vehicle close to moving traffic. Pull far enough off
the road to avoid the danger of being hit when
operating the jack or changing the wheel.
²Turn on the Hazard Warning Flasher.
WHAT TO DO IN EMERGENCIES 393
6
Page 394 of 504
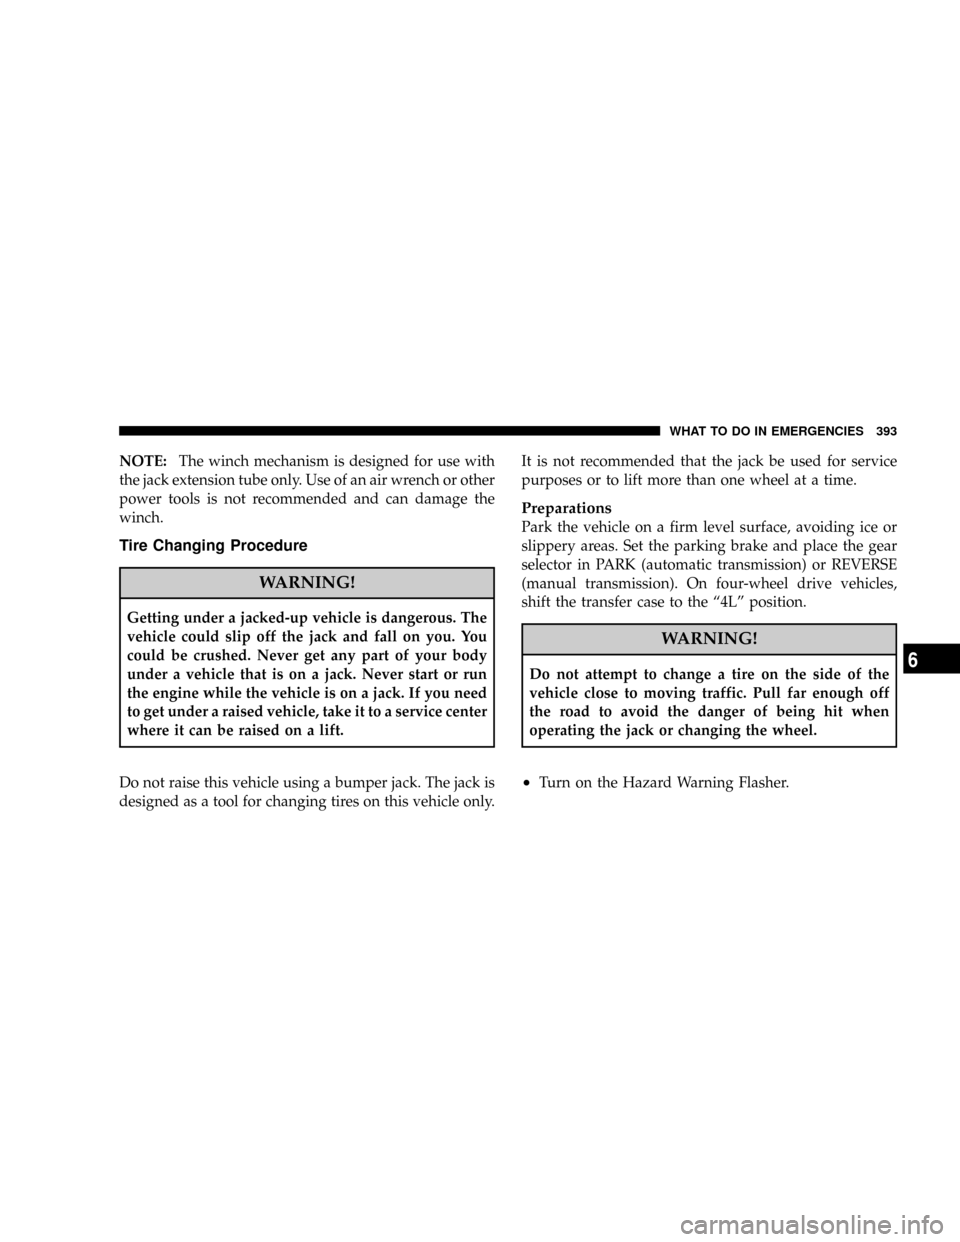
²Block both the front and rear
of the wheel diagonally oppo-
site the jacking position. For
example, if the right front
wheel is being changed, block
the left rear wheel.
²Passengers should not remain in the vehicle when the
vehicle is being jacked.
Instructions
WARNING!
Carefully follow these tire changing warnings to help
prevent personal injury or damage to your vehicle:
²Always park on a firm, level surface as far from the
edge of the roadway as possible before raising the
vehicle.
²Block the wheel diagonally opposite the wheel to be
raised.
²Apply the parking brake firmly before jacking.
²Never start the engine with the vehicle on a jack.
²Do not let anyone sit in the vehicle when it is on a jack.
²Do not get under the vehicle when it is on a jack.
²Only use the jack in the positions indicated.
²If working on or near a roadway, be extremely careful of
motor traffic.
394 WHAT TO DO IN EMERGENCIES
Page 400 of 504

WARNING!
Battery fluid is a corrosive acid solution; do not allow
battery fluid to contact eyes, skin or clothing. Don't
lean over battery when attaching clamps or allow the
clamps to touch each other. If acid splashes in eyes or
on skin, flush contaminated area immediately with
large quantities of water.
A battery generates hydrogen gas which is flam-
mable and explosive. Keep flame or spark away from
the vent holes.
Do not use a booster battery or any other booster
source that has a greater than 12 volt system, i.e. Do
not use a 24 volt power source.
1. Remove all metal jewelry such as watch bands or
bracelets which might make an unintended electrical
contact.2. Park the booster vehicle within cable reach but with-
out letting the vehicles touch. Set the parking brake on
both vehicles, place the automatic transmission in Park or
the manual transmission in Neutral, and turn the ignition
OFF.
3. Turn off the heater, radio, and all unnecessary electri-
cal loads.
4. Connect one end of a jumper cable to the positive
terminal of the booster battery. Connect the other end of
the same cable to the positive terminal of the discharged
battery.
WARNING!
Do not permit vehicles to touch each other as this
could establish a ground connection and personal
injury could result.
400 WHAT TO DO IN EMERGENCIES
Page 406 of 504

NPower Steering Ð Fluid Check............421
NFront Suspension Ball Joints..............422
NSteering Linkage Ð Inspection............423
NFront Prop Shaft Lubrication.............423
NBody Lubrication.....................424
NWindshield Wiper Blades................424
NWindshield Washers...................424
NExhaust System......................425
NCooling System.......................426
NHoses And Vacuum/Vapor Harnesses.......431
NBrake System........................432
NClutch Hydraulic System................433
NClutch Linkage.......................433NRear Axle And 4X4 Front Driving Axle Fluid
Level..............................434
NTransfer Case........................435
NFront Drive Shaft.....................435
NManual Transmission..................435
NAutomatic Transmission................436
NFront Wheel Bearings..................439
NNoise Control System Required Maintenance &
Warranty...........................439
NAppearance Care And Protection From
Corrosion...........................443
mFuses (Integrated Power Module)...........447
mVehicle Storage........................452
mReplacement Light Bulbs.................453
406 MAINTAINING YOUR VEHICLE