2008 DODGE CHARGER service schedule
[x] Cancel search: service schedulePage 372 of 466

5. Approximately 15 seconds later, one of two things will
happen:
a. The MIL will flash for about 10 seconds and then
return to being fully illuminated until you turn off the
ignition key or start the engine. This means that your
vehicle's OBD system isnot readyand you shouldnot
proceed to the I/M station.
b. The MIL will not flash at all and will remain fully
illuminated until you turn off the ignition key or start
the engine. This means that your vehicle's OBD system
isreadyand you can proceed to the I/M station.
If your OBD system isnot ready,you should see your
authorized dealer or repair facility. If your vehicle was
recently serviced or had a battery failure or replacement,
you may need to do nothing more than drive your
vehicle as you normally would in order for your OBD
system to update. A recheck with the above test routine
may then indicate that the system is now ready.Regardless of whether your vehicle's OBD system is
ready or not ready, if the MIL symbol is illuminated
during normal vehicle operation, you should have your
vehicle serviced before going to the I/M station. The I/M
station can fail your vehicle because the MIL symbol is on
with the engine running.
REPLACEMENT PARTS
Use of genuine Mopartparts for normal/scheduled
maintenance and repairs is highly recommended to in-
sure the designed performance. Damage or failures
caused by the use of non-Mopartparts for maintenance
and repairs will not be covered by the manufacturer's
warranty.
372 MAINTAINING YOUR VEHICLE
Page 379 of 466

Spark Plugs
Spark plugs must fire properly to assure engine perfor-
mance and emission control. New plugs should be in-
stalled at the specified mileage. The entire set should be
replaced if there is any malfunction due to a faulty spark
plug. Malfunctioning spark plugs can damage the cata-
lytic converter. Refer to ªFluids, Lubricants, and Genuine
Partsº in this section for the proper type of spark plug for
use in your vehicle.
Engine Air Cleaner Filter
Refer to the ªMaintenance Scheduleº in Section 8 of this
manual for engine air cleaner filter maintenance inter-
vals.
NOTE:Be sure to follow the ªdusty or off-road condi-
tionsº maintenance interval if applicable.
WARNING!
The air induction system (air cleaner, hoses, etc) can
provide a measure of protection in the case of engine
backfire. Do not remove the air induction system (air
cleaner, hoses, etc) unless such removal is necessary
for repair or maintenance. Make sure that no one is
near the engine compartment before starting the
vehicle with the air induction system (air cleaner,
hoses, etc) removed. Failure to do so can result in
serious personal injury.
Fuel Filter
A plugged fuel filter can cause stalling, limit the speed at
which a vehicle can be driven or cause hard starting.
Should an excessive amount of dirt accumulate in the
fuel tank, filter replacement may be necessary. See your
authorized dealer for service.
MAINTAINING YOUR VEHICLE 379
7
Page 384 of 466

Refrigerant Recovery and Recycling
R-134a Air Conditioning Refrigerant is a hydrofluorocar-
bon (HFC) that is endorsed by the Environmental Pro-
tection Agency and is an ozone-saving product. How-
ever, the manufacturer recommends that air conditioning
service be performed by dealers or other service facilities
using recovery and recycling equipment.
NOTE:Use only manufacturer approved A/C System
Sealers, Stop Leak Products, Seal Conditioners, Compres-
sor Oil, and Refrigerants.
A/C Air Filter Ð If Equipped
The filter is located in the fresh air inlet under the hood,
behind a removable panel in the cowl on the passenger
side of the vehicle, next to the windshield wipers. When
installing a new filter, ensure its proper orientation. To
replace the filter, remove the access door in the cowl
screen by pressing the retaining clips. Slide the lid on the
filter adapter forward and down and remove used filter.Install new filter with arrows pointing in the direction of
airflow, which is toward the rear of the vehicle (text and
arrows on the filter indicate this).
Refer to the ªMaintenance Scheduleº in Section 8 of
this manual for the recommended air conditioning
filter replacement intervals.
Power Steering Ð Fluid Check
Checking the power steering fluid level at a defined
service interval is not required. The fluid should only be
checked if a leak is suspected, abnormal noises are
apparent, and/or the system is not functioning as antici-
pated. Coordinate inspection efforts through a certified
DaimlerChrysler Dealership.
384 MAINTAINING YOUR VEHICLE
Page 394 of 466

Care should be taken in installing quick connect fittings
to insure they are properly installed and fully connected.
See your authorized dealer for service.
Brake System
In order to assure brake system performance, all brake
system components should be inspected periodically.
Suggested service intervals can be found in the ªMainte-
nance Scheduleº in Section 8 of this manual.
WARNING!
Riding the brakes can lead to brake failure and
possibly an accident. Driving with your foot resting
or riding on the brake pedal can result in abnormally
high brake temperatures, excessive lining wear, and
possible brake damage. You wouldn't have your full
braking capacity in an emergency.
Brake And Power Steering Hoses
When the vehicle is serviced for scheduled maintenance,
inspect surface of hoses and nylon tubing for evidence of
heat and mechanical damage. Hard and brittle rubber,
cracking, tears, cuts, abrasion, and excessive swelling
indicate deterioration of the rubber. Particular attention
should be made to examining those hose surfaces nearest
to high heat sources, such as the exhaust manifold.
Insure nylon tubing in these areas has not melted or
collapsed.
Inspect all hose connections such as clamps and cou-
plings to make sure they are secure and no leaks are
present.
NOTE:
²Often, fluid such as oil, power steering fluid, and
brake fluid are used during assembly plant operations
to facilitate the assembly of hoses to couplings. There-
fore, oil wetness at the hose-coupling area is not
394 MAINTAINING YOUR VEHICLE
Page 426 of 466

EMISSION CONTROL SYSTEM MAINTENANCE
The ªScheduledº maintenance services, listed inbold
typemust be done at the times or mileages specified to
assure the continued proper functioning of the emission
control system. These, and all other maintenance services
included in this manual, should be done to provide best
vehicle performance and reliability. More frequent main-
tenance may be needed for vehicles in severe operating
conditions such as dusty areas and very short trip
driving.
Inspection and service also should be done any time a
malfunction is suspected.
NOTE:Maintenance, replacement, or repair of the emis-
sion control devices and systems on your vehicle may be
performed by any automotive repair establishment or
individual using any automotive part, which has been
certified pursuant to U.S. EPA or, in the State of Califor-
nia, California Air Resources Board regulations.
MAINTENANCE SCHEDULE
The oil change indicator system will remind you that it is
time to take your vehicle in for scheduled maintenance.
On Electronic Vehicle Information Center (EVIC)
equipped vehicles, ªOil Change Requiredº will be dis-
played in the EVIC and a single chime will sound,
indicating that an oil change is necessary.
On Non-EVIC equipped vehicles, ªChange Oilº will flash
in the instrument cluster odometer and a single chime
will sound, indicating that an oil change is necessary.
Based on engine operation conditions the oil change
indicator message will illuminate, this means that service
is required for your vehicle. Have your vehicle serviced
as soon as possible, within the next 500 miles (805 km).
426 MAINTENANCE SCHEDULES
8
M
A
I
N
T
E
N
A
N
C
E
S
C
H
E
D
U
L
E
S
Page 431 of 466

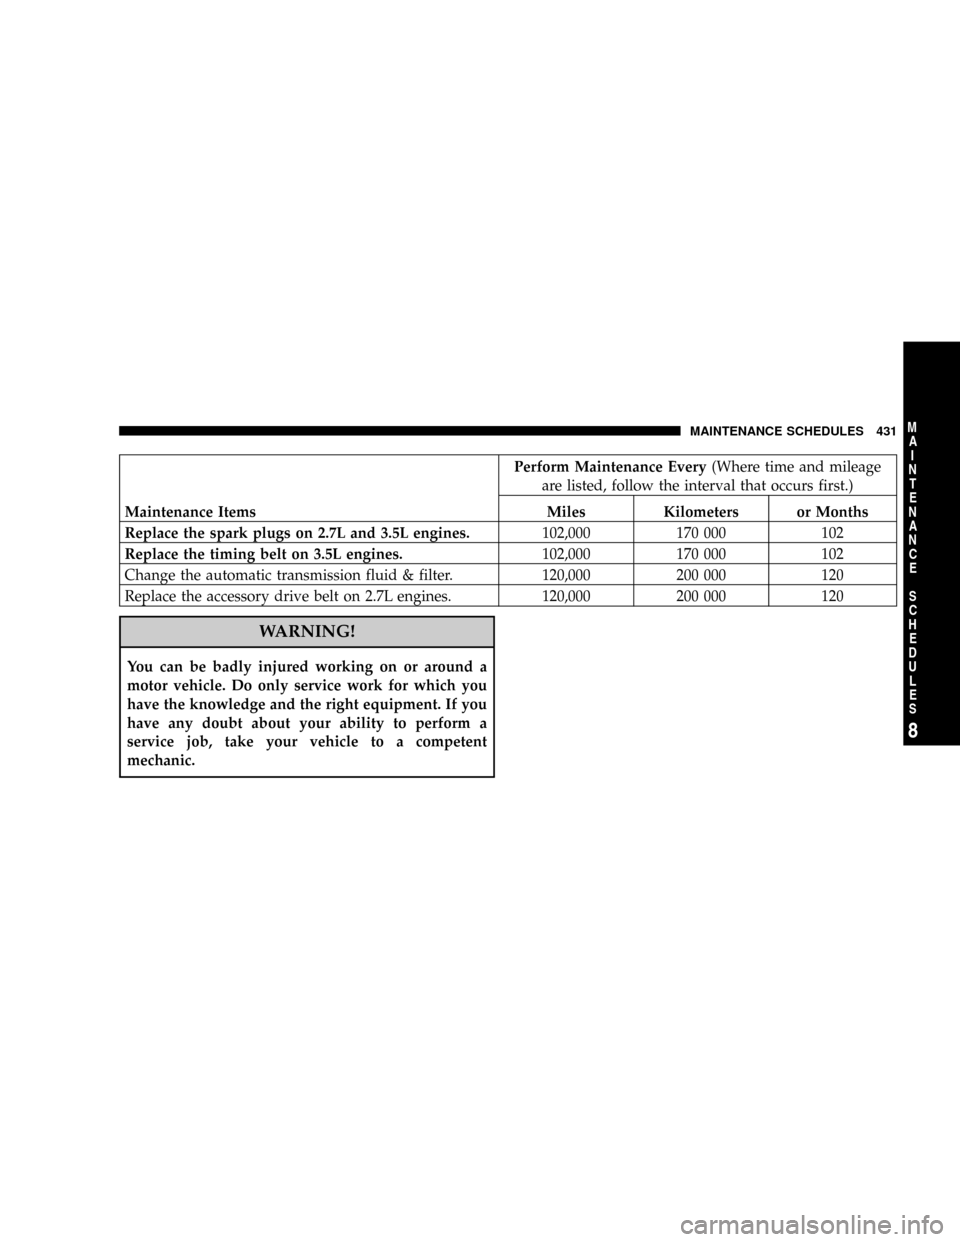
Perform Maintenance Every(Where time and mileage
are listed, follow the interval that occurs first.)
Maintenance Items Miles Kilometers or Months
Replace the spark plugs on 2.7L and 3.5L engines.102,000 170 000 102
Replace the timing belt on 3.5L engines.102,000 170 000 102
Change the automatic transmission fluid & filter. 120,000 200 000 120
Replace the accessory drive belt on 2.7L engines. 120,000 200 000 120
WARNING!
You can be badly injured working on or around a
motor vehicle. Do only service work for which you
have the knowledge and the right equipment. If you
have any doubt about your ability to perform a
service job, take your vehicle to a competent
mechanic.
MAINTENANCE SCHEDULES 431
8
M
A
I
N
T
E
N
A
N
C
E
S
C
H
E
D
U
L
E
S
Page 456 of 466

Lower Anchors and Tether for CHildren
(LATCH)............................68,70
Lubrication, Body....................... 385
Lumbar Support........................ 117
Maintenance Free Battery.................. 381
Maintenance, General..................... 373
Maintenance Procedures................... 373
Maintenance Schedule.................... 426
Maintenance, Sunroof..................... 148
Malfunction Indicator Light (Check Engine) . . 174,371
Manual, Service......................... 438
Map/Reading Lights..................128,139
Master Cylinder (Brakes).................. 395
Methanol............................. 320
Mini-Trip Computer...................... 178
Mirrors................................ 83
Automatic Dimming..................... 84
Electric Powered....................... 86Electric Remote........................ 86
Exterior Folding........................ 85
Heated.............................. 86
Outside.............................. 84
Rearview............................. 83
Vanity............................... 87
Mode
Fuel Saver........................... 178
Modifications/Alterations, Vehicle............. 7
Monitor, Tire Pressure System............... 309
Mopar Parts.........................372,437
MP3 Player.........................191,209
MTBE/ETBE........................... 320
Multi-Displacement Engine System........... 283
Multi-Function Control Lever............... 126
Navigation Radio........................ 209
Navigation System....................... 209
New Vehicle Break-In Period................ 74
456 INDEX
Page 460 of 466

Schedule, Maintenance.................... 426
Seat Belt Maintenance.................... 403
Seat Belt Reminder....................... 47
Seat Belts..........................40,41,77
Adjustable Upper Shoulder Anchorage........ 46
And Pregnant Women................... 49
Child Restraint...................65,66,67,72
Extender............................. 50
Front Seat..........................41,42
Inspection............................ 77
Operating Instructions................... 42
Pretensioners.......................... 47
Rear Seat............................. 41
Reminder............................ 168
Untwisting Procedure.................... 46
Seats................................. 114
Adjustment.......................... 114
Head Restraints....................... 118
Heated.............................. 118Height Adjustment..................... 115
Lumbar Support....................... 117
Power.............................. 115
Rear Folding......................... 120
Reclining............................ 116
Seatback Release....................... 120
Tilting.............................. 115
Security Alarm (Theft Alarm).............18,172
Selection of Coolant (Antifreeze)..........389,421
Selection of Oil......................... 376
Self-Sealing Tires........................ 307
Sentry Key (Immobilizer)................... 15
Sentry Key Programming................... 17
Sentry Key Replacement................... 16
Service Assistance....................... 434
Service Contract......................... 436
Service Engine Soon Light (Malfunction
Indicator)............................. 174
Service Manuals........................ 438
460 INDEX