Page 83 of 467
UNDERSTANDING THE FEATURES OF YOUR VEHICLE CONTENTS m Mirrors ...............................85
N Inside Day/Night Mirror Ð If Equipped ......85
N Automatic Dimming Mirror Ð If Equipped ....86
N Electric Remote-Control Mirrors ............86
N Adjusting Side View Mirrors ..............87
N Illuminated Vanity Mirrors Ð If Equipped ....88
m Hands-Free Communication (UConnect t )Ð
If Equipped ............................89
N Operation ............................91 N Phone Call Features ....................98
N UConnect t System Features ..............100
N Advanced Phone Connectivity ............105
N Things You Should Know About Your
UConnect t System ....................107
N General Information ...................115
m Voice Recognition System Ð If Equipped ......115
N Voice Recognition System (VR) Operation ....115
N Commands ..........................1163
Page 87 of 467
MIRRORS
INSIDE DAY/NIGHT MIRROR Ð IF EQUIPPED
Adjust the mirror to center on the view through the rear
window. A two-point pivot system allows for horizontal
and vertical mirror adjustment. Annoying headlight glare can be reduced by moving the
small control under the mirror to the night position
(toward rear of vehicle). The mirror should be adjusted
while set in the day position (toward windshield).
Adjusting Rear View Mirror UNDERSTANDING THE FEATURES OF YOUR VEHICLE 85
3
Page 88 of 467
AUTOMATIC DIMMING MIRROR Ð IF EQUIPPED
This mirror will automatically adjust for annoying head-
light glare from vehicles behind you. Push in the button
on the face of the mirror to activate the dimming feature.
CAUTION!To avoid damage to the mirror during cleaning, never
spray any cleaning solution directly onto the mirror.
Apply the solution onto a clean cloth and wipe the
mirror clean.
ELECTRIC REMOTE-CONTROL MIRRORS
Both of the outside mirrors can be adjusted by using the
remote controls mounted on the driver's door panel.
A rotary knob selects the left mirror, right mirror, or off
position.
Automatic Dimming Mirror Ð If Equipped86 UNDERSTANDING THE FEATURES OF YOUR VEHICLE
Page 89 of 467
After selecting a mirror, move the knob in the same
direction you want the mirror to move. When finished,
return the knob to the center O (OFF) position to guard
against accidentally moving a mirror position. ADJUSTING SIDE VIEW MIRRORS
Outside Mirror Ð Driver's Side
Adjust the outside mirror to center on the adjacent lane of
traffic, with a slight overlap of the view obtained on the
inside mirror.Power Mirror Adjust Switch
Mirror DirectionsUNDERSTANDING THE FEATURES OF YOUR VEHICLE 87
3
Page 90 of 467
Outside Mirror Ð Passenger's Side
Adjust the convex outside mirror so you can just see the
side of your vehicle in the part of the mirror closest to the
vehicle.
WARNING!Vehicles and other objects seen in the right side
convex mirror will look smaller and farther away
than they really are. Relying too much on your right
side mirror could cause you to collide with another
vehicle or other object. Use your inside mirror when
judging the size or distance of a vehicle seen in this
convex mirror. ILLUMINATED VANITY MIRRORS Ð IF EQUIPPED
An illuminated vanity mirror is on each sun visor. To use
the mirror, rotate the sun visor down and swing the
mirror cover upward. The lights will turn on automati-
cally. Closing the mirror cover turns off the lights.
Illuminated Vanity Mirror88 UNDERSTANDING THE FEATURES OF YOUR VEHICLE
Page 92 of 467

a separate 32-name phonebook accessible only in that
language. This system is driven through your Bluetooth t
ªHands-Free profileº cellular phone. UConnect t features
Bluetooth t technology - the global standard that enables
different electronic devices to connect to each other
without wires or a docking station, so UConnect t works
no matter where you stow your cellular phone (be it your
purse, pocket, or briefcase), as long as your phone is
turned on and has been paired to the vehicle's
UConnect t system. The UConnect t system allows up to
seven cellular phones to be linked to the system. Only
one linked (or paired) cellular phone can be used with the
system at a time. The system is available in English,
Spanish, or French languages.
Phone Button
The rearview mirror contains the microphone
for the system (depending on the type of
mirror and radio equipped), and either the radio or the mirror has the two control buttons (PHONE
Button and VOICE RECOGNITION button) that will
enable you to access the system.
Voice Recognition Button
Actual button location may vary with radio.
The individual buttons are described in the
ªOperationº section.
The UConnect t system can be used with any Hands-Free
Profile certified Bluetooth t cellular phone. See the
UConnect t website for supported phones. If your cellu-
lar phone supports a different profile (e.g., Headset
Profile) you may not be able to use any UConnect t
features. Refer to your cellular service provider or the
phone manufacturer for details.
The UConnect t system is fully integrated with the vehi-
cle's audio system. The volume of the UConnect t system90 UNDERSTANDING THE FEATURES OF YOUR VEHICLE
Page 109 of 467

Things You Should Know About Your UConnect T
System
UConnect t Tutorial
To hear a brief tutorial of the system features, press the
PHONE button and say ªUConnect t Tutorial.º
Voice Training
For users experiencing difficulty with the system recog-
nizing their voice commands or numbers, the UConnect t
system Voice Training feature may be used. To enter this
training mode, follow one of the two following proce-
dures:
From outside the UConnect t mode (e.g., from radio
mode):
² Press and hold the ªVoice Recognitionº button for five
seconds until the session begins, or,
² Press the ªVoice Recognitionº button and say the
9 Setup, Voice Training 9 command. Repeat the words and phrases when prompted by the
UConnect t system. For best results, the Voice Training
session should be completed when the vehicle is parked
with the engine running, all windows closed, and the
blower fan switched OFF.
This procedure may be repeated with a new user. The
system will adapt to the last trained voice only.
To restore the Voice Recognition system to factory default
settings, enter the Voice Training session via the above
procedure and follow the prompts.
Voice Recognition (VR)
² For best performance, adjust the rearview mirror to
provide at least 1
¤ 2
in (1 cm) gap between the overhead
console (if equipped) and the mirror.
² Always wait for the beep before speaking. UNDERSTANDING THE FEATURES OF YOUR VEHICLE 107
3
Page 131 of 467

WARNING!If the hood is not fully latched it could fly up when
the vehicle is moving and block your forward vision.
You could have a collision. Be sure all hood latches
are fully latched before driving.
LIGHTS
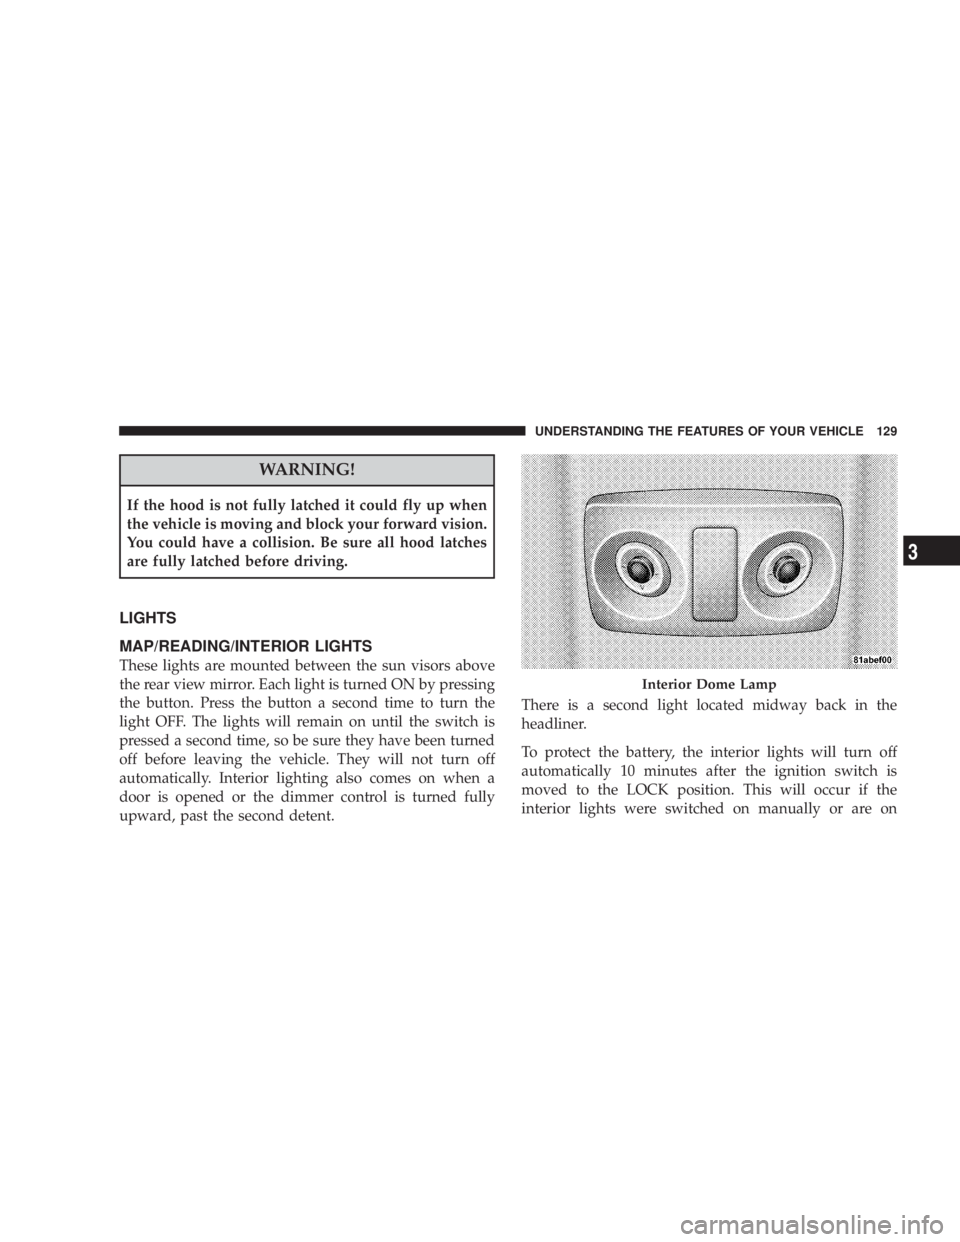
MAP/READING/INTERIOR LIGHTS
These lights are mounted between the sun visors above
the rear view mirror. Each light is turned ON by pressing
the button. Press the button a second time to turn the
light OFF. The lights will remain on until the switch is
pressed a second time, so be sure they have been turned
off before leaving the vehicle. They will not turn off
automatically. Interior lighting also comes on when a
door is opened or the dimmer control is turned fully
upward, past the second detent. There is a second light located midway back in the
headliner.
To protect the battery, the interior lights will turn off
automatically 10 minutes after the ignition switch is
moved to the LOCK position. This will occur if the
interior lights were switched on manually or are on Interior Dome LampUNDERSTANDING THE FEATURES OF YOUR VEHICLE 129
3