Page 118 of 467
Pressing the VR hard-key while the system is speaking is
known as ªbarging in.º The system will be interrupted
and you can add or change commands. This will become
helpful once you start to learn the options.
NOTE: At any time, you can say the words CANCEL,
HELP, or MAIN MENU.
These commands are universal and can be used from any
menu. All other commands can be used depending upon
the active application.
For example, if you are in the disc menu and you are
listening to FM radio, you can speak commands from the
disc menu or from the FM radio menu.
When using this system, you should speak clearly and at
a normal speaking volume.
The system will best recognize your speech if the win-
dows are closed, and the heater/air-conditioning fan is
set to low. At any point, if the system does not recognize one of your
commands, you will be prompted to repeat it.
To hear the first available Menu, press the VR hard-key
and say HELP or MAIN MENU.
Commands
The Voice Recognition System understands two types of
commands. Global commands are available at all times.
Local commands are available if the supported radio
mode is active.
Changing the Volume
1. Start a dialogue by pressing the VR hard-key.
2. Say a command (e.g., HELP).
3. Use the ON/OFF VOLUME rotary knob to adjust the
volume to a comfortable level while the voice recognition
system is speaking. Please note the volume setting for VR
is different then the audio system.116 UNDERSTANDING THE FEATURES OF YOUR VEHICLE
Page 168 of 467
N Manual Air Conditioning And Heating System . . 242
N Automatic Temperature Control (ATC) Ð
If Equipped .........................246
N Operating Tips .......................252 m Rear Window Features ...................256
N Electric Rear Window Defroster Ð
If Equipped .........................256166 UNDERSTANDING YOUR INSTRUMENT PANEL
Page 172 of 467
INSTRUMENT CLUSTER DESCRIPTIONS
1. Fuel Gauge
When the ignition switch is in the ON position, the
pointer will show the level of fuel remaining in the
fuel tank.
2. Fuel Door Reminder
This is a reminder that the Fuel Filler Door is
located on the left side of the vehicle.
3. Temperature Gauge
The temperature gauge shows engine coolant tem-
perature. Any reading below the red area of the
gauge shows that the engine cooling system is
operating properly. The gauge pointer may show a
higher than normal temperature when driving in hot
weather, up mountain grades, in heavy stop and go
traffic, or when towing a trailer. If the pointer rises to the H (red) mark, the instrument
cluster will sound a chime. Pull over and stop the vehicle.
Idle the vehicle with the air conditioner turned off until
the pointer drops back into the normal range. If the
pointer remains on the H (red) mark, turn the engine off
immediately and call for service.
There are steps that you can take to slow down an
impending overheat condition. If your air conditioning is
on, turn it off. The air conditioning system adds heat to
the engine cooling system and turning off the A/C
removes this heat. You can also turn the Temperature
control to maximum heat, the Mode control to Floor and
the Fan control to High. This allows the heater core to act
as a supplement to the radiator and aids in removing heat
from the engine cooling system.
4. Speedometer
Indicates vehicle speed in miles per hour Ð MPH.170 UNDERSTANDING YOUR INSTRUMENT PANEL
Page 244 of 467
3. Do not apply paper, paper CD labels, or tape to the
disc; avoid scratching a disc.
4. Do not use solvents such as benzine, thinner, cleaners,
or antistatic sprays.
5. Store a disc in its case after playing.
6. Do not expose a disc to direct sunlight.
7. Do not store a disc where temperatures may become
too high.
8. Do not play discs that are small in size or have
irregular shapes. CLIMATE CONTROLS
The Air Conditioning and Heating System is designed to
make you comfortable in all types of weather.
Manual Air Conditioning and Heating System
The Manual Temperature Controls consist of a series of
outer rotary dials and inner pushbuttons.242 UNDERSTANDING YOUR INSTRUMENT PANEL
Page 245 of 467
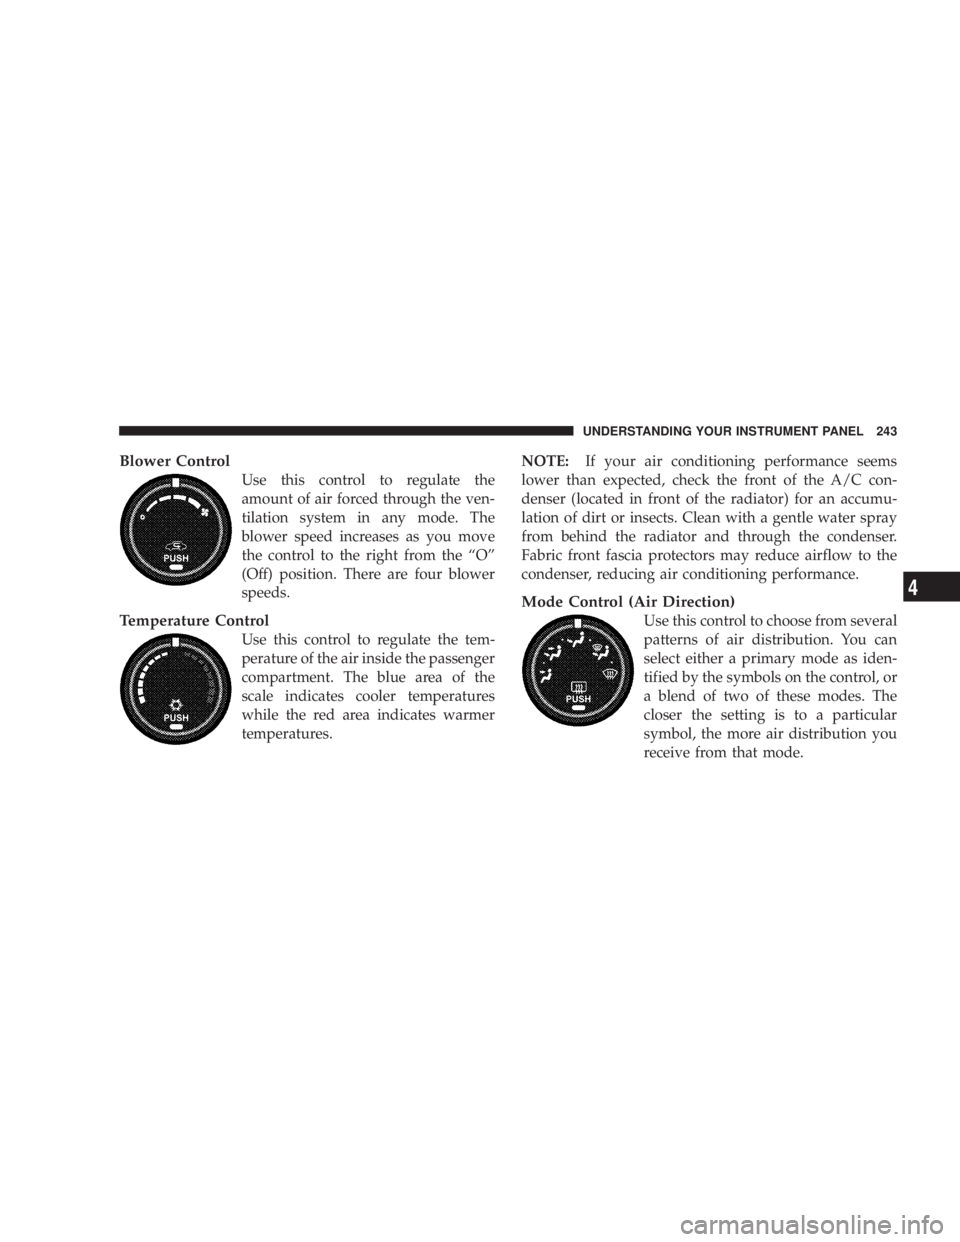
Blower Control
Use this control to regulate the
amount of air forced through the ven-
tilation system in any mode. The
blower speed increases as you move
the control to the right from the ªOº
(Off) position. There are four blower
speeds.
Temperature Control
Use this control to regulate the tem-
perature of the air inside the passenger
compartment. The blue area of the
scale indicates cooler temperatures
while the red area indicates warmer
temperatures. NOTE: If your air conditioning performance seems
lower than expected, check the front of the A/C con-
denser (located in front of the radiator) for an accumu-
lation of dirt or insects. Clean with a gentle water spray
from behind the radiator and through the condenser.
Fabric front fascia protectors may reduce airflow to the
condenser, reducing air conditioning performance.
Mode Control (Air Direction)
Use this control to choose from several
patterns of air distribution. You can
select either a primary mode as iden-
tified by the symbols on the control, or
a blend of two of these modes. The
closer the setting is to a particular
symbol, the more air distribution you
receive from that mode. UNDERSTANDING YOUR INSTRUMENT PANEL 243
4
Page 247 of 467
NOTE: The air conditioning compressor operates in Mix
and Defrost, or a blend of these modes, even if the Air
Conditioning Snowflake button is not pressed. This de-
humidifies the air to help dry the windshield. To improve
fuel economy, use these modes only when necessary.
² Recirculation Control
Use this button to block the flow of outside
air from coming into the passenger compart-
ment. A light will illuminate when the sys-
tem is in recirculation mode. Only use the
recirculation mode as a temporary means to block out
any outside odors, smoke, or dust, and to cool the
interior rapidly upon initial start up in very hot or
humid weather.
NOTE:
² Continuous use of the recirculation mode may make
the inside air stuffy and window fogging may occur.
Extended use of this mode is not recommended. ² The use of the recirculation mode in cold or damp
weather will cause windows to fog on the inside,
because of moisture build-up inside the vehicle. Select
the Outside Air position for maximum defogging.
² The A/C will engage automatically to prevent fogging
when the recirculation button is pressed and the mode
control is set to panel or panel / floor.
² The A/C can be deselected manually without disturb-
ing the mode control selection.
Air Conditioning Control
Use this button to engage the Air Conditioning. A
light will illuminate when the Air Conditioning
System is engaged
NOTE: The air conditioning compressor will not engage
until the engine has been running for about 10 seconds. UNDERSTANDING YOUR INSTRUMENT PANEL 245
4
Page 249 of 467

cabin infrared sensor mounted between the sun-visors
and from various sensors located throughout the vehicle.
The controls on the climate control provide the system
with operator input. Other sensors take account of ve-
hicle speed, A/C pressure, outside temperature, and
engine cooling temperature. Using all of these inputs, the
system automatically adjusts airflow temperature, air-
flow distribution, airflow volume, and the amount of
outside air recirculation. This maintains a comfortable
temperature even under changing conditions.
Operation of the system is quite simple.
1. Turn the Mode Control knob (on the right) and the
Blower Control knob (on the left) to AUTO.
NOTE: The AUTO position performs best for front seat
occupants only. 2. Dial in the temperature you would
like the system to maintain by rotating
the Temperature Control knob.
Once the comfort level is selected, the system will main-
tain that level automatically using the heating system.
Should the desired comfort level require air conditioning,
the system will automatically make the adjustment.
You will experience the greatest efficiency by simply
allowing the system to function automatically. Selecting
the ªOº (Off) position on the blower control stops the
system completely and closes the outside air intake.
72ÉF (22ÉC) is the recommended setting for maximum
comfort for the average person; however, this may vary. UNDERSTANDING YOUR INSTRUMENT PANEL 247
4
Page 250 of 467
NOTE:
² The temperature setting can be adjusted at anytime
without affecting automatic operation.
² Pressing the Air Conditioning Control button while in
AUTO mode will cause the LED in the control button
to flash three times and then turn off. This indicates
that the system is in AUTO mode and requesting the
air conditioning is not necessary.
² If your air conditioning performance seems lower than
expected, check the front of the A/C condenser (lo-
cated in front of the radiator) for an accumulation of
dirt or insects. Clean with a gentle water spray from
behind the radiator and through the condenser. Fabric
front fascia protectors may reduce airflow to the
condenser, reducing air conditioning performance. Manual Operation
This system offers a full complement of manual override
features, which consist of Blower Preferred Automatic,
Mode Preferred Automatic, or Blower and Mode Pre-
ferred Automatic. This means the operator can override
the blower, the mode, or both. There is a manual blower
range for times when the AUTO setting is not desired.
The blower can be set to any fixed blower speed by
rotating the Blower Control knob (on the left).
NOTE: Please read the Automatic Temperature Control
Operation Chart that follows for details.248 UNDERSTANDING YOUR INSTRUMENT PANEL