Page 182 of 531
OVERHEAD CONSOLES
Front Overhead Console Ð If Equipped
Two versions of the overhead console are available. The
base front overhead console models feature fixed incan-
descent courtesy/reading lights, flip-down sunglass stor-
age and conversation mirror.
Premium front overhead console models feature an LED
focused light that illuminates the instrument panel cup
holders, Infrared Automatic Temperature Control Sensor
(ATC equipped only), two swiveling LED lights, flip-
down sunglass storage, conversation mirror, optional
power sliding door switches and an optional power
liftgate switch.
Front Premium Overhead Console Features
1 - Cupholder LED 4 - Storage/Mirror
2 - ATC Sensor 5 - Switch Bank
3 - Interior Lights 180 UNDERSTANDING THE FEATURES OF YOUR VEHICLE
Page 183 of 531

Courtesy/Interior Lighting
At the forward end of the console are two courtesy lights
(standard dome light has two buttons). The lights turn on
when a front door, a sliding door or the liftgate is opened.
If your vehicle is equipped with Remote Keyless Entry,
the lights will also turn on when the unlock button on the
transmitter is pressed.
The courtesy lights also function as reading lights. Press
in on each lens to turn these lights on while inside the
vehicle. Press a second time to turn the each light off. You
may adjust the direction of these lights by pressing the
outside ring which is identified with four directional
arrows.
The area around the instrument panel cupholders is also
illuminated from a light in the overhead console. This
light is turned on when the headlight switch is on and
will adjust in brightness when the dimmer control is
rotated up or down.
Sunglass Storage
At the rear of the front overhead console, a compartment
is provided for the storage of two pairs of sunglasses.
Press the door latch to open the compartment. The door
will slowly rotate to an open position.
NOTE:The front overhead console used with factory
sunroof incorporates a sunroof switch.
Rear Overhead Consoles Ð If Equipped
The rear overhead storage system is available in two
versions: with or without sunroof.
An additional LED at the front of the rear console shines
down on the second row footwell area while in courtesy
mode, for added convenience.
UNDERSTANDING THE FEATURES OF YOUR VEHICLE 181
3
Page 184 of 531
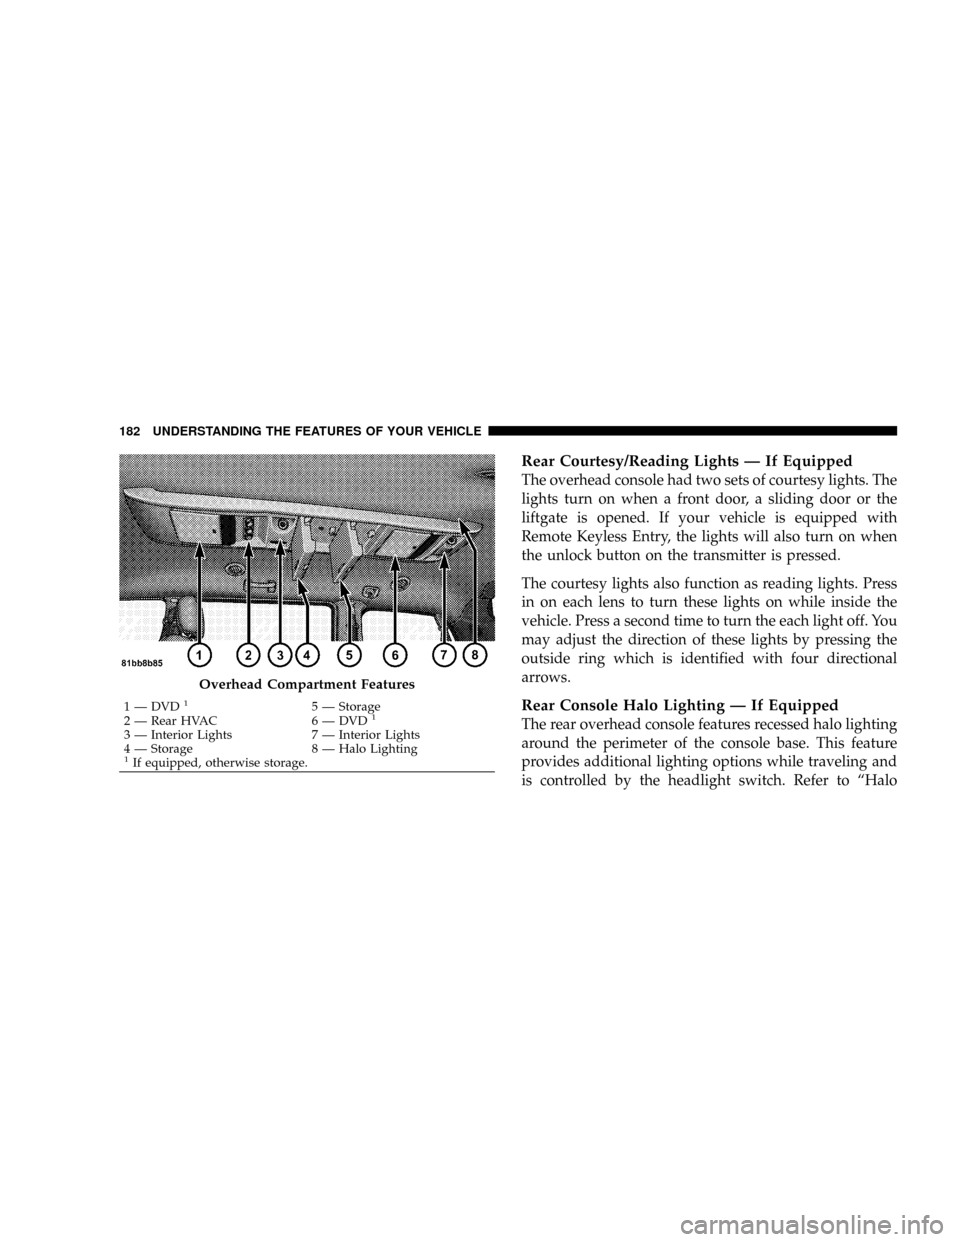
Rear Courtesy/Reading Lights Ð If Equipped
The overhead console had two sets of courtesy lights. The
lights turn on when a front door, a sliding door or the
liftgate is opened. If your vehicle is equipped with
Remote Keyless Entry, the lights will also turn on when
the unlock button on the transmitter is pressed.
The courtesy lights also function as reading lights. Press
in on each lens to turn these lights on while inside the
vehicle. Press a second time to turn the each light off. You
may adjust the direction of these lights by pressing the
outside ring which is identified with four directional
arrows.
Rear Console Halo Lighting Ð If Equipped
The rear overhead console features recessed halo lighting
around the perimeter of the console base. This feature
provides additional lighting options while traveling and
is controlled by the headlight switch. Refer to ªHalo
Overhead Compartment Features
1 Ð DVD15 Ð Storage
2 Ð Rear HVAC 6 Ð DVD1
3 Ð Interior Lights 7 Ð Interior Lights
4 Ð Storage 8 Ð Halo Lighting
1If equipped, otherwise storage. 182 UNDERSTANDING THE FEATURES OF YOUR VEHICLE
Page 198 of 531
ELECTRICAL OUTLET USE WITH ENGINE OFF
CAUTION!
²Many accessories that can be plugged in draw power from the
vehicle's battery, even when not in use (i.e., cellular phones,
etc.). Eventually, if plugged in long enough, the vehicle's
battery will discharge sufficiently to degrade battery life
and/or prevent engine starting.
²Accessories that draw higher power (i.e., coolers, vacuum
cleaners, lights, etc.), will degrade the battery even more
quickly. Only use these intermittently and with greater cau-
tion.
²After the use of high power draw accessories, or long periods
of the vehicle not being started (with accessories still plugged
in), the vehicle must be driven a sufficient length of time to
allow the alternator to recharge the vehicle's battery.
²Power outlets are designed for accessory plugs only. Do not
hang any type of accessory or accessory bracket from the plug.
Improper use of the power outlet can cause damage.
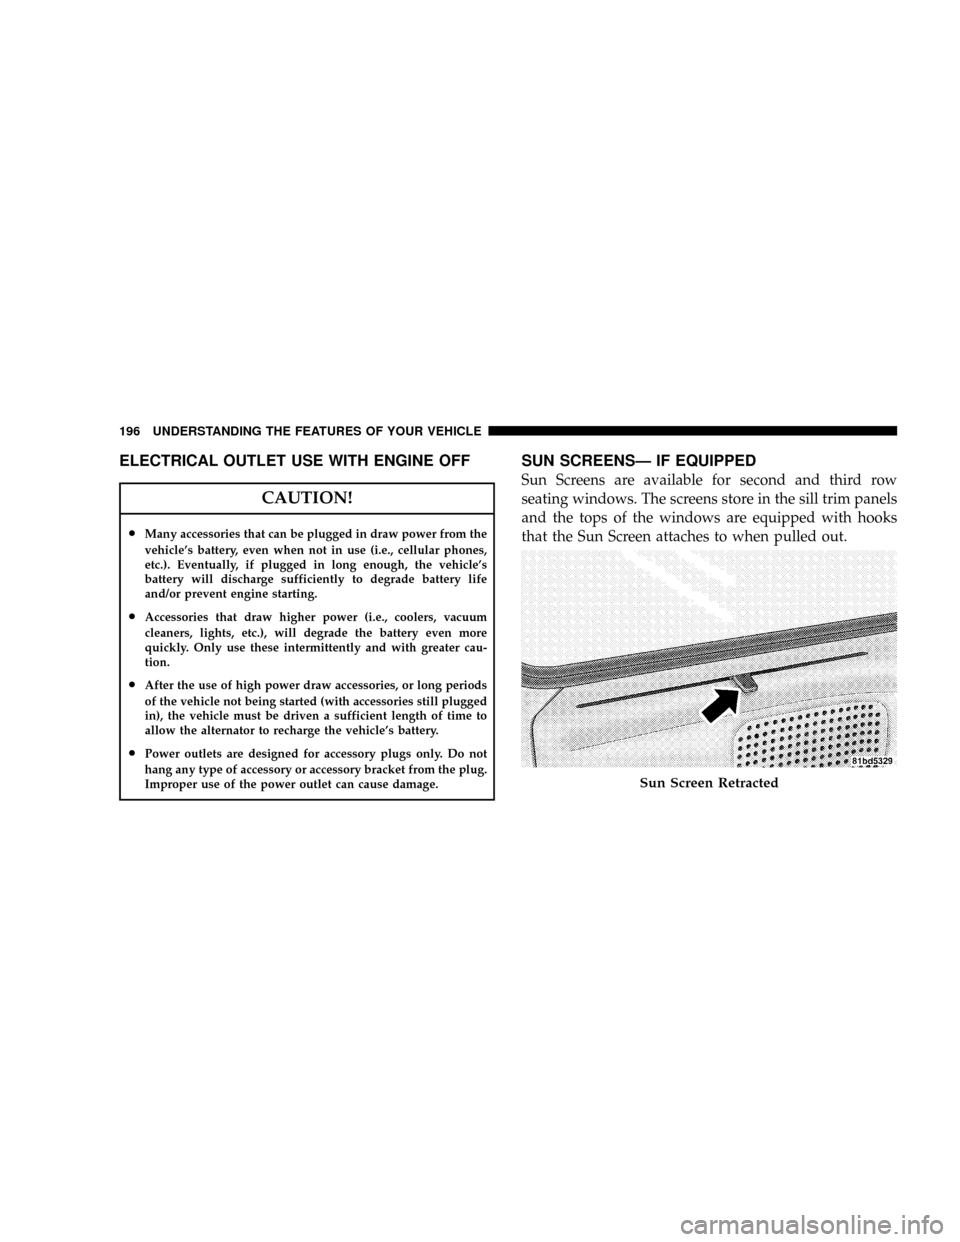
SUN SCREENSÐ IF EQUIPPED
Sun Screens are available for second and third row
seating windows. The screens store in the sill trim panels
and the tops of the windows are equipped with hooks
that the Sun Screen attaches to when pulled out.
Sun Screen Retracted
196 UNDERSTANDING THE FEATURES OF YOUR VEHICLE
Page 234 of 531
brakes. If the ABS light does not turn on when the
Ignition switch is turned to the ON position, have the
light inspected by an authorized dealer.
14. Electronic Stability Program (ESP) Indicator
Light/Traction Control System (TCS) Indicator Light
If this indicator light flashes during accelera-
tion, apply as little throttle as possible. While
driving, ease up on the accelerator. Adapt your
speed and driving to the prevailing road con-
ditions, and do not switch off the ESP, or TCS.
15. Tachometer
The red segments indicate the maximum permissible
engine revolutions per minute (RPM x 1000) for each gear
range. Before reaching the red area, ease up on the
accelerator.16. High Beam Light
This light shows that the headlights are on high
beam. Pull the turn signal lever towards the
steering wheel to switch the headlights from high or low
beam.
17. Front Fog Light Indicator Ð If Equipped
This light shows when the front fog lights are ON.
18. Seat Belt Reminder Light
When the ignition switch is first turned ON, this
light will turn on for five to eight seconds as a bulb
check. During the bulb check, if the driver's seat
belt is unbuckled, a chime will sound. After the bulb
check or when driving, if the driver's seat belt remains
unbuckled, the Seat Belt Reminder Light will illuminate
and the chime will sound. Refer to the Occupant Re-
straints section for more information.
232 UNDERSTANDING YOUR INSTRUMENT PANEL
Page 253 of 531
Sound Horn with Remote Key Lock
When ON is selected, a short horn sound will occur when
the remote keyless entry LOCK button is pressed. This
feature may be selected with or without the flash lights
on lock/unlock feature. To make your selection, press
and release the RESET button until ON or OFF appears.
Flash Lights with Remote Key Lock
When ON is selected, the front and rear turn signals will
flash when the doors are locked or unlocked with the
remote keyless entry transmitter. This feature may be
selected with or without the sound horn on lock feature
selected. To make your selection, press and release the
RESET button until ON or OFF appears.
Automatic High Beams Ð If Equipped
When this feature is selected, the high beam headlights
will deactivate automatically under certain conditions. To
make your selection, press and release the FUNCTIONSELECT button until YES (Y) or NO (N) appears. Refer to
ªLights/SmartBeams Ð If Equippedº in Section 3 of this
manual for more information.
Headlights On with Wipers (Available with Auto
Headlights Only)
When YES (Y) is selected, and the headlight switch is in
the AUTO position, the headlights will turn on approxi-
mately 10 seconds after the wipers are turned on. The
headlights will also turn off when the wipers are turned
off if they were turned on by this feature. To make your
selection, press and release the FUNCTION SELECT
button until YES (Y) or NO (N) appears.
NOTE:Turning the headlights on during the daytime
causes the instrument panel lights to dim. To increase the
brightness, refer to ªLightsº in Section 3 of this manual.
Delay Turning Headlights Off
When this feature is selected, the driver can choose to
have the headlights remain on for 0, 30, 60, or 90 seconds
UNDERSTANDING YOUR INSTRUMENT PANEL 251
4
Page 254 of 531

when exiting the vehicle. To make your selection, press
and release the RESET button until 0, 30, 60, or 90
appears.
Turn Headlights On with Remote Key Unlock
When this feature is selected, the headlights will activate
and remain on for up to 90 seconds when the doors are
unlocked with the remote keyless entry transmitter. To
make your selection, press and release the RESET button
until OFF, 30 sec., 60 sec., or 90 sec. appears.
Delay Power Off to Accessories Until Exit
When this feature is selected, the power window
switches, radio, hands±free system (if equipped), DVD
video system (if equipped), power sunroof (if equipped),
and power outlets will remain active for up to 10 minutes
after the ignition switch is turned off. Opening a vehicle
door will cancel this feature. To make your selection,
press and release the RESET button until Off, 45 sec., 5
min., or 10 min. appears.
Rear Park Assist System Ð If Equipped
When ENABLE is selected, the Rear Park Assist System is
activated. When DISABLE is selected, the System is
deactivated and, the instrument cluster will display the
9PARK ASSIST DISABLED9message.
Display Units of Measure in
The EVIC, odometer, and navigation system (if
equipped) can be changed between English and Metric
units of measure. To make your selection, press and
release the RESET button until US or METRIC appears.
RADIO GENERAL INFORMATION
RADIO BROADCAST SIGNALS
Your radio will provide excellent reception under most
operating conditions. Like any system, however, car
radios have performance limitations, due to mobile op-
eration and natural phenomena, which might lead you to
believe your sound system is malfunctioning. To help
252 UNDERSTANDING YOUR INSTRUMENT PANEL
Page 406 of 531
CAUTION!
If the trailer weighs more than 1,000 lbs (454 kg)
loaded, it should have its own brakes and they
should be of adequate capacity. Failure to do this
could lead to accelerated brake lining wear, higher
brake pedal effort, and longer stopping distances.
WARNING!
Do not connect trailer brakes to your vehicle's hy-
draulic brake lines. It can overload your brake sys-
tem and cause it to fail. You might not have brakes
when you need them and could have an accident.
Towing any trailer will increase your stopping dis-
tance. When towing you should allow for additional
space between your vehicle and the vehicle in front
of you. Failure to do so could result in an accident.
Towing Requirements Ð Trailer Lights and Wiring
Whenever you pull a trailer, regardless of the trailer size,
stop lights and turn signals on the trailer are required for
motoring safety.
The Trailer Tow Package may include a four-pin or a
seven-pin wiring harness. Use a factory approved trailer
harness and connector.
NOTE:Do not cut or splice wiring into the vehicles
wiring harness.
The electrical connections are all complete to the vehicle
but you must mate the harness to a trailer connector.
Refer to the following four-pin connector and seven-pin
connector illustrations.
404 STARTING AND OPERATING