Page 432 of 531

NPower Steering Ð Fluid Check............451
NFront Suspension Ð Ball Joints............451
NSteering Shaft Seal....................451
NDrive Shaft Universal Joints..............452
NBody Lubrication.....................452
NWindshield Wiper Blades................452
NCooling System.......................454
NHoses And Vacuum/Vapor Harnesses.......459
NFuel System Connections................459
NBrakes.............................460
NAutomatic Transaxle...................462
NFront And Rear Wheel Bearings...........465NAppearance Care And Protection
From Corrosion......................465
NCleaning The Instrument Panel Cup Holders . . 471
mFuses/Totally Integrated Power Module
(TIPM)..............................472
mVehicle Storage........................479
mReplacement Light Bulbs.................480
mBulb Replacement......................481
NHigh Intensity Discharge Headlights (HID) Ð
If Equipped.........................481
NQuad Headlights.....................481
NFront Park/Turn Signal And Side
Marker Lights........................482
NFront Side Marker Lights................482
430 MAINTAINING YOUR VEHICLE
Page 439 of 531

This vehicle has a simple ignition key-actuated test,
which you can use prior to going to the test station. To
check if this vehicle's OBD II system is ready, you must
do the following:
1. Insert the ignition key into the ignition switch.
2. Turn the ignition to the ON position, but do not crank
or start the engine.
3. If you crank or start the engine, you will have to start
this test over.
4. As soon as you turn the ignition key to the ON
position, you will see the MIL symbol come on as part of
a normal bulb check.
5. Approximately 15 seconds later, one of two things will
happen:
a. The MIL will flash for about 10 seconds and then
return to being fully illuminated until you turn OFFthe ignition key or start the engine. This means that the
vehicle's OBD II system isnot readyand you should
notproceed to the I/M station.
b. The MIL will not flash at all and will remain fully
illuminated until you turn OFF the ignition key or start
the engine. This means that the vehicle's OBD II
system isready,and you can proceed to the I/M
station.
If the OBD II system isnot ready,you should see an
authorized dealer or repair facility. If this vehicle was
recently serviced or had a battery failure or replacement,
you may need to do nothing more than drive the vehicle
as you normally would in order for the OBD II system to
update. A recheck with the above test routine may then
indicate that the system is now ready.
Regardless of whether the vehicle's OBD II system is
ready or not ready, if the MIL is illuminated during
normal vehicle operation, you should have the vehicle
MAINTAINING YOUR VEHICLE 437
7
Page 482 of 531

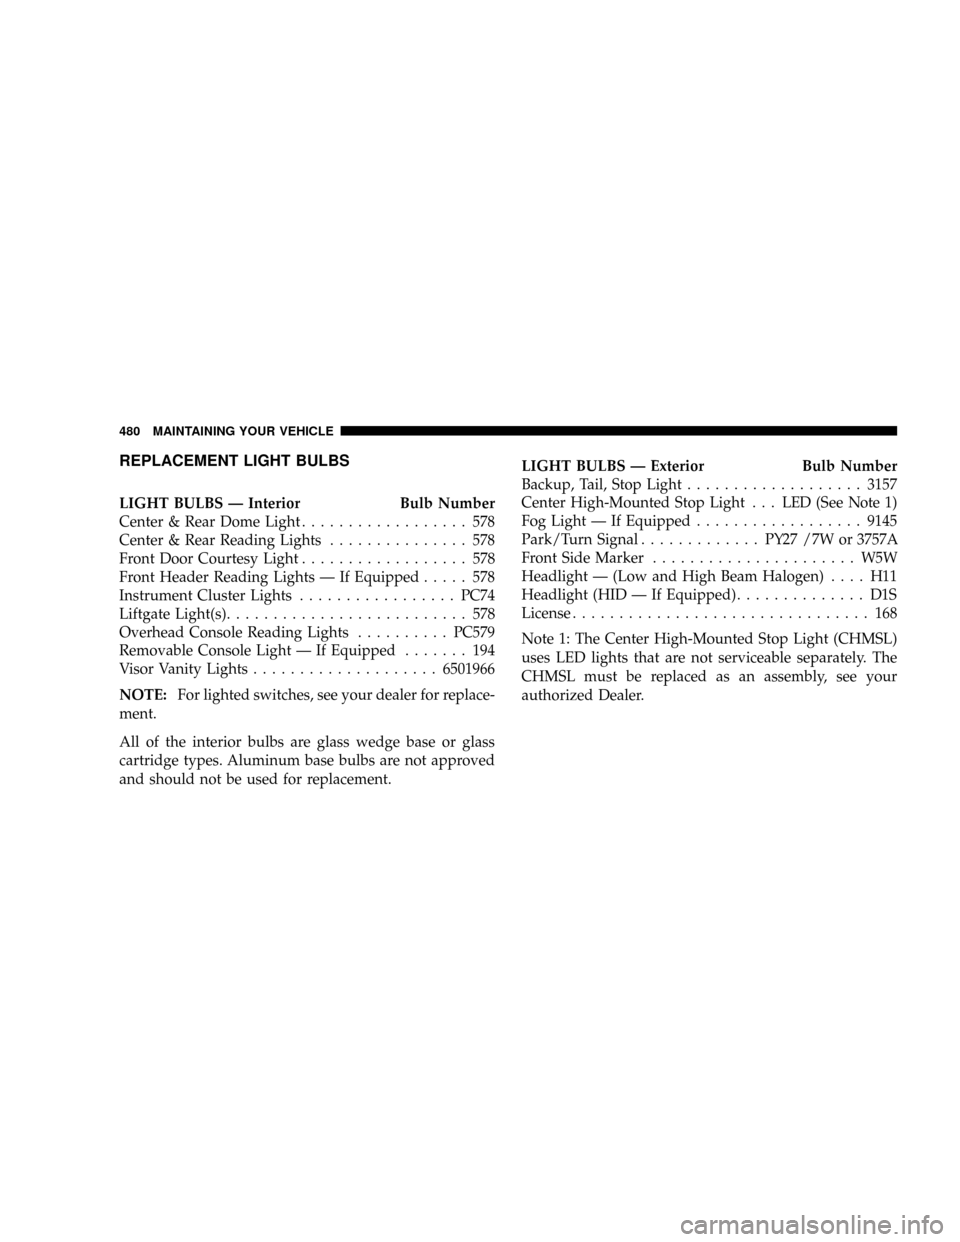
REPLACEMENT LIGHT BULBS
LIGHT BULBS Ð Interior Bulb Number
Center & Rear Dome Light.................. 578
Center & Rear Reading Lights............... 578
Front Door Courtesy Light.................. 578
Front Header Reading Lights Ð If Equipped..... 578
Instrument Cluster Lights.................PC74
Liftgate Light(s).......................... 578
Overhead Console Reading Lights..........PC579
Removable Console Light Ð If Equipped....... 194
Visor Vanity Lights....................6501966
NOTE:For lighted switches, see your dealer for replace-
ment.
All of the interior bulbs are glass wedge base or glass
cartridge types. Aluminum base bulbs are not approved
and should not be used for replacement.LIGHT BULBS Ð Exterior Bulb Number
Backup, Tail, Stop Light...................3157
Center High-Mounted Stop Light. . . LED (See Note 1)
Fog Light Ð If Equipped..................9145
Park/Turn Signal.............PY27 / 7W or 3757A
Front Side Marker...................... W5W
Headlight Ð (Low and High Beam Halogen).... H11
Headlight (HID Ð If Equipped).............. D1S
License................................ 168
Note 1: The Center High-Mounted Stop Light (CHMSL)
uses LED lights that are not serviceable separately. The
CHMSL must be replaced as an assembly, see your
authorized Dealer.
480 MAINTAINING YOUR VEHICLE
Page 483 of 531

BULB REPLACEMENT
High Intensity Discharge Headlights (HID) Ð If
Equipped
The headlights are a type of high voltage discharge tube.
High voltage can remain in the circuit even with the
headlight switch off and the key removed.Because of
this, you should not attempt to service a headlight bulb
yourself. If a headlight bulb fails, take your vehicle to
an authorized dealer for service.
WARNING!
A transient high tension occurs at the bulb sockets of
High Intensity Discharge (HID) headlights when the
headlight switch is turned ON. It may cause serious
electrical shock or electrocution if not serviced prop-
erly. See your authorized dealer for service.NOTE:On vehicles equipped with High Intensity Dis-
charge Headlights (HID), when the headlights are turned
on, there is a blue hue to the lights. This diminishes and
becomes more white after approximately 10 seconds, as
the system charges.
Quad Headlights
1. Raise the hood to access the high or low beam bulbs at
the rear of the headlight housing.
2. Release the two tabs on the side of the connector and
remove the connector from the bulb.
3. Twist the headlight bulb and pull the bulb from
headlight housing.
4. Install the new headlight bulb and twist until locked
into the headlight housing.
MAINTAINING YOUR VEHICLE 481
7
Page 484 of 531

CAUTION!
Do not touch the new bulb with your fingers. Oil
contamination will severely shorten bulb life. If the
bulb comes in contact with an oily surface, clean the
bulb with rubbing alcohol.
5. Reconnect the wiring connector to bulb.
Front Park/Turn Signal and Side Marker Lights
1. Raise the hood to access the rear of the headlight
housing.
2. Twist the turn signal socket and remove from the
headlight housing, then pull the bulb out.
3. Push the new bulb into the socket and reinstall the
socket by twisting until locked into the headlight hous-
ing.
Front Side Marker Lights
1. Raise the hood to access the rear of the headlight
housing.
NOTE:Access is somewhat limited. You may have to
remove the inner fender well or remove the headlight
housing for bulb replacement.
2. Twist the socket and remove from the headlight hous-
ing, then pull the bulb out.
3. Push the new bulb into the socket and reinstall the
socket by twisting until locked into the headlight hous-
ing.
482 MAINTAINING YOUR VEHICLE
Page 485 of 531
Fog Lights
NOTE:Access to the fog light bulb is from the rear of
the fascia. On the left rear side of the fascia, remove the
push pin and lower the hinged access door on the air
dam.
1. From behind the bumper fascia, or the access panel on
the air dam, twist the bulb counterclockwise, and remove
bulb.
CAUTION!
Do not touch the new bulb with your fingers. Oil
contamination will severely shorten bulb life. If the
bulb comes in contact with an oily surface, clean the
bulb with rubbing alcohol.
2. Disconnect wire harness from the bulb.
3. Reconnect the wiring harness to the new bulb and
reinstall the bulb by twisting clockwise.
MAINTAINING YOUR VEHICLE 483
7
Page 486 of 531
Rear Tail, Stop, Turn Signal, Side Marker and
Backup Lights
1. Raise the liftgate.
2. Remove the tail light assembly by removing the two
screws from the inboard side. Use a fiber stick or similar
tool to gently pry the light on the outboard side to
disengage the two ball studs.NOTE:
²If a screwdriver is used, make sure a soft material is
placed between the vehicle body and tool so not to
scratch the paint.
²The PRY location is best closest to the studs while
dislodging them separately.
Removing Tail Light Assembly1 Ð Stop, Tail, Turn Signal bulb combo 2 Ð Backup Bulb 484 MAINTAINING YOUR VEHICLE
Page 487 of 531
3. Twist the socket and remove form the light assembly.
4. Pull the bulb to remove it from the socket.
5. Replace the bulb, reinstall the socket, and reattach the
light assembly.
Center High-Mounted Stop Light (CHMSL)
The CHMSL uses LED lights that are not serviceable
separately. The CHMSL must be replaced as an assembly,
see your authorized Dealer.
License Light
The light for the license plate light is located under the
tailgate light bar and above the license plate.
1. Using a small screwdriver, press inward the locking
tab on the outboard side of the light assembly and pull
down on the light assembly for removal.
2. Twist and remove the socket from the light assembly
and pull the bulb out to remove.
3. Push the bulb into the socket, twist the socket into the
light assembly and reinstall the light assembly into place
ensuring the locking tab is secure.
MAINTAINING YOUR VEHICLE 485
7