Page 125 of 494
Reclining Bucket Seats
The recliner control is on the side of the seat. To recline,
lean forward slightly before lifting the lever, then lean
back to the desired position and release the lever. Lean
forward and lift the lever to return the seatback to its
normal position.WARNING!
•Adjusting a seat while the vehicle is moving is
dangerous. The sudden movement of the seat
could cause you to lose control. The seat belt might
not be properly adjusted and you could be injured.
Adjust the seat only while the vehicle is parked.
•Do not ride with the seatback reclined so that the
shoulder belt is no longer resting against your
chest. In a collision you could slide under the seat
belt and be seriously or even fatally injured. Use
the recliner only when the vehicle is parked.
Seatback Adjustment
UNDERSTANDING THE FEATURES OF YOUR VEHICLE 123
3
Page 127 of 494

CAUTION!
Do not place any article under a power seat as it may
cause damage to the seat controls.
WARNING!
•Adjusting a seat while the vehicle is moving is
dangerous. The sudden movement of the seat
could cause you to lose control. The seat belt might
not be properly adjusted and you could be injured.
Adjust the seat only while the vehicle is parked.
•Do not ride with the seatback reclined so that the
shoulder belt is no longer resting against your
chest. In a collision you could slide under the seat
belt and be seriously or even fatally injured. Use
the recliner only when the vehicle is parked.
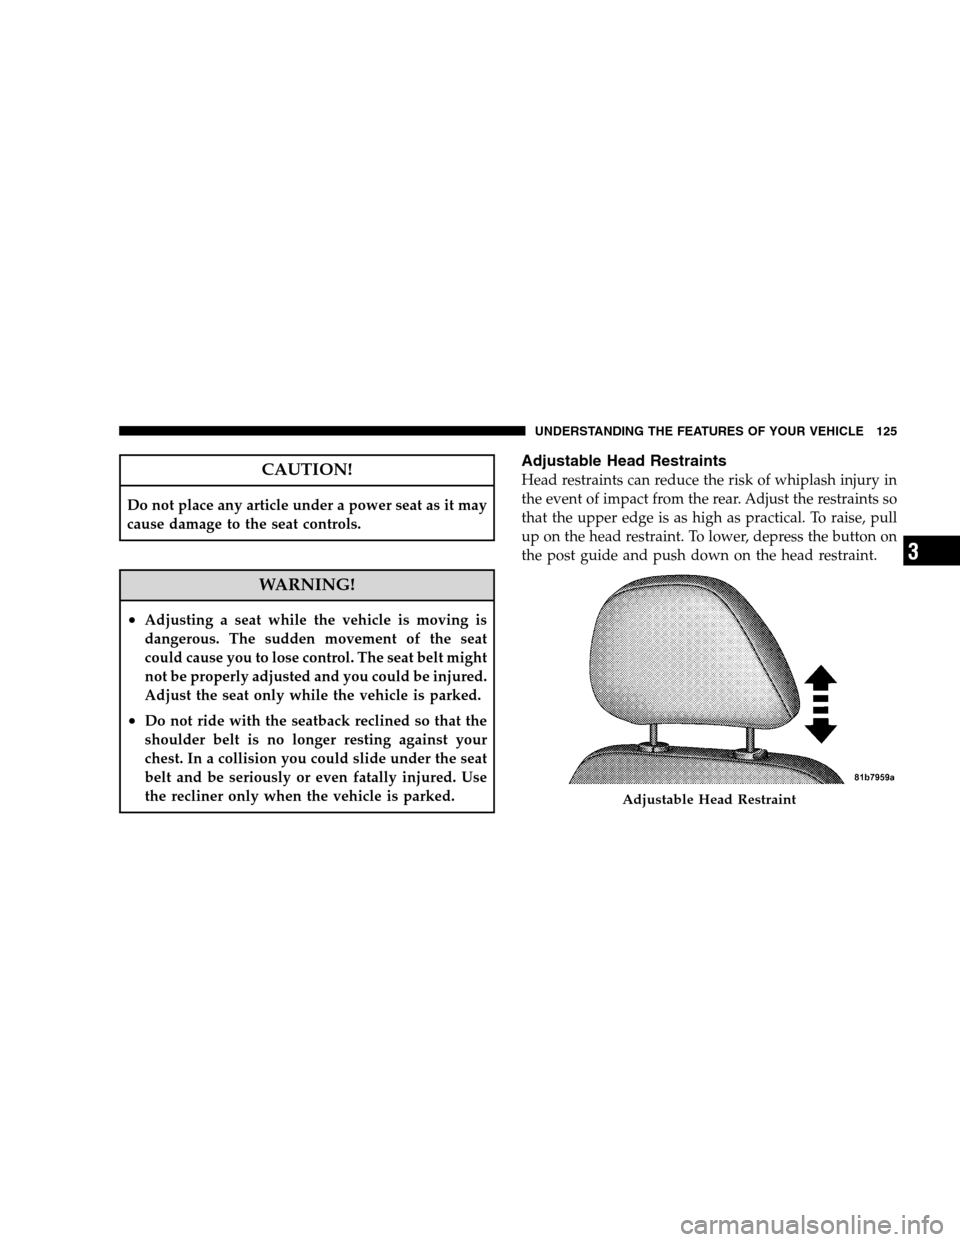
Adjustable Head Restraints
Head restraints can reduce the risk of whiplash injury in
the event of impact from the rear. Adjust the restraints so
that the upper edge is as high as practical. To raise, pull
up on the head restraint. To lower, depress the button on
the post guide and push down on the head restraint.
Adjustable Head Restraint
UNDERSTANDING THE FEATURES OF YOUR VEHICLE 125
3
Page 129 of 494
WARNING!
Persons who are unable to feel pain to the skin
because of advanced age, chronic illness, diabetes,
spinal cord injury, medication, alcohol use, exhaus-
tion or other physical condition must exercise care
when using the seat heater. It may cause burns even
at low temperatures, especially if used for long
periods of time. Do not place anything on the seat
that insulates against heat, such as a blanket or
cushion. This may cause the seat heater to overheat.
Fold Flat Front Passenger Seat
The recline handle on the front passenger seat also
releases the seatback to fold forward.
Seatback Adjustment
UNDERSTANDING THE FEATURES OF YOUR VEHICLE 127
3
Page 131 of 494
WARNING!
The rear cargo area of the vehicle (with the rear
seatbacks in the locked-up or folded down position)
should not be used as a play area by children. They
could be seriously injured in an accident. Children
should be seated and using the proper restraint
system.
Folding Rear Seat Center Armrest
The rear seat is equipped with a folding armrest with
cupholders.Folding Rear Seat Armrest
UNDERSTANDING THE FEATURES OF YOUR VEHICLE 129
3
Page 133 of 494

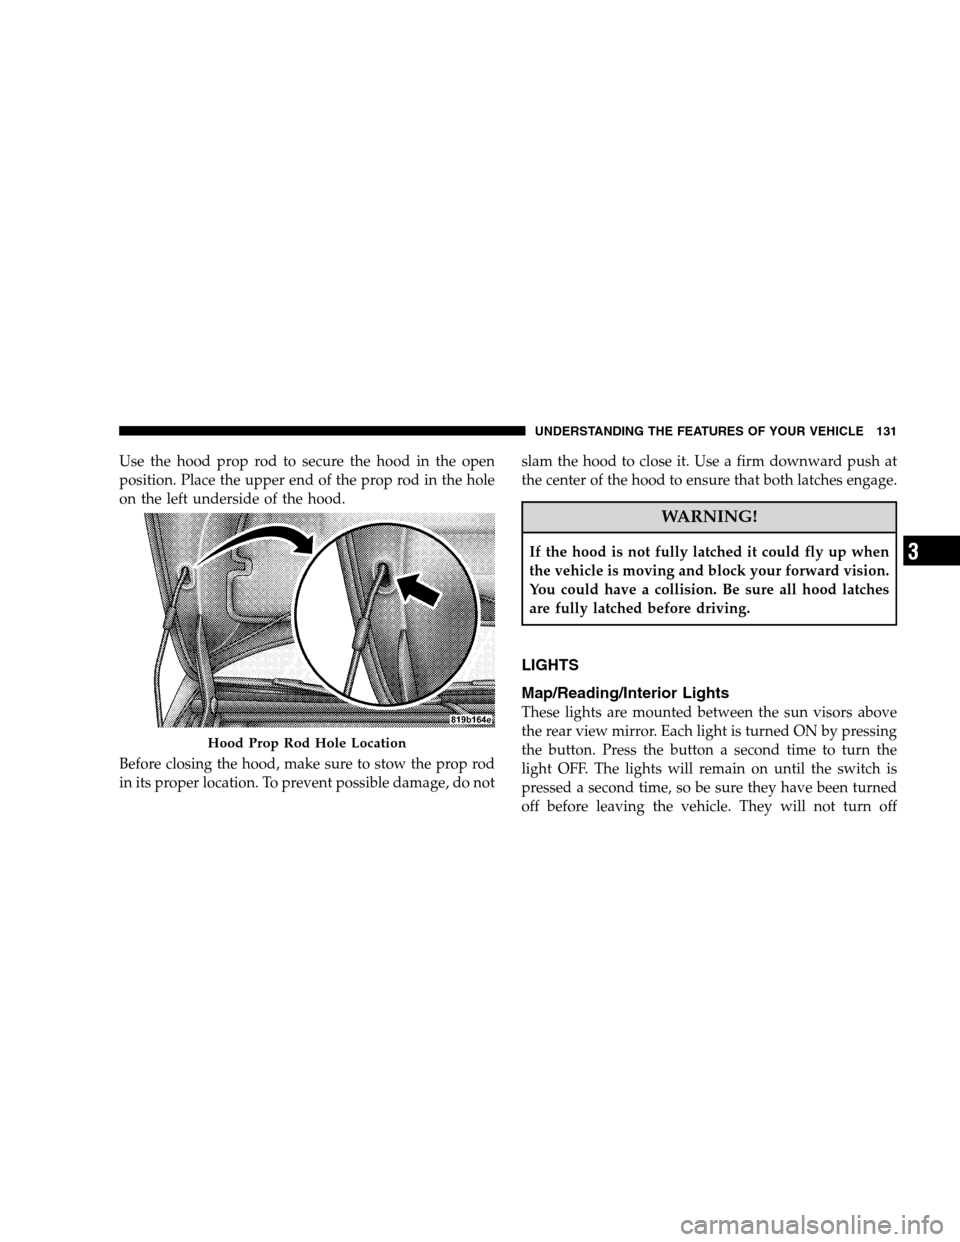
Use the hood prop rod to secure the hood in the open
position. Place the upper end of the prop rod in the hole
on the left underside of the hood.
Before closing the hood, make sure to stow the prop rod
in its proper location. To prevent possible damage, do notslam the hood to close it. Use a firm downward push at
the center of the hood to ensure that both latches engage.
WARNING!
If the hood is not fully latched it could fly up when
the vehicle is moving and block your forward vision.
You could have a collision. Be sure all hood latches
are fully latched before driving.
LIGHTS
Map/Reading/Interior Lights
These lights are mounted between the sun visors above
the rear view mirror. Each light is turned ON by pressing
the button. Press the button a second time to turn the
light OFF. The lights will remain on until the switch is
pressed a second time, so be sure they have been turned
off before leaving the vehicle. They will not turn off
Hood Prop Rod Hole Location
UNDERSTANDING THE FEATURES OF YOUR VEHICLE 131
3
Page 140 of 494

Intermittent Wiper System
Use the intermittent wiper system when weather condi-
tions make a single wiping cycle with a variable pause
between cycles desirable. Rotate the end of the Wind-
shield Wiper/Washer Control Lever to the first detent,
and then turn the end of the lever to select the desired
delay interval. There are five delay settings, which allow
you to regulate the wipe interval from a minimum of one
cycle every second to a maximum of approximately 18
seconds between cycles.
For vehicles equipped with the Speed Sensitive Intermit-
tent Wiper System, the wiper delay times depend on
vehicle speed. If the vehicle is moving less than 10 mph
(16 km/h), delay times will double.WARNING!
Sudden loss of visibility through the windshield
could lead to an accident. You might not see other
vehicles or other obstacles. To avoid sudden icing of
the windshield during freezing weather, warm the
windshield with defroster before and during wind-
shield washer use.
138 UNDERSTANDING THE FEATURES OF YOUR VEHICLE
Page 142 of 494

Windshield Washers
To use the washer, pull the Windshield Wiper/Washer
Control lever toward you and hold it for as long as
washer spray is desired.
If you activate the washer while the wiper control is in
the delay range, the wipers will operate in low speed for
two wipe cycles after releasing the lever and then resume
the intermittent interval previously selected.
If you activate the washer while the wiper control is in
the OFF position, the wipers will operate for two wipe
cycles and then turn OFF.
Adding Washer Fluid
The fluid reservoir for the windshield washers is located
in the engine compartment. Be sure to check the fluid
level in the reservoir at regular intervals. Fill the reservoir
with windshield washer solvent (not radiator antifreeze)
and operate the system for a few seconds to flush out theresidual water. Refer to the appropriate engine diagram
in Section 7 “Maintaining Your Vehicle” for the location
of the reservoir.
WARNING!
Commercially available windshield washer solvents
are flammable. They could ignite and burn you. Care
must be exercised when filling or working around
the washer solution.
TILT/TELESCOPING STEERING COLUMN
This feature allows you to tilt the steering column
upward or downward. It also allows you to lengthen or
shorten the steering column. The tilt/telescoping control
handle is located below the steering wheel at the end of
the steering column.
140 UNDERSTANDING THE FEATURES OF YOUR VEHICLE
Page 143 of 494
To unlock the steering column, pull the control handle
outward. To tilt the steering column, move the steering
wheel upward or downward as desired. To lengthen or
shorten the steering column, pull the steering wheeloutward or push it inward as desired. To lock the steering
column in position, push the control handle inward until
fully engaged.
WARNING!
Do not adjust the steering wheel while driving. The
telescoping adjustment must be locked while driv-
ing. Adjusting the steering wheel while driving or
driving without the telescoping adjustment locked
could cause the driver to lose control of the vehicle.
ELECTRONIC SPEED CONTROL — IF EQUIPPED
When engaged, this device takes over the accelerator
operation at speeds greater than 25 mph (40 km/h).
Tilt / Telescoping Steering Wheel Lock
UNDERSTANDING THE FEATURES OF YOUR VEHICLE 141
3