Page 73 of 494

around, and insert the latch plate into the buckle
again. If you still can’t make the child restraint secure,
try a different seating position.
•Buckle the child into the seat according to the child
restraint manufacturer’s directions.
•When your child restraint is not in use, secure it in the
vehicle with the seat belt or remove it from the vehicle.
Don’t leave it loose in the vehicle. In a sudden stop or
collision, it could strike the occupants or seatbacks and
cause serious personal injury.
NOTE:For additional information, refer online to
www.seatcheck.org.
Lower Anchors and Tether for CHildren (LATCH)
Your vehicle is equipped with the child restraint anchor-
age system called LATCH, which stands for Lower
Anchors and Tether for CHildren. The LATCH system
provides for the installation of the child restraint withoutusing the vehicle seat belt. The outboard rear seating
positions have lower anchorages that are capable of
accommodating LATCH-compatible child seats having
flexible, webbing-mounted lower attachments. Child
seats with fixed lower attachments must be installed in
the outboard positions only. Regardless of the specific
type of lower attachment,NEVERinstall LATCH-
compatible child seats such that two seats share a com-
mon lower anchorage. If you are installing LATCH-
compatible child restraints in adjacent rear seating
positions, you can use the LATCH anchors or the vehi-
cle’s seat belt for the outboard position, but you must use
the vehicle’s seat belt at the center position. If your child
restraints are not LATCH-compatible, you can only in-
stall the child restraints using the vehicle’s seat belts.
Please refer to “Installing the Child Restraint System” for
typical installation instructions.
THINGS TO KNOW BEFORE STARTING YOUR VEHICLE 71
2
Page 78 of 494
 of the child restraint
to")
between the two posts. If not possible, lower the head
restraint and pass the tether strap around the outboard
side of the head restraint.
3. Attach the tether strap hook (A) of the child restraint
to the anchor (B) and remove slack in the tether strap
according to the child restraint manufacturer’s instruc-
tions.
WARNING!
An incorrectly anchored tether strap could lead to
increased head motion and possible injury to the
child. Use only the anchor positions directly behind
the child seat to secure a child restraint top tether
strap.
Installing Child Restraints Using the Vehicle Seat
Belt
The passenger seat belts are equipped with Automatic
Locking Retractors (ALRs), which are designed to keep
the lap portion tight around the child restraint.
The seat belt must be in the Automatic Locking Mode in
order to enable a child restraint to be tightly installed.
Refer to “Automatic Locking Mode” in this section for
details. A locking clip should not be necessary once the
automatic locking feature is enabled. Position the shoul-
der and lap belt on the child restraint. The Automatic
Locking Retractor (ALR) is activated by first attaching
the child seat, then pulling all of the webbing out of the
retractor, then allowing the webbing to retract. As the
webbing retracts, you will hear a clicking sound. This
indicates the safety belt is now in the Automatic Locking
Mode. To release, simply unbuckle the seat belt by
depressing the button, and allow the webbing to retract
into the retractor.
76 THINGS TO KNOW BEFORE STARTING YOUR VEHICLE
Page 79 of 494

In the rear seat, you may have trouble tightening the
lap/shoulder belt on the child restraint because the
buckle or latch plate is too close to the belt path opening
on the restraint. Disconnect the latch plate from the
buckle and twist the short buckle-end belt several times
to shorten it. Insert the latch plate into the buckle with the
release button facing out.
If the belt still can’t be tightened, or if by pulling and
pushing on the restraint loosens the belt, you may need
to do something more. Disconnect the latch plate from
the buckle, turn the buckle around, and insert the latch
plate into the buckle again. If you still can’t make the
child restraint secure, try a different seating position.
Children Too Large for Booster Seats
Children who are large enough to wear the shoulder belt
comfortably, and whose legs are long enough to bendover the front of the seat when their back is against the
seatback, should use the lap/shoulder belt in a rear seat.
Make sure that:
•The child is upright in the seat.
•The lap portion should be low on the hips and as snug
as possible.
•Check belt fit periodically. A child’s squirming or
slouching can move the belt out of position.
•If the shoulder belt contacts the face or neck, move the
child closer to the center of the vehicle. Never allow a
child to put the shoulder belt under an arm or behind
their back.
Transporting Pets
Airbags deploying in the front seat could harm your pet.
An unrestrained pet will be thrown about and possibly
injured, or injure a passenger during panic braking or in
a collision.
THINGS TO KNOW BEFORE STARTING YOUR VEHICLE 77
2
Page 80 of 494

Pets should be restrained in the rear seat in pet harnesses
or pet carriers that are secured by seat belts.
ENGINE BREAK-IN RECOMMENDATIONS
A long break-in period is not required for the engine in
your vehicle.
Drive moderately during the first 300 mi (500 km). After
the initial 60 mi (100 km), speeds up to 50 or 55 mph (80
or 90 km/h) are desirable.
While cruising, brief full-throttle acceleration, within the
limits of local traffic laws, contributes to a good break-in.
Wide-open throttle acceleration in low gear can be detri-
mental and should be avoided.
The engine oil installed in the engine at the factory is a
high-quality energy-conserving type lubricant. Oil
changes should be consistent with anticipated climate
conditions under which vehicle operations will occur. For
the recommended viscosity and quality grades, refer to“Maintenance Procedures” in Section 7 of this manual.
NON-DETERGENT OR STRAIGHT MINERAL OILS
MUST NEVER BE USED.
A new engine may consume some oil during its first few
thousand miles (kilometers) of operation. This should be
considered as a normal part of the break-in and not
interpreted as an indication of difficulty.
SAFETY TIPS
Exhaust Gas
WARNING!
Exhaust gases can injure or kill. They contain carbon
monoxide (CO) which is colorless and odorless.
Breathing it can make you unconscious and can
eventually poison you. To avoid breathing (CO)
follow the safety tips below.
78 THINGS TO KNOW BEFORE STARTING YOUR VEHICLE
Page 85 of 494
.....................139
▫Windshield Washers...................140
▫Adding Washer Fluid..................140
�Tilt/Telescoping Steeri")
▫Headlights With Wipers (Available With Auto
Headlights Only).....................139
▫Windshield Washers...................140
▫Adding Washer Fluid..................140
�Tilt/Telescoping Steering Column...........140
�Electronic Speed Control — If Equipped......141
▫Electronic Speed Control Operation........142
▫To Activate..........................142
▫To Set At The Desired Speed.............143
▫To Deactivate........................143
▫To Resume Speed.....................143
▫To Vary The Speed Setting...............143
▫To Accelerate For Passing...............144�Garage Door Opener — If Equipped.........144
▫Programming HomeLink�...............146
▫Gate Operator/Canadian Programming.....148
▫Using HomeLink�.....................149
▫Reprogramming A Single HomeLink�
Button.............................149
▫Security............................150
▫Troubleshooting Tips...................150
▫General Information...................150
�Power Sunroof — If Equipped.............151
▫Opening Sunroof - Manual..............152
▫Opening Sunroof - Express..............152
▫Closing Sunroof - Manual...............152
UNDERSTANDING THE FEATURES OF YOUR VEHICLE 83
3
Page 133 of 494

Use the hood prop rod to secure the hood in the open
position. Place the upper end of the prop rod in the hole
on the left underside of the hood.
Before closing the hood, make sure to stow the prop rod
in its proper location. To prevent possible damage, do notslam the hood to close it. Use a firm downward push at
the center of the hood to ensure that both latches engage.
WARNING!
If the hood is not fully latched it could fly up when
the vehicle is moving and block your forward vision.
You could have a collision. Be sure all hood latches
are fully latched before driving.
LIGHTS
Map/Reading/Interior Lights
These lights are mounted between the sun visors above
the rear view mirror. Each light is turned ON by pressing
the button. Press the button a second time to turn the
light OFF. The lights will remain on until the switch is
pressed a second time, so be sure they have been turned
off before leaving the vehicle. They will not turn off
Hood Prop Rod Hole Location
UNDERSTANDING THE FEATURES OF YOUR VEHICLE 131
3
Page 146 of 494
 speed decrease. Each time the button is
pushed, speed decreases.
WARNING!
Speed Control can be dangerous where the system
can’t")
Pushing down the SET DECEL button once will result in
a 1 mph (2 km/h) speed decrease. Each time the button is
pushed, speed decreases.
WARNING!
Speed Control can be dangerous where the system
can’t maintain a constant speed. Your vehicle could
go too fast for the conditions, and you could lose
control. An accident could be the result. Don’t use
Speed Control in heavy traffic or on roads that are
winding, icy, snow-covered, or slippery.
TO ACCELERATE FOR PASSING:
Depress the accelerator as you would normally. When the
pedal is released, the vehicle will return to the set speed.
Using Speed Control on Hills
NOTE:The speed control system maintains speed up
and down hills. A slight speed change on moderate hills
is normal.
On steep hills, a greater speed loss or gain may occur so
it may be preferable to drive without speed control.
GARAGE DOOR OPENER — IF EQUIPPED
HomeLink�replaces up to three remote controls (hand-
held transmitters) that operate devices such as garage
door openers, motorized gates, lighting, or home security
systems. The HomeLink�unit operates off your vehicle’s
battery.
144 UNDERSTANDING THE FEATURES OF YOUR VEHICLE
Page 147 of 494
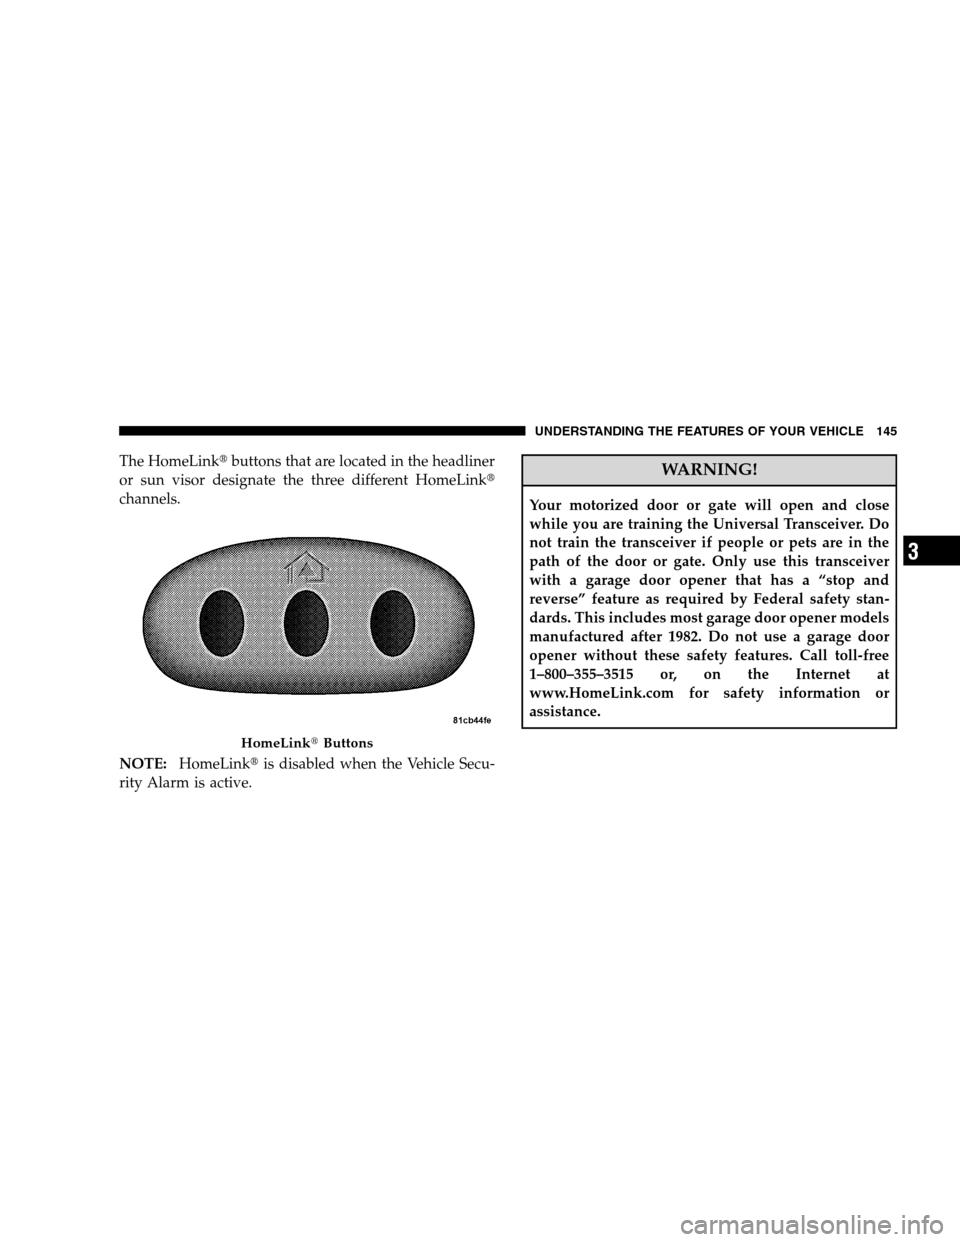
The HomeLink�buttons that are located in the headliner
or sun visor designate the three different HomeLink�
channels.
NOTE:HomeLink�is disabled when the Vehicle Secu-
rity Alarm is active.WARNING!
Your motorized door or gate will open and close
while you are training the Universal Transceiver. Do
not train the transceiver if people or pets are in the
path of the door or gate. Only use this transceiver
with a garage door opener that has a “stop and
reverse” feature as required by Federal safety stan-
dards. This includes most garage door opener models
manufactured after 1982. Do not use a garage door
opener without these safety features. Call toll-free
1–800–355–3515 or, on the Internet at
www.HomeLink.com for safety information or
assistance.
HomeLink�Buttons
UNDERSTANDING THE FEATURES OF YOUR VEHICLE 145
3