2008 CHRYSLER PACIFICA change time
[x] Cancel search: change timePage 247 of 457

Selecting a Channel
Press and release the SEEK or TUNE buttons to search for
the next channel. Press the top of the button to search up
and the bottom of the button to search down. Holding the
TUNE button causes the radio to bypass channels until
the button is released.
Press and release the SCAN button (if equipped) to
automatically change channels every 7 seconds. The
radio will pause on each channel for 7 seconds before
moving on to the next channel. The word9SCAN9will
appear in the display between each channel change. Press
the SCAN button a second time to stop the search.
NOTE:Channels that may contain objectionable content
can be blocked. Contact Sirius Customer Care at 888-539-
7474 to discuss options for channel blocking or unblock-
ing. Please have your ESN/SID information available.
Storing and Selecting Pre-Set Channels
In addition to the 10 AM and 10 FM pre-set stations, you
may also commit 10 satellite stations to push button
memory. These satellite channel pre-set stations will not
erase any AM or FM pre-set memory stations. Follow the
memory pre-set procedures that apply to your radio.
Using the PTY (Program Type) Button (If
Equipped)
Follow the PTY button instructions that apply to your
radio.
PTY Button(SCAN(
When the desired program type is obtained, press the
9SCAN9button within five seconds. The radio will play 7
seconds of the selected channel before moving to the next
channel of the selected program type. Press the9SCAN9
button a second time to stop the search.
UNDERSTANDING YOUR INSTRUMENT PANEL 247
4
Page 249 of 457

REMOTE SOUND SYSTEM CONTROLS
The remote sound system controls are located on the rear
surface of the steering wheel at the 3 and 9 o'clock
positions.
The right hand rocker switch has a push button in the
center and controls the volume and mode of the sound
system. Pressing the top of the rocker switch will increase
the volume and pressing the bottom of the rocker switch
will decrease the volume. Pressing the center button
changes the operation of the radio from AM to FM to
Tape or CD mode depending on which radio is in the
vehicle.
The left hand rocker switch has a push button in the
center. The function of the left hand switch is different
depending on which mode you are in.
The following describes the left hand rocker switch
operation in each mode:
Radio Operation
Pressing the top of the switch will SEEK up for the next
listenable station and pressing the bottom of the switch
will SEEK down for the next listenable station.
The button located in the center of the left hand switch
will tune to the next pre-set station that you have
programmed in the radio pre-set push-button.
CD Player
Pressing the top of the switch once will go to the next
track on the CD. Pressing the bottom of the switch once
will go to the beginning of the current track or to the
beginning of the previous track if it is within one second
after the current track begins to play.
If you press the switch up or down twice it plays the
second track, three times, it will play the third, etc.
The button in the center of the left hand switch has no
function in this mode.
UNDERSTANDING YOUR INSTRUMENT PANEL 249
4
Page 258 of 457

²If the recirculation button is pressed while in the Mix
or Defrost mode, the indicator light in the recirculation
button will flash 3 times indicating that recirculation is
not allowed.
A/C Recirculation Programming
The recirculation control is programmed to cancel the
recirculation mode when the ignition key is turned OFF
and will reset to outside air mode when the ignition key
is turned ON. The frequent use of outside air will help
keep odors from building up within the air conditioner-
heater housing. It is recommended that the recirculation
mode be used as little as possible, especially in humid
climates.
For hot and dry climates, or people who are allergic to
pollen and find frequent use of the recirculation mode
necessary, the recirculation mode can be programmed to
not automatically reset to the outside mode by using the
following procedures:
²Turn the ignition switch to the OFF position.
²Set the mode control to ªPANELº.
²Depress and hold in the ªPOWERº button.
²Start the engine, and continue to hold in the ªPOWERº
button until the indicator light starts flashing repeat-
edly.
²Press the recirculation button until the indicator light
remains lit.
²The selection will be stored when the ignition switch is
turned OFF or if the ªPOWERº button is pressed.
If the recirculation indicator light is lit, the recirculation
mode will not reset when the engine is started. If the
recirculation indicator light is not lit, the recirculation
mode will reset to the outside air mode when the engine
is started. The programmed status can be changed back
and forth by following the above mentioned procedure.
258 UNDERSTANDING YOUR INSTRUMENT PANEL
Page 260 of 457

temperature you would like the system to maintain.
When the system is set to your comfort level, it is not
necessary to change the settings. You will experience the
greatest efficiency by allowing the system to function
automatically. The system will operate fully automati-
cally in either9AUTO HI9or9AUTO LO9. The9AUTO
LO9setting will limit the maximum fan speed and should
be used when more quiet operation is desired. Use the
9AUTO HI9setting when the quickest cool-down or
warm-up performance is desired.
NOTE:
²It is not necessary to move the temperature settings for
cold or hot vehicles. The system automatically adjusts
the temperature, mode and fan speed to provide
comfort as quickly as possible.
²The temperature can be displayed in U.S. or Metric by
selecting the US/M customer programmable feature.Refer to the ªElectronic Vehicle Information Center-
Customer Programmable Featuresº in Section 3 of this
manual.
To provide you with maximum comfort in the automatic
mode, during cold start-ups the blower fan will remain
off and ªDELAYº will appear in the display until the
engine warms up. An estimate of the time remaining
until the ªDELAYº is complete will appear periodically
in the display. However, the fan will engage immediately
if the defrost mode is selected or by pushing the blower
switch and manually adjusting the fan speed.
This feature may be disabled using the following proce-
dure:
²Press and hold the Heated Rear Window and Auto LO
buttons for 5 seconds.
²The ªDELAYº symbol will flash to indicate that the
feature as been disabled.
260 UNDERSTANDING YOUR INSTRUMENT PANEL
Page 267 of 457

²While holding the recirculation button, turn the igni-
tion switch to the ªRUNº position.
²Continue holding the recirculation button for 4 sec-
onds, then release.
The recirculation control is now programmed so that the
recirculation mode willnotreset to the outside air mode
when the engine is restarted. The recirculation program-
ming can be changed back by repeating this procedure.
Rear Blower Operation
To operate the rear fan, press the9REAR9button. The first
time this button is pressed the9REAR AUTO9display
will illuminate indicating that the rear fan speed is
automatically controlled. To manually control the rear
fan speed, press the9REAR9button again and only
9REAR9will illuminate in the display. This allows the rear
seat occupants to control the rear fan speed using theswitch located in the center console between the second
row seats. By pressing the9REAR9button a third time,
the rear fan will shut off.
When the ATC display reads9REAR AUTO9or when the
rear fan is off, the switch located in the center console
between the second row seats is not functional. When the
ATC display reads9REAR9, only the rear seat occupants
can control the rear fan speed from the rear switch. When
in the ªREARº mode, the rear occupants can set the rear
switch to any fan speed including9OFF9,or9AUTO9.
While in the9AUTO9position, the rear fan speed will be
automatically controlled.
Summer Operation
The engine cooling system in air conditioned vehicles
must be protected with a high-quality antifreeze coolant
to provide proper corrosion protection and to protect
against engine overheating. A 50% solution of ethylene
UNDERSTANDING YOUR INSTRUMENT PANEL 267
4
Page 330 of 457

WARNING!
²Never have any smoking materials lit in or near
the vehicle when the gas cap is removed or the
tank filled.
²Never add fuel when the engine is running. This is
in violation of most state and federal fire regula-
tions and may cause the malfunction indicator
light to turn on.
²Failure to follow the above may result in serious
injury or even death.
NOTE:
²Tighten the fuel filler cap until you hear a ªclickingº
sound. This is an indication that the fuel filler cap is
properly tightened.
²If the gas cap is not tighten properly, the Malfunction
Indicator Light may come on. Be sure the gas cap is
tightened every time the vehicle is refueled.
WARNING!
A fire may result if gasoline is pumped into a
portable container that is inside of a vehicle. You
could be burned. Always place gas containers on the
ground while filling.
Loose Fuel Filler Cap Message
²
If thegASCAPmessage is displayed in the instrument
cluster, this signifies a leak or change in the evapora-
tive system is detected. Sometimes this is the result of
a loosely fitting (or possibly damaged) filler cap.
330 STARTING AND OPERATING
Page 360 of 457

NOTE:When reinstalling the wheel center cap, insure
that the valve stem symbol on the back of the cap is
pointed toward the wheel valve stem. Install the center
cap using hand pressure only. Do not use a hammer.
Wheel Nuts
All wheel nuts should be tightened occasionally to elimi-
nate the possibility of wheel studs being sheared or the
bolt holes in the wheels becoming elongated. This is
especially important during the first few hundred miles
of operation, and after each time a tire is changed, to
allow the wheel nuts to become properly set. All nuts
should first be firmly seated against the wheel. The nuts
should then be tightened to recommended torque.
Tighten the nuts to final torque in increments. Progress
around the bolt circle, tightening the nut opposite to the
nut just previously tightened until final torque is
achieved. Recommended torque is 130 N´m (95 ft. lbs).
JUMP-STARTING PROCEDURE
WARNING!
²Do not attempt to push or tow your vehicle to get it started.
Vehicles equipped with an automatic transmission cannot
be started this way. Unburned fuel could enter the catalytic
converter and once the engine has started, ignite and
damage the converter and vehicle. If the vehicle has a
discharged battery, booster cables may be used to obtain a
start from another vehicle. This type of start can be danger-
ous if done improperly, so follow this procedure carefully.
²Battery fluid is a corrosive acid solution; do not allow
battery fluid to contact eyes, skin or clothing. Don't lean
over battery when attaching clamps or allow the clamps to
touch each other. If acid splashes in eyes or on skin, flush
contaminated area immediately with large quantities of
water.
²A battery generates hydrogen gas which is flammable and
explosive. Keep flame or spark away from the vent holes.
Do not use a booster battery or any other booster source
with an output that exceeds 12 volts.
²Take care to avoid the radiator cooling fan whenever the
hood is raised. It can start anytime the ignition switch is on.
You can be hurt by the fan.
360 WHAT TO DO IN EMERGENCIES
Page 377 of 457

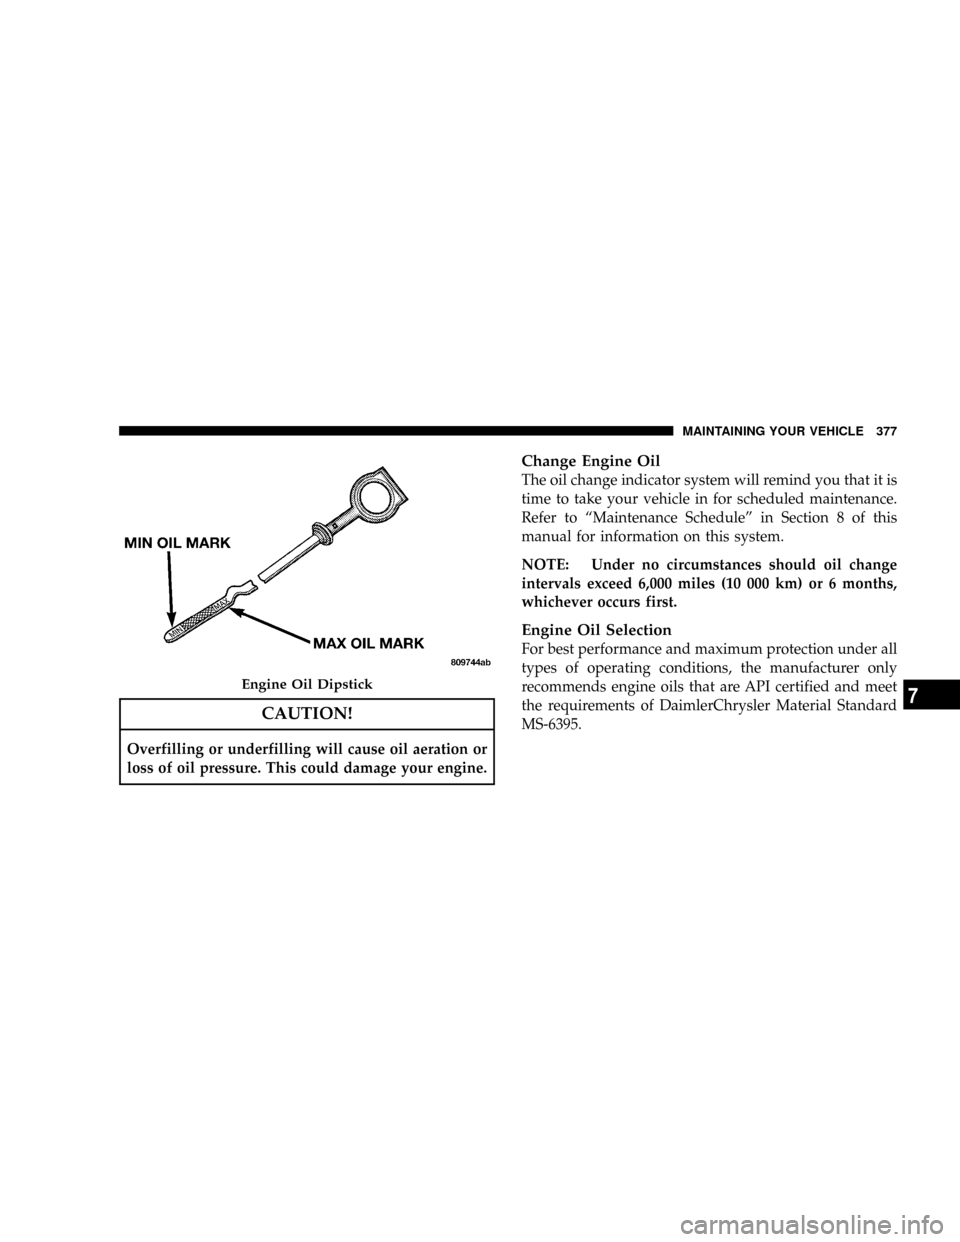
CAUTION!
Overfilling or underfilling will cause oil aeration or
loss of oil pressure. This could damage your engine.
Change Engine Oil
The oil change indicator system will remind you that it is
time to take your vehicle in for scheduled maintenance.
Refer to ªMaintenance Scheduleº in Section 8 of this
manual for information on this system.
NOTE: Under no circumstances should oil change
intervals exceed 6,000 miles (10 000 km) or 6 months,
whichever occurs first.
Engine Oil Selection
For best performance and maximum protection under all
types of operating conditions, the manufacturer only
recommends engine oils that are API certified and meet
the requirements of DaimlerChrysler Material Standard
MS-6395.
Engine Oil Dipstick
MAINTAINING YOUR VEHICLE 377
7