2008 CHEVROLET TRAIL BLAZER ECU
[x] Cancel search: ECUPage 122 of 472
Your vehicle must have a working electrical system
(including adequate battery power) for the OnStar
equipment to operate. There are other problems OnStar
cannot control that may prevent OnStar from providing
OnStar service to you at any particular time or place.
Some examples are damage to important parts of your
vehicle in an accident, hills, tall buildings, tunnels,
weather or wireless phone network congestion.
Your Responsibility
Increase the radio volume if you cannot hear the OnStar
advisor. If the light next to the OnStar buttons is red,
this means that your system is not functioning properly
and should be checked by your dealer/retailer. If the
light appears clear (no light is appearing), your OnStar
subscription has expired. You can always press the
OnStar button to con�rm that your OnStar equipment is
active.
Universal Home Remote
System
The Universal Home Remote System provides a way to
replace up to three hand-held Radio-Frequency (RF)
transmitters used to activate devices such as garage
door openers, security systems, and home lighting.
This device complies with Part 15 of the FCC Rules.
Operation is subject to the following two conditions:
1. This device may not cause harmful interference.
2. This device must accept any interference received,
including interference that may cause undesired
operation.
This device complies with RSS-210 of Industry Canada.
Operation is subject to the following two conditions:
1. This device may not cause interference.
2. This device must accept any interference received,
including interference that may cause undesired
operation of the device.
Changes or modi�cations to this system by other than
an authorized service facility could void authorization to
use this equipment.
2-50
Page 123 of 472
Universal Home Remote System
Operation (With One Triangular LED)
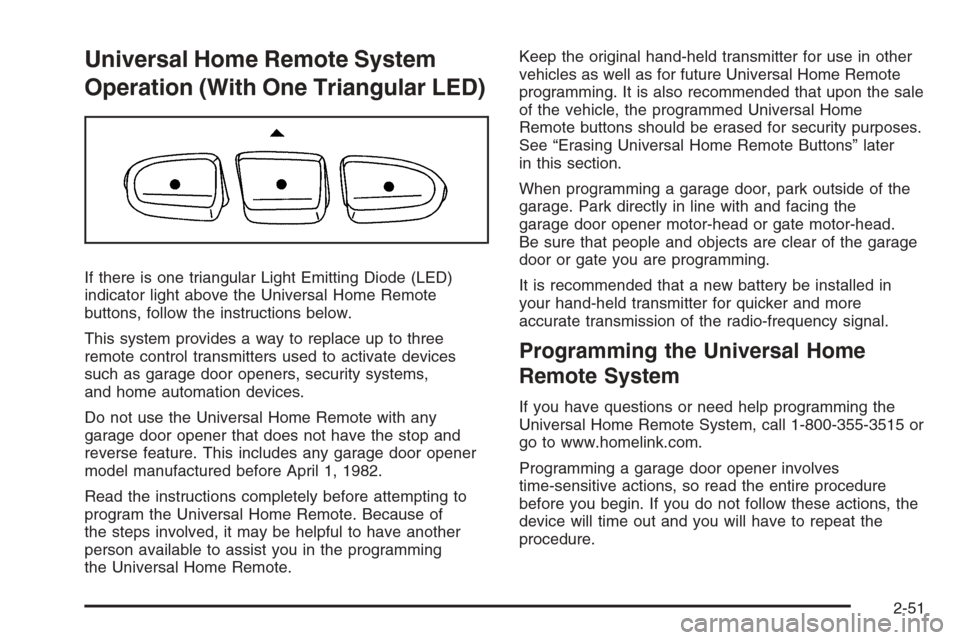
If there is one triangular Light Emitting Diode (LED)
indicator light above the Universal Home Remote
buttons, follow the instructions below.
This system provides a way to replace up to three
remote control transmitters used to activate devices
such as garage door openers, security systems,
and home automation devices.
Do not use the Universal Home Remote with any
garage door opener that does not have the stop and
reverse feature. This includes any garage door opener
model manufactured before April 1, 1982.
Read the instructions completely before attempting to
program the Universal Home Remote. Because of
the steps involved, it may be helpful to have another
person available to assist you in the programming
the Universal Home Remote.Keep the original hand-held transmitter for use in other
vehicles as well as for future Universal Home Remote
programming. It is also recommended that upon the sale
of the vehicle, the programmed Universal Home
Remote buttons should be erased for security purposes.
See “Erasing Universal Home Remote Buttons” later
in this section.
When programming a garage door, park outside of the
garage. Park directly in line with and facing the
garage door opener motor-head or gate motor-head.
Be sure that people and objects are clear of the garage
door or gate you are programming.
It is recommended that a new battery be installed in
your hand-held transmitter for quicker and more
accurate transmission of the radio-frequency signal.
Programming the Universal Home
Remote System
If you have questions or need help programming the
Universal Home Remote System, call 1-800-355-3515 or
go to www.homelink.com.
Programming a garage door opener involves
time-sensitive actions, so read the entire procedure
before you begin. If you do not follow these actions, the
device will time out and you will have to repeat the
procedure.
2-51
Page 128 of 472
Luggage Carrier
{CAUTION:
If you try to carry something on top of your
vehicle that is longer or wider than the luggage
carrier — like paneling, plywood, a mattress
and so forth — the wind can catch it as you
drive along. This can cause you to lose
control. What you are carrying could be
violently torn off, and this could cause you or
other drivers to have a collision, and of course
damage your vehicle. You may be able to carry
something like this inside. But, never carry
something longer or wider than the luggage
carrier on top of your vehicle.
If your vehicle has a luggage carrier, it will allow you to
load things on top of your vehicle. The luggage
carrier has side rails attached to the roof, places to use
for tying things down and may have sliding crossrails.
These let you load some other things on top of
your vehicle, as long as they are not wider or longer
than the luggage carrier.To slide the crossrails to where you want them, pull up
on the lever on each side of the crossrail. This
releases the crossrail and allows you to slide it. When
the crossrail is where you want it, press down on
the levers to lock it into place.
Notice:Loading cargo on the luggage carrier that
weighs more than 220 lbs (100 kg) or hangs over the
rear or sides of the vehicle may damage your
vehicle. Load cargo so that it rests on the slats as
far forward as possible and against the side
rails, making sure to fasten it securely.
Do not exceed the maximum vehicle capacity when
loading your vehicle. For more information on vehicle
capacity and loading, seeLoading Your Vehicle on
page 4-35.
To prevent damage or loss of cargo as you are driving,
check now and then to make sure the luggage carrier
is locked and cargo is still securely fastened.
When the luggage carrier is not in use, place the
crossrails at the following positions for wind noise
reduction. Place one crossrail at the rear most point of
the vehicle and the other crossrail above the opening
of the rear door.
2-56
Page 129 of 472
Rear Floor Storage Lid
{CAUTION:
If any removable convenience item is not
secured properly, it can move around in a
collision or sudden stop. People in the vehicle
could be injured. Be sure to secure any such
item properly.
Your vehicle has a rear cargo area with a removable
storage lid.
To remove the rear �oor storage lid:
1. Press the latch release and lift up the latch handle.
2. Raise the lid slightly to unhook it.
3. Pull the lid toward you to release it from the forward
mounting tabs.
To reinstall the rear �oor storage lid, reverse the
previous steps. Make sure the lid is secure by applying
slight pressure to the latch until you hear it click.
Convenience Net
Your vehicle may have a convenience net in the rear of
the vehicle. Store small loads as far forward as
possible. The net should not be used to store
heavy loads.
Cargo Cover
If your vehicle has a cargo cover, you can use it to
cover items in the cargo area of your vehicle.
To install the cargo cover:
1. Align the endcap with the pocket in the trim panel
located behind the rear seat.
2. Squeeze the opposite endcap, align it with the
pocket located on the opposite side of the trim
panel and release.
3. Grasp the handle and unroll the cover.
4. Latch the posts into the sockets on the inside of the
vehicle to secure it.
2-57
Page 130 of 472
To remove the cargo cover, do the following:
1. Release the cover from the latch posts and carefully
roll it back up.
2. Squeeze one endcap and remove it from the
pocket in the trim panel.
3. Remove the cargo cover from the other endcap so
that you can remove the shade from the vehicle.
{CAUTION:
An improperly stored cargo cover could be
thrown about the vehicle during a collision or
sudden maneuver. You or others could be
injured. If you remove the cover, always store
it in the proper storage location. When you put
it back, always be sure that it is securely
reattached.
Cargo Tie Downs
There are four cargo tie-downs located in the rear
compartment of the vehicle, that can be used to secure
small loads.
Sunroof
The vehicle may have a power sliding sunroof. To open
or close the sunroof, the ignition must be turned to RUN,
ACCESSORY, or Retained Accessory Power (RAP) must
be active. SeeRetained Accessory Power (RAP) on
page 2-21.
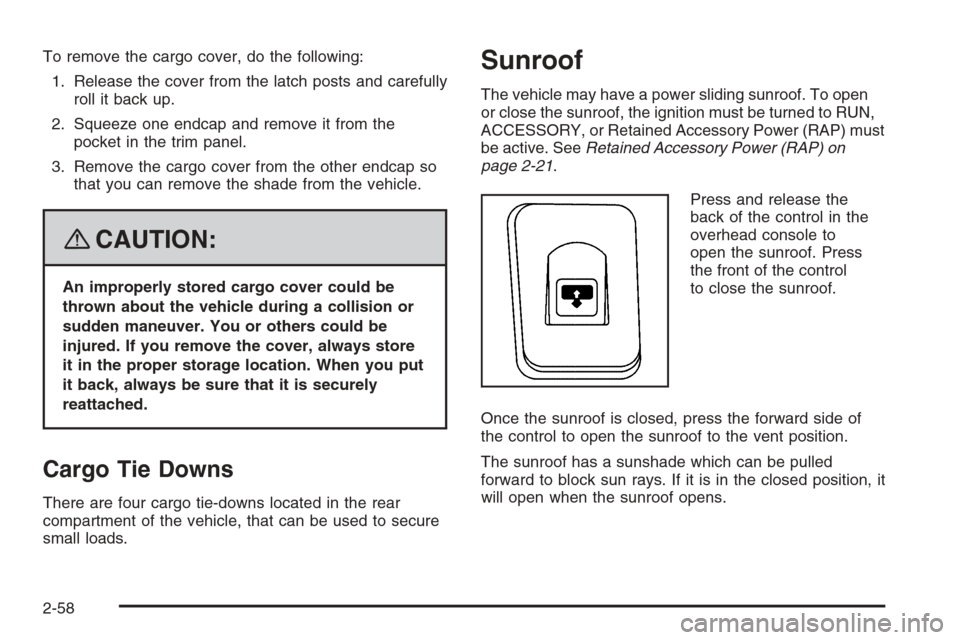
Press and release the
back of the control in the
overhead console to
open the sunroof. Press
the front of the control
to close the sunroof.
Once the sunroof is closed, press the forward side of
the control to open the sunroof to the vent position.
The sunroof has a sunshade which can be pulled
forward to block sun rays. If it is in the closed position, it
will open when the sunroof opens.
2-58
Page 131 of 472
Instrument Panel Overview...............................3-4
Hazard Warning Flashers................................3-6
Other Warning Devices...................................3-6
Horn .............................................................3-6
Tilt Wheel.....................................................3-6
Turn Signal/Multifunction Lever.........................3-7
Turn and Lane-Change Signals........................3-7
Headlamp High/Low-Beam Changer..................3-8
Flash-to-Pass.................................................3-8
Windshield Wipers..........................................3-9
Windshield Washer.........................................3-9
Rear Window Wiper/Washer...........................3-10
Cruise Control..............................................3-10
Headlamps..................................................3-14
Headlamps on Reminder................................3-14
Daytime Running Lamps (DRL).......................3-15
Automatic Headlamp System..........................3-15
Fog Lamps ..................................................3-16
Instrument Panel Brightness...........................3-17
Dome Lamps ...............................................3-17
Dome Lamp Override....................................3-17
Entry Lighting...............................................3-18
Exit Lighting.................................................3-18
Reading Lamps............................................3-18
Electric Power Management...........................3-18
Battery Run-Down Protection..........................3-19
Accessory Power Outlet(s).............................3-20Ashtray(s) and Cigarette Lighter......................3-21
Climate Controls............................................3-21
Dual Climate Control System..........................3-21
Dual Automatic Climate Control System...........3-24
Outlet Adjustment.........................................3-28
Rear Climate Control System.........................3-28
Warning Lights, Gages, and Indicators............3-30
Instrument Panel Cluster................................3-31
Speedometer and Odometer...........................3-32
Trip Odometer..............................................3-32
Tachometer.................................................3-32
Safety Belt Reminders...................................3-33
Airbag Readiness Light..................................3-34
Passenger Airbag Status Indicator...................3-35
Charging System Light..................................3-37
Voltmeter Gage............................................3-37
Brake System Warning Light..........................3-38
Anti-lock Brake System (ABS) Warning Light. . . .3-39
StabiliTrak Service Light................................3-39
StabiliTrak Indicator Light...............................3-40
Engine Coolant Temperature Gage..................3-40
Tire Pressure Light.......................................3-41
Malfunction Indicator Lamp.............................3-41
Oil Pressure Gage........................................3-44
Change Engine Oil Light................................3-45
Security Light...............................................3-46
Section 3 Instrument Panel
3-1
Page 166 of 472
{CAUTION:
Even though the passenger sensing system is
designed to turn off the right front passenger’s
frontal airbag if the system detects a rear-facing
child restraint, no system is fail-safe, and no
one can guarantee that an airbag will not deploy
under some unusual circumstance, even
though it is turned off. We recommend that
rear-facing child restraints be secured in the
rear seat, even if the airbag is off.
If the word OFF or the off symbol is lit on the airbag
status indicator, it means that the passenger sensing
system has turned off the right front passenger’s frontal
airbag. SeePassenger Sensing System on page 1-60
for more on this, including important safety information.If, after several seconds, both status indicator lights
remain on, or if there are no lights at all, there may be
a problem with the lights or the passenger sensing
system. See your dealer/retailer for service.
{CAUTION:
If the airbag readiness light in the instrument
panel cluster ever comes on and stays on,
it means that something may be wrong with
the airbag system. If this ever happens, have
the vehicle serviced promptly, because an
adult-size person sitting in the right front
passenger’s seat may not have the protection
of the airbag(s). SeeAirbag Readiness Light
on page 3-34for more on this, including
important safety information.
3-36
Page 176 of 472
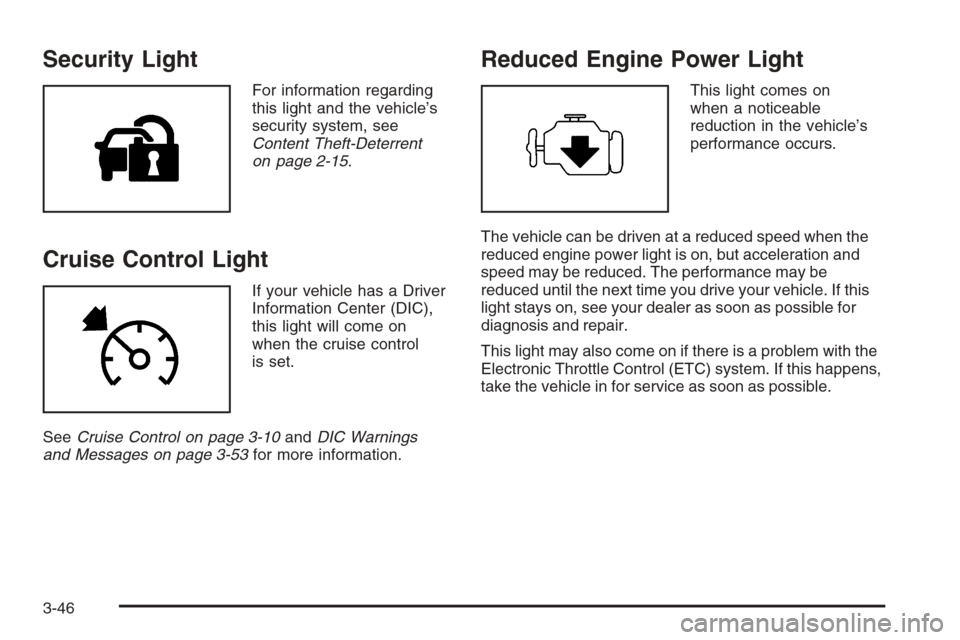
Security Light
For information regarding
this light and the vehicle’s
security system, see
Content Theft-Deterrent
on page 2-15.
Cruise Control Light
If your vehicle has a Driver
Information Center (DIC),
this light will come on
when the cruise control
is set.
SeeCruise Control on page 3-10andDIC Warnings
and Messages on page 3-53for more information.
Reduced Engine Power Light
This light comes on
when a noticeable
reduction in the vehicle’s
performance occurs.
The vehicle can be driven at a reduced speed when the
reduced engine power light is on, but acceleration and
speed may be reduced. The performance may be
reduced until the next time you drive your vehicle. If this
light stays on, see your dealer as soon as possible for
diagnosis and repair.
This light may also come on if there is a problem with the
Electronic Throttle Control (ETC) system. If this happens,
take the vehicle in for service as soon as possible.
3-46