2008 CHEVROLET MALIBU instrument cluster
[x] Cancel search: instrument clusterPage 140 of 412
Turn and Lane-Change Signals
The turn signal has two upward (for right) and two
downward (for left) positions. These positions let you
signal a turn or a lane change.
To signal a turn, move the lever all the way up or down.
When the turn is �nished, the lever returns automatically
to the normal position.
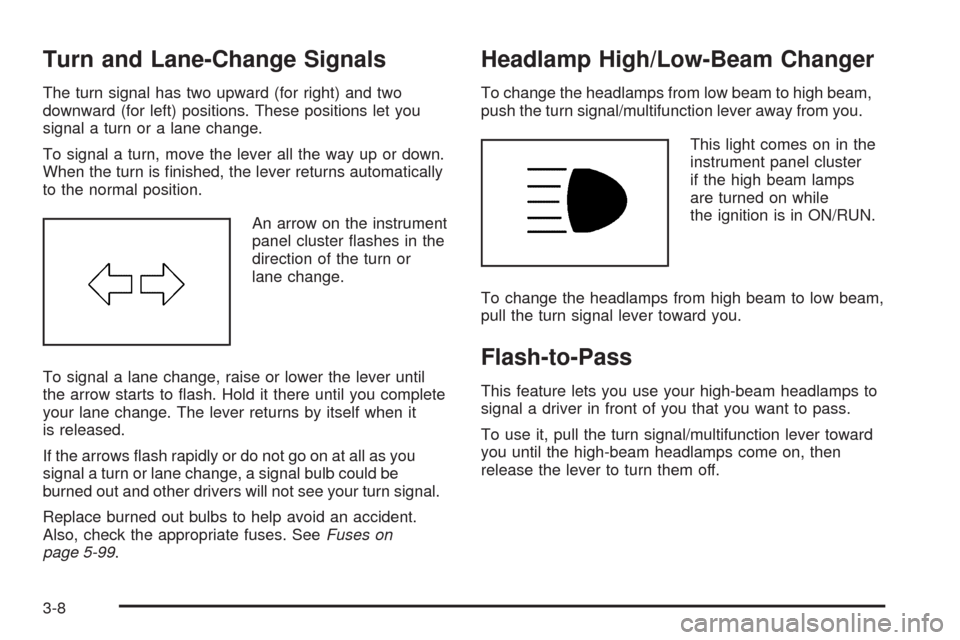
An arrow on the instrument
panel cluster �ashes in the
direction of the turn or
lane change.
To signal a lane change, raise or lower the lever until
the arrow starts to �ash. Hold it there until you complete
your lane change. The lever returns by itself when it
is released.
If the arrows �ash rapidly or do not go on at all as you
signal a turn or lane change, a signal bulb could be
burned out and other drivers will not see your turn signal.
Replace burned out bulbs to help avoid an accident.
Also, check the appropriate fuses. SeeFuses on
page 5-99.
Headlamp High/Low-Beam Changer
To change the headlamps from low beam to high beam,
push the turn signal/multifunction lever away from you.
This light comes on in the
instrument panel cluster
if the high beam lamps
are turned on while
the ignition is in ON/RUN.
To change the headlamps from high beam to low beam,
pull the turn signal lever toward you.
Flash-to-Pass
This feature lets you use your high-beam headlamps to
signal a driver in front of you that you want to pass.
To use it, pull the turn signal/multifunction lever toward
you until the high-beam headlamps come on, then
release the lever to turn them off.
3-8
Page 143 of 412
Setting Cruise Control
{CAUTION:
If you leave your cruise control on when you
are not using cruise, you might hit a button
and go into cruise when you do not want to.
You could be startled and even lose control.
Keep the cruise control switch off until you
want to use cruise control.
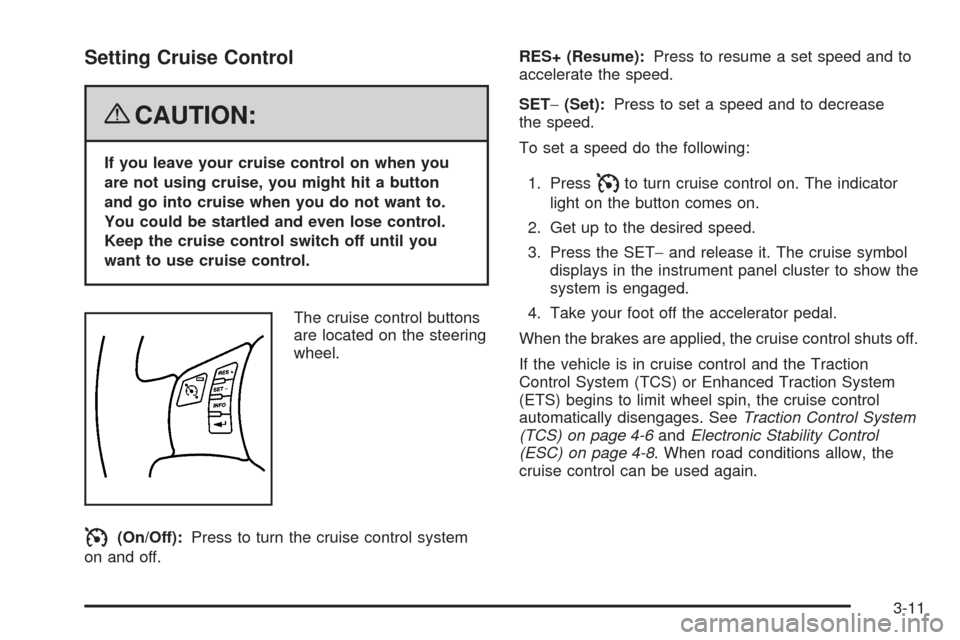
The cruise control buttons
are located on the steering
wheel.
I(On/Off):Press to turn the cruise control system
on and off.RES+ (Resume):Press to resume a set speed and to
accelerate the speed.
SET−(Set):Press to set a speed and to decrease
the speed.
To set a speed do the following:
1. Press
Ito turn cruise control on. The indicator
light on the button comes on.
2. Get up to the desired speed.
3. Press the SET−and release it. The cruise symbol
displays in the instrument panel cluster to show the
system is engaged.
4. Take your foot off the accelerator pedal.
When the brakes are applied, the cruise control shuts off.
If the vehicle is in cruise control and the Traction
Control System (TCS) or Enhanced Traction System
(ETS) begins to limit wheel spin, the cruise control
automatically disengages. SeeTraction Control System
(TCS) on page 4-6andElectronic Stability Control
(ESC) on page 4-8. When road conditions allow, the
cruise control can be used again.
3-11
Page 144 of 412
Resuming a Set Speed
Suppose the cruise control is set at a desired speed
and then the brakes are applied. This disengages
the cruise control. The cruise symbol in the instrument
panel cluster also goes out indicating cruise is no
longer engaged. To return to the previously set speed,
you do not need to repeat the set process again.
Once at a speed of about 25 mph (40 km/h) or more,
you can brie�y press the RES+.
This takes the vehicle back up to the previously chosen
speed and stays there.
Increasing Speed While Using Cruise
Control
There are two ways to go to a higher speed.
If the cruise control system is already engaged,
press the RES+. Hold it there until the desired
speed is reached and then release the button.
To increase the vehicle speed in very small
amounts, brie�y press the RES+ and then release
it. Each time this is done, the vehicle goes about
1 mph (1.6 km/h) faster.
Reducing Speed While Using Cruise
Control
If the cruise control system is already engaged:
Push and hold the SET−until the desired lower
speed is reached, then release it.
To slow down in very small amounts, brie�y push
the SET−. Each time this is done, the vehicle
goes about 1 mph (1.6 km/h) slower.
Passing Another Vehicle While Using
Cruise Control
Use the accelerator pedal to increase the vehicle’s
speed. When you take your foot off the pedal, the vehicle
slows down to the previously set cruise control speed.
Using Cruise Control on Hills
How well your cruise control works on hills depends
upon the vehicle’s speed, load, and the steepness of the
hills. When going up steep hills, you might have to
step on the accelerator pedal to maintain the vehicle’s
speed. When going downhill, you might have to brake or
shift to a lower gear to keep the vehicle at a lower
speed. Of course, applying the brakes ends cruise
control. Many drivers �nd this to be too much trouble
and do not use cruise control on steep hills.
3-12
Page 147 of 412
Automatic Headlamp System
When it is dark enough outside, the automatic headlamp
system turns on the headlamps at the normal brightness
along with other lamps such as the taillamps,
sidemarker, parking lamps, and the instrument panel
lights. The radio lights will also be dim.
Your vehicle has a light sensor on top of the instrument
panel that controls the automatic headlamp system.
Make sure it is not covered or the automatic headlamp
system will be on when it is not needed.
There is a delay in the transition between the daytime
and nighttime operation of the DRL and the automatic
headlamp systems so that driving under bridges or
bright overhead street lights does not affect the system.
The DRL and automatic headlamp systems will only
be affected when the light sensor sees a change
in lighting lasting longer than this delay.If vehicle is started in a dark garage, the automatic
headlamp system comes on immediately. Once
the vehicle leaves the garage, it takes about one minute
for the automatic headlamp system to change to DRL
if it is light outside. During that delay, the instrument
panel cluster may not be as bright as usual. Make sure
the instrument panel brightness control is in the full
bright position. See “Instrument Panel Brightness
Control” underInstrument Panel Brightness on
page 3-16.
To idle the vehicle with the automatic headlamp system
off, turn the ignition on and set the exterior light
switch to the off/on position. For vehicles �rst sold in
Canada, the transmission must stay in PARK (P) for this
function.
The regular headlamps should be used when needed.
3-15
Page 163 of 412

Instrument Panel Cluster
Your instrument panel cluster is designed to let you know at a glance how your vehicle is running. You’ll know how
fast you’re going, how much fuel you’re using, and many other things you will need to drive safely and economically.
Your vehicle has this instrument panel cluster, which includes indicator warning lights and gages that are explained
on the following pages.
United States Base version shown, Canada Similar
3-31
Page 166 of 412
Airbag Readiness Light
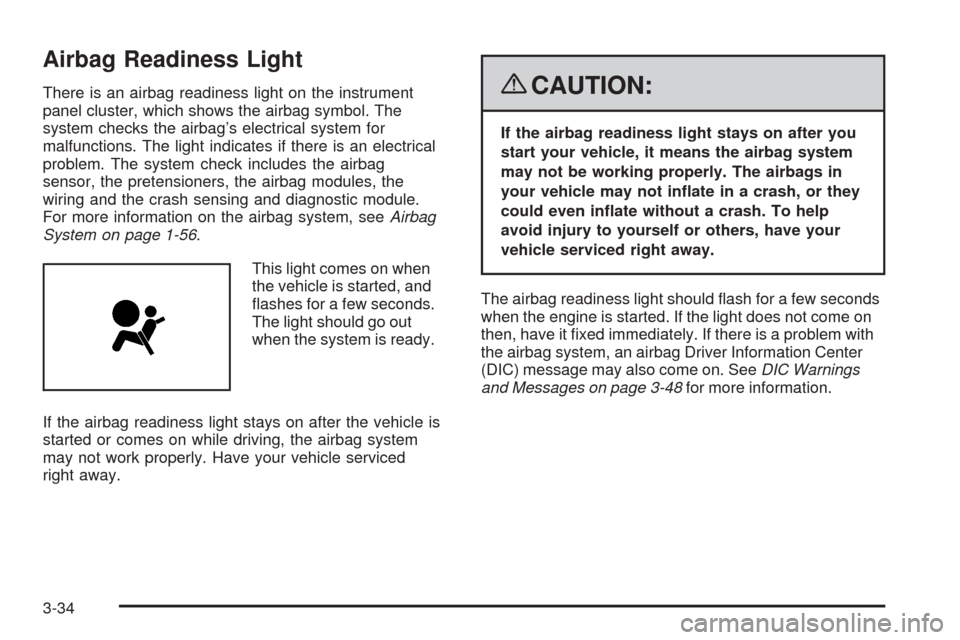
There is an airbag readiness light on the instrument
panel cluster, which shows the airbag symbol. The
system checks the airbag’s electrical system for
malfunctions. The light indicates if there is an electrical
problem. The system check includes the airbag
sensor, the pretensioners, the airbag modules, the
wiring and the crash sensing and diagnostic module.
For more information on the airbag system, seeAirbag
System on page 1-56.
This light comes on when
the vehicle is started, and
�ashes for a few seconds.
The light should go out
when the system is ready.
If the airbag readiness light stays on after the vehicle is
started or comes on while driving, the airbag system
may not work properly. Have your vehicle serviced
right away.{CAUTION:
If the airbag readiness light stays on after you
start your vehicle, it means the airbag system
may not be working properly. The airbags in
your vehicle may not in�ate in a crash, or they
could even in�ate without a crash. To help
avoid injury to yourself or others, have your
vehicle serviced right away.
The airbag readiness light should �ash for a few seconds
when the engine is started. If the light does not come on
then, have it �xed immediately. If there is a problem with
the airbag system, an airbag Driver Information Center
(DIC) message may also come on. SeeDIC Warnings
and Messages on page 3-48for more information.
3-34
Page 168 of 412
{CAUTION:
Even though the passenger sensing system is
designed to turn off the right front passenger’s
frontal airbag and seat-mounted side impact
airbag (if equipped) if the system detects a
rear-facing child restraint, no system is
fail-safe, and no one can guarantee that an
airbag will not deploy under some unusual
circumstance, even though it is turned off. We
recommend that rear-facing child restraints be
secured in a rear seat, even if the airbag is or
airbags are off.
If the word OFF or the off symbol is lit on the passenger
airbag status indicator, it means that the passenger
sensing system has turned off the right front passenger’s
frontal airbag and seat-mounted side impact airbag.
SeePassenger Sensing System on page 1-65for more
on this, including important safety information.If, after several seconds, both status indicator lights
remain on, or if there are no lights at all, there may be a
problem with the lights or the passenger sensing
system. See your dealer/retailer for service.
{CAUTION:
If the airbag readiness light in the instrument
panel cluster ever comes on and stays on, it
means that something may be wrong with the
airbag system. If this ever happens, have the
vehicle serviced promptly, because an
adult-size person sitting in the right front
passenger’s seat may not have the protection
of the airbag(s). SeeAirbag Readiness Light
on page 3-34for more on this, including
important safety information.
3-36
Page 171 of 412
Electronic Stability Control (ESC)/
Traction Control System (TCS)
Indicator/Warning Light
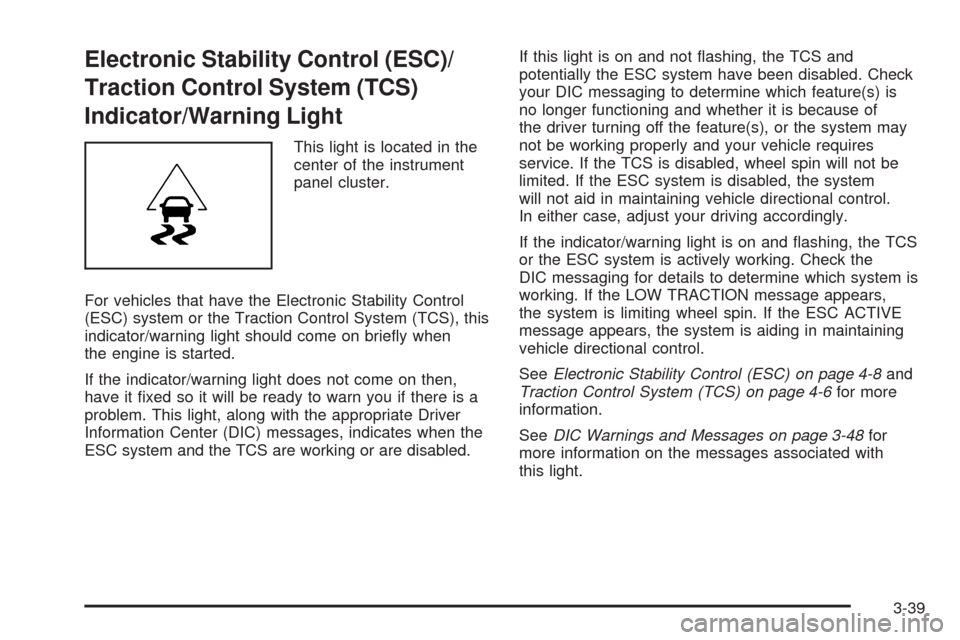
This light is located in the
center of the instrument
panel cluster.
For vehicles that have the Electronic Stability Control
(ESC) system or the Traction Control System (TCS), this
indicator/warning light should come on brie�y when
the engine is started.
If the indicator/warning light does not come on then,
have it �xed so it will be ready to warn you if there is a
problem. This light, along with the appropriate Driver
Information Center (DIC) messages, indicates when the
ESC system and the TCS are working or are disabled.If this light is on and not �ashing, the TCS and
potentially the ESC system have been disabled. Check
your DIC messaging to determine which feature(s) is
no longer functioning and whether it is because of
the driver turning off the feature(s), or the system may
not be working properly and your vehicle requires
service. If the TCS is disabled, wheel spin will not be
limited. If the ESC system is disabled, the system
will not aid in maintaining vehicle directional control.
In either case, adjust your driving accordingly.
If the indicator/warning light is on and �ashing, the TCS
or the ESC system is actively working. Check the
DIC messaging for details to determine which system is
working. If the LOW TRACTION message appears,
the system is limiting wheel spin. If the ESC ACTIVE
message appears, the system is aiding in maintaining
vehicle directional control.
SeeElectronic Stability Control (ESC) on page 4-8and
Traction Control System (TCS) on page 4-6for more
information.
SeeDIC Warnings and Messages on page 3-48for
more information on the messages associated with
this light.
3-39