2008 CHEVROLET IMPALA ECO mode
[x] Cancel search: ECO modePage 100 of 400

Active Fuel Management™
(3.9L V6 and 5.3L V8 Engines)
Your vehicle’s engine may be equipped with Active Fuel
Management™. This system allows the engine to
operate on either all or half of its cylinders, depending
on your driving conditions.
When less power is required, such as cruising at a
constant vehicle speed, the system will operate in the
half cylinder mode, allowing your vehicle to achieve
better fuel economy. When greater power demands are
required, such as accelerating from a stop, passing,
or merging onto a freeway, the system will maintain
full-cylinder operation.
Automatic Transmission Operation
Your automatic transmission has a shift lever on the
steering column or on the console between the seats.
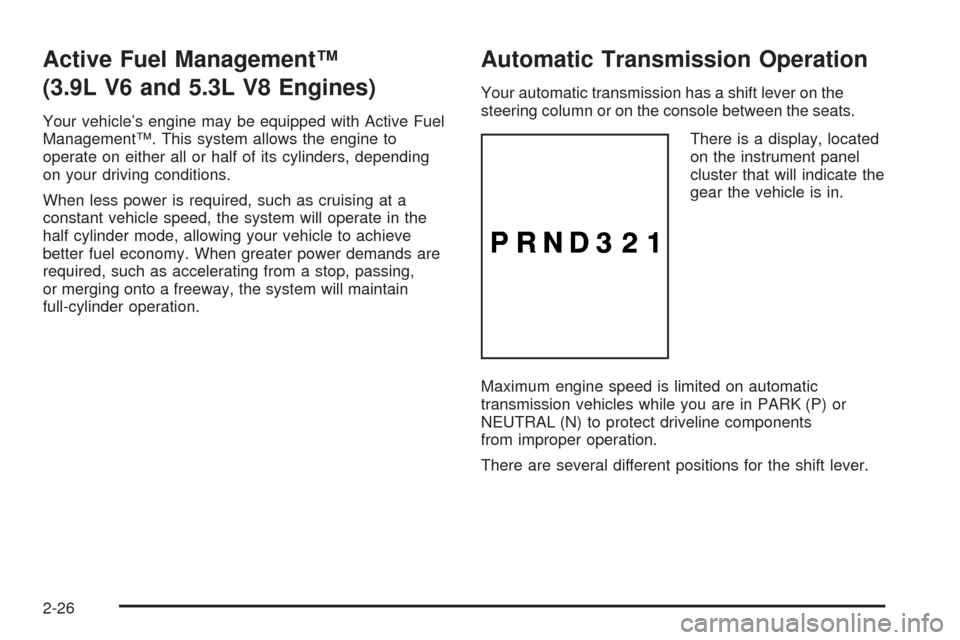
There is a display, located
on the instrument panel
cluster that will indicate the
gear the vehicle is in.
Maximum engine speed is limited on automatic
transmission vehicles while you are in PARK (P) or
NEUTRAL (N) to protect driveline components
from improper operation.
There are several different positions for the shift lever.
2-26
Page 116 of 400

Universal Home Remote System
Operation (With Three Round LED)
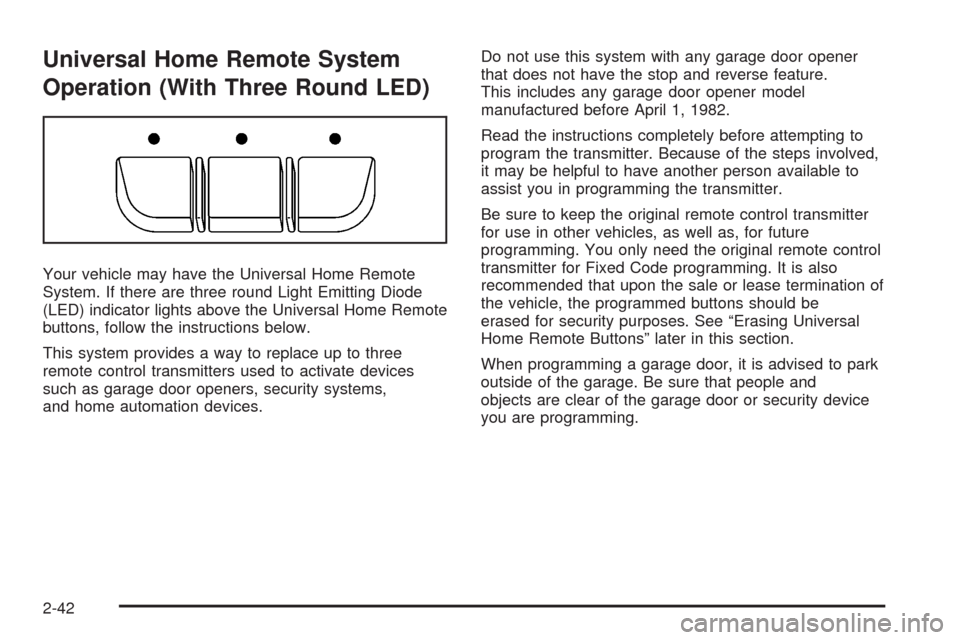
Your vehicle may have the Universal Home Remote
System. If there are three round Light Emitting Diode
(LED) indicator lights above the Universal Home Remote
buttons, follow the instructions below.
This system provides a way to replace up to three
remote control transmitters used to activate devices
such as garage door openers, security systems,
and home automation devices.Do not use this system with any garage door opener
that does not have the stop and reverse feature.
This includes any garage door opener model
manufactured before April 1, 1982.
Read the instructions completely before attempting to
program the transmitter. Because of the steps involved,
it may be helpful to have another person available to
assist you in programming the transmitter.
Be sure to keep the original remote control transmitter
for use in other vehicles, as well as, for future
programming. You only need the original remote control
transmitter for Fixed Code programming. It is also
recommended that upon the sale or lease termination of
the vehicle, the programmed buttons should be
erased for security purposes. See “Erasing Universal
Home Remote Buttons” later in this section.
When programming a garage door, it is advised to park
outside of the garage. Be sure that people and
objects are clear of the garage door or security device
you are programming.
2-42
Page 120 of 400

2. Write down the eight to 12 switch settings from left
to right as follows:
When a switch is in the up position, write “Left.”
When a switch is in the down position, write
“Right.”
If a switch is set between the up and down
position, write “Middle.”
The switch settings that you wrote down in
Step 2 will now become the button strokes you
enter into the Universal Home Remote in
Step 4. Be sure to enter the switch settings that
you wrote down in Step 2, in order from left
to right, into the Universal Home Remote, when
completing Step 4.
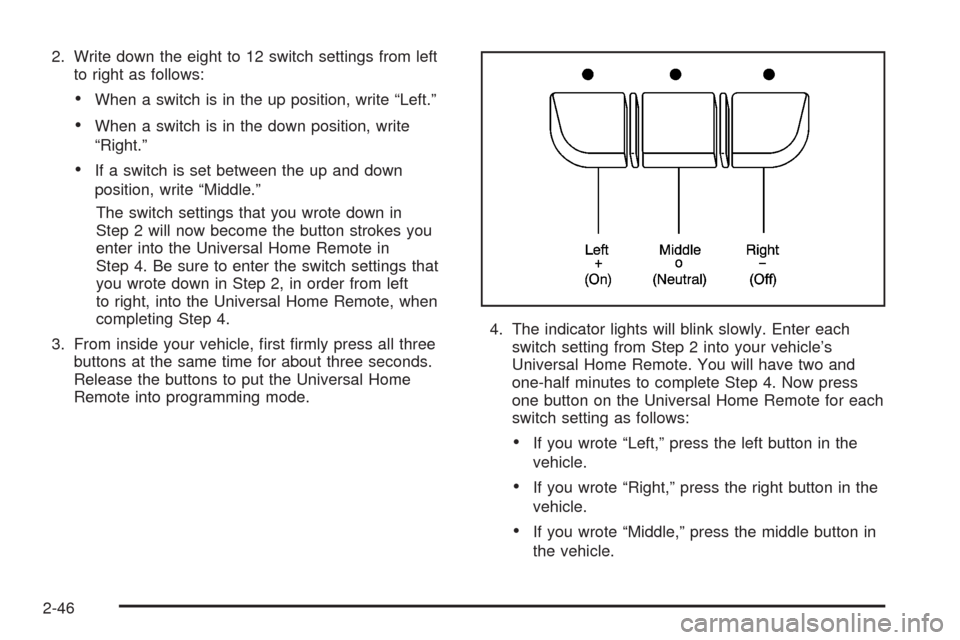
3. From inside your vehicle, �rst �rmly press all three
buttons at the same time for about three seconds.
Release the buttons to put the Universal Home
Remote into programming mode.4. The indicator lights will blink slowly. Enter each
switch setting from Step 2 into your vehicle’s
Universal Home Remote. You will have two and
one-half minutes to complete Step 4. Now press
one button on the Universal Home Remote for each
switch setting as follows:
If you wrote “Left,” press the left button in the
vehicle.
If you wrote “Right,” press the right button in the
vehicle.
If you wrote “Middle,” press the middle button in
the vehicle.
2-46
Page 142 of 400

Delayed Entry Lighting
Delayed entry lighting illuminates the interior for a
period of time after all the doors have been closed.
The ignition must be off for delayed entry lighting
to work. Immediately after all the doors have been
closed, the delayed entry lighting feature will continue
to work until one of the following occurs:
The ignition is in ON/RUN.
The doors are locked.
An illumination period of 25 seconds has elapsed.
If during the illumination period a door is opened,
the timed illumination period will be canceled and the
interior lamps will remain on because a door is open.
Delayed Exit Lighting
This feature illuminates the interior for a period of time
after the key is removed from the ignition.
The ignition must be off for delayed exit lighting to work.
When the key is removed, interior illumination will
activate and remain on until one of the following occurs:
The ignition is in ON/RUN.
The power door locks are activated.
An illumination period of 20 seconds has elapsed.
If during the illumination period a door is opened,
the timed illumination period will be canceled and the
interior lamps will remain on because a door is open.
Parade Dimming
The instrument panel has an added feature called
parade mode. It automatically prohibits the dimming of
the instrument panel displays during the daylight
while the headlamps are on so that you will still be able
to see the displays.
3-18
Page 148 of 400

On hot days, open the windows to let hot inside air
escape; then close them. This helps to reduce the time
it takes for the vehicle to cool down. It also helps the
system to operate more efficiently.
For quick cool down on hot days, do the following:
1. Select the vent mode.
2. Select A/C.
3. Select the coolest temperature for both zones.
4. Select the highest fan speeds.
5. When the coolest temperature is selected in the
A/C mode, the system automatically goes into the
recirculation mode to improve cooling. Press the
Outside Air or Recirculation button to turn off
the automatic recirculation. This feature stays off
until the climate control system is powered on again
or the vehicle has been turned off and on again.
Using these settings together for long periods of time
may cause the air inside the vehicle to become too dry.
To prevent this from happening, after the air inside
the vehicle has cooled, turn the recirculation mode off.
The air conditioning system removes moisture from
the air, so you may sometimes notice a small amount of
water dripping underneath your vehicle while idling or
after turning off the engine. This is normal.Defogging and Defrosting
Fog on the inside of the windows is a result of high
humidity (moisture) condensing on the cool window
glass. This can be minimized if the climate control
system is used properly. There are two modes to clear
fog or frost from your windshield. Use the defog
mode to clear the windows of fog or moisture and warm
the passengers. Use the defrost mode to remove fog
or frost from the windshield more quickly.
Do not drive the vehicle until all the windows are clear.
Turn the right knob clockwise to select the defog or
defrost mode.
-(Defog):This mode directs air equally to the
windshield and the �oor outlets. When defog is selected,
the system turns off recirculation and runs the air
conditioning compressor unless the outside temperature
is below 40°F (4°C).
0(Defrost):This mode directs most of the air to the
windshield with some air to the side window vents and
the �oor vents. When defrost is selected, the system
automatically forces outside air into the vehicle. The air
conditioning compressor will run automatically in this
setting, unless the outside temperature is below
40°F (4°C).
3-24
Page 170 of 400

Fuel Range
Press the trip/fuel button until FUEL RANGE displays.
This display shows the approximate number of
remaining miles (mi) or kilometers (km) the vehicle can
be driven without refueling.
The fuel range estimate is based on an average of the
vehicle’s fuel economy over recent driving history
and the amount of fuel remaining in the fuel tank.
This estimate will change if driving conditions change.
For example, if driving in traffic and making frequent
stops, this display may read one number, but if
the vehicle is driven on a freeway, the number may
change even though the same amount of fuel is in the
fuel tank. This is because different driving conditions
produce different fuel economies. Generally, freeway
driving produces better fuel economy than city driving.
If your vehicle is low on fuel, the FUEL LEVEL LOW
message displays. See “FUEL LEVEL LOW” under
DIC Warnings and Messages on page 3-52for more
information.
Average Economy
Press the trip/fuel button until AVG ECONOMY displays.
This display shows the approximate average miles
per gallon (mpg) or liters per 100 kilometers (L/100 km).This number is calculated based on the number of
mpg (L/100 km) recorded since the last time this menu
item was reset. To reset this display to zero, press
and hold the set/reset button.
Instantaneous Economy and Active Fuel
Management™ Indicator
Press the trip/fuel button until INST ECONOMY displays.
If your vehicle has the Active Fuel Management™
feature, INST ECONOMY 8CYL MODE will display
on vehicles with a V8 engine or INST ECONOMY
6CYL MODE will display on vehicles with a V6 engine.
This display shows the current fuel economy at a
particular moment and will change frequently as driving
conditions change. This display shows the instantaneous
fuel economy in miles per gallon (mpg) or liters per
100 kilometers (L/100 km). Unlike average economy,
this screen cannot be reset.
If your vehicle has the Active Fuel Management™
feature, an Active Fuel Management™ indicator
will display on the right side of the DIC, while
INST ECONOMY displays on the left side. Active Fuel
Management™ allows the engine to operate on either
all or half of its cylinders, depending on your driving
demands.
3-46
Page 171 of 400

For vehicles with a V8 engine, when Active Fuel
Management™ is active, 4CYL MODE will display.
When Active Fuel Management™ is inactive,
8CYL MODE will display.
For vehicles with a V6 engine, when Active Fuel
Management™ is active, 3CYL MODE will display.
When Active Fuel Management™ is inactive,
6CYL MODE will display.
SeeActive Fuel Management™ (3.9L V6 and
5.3L V8 Engines) on page 2-26for more information.
Average Speed
Press the trip/fuel button until AVERAGE SPEED
displays. This display shows the average speed of the
vehicle in miles per hour (mph) or kilometers per
hour (km/h). This average is calculated based on the
various vehicle speeds recorded since the last reset of
this value. To reset the value, press and hold the
set/reset button. The display will return to zero.
Blank Display
This display shows no information.
Vehicle Information Menu Items
T
(Vehicle Information):Press this button to scroll
through the following menu items:
Oil Life
Press the vehicle information button until OIL LIFE
REMAINING displays. This display shows an estimate
of the oil’s remaining useful life. If you see 99% OIL LIFE
REMAINING on the display, that means 99% of the
current oil life remains. The engine oil life system
will alert you to change the oil on a schedule consistent
with your driving conditions.
When the remaining oil life is low, the CHANGE ENGINE
OIL SOON message will appear on the display. See
“CHANGE ENGINE OIL SOON” underDIC Warnings and
Messages on page 3-52. You should change the oil as
soon as possible. SeeEngine Oil on page 5-17.In
addition to the engine oil life system monitoring the oil
life, additional maintenance is recommended in the
Maintenance Schedule in this manual. SeeScheduled
Maintenance on page 6-4for more information.
Remember, you must reset the OIL LIFE yourself after
each oil change. It will not reset itself. Also, be careful not
to reset the OIL LIFE accidentally at any time other than
when the oil has just been changed. It cannot be reset
accurately until the next oil change. To reset the engine
oil life system, seeEngine Oil Life System on page 5-20.
3-47
Page 197 of 400

by pressing either SEEK arrow,\FWD (forward),
or
sREV (reverse) button until the desired levels are
obtained. If a station’s frequency is weak, or has static,
decrease the treble.
Your radio may be capable of adjusting bass, midrange,
or treble to the middle position by pressing the
pushbutton positioned under the BASS, MID (midrange),
or TREB (treble) label for more than two seconds.
The radio beeps once and the level adjusts to the
middle position.
Your radio may also be capable of adjusting all tone
and speaker controls to the middle position by pressing
the
fknob for more than two seconds until the radio
beeps once.
EQ (Equalization):Press to select preset equalization
settings.
To return to the manual mode, press until Manual
displays or start to manually adjust the bass and
depending on your radio, midrange, or treble by pressing
the
fknob.
Adjusting the Speakers (Balance/Fade)
`
BAL/FADE (Balance/Fade):To adjust balance
or fade, press the
`if your radio has this symbol, or
the
fknob until the speaker control labels display.
Continue pressing to highlight the desired label, or press
the pushbutton positioned under the desired label.
Turn the
fknob clockwise or counterclockwise to
adjust the setting. The setting can also be adjusted by
pressing either SEEK arrow,
\FWD, orsREV until
the desired levels are obtained.
Your radio may be capable of adjusting balance or fade
to the middle position by pressing the pushbutton
positioned under the BAL or FADE label for more than
two seconds. The radio beeps once and the level
adjusts to the middle position.
Your radio may also be capable of adjusting all speaker
and tone controls to the middle position by pressing
the
fknob for more than two seconds until the radio
beeps once.
3-73