2008 CHEVROLET EQUINOX engine
[x] Cancel search: enginePage 191 of 436
CHIME VOLUME
This feature allows you to select the volume level
of the chime.
Press the vehicle information button until CHIME
VOLUME appears on the DIC display. Press the
set/reset button to access the settings for this feature.
Then press the vehicle information button to scroll
through the following settings:
NORMAL:The chime volume will be set to a
normal level.
LOUD:The chime volume will be set to a loud level.
NO CHANGE:No change will be made to this feature.
The current setting will remain.
There is no default for chime volume. The volume will
stay at the last known setting.
To select a setting, press the set/reset button while
the desired setting is displayed on the DIC.
REMOTE START
If your vehicle has this feature, it allows you to turn
the remote start off or on. The remote start feature
allows you to start the engine from outside of the
vehicle using the RKE transmitter. SeeRemote
Vehicle Start on page 2-8for more information.Press the vehicle information button until REMOTE
START appears on the DIC display. Press the set/reset
button to access the settings for this feature. Then press
the vehicle information button to scroll through the
following settings:
OFF:The remote start feature will be disabled.
ON (default):The remote start feature will be enabled.
NO CHANGE:No change will be made to this
feature. The current setting will remain.
To select a setting, press the set/reset button while
the desired setting is displayed on the DIC.
FACTORY SETTNGS (Settings)
This feature allows you to set all of the personalization
features back to their factory default settings.
Press the vehicle information button until FACTORY
SETTNGS (Settings) appears on the DIC display.
Press the set/reset button to access the settings for
this feature. Then press the vehicle information button
to scroll through the following settings:
RESTORE ALL (default):The personalization features
will be set to their factory default settings.
DO NOT RESTORE:The personalization features will
not be set to their factory default settings.
To select a setting, press the set/reset button while
the desired setting is displayed on the DIC.
3-63
Page 193 of 436
While your vehicle is parked:
Familiarize yourself with all of its controls.
Familiarize yourself with its operation.
Set up your audio system by presetting your
favorite radio stations, setting the tone, and
adjusting the speakers. Then, when driving
conditions permit, you can tune to your favorite
radio stations using the presets and steering
wheel controls if the vehicle has them.
Notice:Before adding any sound equipment to
your vehicle, such as an audio system, CD player,
CB radio, mobile telephone, or two-way radio, make
sure that it can be added by checking with your
dealer/retailer. Also, check federal rules covering
mobile radio and telephone units. If sound equipment
can be added, it is very important to do it properly.
Added sound equipment may interfere with the
operation of your vehicle’s engine, radio, or other
systems, and even damage them. Your vehicle’s
systems may interfere with the operation of sound
equipment that has been added.
Your vehicle has a feature called Retained Accessory
Power (RAP). With RAP, the audio system can
be played even after the ignition is turned off.
SeeRetained Accessory Power (RAP) on page 2-21
for more information.
Setting the Time
Without Date Display
AM/FM Base Radio with a Single CD Player
This type of radio has aH(clock) button for setting
the time. Set the time by following these steps:
1. Turn the radio on.
2. Press the
Hbutton until the hour begins �ashing
on the display. Press the
Hbutton a second time
and the minutes begin �ashing on the display.
3. While either the hour or the minutes are �ashing,
turn the
f(tune) knob, located on the upper right
side of the radio, clockwise or counterclockwise
to increase or decrease the time. Instead of
using the
fknob, you can also press the SEEK
arrows,
\FWD (forward), orsREV (reverse)
buttons to adjust the time.
4. Press the
Hbutton again until the clock display
stops �ashing to set the currently displayed time;
otherwise, the �ashing stops after �ve seconds and
the current time displayed is automatically set.
3-65
Page 242 of 436
Braking
SeeBrake System Warning Light on page 3-31.
Braking action involves perception time and reaction
time. First, you have to decide to push on the brake
pedal. That is perception time. Then you have to bring
up your foot and do it. That is reaction time.
Average reaction time is about three-fourths of a
second. But that is only an average. It might be less
with one driver and as long as two or three seconds or
more with another. Age, physical condition, alertness,
coordination, and eyesight all play a part. So do alcohol,
drugs, and frustration. But even in three-fourths of
a second, a vehicle moving at 60 mph (100 km/h) travels
66 feet (20 m). That could be a lot of distance in an
emergency, so keeping enough space between your
vehicle and others is important.
And, of course, actual stopping distances vary greatly
with the surface of the road, whether it is pavement
or gravel; the condition of the road, whether it is wet,
dry, or icy; tire tread; the condition of the brakes; the
weight of the vehicle; and the amount of brake force
applied.Avoid needless heavy braking. Some people drive in
spurts — heavy acceleration followed by heavy
braking — rather than keeping pace with traffic. This is
a mistake. The brakes might not have time to cool
between hard stops. The brakes will wear out much faster
if you do a lot of heavy braking. If you keep pace with the
traffic and allow realistic following distances, you will
eliminate a lot of unnecessary braking. That means better
braking and longer brake life.
If your vehicle’s engine ever stops while you are driving,
brake normally but do not pump the brakes. If you do,
the pedal could get harder to push down. If the engine
stops, you will still have some power brake assist. But
you will use it when you brake. Once the power assist is
used up, it can take longer to stop and the brake pedal
will be harder to push.
Adding non-dealer/non-retailer accessories can affect
your vehicle’s performance. SeeAccessories and
Modifications on page 5-3.
4-4
Page 243 of 436
Antilock Brake System (ABS)
Your vehicle has the Antilock Brake System (ABS), an
advanced electronic braking system that will help
prevent a braking skid.
When you start the engine and begin to drive away,
ABS will check itself. You might hear a momentary
motor or clicking noise while this test is going on, and
you might even notice that the brake pedal moves
a little. This is normal.
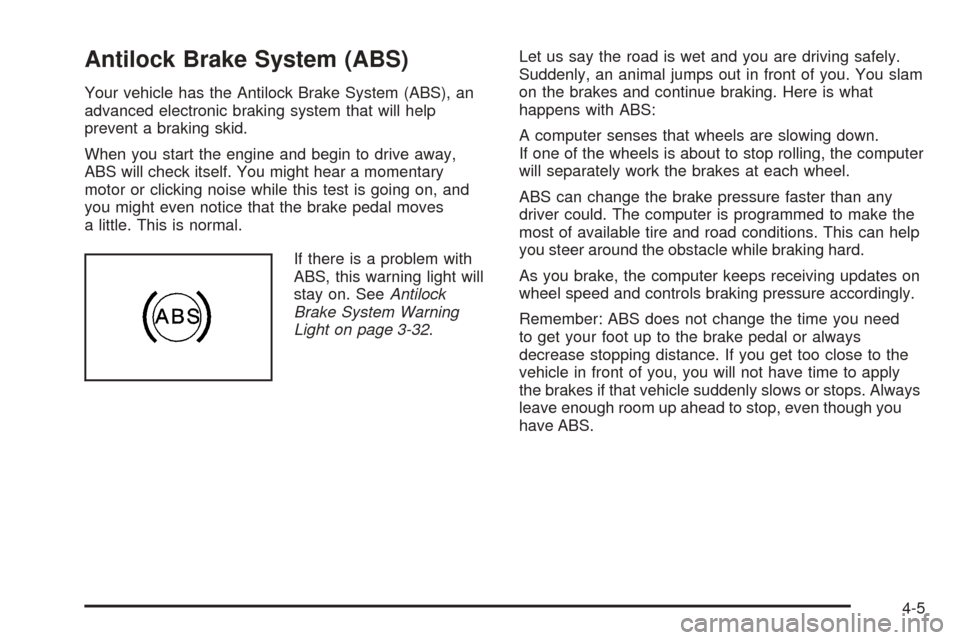
If there is a problem with
ABS, this warning light will
stay on. SeeAntilock
Brake System Warning
Light on page 3-32.Let us say the road is wet and you are driving safely.
Suddenly, an animal jumps out in front of you. You slam
on the brakes and continue braking. Here is what
happens with ABS:
A computer senses that wheels are slowing down.
If one of the wheels is about to stop rolling, the computer
will separately work the brakes at each wheel.
ABS can change the brake pressure faster than any
driver could. The computer is programmed to make the
most of available tire and road conditions. This can help
you steer around the obstacle while braking hard.
As you brake, the computer keeps receiving updates on
wheel speed and controls braking pressure accordingly.
Remember: ABS does not change the time you need
to get your foot up to the brake pedal or always
decrease stopping distance. If you get too close to the
vehicle in front of you, you will not have time to apply
the brakes if that vehicle suddenly slows or stops. Always
leave enough room up ahead to stop, even though you
have ABS.
4-5
Page 244 of 436
Using ABS
Do not pump the brakes. Just hold the brake pedal
down �rmly and let antilock work for you. You might hear
the antilock pump or motor operate, and feel the brake
pedal pulsate, but this is normal.
Braking in Emergencies
With ABS, you can steer and brake at the same time.
In many emergencies, steering can help you more than
even the very best braking.
Panic Brake Assist
Your vehicle has a Panic Brake Assist feature designed
to assist the driver in stopping or decreasing vehicle
speed in emergency driving conditions. This feature
uses the Electronic Stability Control (ESC) hydraulic
brake control module to supplement the power brake
system under conditions where the driver has quickly and
forcefully applied the brake pedal in an attempt to quickly
stop or slow down the vehicle. The ESC hydraulic brake
control module increases brake pressure at each corner
of the vehicle until the Antilock Brake System (ABS)
activates. Minor brake pedal pulsations or pedal
movement during this time is normal and the driver
should continue to apply the brake pedal as the driving
situation dictates. The Panic Brake Assist feature will
automatically disengage when the brake pedal is
released or brake pedal pressure is quickly decreased.
Traction Control System (TCS)
Your vehicle has a traction control system that limits
wheel spin. This is especially useful in slippery road
conditions. The system operates only if it senses that one
or more of the wheels are spinning or beginning to lose
traction. When this happens, the system works the
brakes and reduces engine power to limit wheel spin.
This light �ashes while the
traction control system is
limiting wheel spin.
You may feel or hear the system working, but this is
normal. This light may also come on after extended
heavy braking indicating the brakes have become too
hot to limit wheel spin.
The traction control system automatically comes on
whenever the vehicle is started. To limit wheel spin,
especially in slippery road conditions, you should always
leave the system on. But you can turn the traction control
system off if you ever need to. You should turn the
system off if your vehicle ever gets stuck in sand, mud,
ice, or snow and rocking the vehicle is required. See
Rocking Your Vehicle to Get It Out on page 4-22.
4-6
Page 245 of 436
The traction control system
can be turned off by
pressing the traction control
button, located next to the
gear shift lever.
When the traction control system is turned off, the
traction control warning light on the instrument panel
cluster comes on and TRACTION CONTROL OFF
brie�y displays.
The traction control system can be activated again by
pressing the traction control button. While the traction
control system is activated, the traction control system
warning light on the instrument panel cluster comes
on and TRACTION CONTROL ON brie�y displays.If the system is limiting wheel spin when you press the
button, the traction control off light appears on the
instrument panel cluster. The system will not turn off
until there is no longer a current need to limit wheel spin.
Turn the system back on by pressing the button again. If
the light does not come on, traction control might not be
working and your vehicle should be serviced by a
dealer/retailer.
Adding non-dealer/non-retailer accessories can affect
your vehicle’s performance. SeeAccessories and
Modifications on page 5-3for more information.
StabiliTrak®System
Your vehicle has this feature. The StabiliTrak®system
is an advanced computer controlled system that helps
the driver maintain directional control of the vehicle in
difficult driving conditions. This is accomplished by
selectively applying any one of the vehicle’s brakes and
reducing engine power. The StabiliTrak
®system comes
on automatically whenever you start your vehicle.
4-7
Page 247 of 436
SeeService All-Wheel Drive Light on page 3-39and
DIC Warnings and Messages on page 3-49for more
information.
This light will come on
along with the ALL
WHEEL DRIVE OFF
message when the rear
drive system is
overheating.
This light will turn off when the rear drive system cools
down. If this light stays on, it must be reset. To reset
the light, turn the ignition off and then back on again.
If the light stays on, see your dealer/retailer for service.
SeeDIC Warnings and Messages on page 3-49for
more information.Steering
Electric Power Steering
(3.4L V6 Engine)
If the engine stalls while you are driving, the power
steering assist system will continue to operate until you
are able to stop your vehicle. If you lose power steering
assist because the electric power steering system is not
functioning, you can steer, but it will take more effort.
If you turn the steering wheel in either direction several
times until it stops, or hold the steering wheel in the
stopped position for an extended amount of time, you
may notice a reduced amount of power steering
assist. The normal amount of power steering assist
should return shortly after a few normal steering
movements.
The electric power steering system does not require
regular maintenance. If you suspect steering system
problems, such as abnormally high steering effort for
a prolonged period of time, contact your dealer/retailer
for service repairs.
4-9
Page 248 of 436
Hydraulic Power Steering
(3.6L V6 Engine)
If you lose power steering assist because the engine
stops or the power steering system is not functioning,
you can steer, but it will take much more effort.
Steering Tips
It is important to take curves at a reasonable speed.
A lot of the “driver lost control” accidents mentioned on
the news happen on curves. Here is why:
Experienced driver or beginner, each of us is subject to
the same laws of physics when driving on curves.
The traction of the tires against the road surface makes
it possible for the vehicle to change its path when you
turn the front wheels. If there is no traction, inertia will
keep the vehicle going in the same direction. If you have
ever tried to steer a vehicle on wet ice, you will
understand this.
The traction you can get in a curve depends on the
condition of the tires and the road surface, the angle at
which the curve is banked, and your speed. While you
are in a curve, speed is the one factor you can control.Suppose you are steering through a sharp curve.
Then you suddenly accelerate. Both control
systems — steering and acceleration — have to do their
work where the tires meet the road. Adding the
sudden acceleration can demand too much of those
places. You can lose control. SeeTraction Control
System (TCS) on page 4-6andStabiliTrak
®System
on page 4-7.
What should you do if this ever happens? Ease up on
the brake or accelerator pedal, steer the vehicle the way
you want it to go, and slow down.
Speed limit signs near curves warn that you should
adjust your speed. Of course, the posted speeds are
based on good weather and road conditions. Under less
favorable conditions you will want to go slower.
If you need to reduce your speed as you approach a
curve, do it before you enter the curve, while the
front wheels are straight ahead.
Try to adjust your speed so you can drive through the
curve. Maintain a reasonable, steady speed. Wait
to accelerate until you are out of the curve, and then
accelerate gently into the straightaway.
Adding non-dealer/non-retailer accessories can affect
your vehicle’s performance. SeeAccessories and
Modifications on page 5-3.
4-10