2008 CHEVROLET CORVETTE warning light
[x] Cancel search: warning lightPage 1 of 432

Seats and Restraint Systems........................... 1-1
Front Seats
............................................... 1-2
Safety Belts
.............................................. 1-9
Child Restraints
.......................................1-26
Airbag System
.........................................1-43
Restraint System Check
............................1-58
Features and Controls..................................... 2-1
Keys
........................................................ 2-3
Doors and Locks
......................................2-10
Windows
.................................................2-16
Theft-Deterrent Systems
............................2-18
Starting and Operating Your Vehicle
...........2-21
Mirrors
....................................................2-37
OnStar
®System
......................................2-43
Universal Home Remote System
................2-46
Storage Areas
.........................................2-53
Roof Panel
..............................................2-57
Convertible Top
.......................................2-62
Instrument Panel............................................. 3-1
Instrument Panel Overview
.......................... 3-4
Climate Controls
......................................3-26
Warning Lights, Gages, and Indicators
........3-34
Driver Information Center (DIC)
..................3-51
Audio System(s)
.......................................3-84Driving Your Vehicle....................................... 4-1
Your Driving, the Road, and the Vehicle
....... 4-2
Towing
...................................................4-29
Service and Appearance Care.......................... 5-1
Service
..................................................... 5-3
Fuel
......................................................... 5-5
Checking Things Under the Hood
...............5-12
Rear Axle
...............................................5-51
Headlamp Aiming
.....................................5-51
Bulb Replacement
....................................5-52
Windshield Replacement
...........................5-55
Windshield Wiper Blade Replacement
.........5-55
Tires
......................................................5-58
Appearance Care
.....................................5-87
Vehicle Identi�cation
.................................5-98
Electrical System
......................................5-99
Capacities and Speci�cations
...................5-107
Maintenance Schedule..................................... 6-1
Maintenance Schedule
................................ 6-2
Customer Assistance Information.................... 7-1
Customer Assistance and Information
........... 7-2
Reporting Safety Defects
...........................7-16
Vehicle Data Recording and Privacy
...........7-18
Index................................................................ 1
2008 Chevrolet Corvette Owner ManualM
Page 84 of 432
Immobilizer
This device complies with Part 15 of the FCC Rules.
Operation is subject to the following two conditions:
1. This device may not cause interference.
2. This device must accept any interference received,
including interference that may cause undesired
operation.
This device complies with RSS-210 of Industry Canada.
Operation is subject to the following two conditions:
1. This device may not cause interference.
2. This device must accept any interference received,
including interference that may cause undesired
operation of the device.
Changes or modi�cations to this system by other than
an authorized service facility could void authorization to
use this equipment.
Immobilizer Operation
This vehicle has a passive theft-deterrent system.
The system is automatically armed when the ignition
mode transitions to off.
The immobilization system is disarmed when the ignition
mode transitions to OFF/ACCESSORY or START and
a valid transmitter is found in the vehicle.You do not have to manually arm or disarm the system.
The security light comes on if there is a problem with
arming or disarming the theft-deterrent system.
The system has one or more keyless access
transmitters that are matched to an immobilizer control
unit in the vehicle. Only a correctly matched keyless
access transmitter starts the vehicle. The vehicle
may not start if the keyless access transmitter is
damaged.
If the engine does not start and the security light comes
on, there may be a problem with the immobilizer
system. Press the START button again.
If the vehicle does not start and the keyless access
transmitter appears to be undamaged, try another
keyless access transmitter. Or, place the transmitter in
the transmitter pocket. See “NO FOBS DETECTED”
underDIC Warnings and Messages on page 3-57for
additional information. Check the fuse. SeeFuses and
Circuit Breakers on page 5-100. If the engine still does
not start with the other transmitter, the vehicle needs
service. If the engine does start, the �rst transmitter may
be
faulty. See your dealer/retailer who can service the
theft-deterrent system and have a new keyless access
transmitter programmed to the vehicle.
2-20
Page 96 of 432

Downshifting (Manual Transmission)
Do not downshift into the gear shown below at a speed
greater than shown in the table:
FIRST (1) 50 mph (80 km/h)
SECOND (2) 74 mph (119 km/h)
THIRD (3) 101 mph (163 km/h)
FOURTH (4) 130 mph (209 km/h)
Notice:If you skip more than one gear when you
downshift, or if you race the engine when you
release the clutch pedal while downshifting, you
could damage the engine, clutch, driveshaft or the
transmission. Do not skip gears or race the
engine when downshifting.
The six-speed transmission has a spring that centers
the shift lever near THIRD (3) and FOURTH (4).
This spring helps you know which gear you are in when
you are shifting. Be careful when shifting from
FIRST (1) to SECOND (2) or downshifting from
SIXTH (6) to FIFTH (5). The spring will try to pull the
shift lever toward FOURTH (4) and THIRD (3).
Make sure you move the lever into SECOND (2) or
FIFTH (5). If you let the shift lever move in the direction
of the pulling, you may end up shifting from FIRST (1)
to FOURTH (4) or from SIXTH (6) to THIRD (3).
Parking Brake
The parking brake lever is located to the right of the
center console.
To set the parking brake, hold the brake pedal down.
Pull the parking brake lever up. If the ignition is on, the
brake system warning light will come on.
To release the parking brake, hold the brake pedal
down. Then push the release button in as you move the
parking brake lever all the way down.
Notice:Driving with the parking brake on can
overheat the brake system and cause premature
wear or damage to brake system parts. Make sure
that the parking brake is fully released and the brake
warning light is off before driving.
2-32
Page 137 of 432
Instrument Panel Overview...............................3-4
Hazard Warning Flashers................................3-6
Other Warning Devices...................................3-7
Horn .............................................................3-7
Tilt Wheel.....................................................3-7
Turn Signal/Multifunction Lever.........................3-8
Turn and Lane-Change Signals (Auto Signal).....3-9
Headlamp High/Low-Beam Changer..................3-9
Flash-to-Pass...............................................3-10
Windshield Wipers........................................3-10
Windshield Washer.......................................3-11
Cruise Control..............................................3-11
Exterior Lamps.............................................3-15
Wiper Activated Headlamps............................3-16
Headlamps on Reminder................................3-16
Daytime Running Lamps (DRL).......................3-16
Fog Lamps ..................................................3-17
Twilight Sentinel
®..........................................3-18
Exterior Lighting Battery Saver........................3-19
Instrument Panel Brightness...........................3-19
Courtesy Lamps...........................................3-19
Entry/Exit Lighting.........................................3-19
Reading Lamps............................................3-20Battery Run-Down Protection..........................3-20
Head-Up Display (HUD).................................3-20
Accessory Power Outlet(s).............................3-24
Ashtray(s) and Cigarette Lighter......................3-25
Climate Controls............................................3-26
Dual Automatic Climate Control System...........3-26
Outlet Adjustment.........................................3-32
Passenger Compartment Air Filter...................3-32
Warning Lights, Gages, and Indicators............3-34
Instrument Panel Cluster................................3-35
Speedometer and Odometer...........................3-36
Tachometer.................................................3-36
Safety Belt Reminders...................................3-36
Airbag Readiness Light..................................3-37
Passenger Airbag Status Indicator...................3-38
Voltmeter Gage............................................3-40
One-to-Four Shift Light
(Manual Transmission)...............................3-40
Brake System Warning Light..........................3-41
Antilock Brake System (ABS) Warning Light........3-42
Traction Control System (TCS) Warning Light......3-42
Active Handling System Light.........................3-43
Engine Coolant Temperature Gage..................3-44
Section 3 Instrument Panel
3-1
Page 138 of 432
Tire Pressure Light.......................................3-44
Malfunction Indicator Lamp.............................3-45
Engine Oil Pressure Gage.............................3-48
Security Light...............................................3-49
Fog Lamp Light............................................3-49
Lights On Reminder......................................3-50
Highbeam On Light.......................................3-50
Fuel Gage...................................................3-50
Driver Information Center (DIC).......................3-51
DIC Operation and Displays...........................3-52
DIC Warnings and Messages.........................3-57
Other Messages...........................................3-74
DIC Vehicle Personalization............................3-75Audio System(s).............................................3-84
Setting the Clock..........................................3-85
Radio(s)......................................................3-85
Using an MP3..............................................3-98
XM Radio Messages...................................3-102
Navigation/Radio System..............................3-103
Theft-Deterrent Feature................................3-103
Audio Steering Wheel Controls......................3-103
Radio Reception.........................................3-104
Diversity Antenna System.............................3-105
XM™ Satellite Radio Antenna System............3-105
Section 3 Instrument Panel
3-2
Page 142 of 432
T. Heated Seat Controls (If Equipped). SeeHeated
Seats on page 1-4.
U. Shift Lever (Automatic Shown). SeeAutomatic
Transmission Operation on page 2-26orManual
Transmission Operation on page 2-30.
V. Active Handling Button. SeeActive Handling System
on page 4-7.
W. Accessory Power Outlet. SeeAccessory Power
Outlet(s) on page 3-24.
X. Selective Ride Control. SeeSelective Ride Control
on page 4-10.
Y. Center Console Cupholder. SeeCupholders on
page 2-53.
Z. Ashtray and Cigarette Lighter. SeeAshtray(s) and
Cigarette Lighter on page 3-25.
AA. Parking Brake. SeeParking Brake on page 2-32.
AB. Glove Box. SeeGlove Box on page 2-53.
AC. Instrument Panel Fuse Block. SeeInstrument Panel
Fuse Block on page 5-100.Hazard Warning Flashers
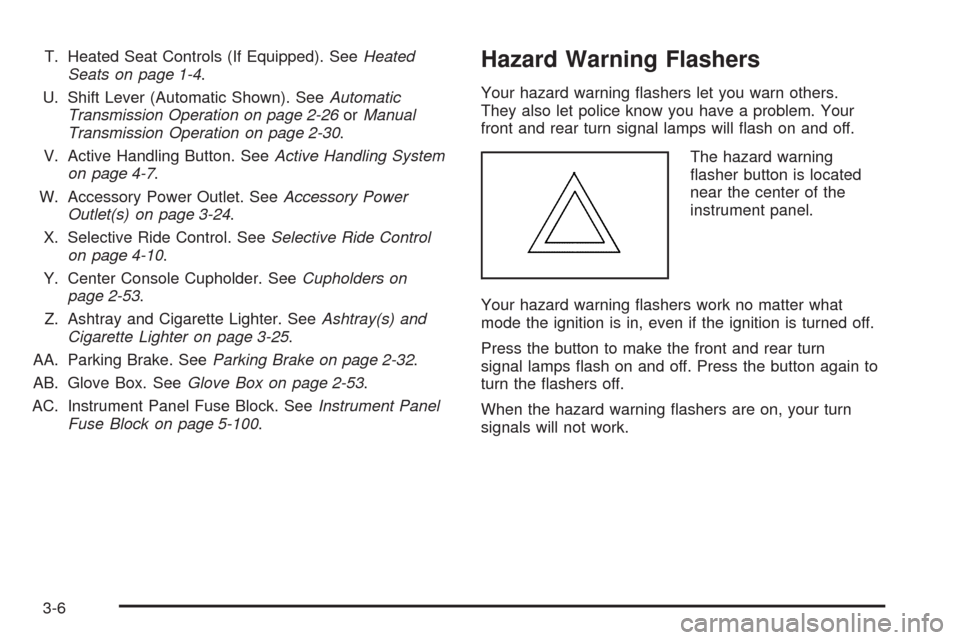
Your hazard warning �ashers let you warn others.
They also let police know you have a problem. Your
front and rear turn signal lamps will �ash on and off.
The hazard warning
�asher button is located
near the center of the
instrument panel.
Your hazard warning �ashers work no matter what
mode the ignition is in, even if the ignition is turned off.
Press the button to make the front and rear turn
signal lamps �ash on and off. Press the button again to
turn the �ashers off.
When the hazard warning �ashers are on, your turn
signals will not work.
3-6
Page 150 of 432
Using Cruise Control on Hills
How well your cruise control will work on hills depends
upon your speed, load, and the steepness of the
hills. When going up steep hills, you might want to step
on the accelerator pedal to maintain the vehicle’s
speed. When going downhill, you might have to brake
or shift to a lower gear to keep the vehicle’s speed
down. Of course, applying the brake turns off the cruise
control. Many drivers �nd this to be too much trouble
and do not use cruise control on steep hills.
Cruise Control in Sport (S) and Manual
Paddle Shift Gear Selection
When your vehicle is in Sport (S) and the manual
paddle shift controls are not being used, cruise control
operates in the same manner as Drive (D).
When your vehicle is in Sport (S) and the manual
paddle shift controls are being used, cruise control
operates as follows:
If cruise control is active and a gear is selected
with the manual paddle shift controls, the vehicle
maintains vehicle speed in the driver selected gear
and will not automatically up-shift or down-shift
the transmission while the driver’s gear selection
is active.
If driving in hilly terrain, cruise control may not
be able to maintain vehicle speed if an up-shift
or down-shift is not selected by the driver.
While driving on hilly terrain and cruise control is
active with a manual paddle shift gear selection,
the driver must select the proper gear for the terrain
or select Drive (D) on the gear range selector for
full automatic transmission operation.
Ending Cruise Control
To end a cruise control session, step lightly on the
brake pedal. If your vehicle has a manual transmission,
lightly tapping the clutch will also end a cruise control
session.
Move the cruise control switch to off to turn the system
completely off.
When cruise control is disengaged, the CRUISE
DISENGAGED message displays on the Driver
Information Center (DIC). SeeDIC Warnings and
Messages on page 3-57.
Erasing Speed Memory
When you turn off the cruise control or the ignition,
the cruise control set speed memory is erased.
3-14
Page 152 of 432
Wiper Activated Headlamps
This feature activates the headlamps and parking lamps
after the windshield wipers have been in use for
approximately 15 seconds and deactivates and returns
to ambient lighting conditions 15 seconds after the
wipers are turned off.
If the exterior lamp control has been turned off or is in
the parking lamp position while the wiper control is
active in any position, the HEADLAMPS SUGGESTED
message appears on the Driver Information Center
(DIC). SeeDIC Warnings and Messages on page 3-57.
When the ignition is turned off, the wiper-activated
headlamps will immediately turn off.
Headlamps on Reminder
A warning chime will sound if the exterior lamp control
is left on in either the headlamp or parking lamp position
and the driver’s door is opened with the ignition off.
Daytime Running Lamps (DRL)
Daytime Running Lamps (DRL) can make it easier for
others to see the front of your vehicle during the
day. DRL can be helpful in many different driving
conditions, but they can be especially helpful in the short
periods after dawn and before sunset. Fully functional
daytime running lamps are required on all vehicles
�rst sold in Canada.
The DRL system will make the front turn signal lamps
come on when the following conditions are met:
It is still daylight and the ignition is on.
The exterior lamp control is in the AUTO position.
The transmission is not in PARK (P) or the
parking brake is off.
The parking brake is off or the vehicle speed is
greater than 8 mph (13 km/h).
When DRL are on, only the front turn signal lamps will
be on. No other exterior lamps such as the parking
lamps, taillamps, etc. will be on when the DRL are being
used. The instrument panel will not be lit up either.
3-16