2008 CHEVROLET CORVETTE CD changer
[x] Cancel search: CD changerPage 137 of 432
Instrument Panel Overview...............................3-4
Hazard Warning Flashers................................3-6
Other Warning Devices...................................3-7
Horn .............................................................3-7
Tilt Wheel.....................................................3-7
Turn Signal/Multifunction Lever.........................3-8
Turn and Lane-Change Signals (Auto Signal).....3-9
Headlamp High/Low-Beam Changer..................3-9
Flash-to-Pass...............................................3-10
Windshield Wipers........................................3-10
Windshield Washer.......................................3-11
Cruise Control..............................................3-11
Exterior Lamps.............................................3-15
Wiper Activated Headlamps............................3-16
Headlamps on Reminder................................3-16
Daytime Running Lamps (DRL).......................3-16
Fog Lamps ..................................................3-17
Twilight Sentinel
®..........................................3-18
Exterior Lighting Battery Saver........................3-19
Instrument Panel Brightness...........................3-19
Courtesy Lamps...........................................3-19
Entry/Exit Lighting.........................................3-19
Reading Lamps............................................3-20Battery Run-Down Protection..........................3-20
Head-Up Display (HUD).................................3-20
Accessory Power Outlet(s).............................3-24
Ashtray(s) and Cigarette Lighter......................3-25
Climate Controls............................................3-26
Dual Automatic Climate Control System...........3-26
Outlet Adjustment.........................................3-32
Passenger Compartment Air Filter...................3-32
Warning Lights, Gages, and Indicators............3-34
Instrument Panel Cluster................................3-35
Speedometer and Odometer...........................3-36
Tachometer.................................................3-36
Safety Belt Reminders...................................3-36
Airbag Readiness Light..................................3-37
Passenger Airbag Status Indicator...................3-38
Voltmeter Gage............................................3-40
One-to-Four Shift Light
(Manual Transmission)...............................3-40
Brake System Warning Light..........................3-41
Antilock Brake System (ABS) Warning Light........3-42
Traction Control System (TCS) Warning Light......3-42
Active Handling System Light.........................3-43
Engine Coolant Temperature Gage..................3-44
Section 3 Instrument Panel
3-1
Page 144 of 432
Telescopic Steering Column
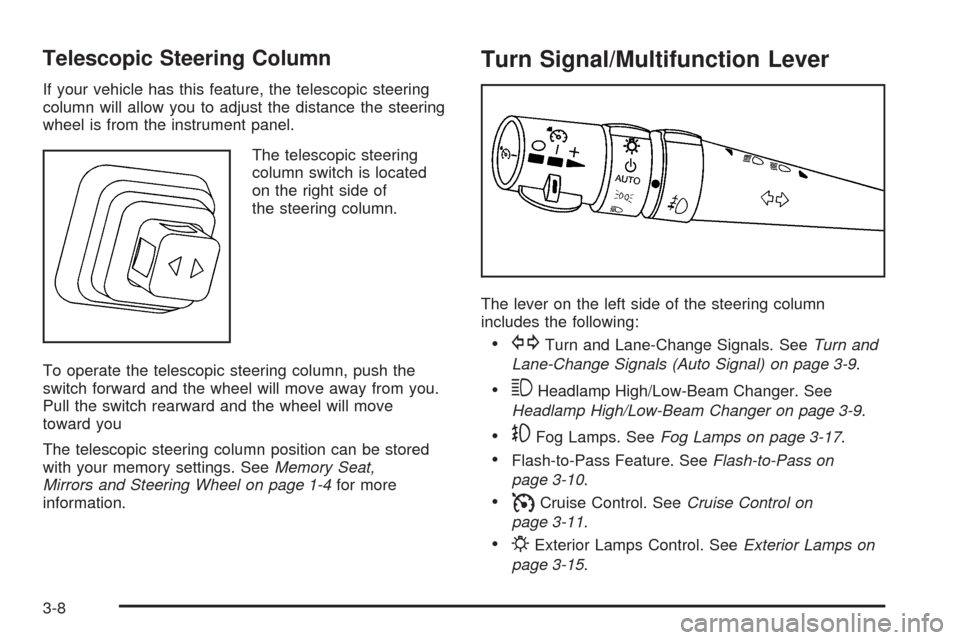
If your vehicle has this feature, the telescopic steering
column will allow you to adjust the distance the steering
wheel is from the instrument panel.
The telescopic steering
column switch is located
on the right side of
the steering column.
To operate the telescopic steering column, push the
switch forward and the wheel will move away from you.
Pull the switch rearward and the wheel will move
toward you
The telescopic steering column position can be stored
with your memory settings. SeeMemory Seat,
Mirrors and Steering Wheel on page 1-4for more
information.
Turn Signal/Multifunction Lever
The lever on the left side of the steering column
includes the following:
GTurn and Lane-Change Signals. SeeTurn and
Lane-Change Signals (Auto Signal) on page 3-9.
3Headlamp High/Low-Beam Changer. See
Headlamp High/Low-Beam Changer on page 3-9.
-Fog Lamps. SeeFog Lamps on page 3-17.
Flash-to-Pass Feature. SeeFlash-to-Pass on
page 3-10.
ICruise Control. SeeCruise Control on
page 3-11.
PExterior Lamps Control. SeeExterior Lamps on
page 3-15.
3-8
Page 145 of 432
Turn and Lane-Change Signals
(Auto Signal)
The turn signal has two upward (for right) and two
downward (for left) positions. These positions allow you
to signal a turn or a lane change.
To signal a turn, move the multifunction lever all the
way up or down. When the turn is �nished, the lever will
return automatically.
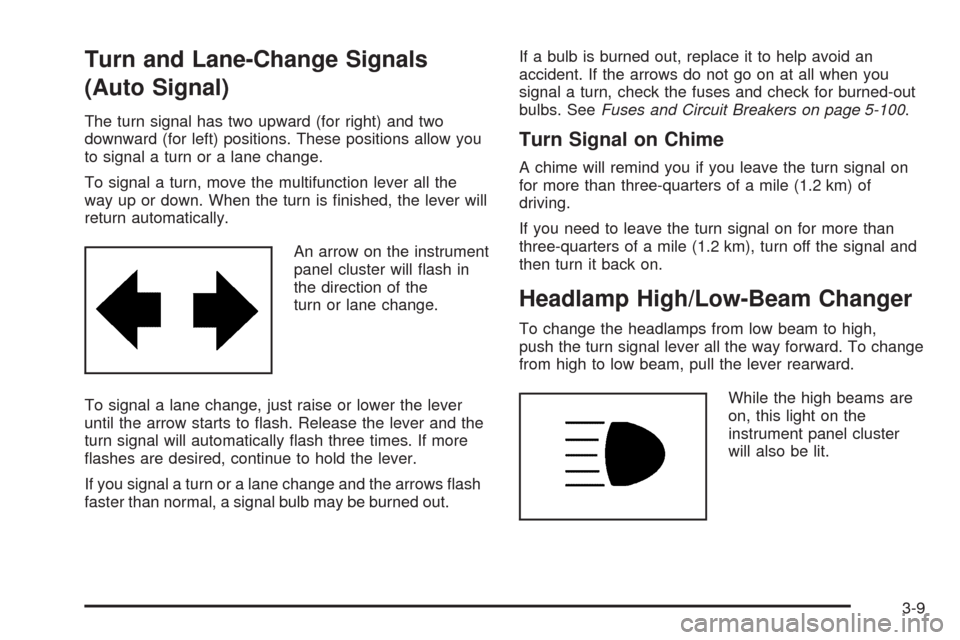
An arrow on the instrument
panel cluster will �ash in
the direction of the
turn or lane change.
To signal a lane change, just raise or lower the lever
until the arrow starts to �ash. Release the lever and the
turn signal will automatically �ash three times. If more
�ashes are desired, continue to hold the lever.
If you signal a turn or a lane change and the arrows �ash
faster than normal, a signal bulb may be burned out.If a bulb is burned out, replace it to help avoid an
accident. If the arrows do not go on at all when you
signal a turn, check the fuses and check for burned-out
bulbs. SeeFuses and Circuit Breakers on page 5-100.
Turn Signal on Chime
A chime will remind you if you leave the turn signal on
for more than three-quarters of a mile (1.2 km) of
driving.
If you need to leave the turn signal on for more than
three-quarters of a mile (1.2 km), turn off the signal and
then turn it back on.
Headlamp High/Low-Beam Changer
To change the headlamps from low beam to high,
push the turn signal lever all the way forward. To change
from high to low beam, pull the lever rearward.
While the high beams are
on, this light on the
instrument panel cluster
will also be lit.
3-9
Page 186 of 432
Lights On Reminder
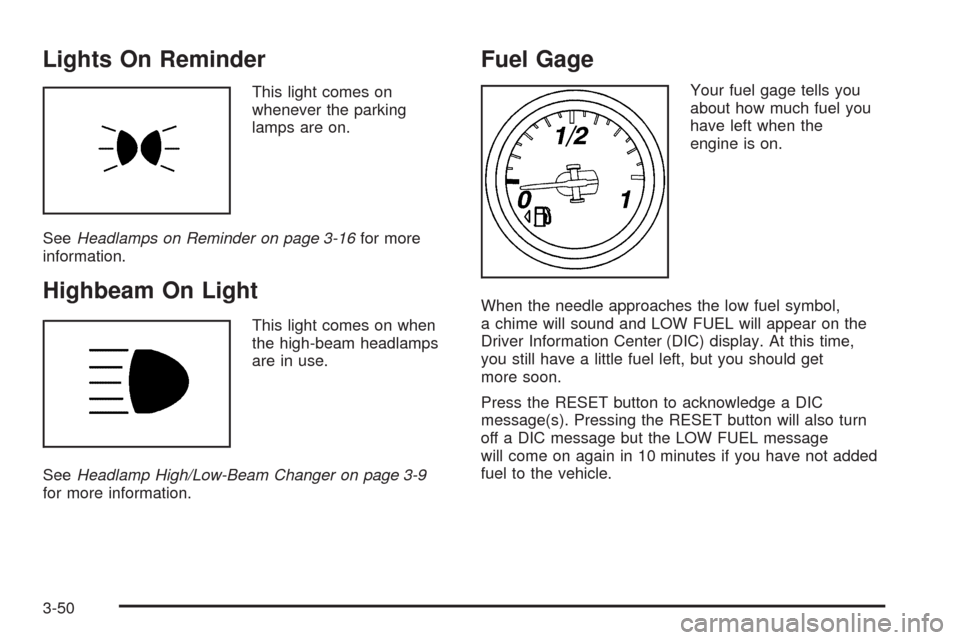
This light comes on
whenever the parking
lamps are on.
SeeHeadlamps on Reminder on page 3-16for more
information.
Highbeam On Light
This light comes on when
the high-beam headlamps
are in use.
SeeHeadlamp High/Low-Beam Changer on page 3-9
for more information.
Fuel Gage
Your fuel gage tells you
about how much fuel you
have left when the
engine is on.
When the needle approaches the low fuel symbol,
a chime will sound and LOW FUEL will appear on the
Driver Information Center (DIC) display. At this time,
you still have a little fuel left, but you should get
more soon.
Press the RESET button to acknowledge a DIC
message(s). Pressing the RESET button will also turn
off a DIC message but the LOW FUEL message
will come on again in 10 minutes if you have not added
fuel to the vehicle.
3-50
Page 234 of 432
Using the Auxiliary Input Jack
The radio system has an auxiliary input jack located on
the right side of the faceplate. This is not an audio
output; do not plug the headphone set into the front
auxiliary input jack. An external audio device such as an
iPod, laptop computer, MP3 player, CD changer, etc.
can be connected to the auxiliary input jack for use
as another source for audio listening.
Drivers are encouraged to set up any auxiliary device
while the vehicle is in PARK (P). SeeDefensive
Driving on page 4-2.
To use a portable audio player, connect a 3.5 mm
(1/8 inch) cable to the radio’s front auxiliary input jack.
When a device is connected, the radio displays AUX
INPUT DEVICE and begins playing audio from that
device.
Top Knob (Power/Volume):Turn clockwise or
counterclockwise to increase or decrease the volume of
the portable player. Additional volume adjustments
might need to be made from the portable device.
BAND:Press to listen to the radio while a portable audio
device is playing. The portable audio device continues
playing, so you might want to stop it or turn it off.CD/AUX (CD/Auxiliary):Press to play a CD while a
portable audio device is playing. Press again and
the system begins playing audio from the connected
portable audio player. If a portable audio player is
connected, AUX INPUT DEVICE displays. If a portable
audio player is not connected, AUX INPUT DEVICE
does not display.
Using an MP3
MP3 CD-R Disc
MP3 Format
If you burn your own MP3 disc on a personal computer:
Make sure the MP3 �les are recorded on a
CD-R disc.
Do not mix standard audio and MP3 �les on
one disc.
Make sure playlists have a .mp3 or .wpl extension,
other �le extensions might not work.
Files can be recorded with a variety of �xed or
variable bit rates. Song title, artist name, and album
are available for display by the radio when
recorded using ID3 tags version 1 and 2.
3-98
Page 424 of 432
G
Gage
Engine Coolant Temperature.........................3-44
Engine Oil Pressure.....................................3-48
Fuel..........................................................3-50
Speedometer..............................................3-36
Tachometer.................................................3-36
Voltmeter Gage...........................................3-40
Garage Door Opener.......................................2-46
Gasoline
Octane........................................................ 5-5
Speci�cations............................................... 5-6
Glove Box.....................................................2-53
GM Mobility Reimbursement Program.................. 7-7
H
Hatch/Trunk...................................................2-13
Hazard Warning Flashers................................... 3-6
Headlamp
Aiming .......................................................5-51
Headlamp Wiring............................................5-99
Headlamps
Bulb Replacement.......................................5-52
Daytime Running Lamps...............................3-16
Exterior Lamps............................................3-15
Flash-to-Pass..............................................3-10Headlamps (cont.)
Halogen Bulbs............................................5-52
Headlamps, Front Turn Signal, and
Parking Lamps.........................................5-53
High Intensity Discharge (HID) Lighting...........5-52
High/Low Beam Changer................................ 3-9
On Reminder..............................................3-16
Wiper Activated...........................................3-16
Head-Up Display (HUD)...................................3-20
Heated Seats................................................... 1-4
Heater...........................................................3-26
Highbeam On Light.........................................3-50
High-Speed Operation, Tires.............................5-68
Highway Hypnosis...........................................4-18
Hill and Mountain Roads..................................4-18
Hood
Checking Things Under................................5-12
Release.....................................................5-13
Horn ............................................................... 3-7
How to Wear Safety Belts Properly...................1-14
Hydraulic Clutch.............................................5-27
I
Ignition Positions.............................................2-22
Immobilizer....................................................2-20
Immobilizer Operation......................................2-20
Infants and Young Children, Restraints...............1-30
6
Page 425 of 432
In�ation - Tire Pressure...................................5-66
Installing the Roof Panel..................................2-60
Instrument Panel
Brightness..................................................3-19
Cluster.......................................................3-35
Overview..................................................... 3-4
J
Jump Starting.................................................5-46
K
Keyless Access System..................................... 2-5
Keyless Access System, Operation...................... 2-6
Keys............................................................... 2-3
L
Labeling, Tire Sidewall.....................................5-60
Lamps
Courtesy....................................................3-19
Exterior Lighting Battery Saver......................3-19
Reading.....................................................3-20
Twilight Sentinel
®........................................3-18
Lap-Shoulder Belt...........................................1-23LATCH System
Child Restraints...................................1-36, 1-39
Latches, Seatback............................................ 1-8
Lifting the Vehicle, Tires...................................5-81
Light
Active Handling System................................3-43
Airbag Readiness........................................3-37
Anti-lock Brake System (ABS) Warning...........3-42
Brake System Warning.................................3-41
Fog Lamp ..................................................3-49
Highbeam On.............................................3-50
Lights On Reminder.....................................3-50
Malfunction Indicator....................................3-45
One-to-Four Shift.........................................3-40
Passenger Airbag Status Indicator..................3-38
Safety Belt Reminders..................................3-36
Security.....................................................3-49
TCS Warning Light......................................3-42
Tire Pressure..............................................3-44
Traction Control System (TCS) Warning..........3-42
Lighting
Entry/Exit...................................................3-19
Lights
Exterior Lamps............................................3-15
Flash-to-Pass..............................................3-10
High/Low Beam Changer................................ 3-9
On Reminder..............................................3-16
7