2008 CHEVROLET AVEO brake fluid
[x] Cancel search: brake fluidPage 206 of 384
Before Leaving on a Long Trip
To prepare your vehicle for a long trip, consider having
it serviced by your dealer/retailer before departing.
Things to check on your own include:
•Windshield Washer Fluid:Reservoir full?
Windows clean — inside and outside?
•Wiper Blades:In good shape?
•Fuel, Engine Oil, Other Fluids:All levels checked?
•Lamps:Do they all work and are lenses clean?
•Tires:Are treads good? Are tires inflated to
recommended pressure?
•Weather and Maps:Safe to travel?
Have up-to-date maps?
Highway Hypnosis
Always be alert and pay attention to your surroundings
while driving. If you become tired or sleepy, find a
safe place to park your vehicle and rest.
Other driving tips include:
•Keep the vehicle well ventilated.
•Keep interior temperature cool.
•Keep your eyes moving — scan the road ahead
and to the sides.
•Check the rearview mirror and vehicle
instruments often.
Hill and Mountain Roads
Driving on steep hills or through mountains is different
than driving on flat or rolling terrain. Tips for driving
in these conditions include:
•Keep your vehicle serviced and in good shape.
•Check all fluid levels and brakes, tires, cooling
system, and transmission.
•Going down steep or long hills, shift to a lower gear.
{CAUTION:
If you do not shift down, the brakes could
get so hot that they would not work well.
You would then have poor braking or even
none going down a hill. You could crash.
Shift down to let the engine assist the brakes
on a steep downhill slope.
4-12
Page 223 of 384

Service............................................................5-3
Accessories and Modifications..........................5-3
California Proposition 65 Warning.....................5-4
California Perchlorate Materials Requirements.....5-4
Doing Your Own Service Work.........................5-4
Adding Equipment to the Outside
of Your Vehicle...........................................5-5
Fuel................................................................5-5
Gasoline Octane............................................5-5
Gasoline Specifications....................................5-5
California Fuel...............................................5-6
Additives.......................................................5-6
Fuels in Foreign Countries...............................5-7
Filling the Tank..............................................5-7
Filling a Portable Fuel Container.......................5-9
Checking Things Under the Hood....................5-10
Hood Release..............................................5-10
Engine Compartment Overview.......................5-12
Engine Oil...................................................5-13
Engine Air Cleaner/Filter................................5-17
Automatic Transmission Fluid.........................5-19
Manual Transmission Fluid.............................5-21
Hydraulic Clutch...........................................5-21
Engine Coolant.............................................5-22
Coolant Surge Tank Pressure Cap..................5-25
Engine Overheating.......................................5-25
Cooling System............................................5-26Power Steering Fluid.....................................5-30
Windshield Washer Fluid................................5-31
Brakes........................................................5-32
Battery........................................................5-35
Jump Starting...............................................5-36
Headlamp Aiming...........................................5-40
Bulb Replacement..........................................5-41
Halogen Bulbs
..............................................5-41
Headlamps (Hatchback).................................5-41
Headlamps (Sedan)......................................5-42
Front Turn Signal and Parking Lamps
(Hatchback)..............................................5-43
Front Turn Signal and Parking Lamps (Sedan).....5-44
Turn Signal Lamps (Side)..............................5-45
Center High-Mounted Stoplamp (CHMSL)
(Sedan)...................................................5-46
Taillamps, Turn Signal, Stoplamps and
Back-up Lamps.........................................5-47
License Plate Lamp......................................5-48
Replacement Bulbs.......................................5-48
Windshield Wiper Blade Replacement..............5-49
Tires..............................................................5-50
Tire Sidewall Labeling...................................5-51
Tire Terminology and Definitions.....................5-54
Inflation - Tire Pressure.................................5-57
Tire Pressure Monitor System.........................5-58
Tire Pressure Monitor Operation.....................5-60
Section 5 Service and Appearance Care
5-1
Page 235 of 384
A. Engine Air Cleaner/Filter. SeeEngine Air
Cleaner/Filter on page 5-17.
B. Engine Oil Fill Cap. See “When to Add Engine Oil”
underEngine Oil on page 5-13.
C. Engine Oil Dipstick. See “Checking Engine Oil”
underEngine Oil on page 5-13.
D. Brake/Clutch Fluid Reservoir. See “Brake Fluid”
underBrakes on page 5-32andHydraulic Clutch on
page 5-21.
E. Automatic Transmission Dipstick. SeeAutomatic
Transmission Fluid on page 5-19.
F. Engine Coolant Surge Tank. SeeCooling System on
page 5-26.
G. Engine Compartment Fuse Block. SeeEngine
Compartment Fuse Block on page 5-94.
H. Power Steering Fluid Reservoir. SeePower Steering
Fluid on page 5-30.
I. Battery. SeeBattery on page 5-35.
J. Windshield Washer Fluid Reservoir. See “Adding
Washer Fluid” underWindshield Washer Fluid
on page 5-31.Engine Oil
If the engine oil pressure
light comes on, check the
engine oil level right away.
The oil pressure light is on the instrument panel cluster
for sedans. SeeOil Pressure Light on page 3-39.
For hatchbacks, the oil pressure light is on the
Secondary Information Center (SIC). SeeOil Pressure
Light on page 3-52. You should check the engine
oil level regularly; this is an added reminder.
5-13
Page 242 of 384
Checking the Fluid Level
Prepare your vehicle as follows:
1. Park your vehicle on a level place. Keep the engine
running.
2. With the parking brake applied, place the shift lever
in PARK (P).
3. With your foot on the brake pedal, move the shift
lever through each gear range, pausing for about
three seconds in each range. Then, position
the shift lever in PARK (P).
4. Let the engine run at idle for three to five minutes.
Then, without shutting off the engine, follow these steps:
The automatic transmission dipstick is located toward
the front of the engine compartment, near the power
steering fluid reservoir. SeeEngine Compartment
Overview on page 5-12for more information on location.
1. Pull out the dipstick and wipe it with a clean rag
or paper towel.
2. Push the dipstick back in all the way, wait three
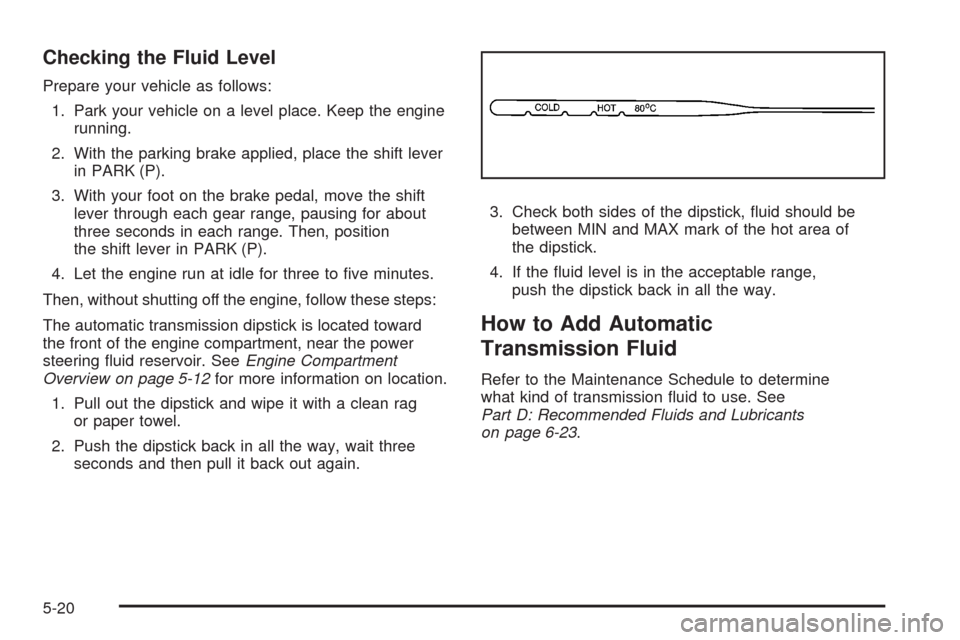
seconds and then pull it back out again.3. Check both sides of the dipstick, fluid should be
between MIN and MAX mark of the hot area of
the dipstick.
4. If the fluid level is in the acceptable range,
push the dipstick back in all the way.
How to Add Automatic
Transmission Fluid
Refer to the Maintenance Schedule to determine
what kind of transmission fluid to use. See
Part D: Recommended Fluids and Lubricants
on page 6-23.
5-20
Page 243 of 384
If the fluid level is low, add only enough of the proper
fluid to bring the level into the area between the
two dimples in the hot range on the dipstick.
1. Pull out the dipstick.
2. Using a long-neck funnel, add enough fluid at the
dipstick hole to bring it to the proper level.
It does not take much fluid, generally less than
one pint (0.5 L). Do not overfill.
Notice:Use of the incorrect automatic transmission
�uid may damage your vehicle, and the damages may
not be covered by your warranty. Always use the
automatic transmission �uid listed inPart D:
Recommended Fluids and Lubricants on page 6-23.
3. After adding fluid, recheck the fluid level as
described under “How to Check Automatic
Transmission Fluid,” earlier in this section.
4. When the correct fluid level is obtained, push the
dipstick back in all the way.Manual Transmission Fluid
It is not necessary to check the transmission fluid level.
A transmission fluid leak is the only reason for fluid loss.
If a leak occurs, take the vehicle to the dealer/retailer
service department and have it repaired as soon as
possible. SeePart D: Recommended Fluids and
Lubricants on page 6-23for the proper fluid to use.
Hydraulic Clutch
There is one reservoir for both the brake and the
hydraulic clutch fluid. SeeBrakes on page 5-32for
more information.
The hydraulic clutch linkage in your vehicle is
self-adjusting. The master cylinder reservoir is filled
with hydraulic fluid.
A fluid loss in this system could indicate a problem.
Have the system inspected and repaired.
When to Check and What to Use
Refer to the Maintenance Schedule to determine
how often you should check the fluid level in your
master cylinder reservoir and for the proper fluid.
SeePart B: Owner Checks and Services on page 6-18
andPart D: Recommended Fluids and Lubricants
on page 6-23.
5-21
Page 254 of 384
Adding Washer Fluid
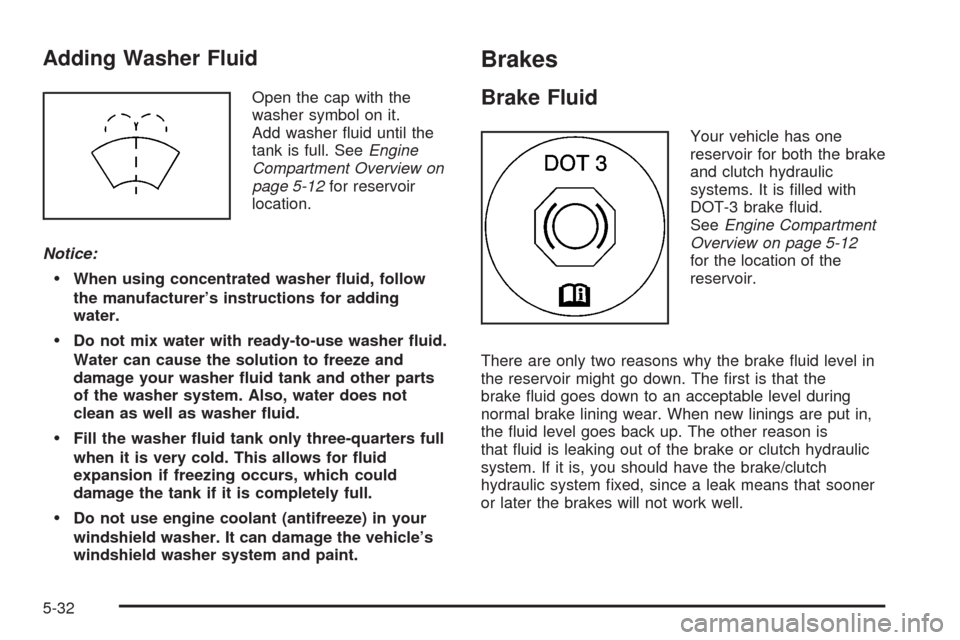
Open the cap with the
washer symbol on it.
Add washer fluid until the
tank is full. SeeEngine
Compartment Overview on
page 5-12for reservoir
location.
Notice:
When using concentrated washer �uid, follow
the manufacturer’s instructions for adding
water.
Do not mix water with ready-to-use washer �uid.
Water can cause the solution to freeze and
damage your washer �uid tank and other parts
of the washer system. Also, water does not
clean as well as washer �uid.
Fill the washer �uid tank only three-quarters full
when it is very cold. This allows for �uid
expansion if freezing occurs, which could
damage the tank if it is completely full.
Do not use engine coolant (antifreeze) in your
windshield washer. It can damage the vehicle’s
windshield washer system and paint.
Brakes
Brake Fluid
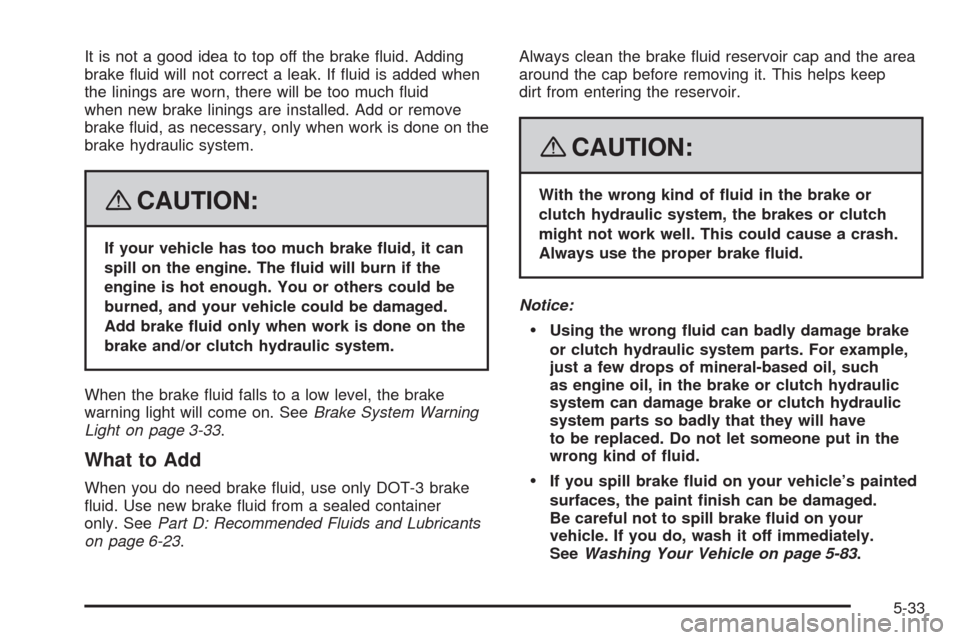
Your vehicle has one
reservoir for both the brake
and clutch hydraulic
systems. It is filled with
DOT-3 brake fluid.
SeeEngine Compartment
Overview on page 5-12
for the location of the
reservoir.
There are only two reasons why the brake fluid level in
the reservoir might go down. The first is that the
brake fluid goes down to an acceptable level during
normal brake lining wear. When new linings are put in,
the fluid level goes back up. The other reason is
that fluid is leaking out of the brake or clutch hydraulic
system. If it is, you should have the brake/clutch
hydraulic system fixed, since a leak means that sooner
or later the brakes will not work well.
5-32
Page 255 of 384
It is not a good idea to top off the brake fluid. Adding
brake fluid will not correct a leak. If fluid is added when
the linings are worn, there will be too much fluid
when new brake linings are installed. Add or remove
brake fluid, as necessary, only when work is done on the
brake hydraulic system.
{CAUTION:
If your vehicle has too much brake �uid, it can
spill on the engine. The �uid will burn if the
engine is hot enough. You or others could be
burned, and your vehicle could be damaged.
Add brake �uid only when work is done on the
brake and/or clutch hydraulic system.
When the brake fluid falls to a low level, the brake
warning light will come on. SeeBrake System Warning
Light on page 3-33.
What to Add
When you do need brake fluid, use only DOT-3 brake
fluid. Use new brake fluid from a sealed container
only. SeePart D: Recommended Fluids and Lubricants
on page 6-23.Always clean the brake fluid reservoir cap and the area
around the cap before removing it. This helps keep
dirt from entering the reservoir.
{CAUTION:
With the wrong kind of �uid in the brake or
clutch hydraulic system, the brakes or clutch
might not work well. This could cause a crash.
Always use the proper brake �uid.
Notice:
Using the wrong �uid can badly damage brake
or clutch hydraulic system parts. For example,
just a few drops of mineral-based oil, such
as engine oil, in the brake or clutch hydraulic
system can damage brake or clutch hydraulic
system parts so badly that they will have
to be replaced. Do not let someone put in the
wrong kind of �uid.
If you spill brake �uid on your vehicle’s painted
surfaces, the paint �nish can be damaged.
Be careful not to spill brake �uid on your
vehicle. If you do, wash it off immediately.
SeeWashing Your Vehicle on page 5-83.
5-33
Page 325 of 384
Maintenance Schedule......................................6-2
Introduction...................................................6-2
Maintenance Requirements..............................6-2
Your Vehicle and the Environment....................6-2
How This Section is Organized.........................6-3
Part A: Scheduled Maintenance Services...........6-4
Using the Maintenance Schedule......................6-4
Selecting the Right Schedule...........................6-5
Short Trip/City Scheduled Maintenance..............6-6
Long Trip/Highway Scheduled
Maintenance.............................................6-13
Part B: Owner Checks and Services................6-18
At Each Fuel Fill..........................................6-18At Least Once a Month.................................6-18
At Least Twice a Year...................................6-18
At Least Once a Year...................................6-19
Part C: Periodic Maintenance Inspections.........6-22
Steering, Suspension and Front Drive
Axle Boot and Seal Inspection....................6-22
Exhaust System Inspection............................6-22
Fuel System Inspection..................................6-22
Engine Cooling System Inspection...................6-22
Brake System Inspection................................6-22
Part D: Recommended Fluids
and Lubricants..........................................6-23
Part E: Maintenance Record...........................6-24
Section 6 Maintenance Schedule
6-1