2008 CHEVROLET AVALANCHE turn signal
[x] Cancel search: turn signalPage 187 of 528

Tilt Wheel
The tilt steering wheel allows you to adjust the steering
wheel before you drive. You can raise it to the highest
level to give your legs more room when you enter
and exit the vehicle.
The tilt lever is located on the driver’s side of the
steering column under the turn signal lever.
To tilt the wheel, hold the steering wheel and pull
the lever. Move the steering wheel to a comfortable
level, then release the lever to lock the wheel in place.
Turn Signal/Multifunction Lever
The lever on the left side of the steering column
includes the following:
GTurn and Lane Change Signals. SeeTurn and
Lane-Change Signals on page 3-8.
53Headlamp High/Low-Beam Changer. See
Headlamp High/Low-Beam Changer on page 3-9.
Flash-to-Pass. SeeFlash-to-Pass on page 3-9.
NWindshield Wipers. SeeWindshield Wipers on
page 3-9.
LWindshield Washer. SeeWindshield Washer
on page 3-11.
For information on the exterior lamps, seeExterior
Lamps on page 3-14.
3-7
Page 188 of 528
Turn and Lane-Change Signals
The turn signal has two upward (for right) and two
downward (for left) positions. These positions allow you
to signal a turn or a lane change.
To signal a turn, move the lever all the way up or
down. When the turn is �nished, the lever will return
automatically.
To signal a lane change, raise or lower the lever for
less than one second until the arrow starts to �ash.
This will cause the turn signals to automatically
�ash three times. It will �ash six times if the tow-haul
mode is active. Holding the turn signal lever for
more than one second will cause the turn signals to
�ash until you release the lever. The lever will return
by itself when it is released.
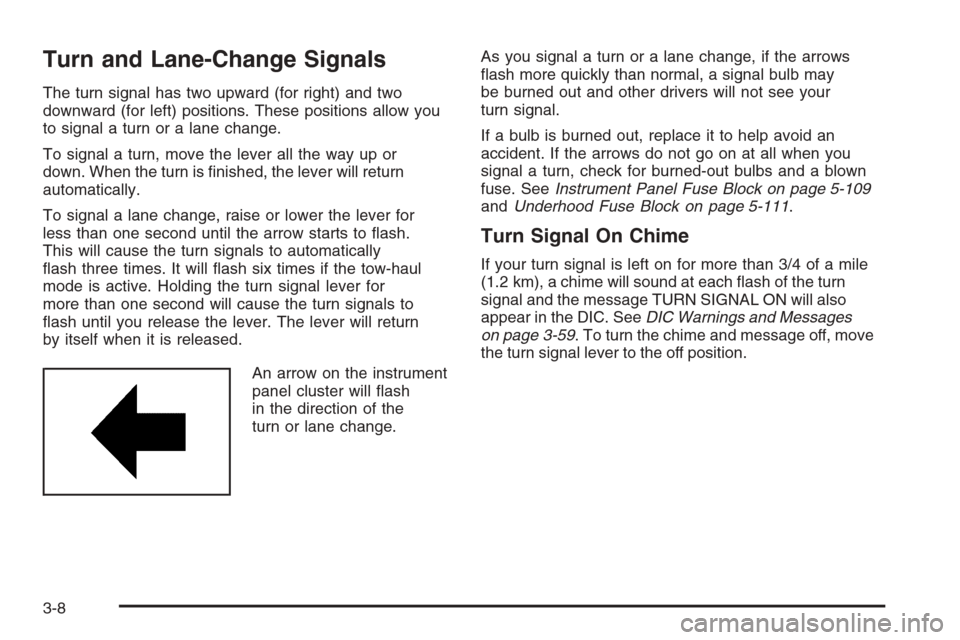
An arrow on the instrument
panel cluster will �ash
in the direction of the
turn or lane change.As you signal a turn or a lane change, if the arrows
�ash more quickly than normal, a signal bulb may
be burned out and other drivers will not see your
turn signal.
If a bulb is burned out, replace it to help avoid an
accident. If the arrows do not go on at all when you
signal a turn, check for burned-out bulbs and a blown
fuse. SeeInstrument Panel Fuse Block on page 5-109
andUnderhood Fuse Block on page 5-111.
Turn Signal On Chime
If your turn signal is left on for more than 3/4 of a mile
(1.2 km), a chime will sound at each �ash of the turn
signal and the message TURN SIGNAL ON will also
appear in the DIC. SeeDIC Warnings and Messages
on page 3-59. To turn the chime and message off, move
the turn signal lever to the off position.
3-8
Page 189 of 528

Headlamp High/Low-Beam Changer
53(Headlamp High/Low Beam Changer):To
change the headlamps from low to high beam, push the
lever toward the instrument panel. To return to low-beam
headlamps, pull the multifunction lever toward you. Then
release it.
When the high beams are
on, this indicator light on
the instrument panel
cluster will also be on.
Flash-to-Pass
This feature lets you use your high-beam headlamps to
signal a driver in front of you that you want to pass.
It works even if your headlamps are in the automatic
position.To use it, pull the turn signal lever toward you, then
release it.
If your headlamps are in the automatic position or on
low beam, your high-beam headlamps will turn on.
They will stay on as long as you hold the lever toward
you. The high-beam indicator on the instrument
panel cluster will come on. Release the lever to return
to normal operation.
Windshield Wipers
Clear ice and snow from the wiper blades before using
them. If they are frozen to the windshield, gently loosen
or thaw them. Damaged wiper blades may not clear the
windshield well, making it harder to see and drive safely.
If the blades do become damaged, install new blades or
blade inserts. For more information, seeWindshield
Wiper Blade Replacement on page 5-55.
Heavy snow or ice can overload the wiper motor.
A circuit breaker will stop the motor until it cools down.
Clear away snow or ice to prevent an overload.
3-9
Page 195 of 528
AUTO (Automatic):Turn the control to this position
to automatically turn on the headlamps at normal
brightness, together with the following:
Parking Lamps
Instrument Panel Lights
Taillamps
License Plate Lamps
When the vehicle is turned off and the headlamps are
in AUTO, the headlamps may automatically remain
on for a set time. The time of the delay can be changed
using the DIC. SeeDriver Information Center (DIC)
on page 3-50.
;(Parking Lamps):Turn the control to this position
to turn on the parking lamps together with the following:
Instrument Panel Lights
Taillamps
License Plate Lamps
2(Headlamps):Turn the control to this position to
turn on the headlamps together with the following:
Parking Lamps
Instrument Panel Lights
Taillamps
License Plate LampsWhen the headlamps are turned on while the vehicle is
on, the headlamps turn off automatically 10 minutes after
the ignition is turned off. When the headlamps are turned
on while the vehicle is off, the headlamps will stay on for
10 minutes before automatically turning off to prevent the
battery from being drained. Turn the headlamp control to
off and then back to the headlamp on position to make
the headlamps stay on for an additional 10 minutes.
Push the turn signal/multifunction lever toward the
instrument panel to change the headlamps from low
beam to high beam.
Headlamps on Reminder
If a door is open, a reminder chime will sound when
your headlamps or parking lamps are manually turned on
and your key is out of the ignition. To turn off the chime,
turn the headlamp switch to off or AUTO and then back
on, or close and re-open the door. In the AUTO mode, the
headlamps turn off once the ignition is in LOCK or may
remain on until the headlamp delay ends (if enabled in
the DIC). See “Exit Lighting” underDIC Vehicle
Customization (With DIC Buttons) on page 3-66.
3-15
Page 246 of 528
TRACTION CONTROL OFF
If your vehicle has StabiliTrak®, this message displays
when the Traction Control System (TCS) is turned
off. Adjust your driving accordingly. SeeStabiliTrak
®
System on page 4-6for more information.
TRANSMISSION HOT IDLE ENGINE
Notice:If you drive your vehicle while the
transmission �uid is overheating and the
transmission temperature warning is displayed
on the instrument panel cluster and/or DIC, you
can damage the transmission. This could lead
to costly repairs that would not be covered by
your warranty. Do not drive your vehicle with
overheated transmission �uid or while the
transmission temperature warning is displayed.
This message displays along with a continuous chime
if the transmission �uid in the vehicle gets hot. Driving
with the transmission �uid temperature high can cause
damage to the vehicle. Stop the vehicle and let it idle to
allow the transmission to cool. This message clears and
the chime stops when the �uid temperature reaches a
safe level.
TURN SIGNAL ON
This message displays and a chime sounds if a turn
signal is left on for 3/4 of a mile (1.2 km). Move the turn
signal/multifunction lever to the off position.
WASHER FLUID LOW ADD FLUID
This message displays when the windshield washer
�uid is low. Fill the windshield washer �uid reservoir
as soon as possible. SeeEngine Compartment
Overview on page 5-14for the location of the windshield
washer �uid reservoir. Also, seeWindshield Washer
Fluid on page 5-37for more information.
DIC Vehicle Customization
(With DIC Buttons)
Your vehicle may have customization capabilities that
allow you to program certain features to one preferred
setting. Customization features can only be programmed
to one setting on the vehicle and cannot be programmed
to a preferred setting for two different drivers.
All of the customization options may not be available
on your vehicle. Only the options available will be
displayed on the DIC.
The default settings for the customization features were
set when your vehicle left the factory, but may have
been changed from their default state since then.
The customization preferences are automatically
recalled.
To change customization preferences, use the following
procedure.
3-66
Page 250 of 528
DELAY DOOR LOCK
This feature allows you to select whether or not the
locking of the vehicle’s doors and tailgate will be delayed.
When locking the doors and tailgate with the power door
lock switch and a door or the tailgate is open, this feature
will delay locking the doors and tailgate until �ve seconds
after the last door is closed. You will hear three chimes to
signal that the delayed locking feature is in use. The key
must be out of the ignition for this feature to work. You
can temporarily override delayed locking by pressing the
power door lock switch twice or the lock button on the
RKE transmitter twice. SeeDelayed Locking on
page 2-10for more information.
Press the customization button until DELAY DOOR
LOCK appears on the DIC display. Press the set/reset
button once to access the settings for this feature.
Then press the customization button to scroll through
the following settings:
OFF:There will be no delayed locking of the vehicle’s
doors.
ON (default):The doors will not lock until �ve seconds
after the last door or the tailgate is closed.
NO CHANGE:No change will be made to this feature.
The current setting will remain.
To select a setting, press the set/reset button while the
desired setting is displayed on the DIC.
EXIT LIGHTING
This feature allows you to select the amount of time you
want the exterior lamps to remain on when it is dark
enough outside. This happens after the key is turned
from ON/RUN to LOCK/OFF.
Press the customization button until EXIT LIGHTING
appears on the DIC display. Press the set/reset button
once to access the settings for this feature. Then
press the customization button to scroll through the
following settings:
OFF:The exterior lamps will not turn on.
30 SECONDS (default):The exterior lamps will stay on
for 30 seconds.
1 MINUTE:The exterior lamps will stay on for
one minute.
2 MINUTES:The exterior lamps will stay on for
two minutes.
NO CHANGE:No change will be made to this feature.
The current setting will remain.
To select a setting, press the set/reset button while the
desired setting is displayed on the DIC.
3-70
Page 260 of 528
Finding a Station
BAND:Press to switch between AM, FM, or XM™
(if equipped). The selection displays.
f(Tune):Turn to select radio stations.
©SEEK¨:Press either SEEK arrow to go to the
previous or to the next station and stay there.
To scan stations, press and hold either arrow for a
few seconds until a beep sounds. The radio goes to
a station, plays for a few seconds, then goes to the
next station. Press either arrow again to stop scanning.
The radio only seeks and scans stations with a
strong signal that are in the selected band.
4(Information) (XM™ Satellite Radio Service, MP3,
and RDS Features):Press this button to display
additional text information related to the current FM-RDS
or XM™ station, or MP3 song. A choice of additional
information such as: Channel, Song, Artist, and CAT
(category) can display. Continue pressing this button
to highlight the desired label, or press the pushbutton
positioned under any one of the labels and the
information about that label displays.
When information is not available, No Info displays.
Storing a Radio Station as a Favorite
Drivers are encouraged to set up their radio station
favorites while the vehicle is stopped. Tune to favorite
stations using the presets, favorites button, and steering
wheel controls, if the vehicle has this feature.
SeeDefensive Driving on page 4-2.
FAV (Favorites):A maximum of 36 stations can be
programmed as favorites using the six pushbuttons
positioned below the radio station frequency labels and
by using the radio favorites page button (FAV button).
Press the FAV button to go through up to six pages
of favorites, each having six favorite stations available
per page. Each page of favorites can contain any
combination of AM, FM, or XM™ (if equipped) stations.
The balance/fade and tone settings that were
previously adjusted, are stored with the favorite stations.
To store a station as a favorite, perform the following
steps:
1. Tune to the desired radio station.
2. Press the FAV button to display the page where the
station is to be stored.
3. Press and hold one of the six pushbuttons until a
beep sounds. When that pushbutton is pressed
and released, the station that was set, returns.
4. Repeat the steps for each pushbutton radio station
to be stored as a favorite.
3-80
Page 286 of 528
XM Radio Messages
XL (Explicit Language Channels):These channels,
or any others, can be blocked at a customer’s request,
by calling 1-800-852-XMXM (9696).
XM Updating:The encryption code in the receiver is
being updated, and no action is required. This process
should take no longer than 30 seconds.
No XM Signal:The system is functioning correctly, but
the vehicle is in a location that is blocking the XM™
signal. When you move into an open area, the signal
should return.
Loading XM:The audio system is acquiring and
processing audio and text data. No action is needed.
This message should disappear shortly.
Channel Off Air:This channel is not currently in
service. Tune to another channel.
Channel Unavail:This previously assigned channel is
no longer assigned. Tune to another station. If this
station was one of the presets, choose another station
for that preset button.
No Artist Info:No artist information is available at this
time on this channel. The system is working properly.
No Title Info:No song title information is available
at this time on this channel. The system is working
properly.No CAT Info:No category information is available at
this time on this channel. The system is working
properly.
No Information:No text or informational messages are
available at this time on this channel. The system is
working properly.
CAT Not Found:There are no channels available for
the selected category. The system is working properly.
XM TheftLocked:The XM receiver in the vehicle
could have previously been in another vehicle. For
security purposes, XM receivers cannot be swapped
between vehicles. If this message appears after having
your vehicle serviced, check with your dealer/retailer.
XM Radio ID:If tuned to channel 0, this message
alternates with the XM Radio eight digit radio ID label.
This label is needed to activate the service.
Unknown:If this message is received when tuned to
channel 0, there could be a receiver fault. Consult
with your dealer/retailer.
Check XM Receivr:If this message does not clear
within a short period of time, the receiver could have a
fault. Consult with your dealer/retailer.
XM Not Available:If this message does not clear
within a short period of time, the receiver could have a
fault. Consult with your dealer/retailer.
3-106