Page 209 of 262

Mobility
207Reference
At a glance
Controls
Driving tips
Communications
Navigation
Entertainment
After changing wheels/tires
After changing tires or wheels, the slip detec-
tion of the Sequential Manual Transmission
must become familiar with the changed state.
Reinitialize the system for this purpose:
1.Move the selector lever into the idling
position N on a straight stretch of road at a
speed between 20 mph/30 km/h and
90 mph/150 km/h.
2.Pull both shift paddles for approx. 2 sec-
onds.
If you do not carry out initialization, the system
will automatically learn the changed state grad-
ually during driving. This may be noticeable
from the clutch opening and closing briefly.
Storage
Store wheels and tires in a cool, dry place with
as little exposure to light as possible. Always
protect tires against all contact with oil, grease
and fuels. Do not exceed the maximum tire
inflation pressure indicated on the side wall of
the tire.
Rotating wheels between axles
BMW does not recommend moving the front
wheels to the rear or vice versa, as otherwise
the handling characteristics may be impaired.
With tires of different makes and types
* such a
change is not permissible.
Snow chains*
BMW only tests certain fine-link snow chains,
classifies them as road-safe and recommends
them. Consult your BMW center for more infor-
mation.
Use is only permitted in pairs, with winter tires
of the size 245/45 R 18 on the rear wheels.
Observe the manufacturer's instructions when
mounting snow chains. Do not exceed a speed
of 30 mph/50 km/h with the chains mounted.Make sure that the snow chains are always suf-
ficiently tensioned. Readjust tension in accor-
dance with the chain manufacturer's specifica-
tions if necessary.
Do not initialize the Flat Tire Monitor after
installing snow chains as this could cause
the Flat Tire Monitor to malfunction.
After mounting or removing snow chains, the
slip detection of the Sequential Manual Trans-
mission must become familiar with the altered
state. To do this, reinitialize the system, refer to
After changing wheels/tires.<
Page 210 of 262
Under the hood
208
Under the hood
Never attempt to perform any service or
repair operations on your vehicle without
the required professional technical training. If
you are unfamiliar with the specifications to be
observed, only have work carried out on your
vehicle by a BMW center or a repair shop that
works in accordance with BMW guidelines and
uses appropriately trained personnel. Other-
wise, there is a danger of damage and associ-
ated safety risks if this work is performed
improperly.<
Hood
Releasing
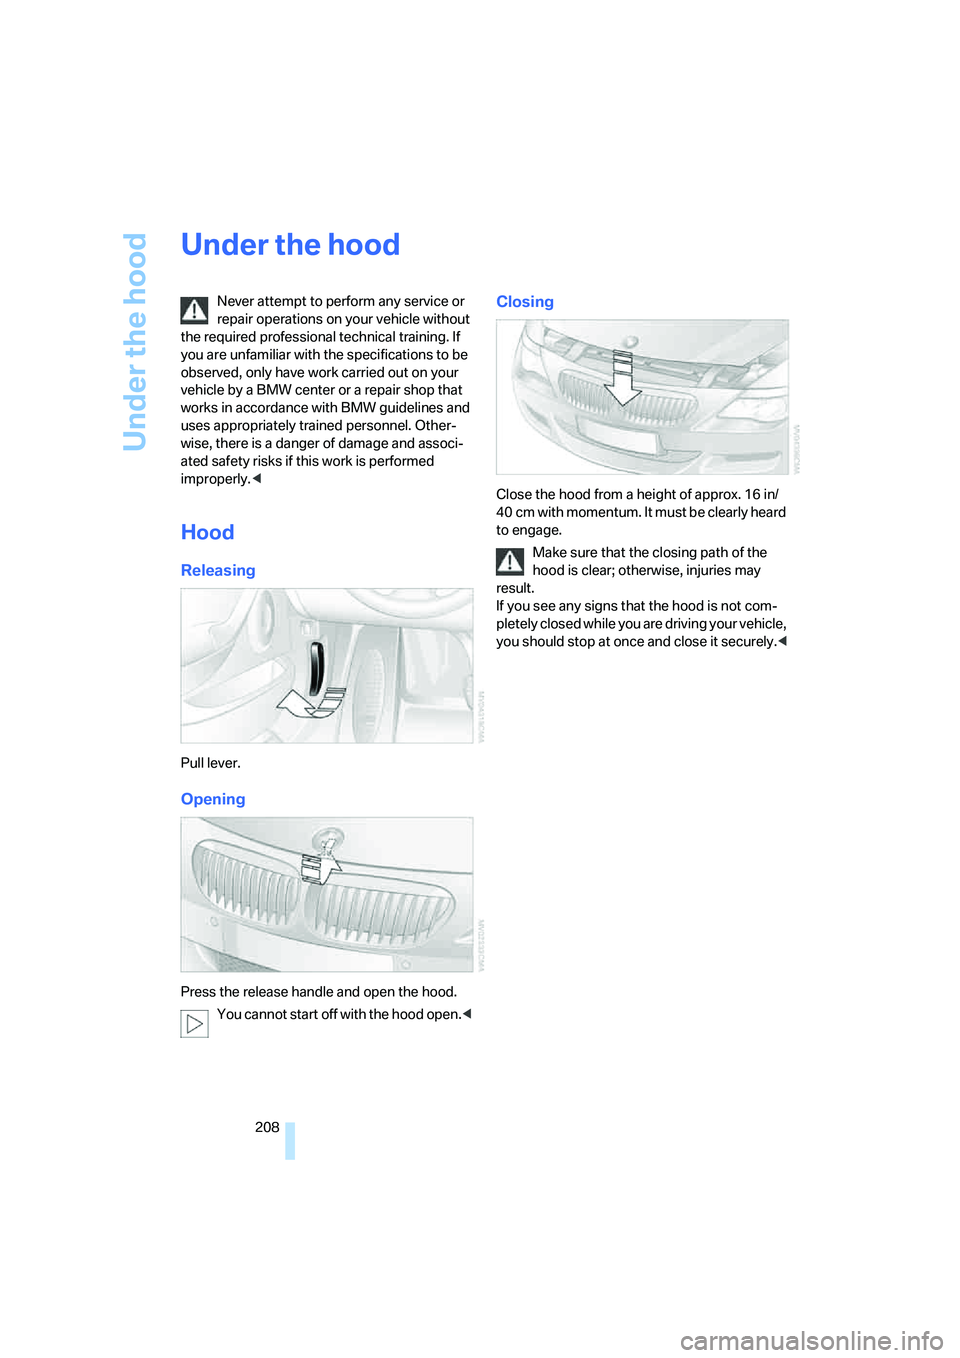
Pull lever.
Opening
Press the release handle and open the hood.
You cannot start off with the hood open.<
Closing
Close the hood from a height of approx. 16 in/
40 cm with momentum. It must be clearly heard
to engage.
Make sure that the closing path of the
hood is clear; otherwise, injuries may
result.
If you see any signs that the hood is not com-
pletely closed while you are driving your vehicle,
you should stop at once and close it securely.<
Page 211 of 262
Mobility
209Reference
At a glance
Controls
Driving tips
Communications
Navigation
Entertainment
Engine compartment
1Filler neck for engine oil, refer to Adding
engine oil
2Expansion tank for coolant, refer to
page213
3Jump-starting terminal, refer to page225
4Body ground/negative terminal
5Filler neck for washer fluid of the headlamp
and windshield cleaning systems, refer to
page67
Page 212 of 262

Under the hood
210
Engine oil
Engine oil consumption depends on driving
style and driving conditions.
Checking engine oil level
Your vehicle is equipped with an electronic oil
level check.
The oil level can be displayed when the engine
is at operating temperature. Constant short-
distance driving or a very sporty driving style
can make it impossible for a measurement to be
taken.
Displays in instrument cluster
You can display the current oil level in the
instrument cluster.
1Oil level
2Maximum marking
3Minimum marking
4BC button
Press the button4 in the turn signal lever
repeatedly until the display for the oil level
appears in the instrument cluster.
Manual transmission: the fluid level will be
shown in the lower display.<
The oil level must be between the two marks.
A new measurement is automatically taken
after each engine start.
Possible displays
1Oil level OK
2Oil level is being determined.
This process can take approx. 1 minute
when stopped on a level surface and
approx. 5 minutes while driving.
If the engine oil has been topped off, the
measurement of the oil level can take up to
30 minutes.
3Oil level at minimum:
Add a maximum of 1 US quart/1 liter of
engine oil at the next opportunity, refer to
Adding engine oil below Add at least
0.5 US quart/0.5 liter. Otherwise the oil
level control may not display the new value
correctly.
If the oil level displayed is below minimum,
add engine oil immediately. Failure to do so
may lead to engine damage.
4Oil level is too high
Have the vehicle checked immedi-
ately; otherwise, engine damage may
result if too much oil has been added.<
5No value can be determined at this time.
Engine is not yet at operating temperature.
Page 213 of 262

Mobility
211Reference
At a glance
Controls
Driving tips
Communications
Navigation
Entertainment
Fast measurement
In addition to the automatic measurement, you
can also determine the current oil level manu-
ally, e.g. after adding engine oil, but with a lower
degree of measuring accuracy.
1.With the engine at operating temperature,
i.e. after at least 6 miles/10 km of uninter-
rupted driving, park the vehicle in a horizon-
tal position.
2.Allow the engine to run at idle.
3.Press the BC button in the turn signal lever
repeatedly until the oil level display is
shown in the instrument cluster.
4.Press the BC button for at least 2 seconds.
The oil level is determined. A clock symbol
is displayed during the measurement.
5.After approx. 1 minute the current oil level is
displayed.
Displaying via iDrive
iDrive, for operating principle refer to page16.
1.Press the button.
This opens the start menu.
2.Press the controller to open the menu.
3.Turn the controller until "Info sources" is
selected and press the controller.
4.Turn the controller until "Service" is
selected and press the controller.5.Change to upper field if necessary. Turn the
controller until "Service requirements" is
selected and press the controller.
6.Change to the second field from the top if
necessary. Turn the controller until "Engine
oil level" is selected and press the control-
ler. The oil level is displayed.
Possible messages
>"Engine oil level O.K."
>"No measurement available: Updating
engine oil level measurement...":
Engine oil level is being measured. This
process can take approx. 1 minute when
stopped on a level surface with the engine
running and approx. 5 minutes while driv-
ing.
If the engine oil has been topped off, the
measurement of the oil level can take up to
30 minutes.
>"Oil level at the minimum! Refill with 1 quart
of engine oil.":
Add a maximum of 1 US quart/1 liter of
engine oil at the next opportunity, refer to
Adding engine oil below. Add at least
0.5 US quart/0.5 liter. Otherwise the oil
level control may not display the new value
correctly.
If the oil level displayed is below minimum,
add engine oil immediately. Failure to do so
may lead to engine damage.
>"Engine oil level too high":
Have the vehicle checked immedi-
ately; otherwise, engine damage may
result if too much oil has been added.<
Page 214 of 262

Under the hood
212 >"Please observe recalculated service inter-
val for engine oil":
Do not add engine oil. Before continuing to
drive, note the recalculated remaining mile-
age until the next oil change service, refer to
Service requirements on page72. Have the
system checked as soon as possible.
Adding engine oil
Do not add oil until a value slightly above the
minimum of 0.0 US quarts/liters is displayed by
the oil level measurement. In this area a mes-
sage is also shown on the Control Display.
Add oil within the next 125 miles/200 km,
otherwise the engine could be damaged.
Add a maximum of 1 US quart/1 liter of oil, oth-
erwise the engine may be damaged by adding
too much oil.
Add at least 0.5 US quart/0.5 liter of oil, other-
wise the oil level check cannot reliably display
the current oil level.<
Please conduct a quick measurement
after adding engine oil to check the oil
quantity added and to update the display.<
Continuous exposure to used oil has
caused cancer in laboratory testing.
For this reason, thoroughly wash exposed areas
of skin with soap and water after such work.
Keep oil, grease, etc. out of reach of children
and observe warnings on containers. Failure to
do so could pose health risks.<
Oil change
Have oil changes carried out only by a BMW
center or a repair shop that works in accordance
with BMW guidelines and uses appropriately
trained personnel.
Approved engine oils
The quality of the engine oil selected has critical
significance for the operation and service life of
an engine. BMW continuously approves spe-
cific oils after confirming their suitability for use
in its vehicles with extensive testing.
Do not use oil additives; under some cir-
cumstances, they can damage your
engine.<
Your BMW center will be happy to answer
detailed questions on BMW High Perfor-
mance Synthetic Oil or approved synthetic
oils.<
You can also call BMW of North America at
1-800-831-1117 or visit the website at
www.bmwusa.com to obtain this information.
Viscosity grades
The viscosity is a measure of the thickness of
the oil and is specified in SAE grades.
Approved oils belong to the SAE grade
10W-60.<
Alternative oil types
If BMW High Performance Synthetic Oil is
unavailable, you can add small quantities of
other synthetic oils between oil changes.
Only use oils with the following specifications:
>Viscosity
preferred: SAE 10W-60;
alternative: SAE 10W-40, SAE 5W-50 or
SAE 10W-50
>Specification
API SJ/CF, API SK/CF or higher
Low temperatures
The oils used by BMW from the factory for your
M6 can be used at virtually any ambient tem-
perature. However, if the vehicle is operated for
a longer period at temperatures below –47/–
206, your BMW center will be happy to rec-
ommend a suitable oil.
Page 215 of 262

Mobility
213Reference
At a glance
Controls
Driving tips
Communications
Navigation
Entertainment
Coolant
Do not open the cooling system when the
engine is hot. Escaping coolant can cause
burns.<
Coolant is composed of equal parts water and a
coolant additive. Not all commercially available
additives are suitable for your BMW. Ask your
BMW center for suitable additives.
Only use suitable additives, otherwise
engine damage may result. The additives
present a health hazard.<
Always observe all applicable environ-
mental laws and regulations when dis-
posing of used coolant additives.<
Checking coolant level
1.Do not open the hood until the engine has
cooled down.
2.Turn the cap of the expansion tank counter-
clockwise to allow any accumulated pres-
sure to escape, then continue turning to
open.
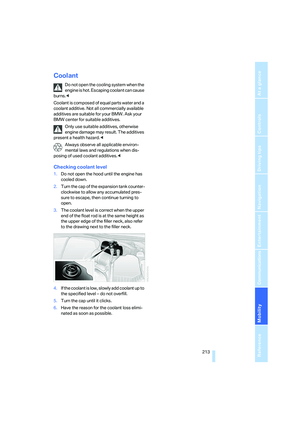
3.The coolant level is correct when the upper
end of the float rod is at the same height as
the upper edge of the filler neck, also refer
to the drawing next to the filler neck.
4.If the coolant is low, slowly add coolant up to
the specified level – do not overfill.
5.Turn the cap until it clicks.
6.Have the reason for the coolant loss elimi-
nated as soon as possible.
Page 216 of 262

Maintenance
214
Maintenance
BMW Maintenance System
The BMW Maintenance System supports the
preservation of the traffic and operating safety
of your BMW. The service schedule also
includes operations related to the vehicle's
comfort and convenience features, such as
replacement of the filters for the inside air.
The ultimate objective is to ensure economical
maintenance by providing the ideal service for
your vehicle.
Should the day come when you decide to sell
your BMW, you will find that a complete dealer
service history is an asset of inestimable value.
CBS Condition Based Service
Sensors and special algorithms take the differ-
ent driving conditions of your BMW into
account. Condition Based Service uses this to
determine the current and future service
requirements. By letting you define a service
and maintenance regimen that reflects your
own individual requirements, the system builds
the basis for trouble-free driving.
You can set the Control Display to show
remaining distances and times of selected
maintenance intervals and legally mandated
deadlines, refer to page72:
>Engine oil
>Brake pads, front and rear separately
>Brake fluid>Vehicle check
>Legally required tests depending on local
regulations
Service data in remote control
Your vehicle stores the information required for
maintenance continuously in the remote con-
trol during driving. After accessing the data
stored in the remote control, your BMW Service
Advisor can suggest precisely the right array of
service procedures for your own individual vehi-
cle. For this reason, when you take your vehicle
in for service, you should give the BMW Service
Advisor the remote control last used to drive it.
Make sure the date is set correctly, refer
to page79, otherwise the effectiveness
of CBS Condition Based Service is not
ensured.<
Service and Warranty Information
Booklet for US models and
Warranty and Service Guide Booklet
for Canadian models
Please consult your Service and Warranty Infor-
mation Booklet for US models and Warranty
and Service Guide Booklet for Canadian models
for additional information on service require-
ments.
BMW recommends that you have service
and repair operations performed at your
BMW center.
Take the time to ensure that these service pro-
cedures are confirmed by entries in your vehi-
cle's Service and Warranty Information Booklet
for US models and Warranty and Service Guide
Booklet for Canadian models. These entries
verify that your vehicle has received the speci-
fied regular maintenance.<