2008 BMW 760I iDrive
[x] Cancel search: iDrivePage 146 of 254
Route guidance
144
Route guidance
Starting route guidance
The route guidance is started for the first desti-
nation in the destination list, refer to page138.
There must be at least one destination in the
destination list.
iDrive, for principle details, refer to page16.
1.Press the button to open the start
menu.
2.Move the controller toward "Navigation".
3.Press the controller as needed.
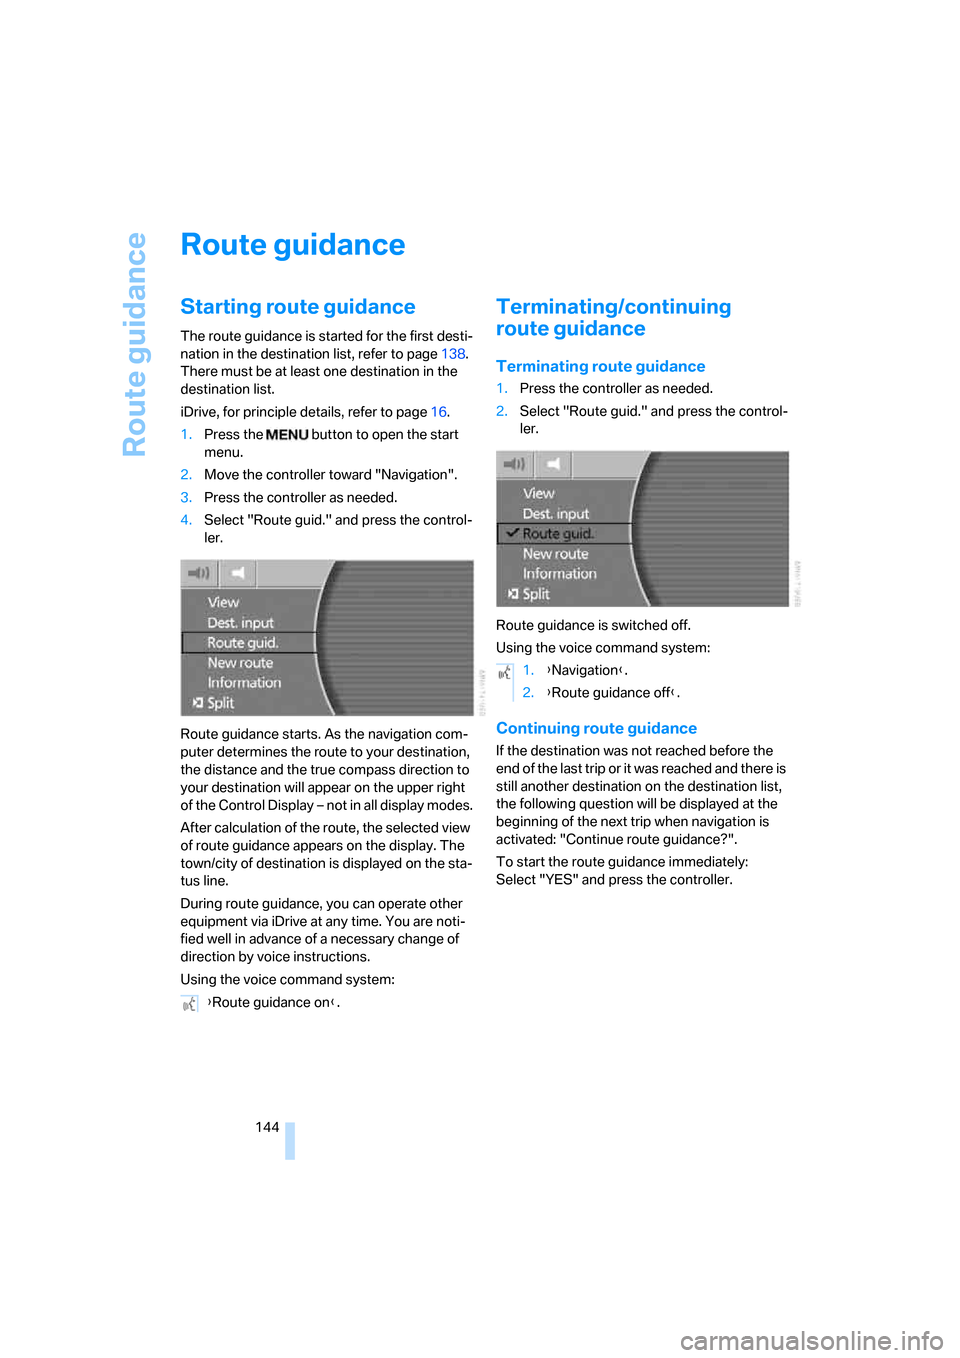
4.Select "Route guid." and press the control-
ler.
Route guidance starts. As the navigation com-
puter determines the route to your destination,
the distance and the true compass direction to
your destination will appear on the upper right
of the Control Display – not in all display modes.
After calculation of the route, the selected view
of route guidance appears on the display. The
town/city of destination is displayed on the sta-
tus line.
During route guidance, you can operate other
equipment via iDrive at any time. You are noti-
fied well in advance of a necessary change of
direction by voice instructions.
Using the voice command system:
Terminating/continuing
route guidance
Terminating route guidance
1.Press the controller as needed.
2.Select "Route guid." and press the control-
ler.
Route guidance is switched off.
Using the voice command system:
Continuing route guidance
If the destination was not reached before the
end of the last trip or it was reached and there is
still another destination on the destination list,
the following question will be displayed at the
beginning of the next trip when navigation is
activated: "Continue route guidance?".
To start the route guidance immediately:
Select "YES" and press the controller.
{Route guidance on}.
1.{Navigation}.
2.{Route guidance off}.
Page 154 of 254
On/off and settings
152
On/off and settings
The following audio and video sources share
the same controls and adjustment options.
>Radio
>CD player
*
>CD changer*
>DVD changer*
The CD changer can play CDs with com-
pressed audio files, such as MP3s.<
Controls
The audio and video sources can be operated
using:
>Buttons on the CD player
>iDrive
>Buttons on steering wheel, refer to page11
Buttons on the CD player
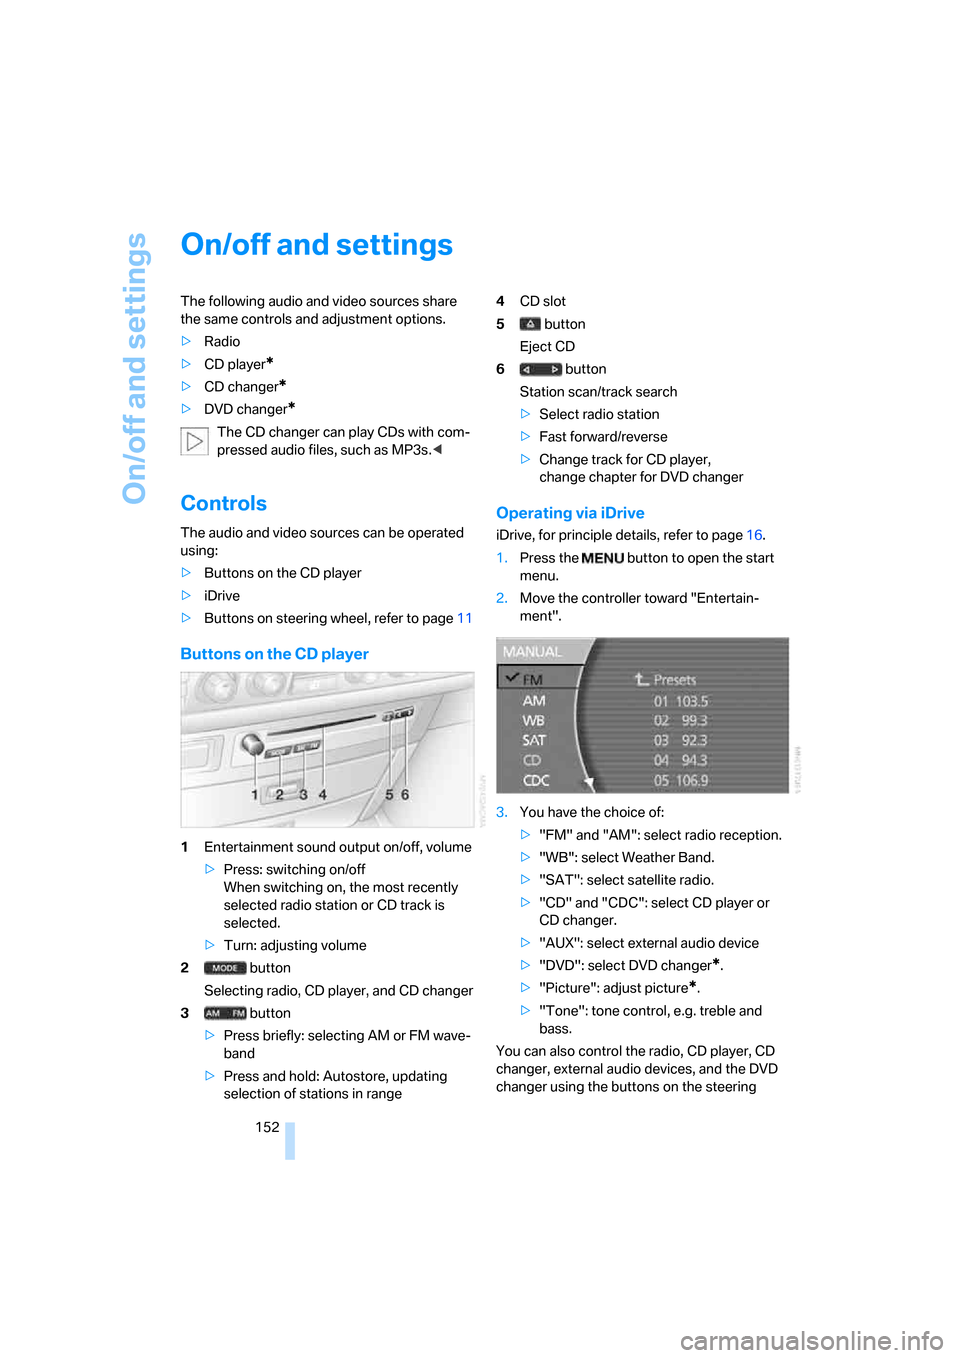
1Entertainment sound output on/off, volume
>Press: switching on/off
When switching on, the most recently
selected radio station or CD track is
selected.
>Turn: adjusting volume
2 button
Selecting radio, CD player, and CD changer
3 button
>Press briefly: selecting AM or FM wave-
band
>Press and hold: Autostore, updating
selection of stations in range4CD slot
5 button
Eject CD
6 button
Station scan/track search
>Select radio station
>Fast forward/reverse
>Change track for CD player,
change chapter for DVD changer
Operating via iDrive
iDrive, for principle details, refer to page16.
1.Press the button to open the start
menu.
2.Move the controller toward "Entertain-
ment".
3.You have the choice of:
>"FM" and "AM": select radio reception.
>"WB": select Weather Band.
>"SAT": select satellite radio.
>"CD" and "CDC": select CD player or
CD changer.
>"AUX": select external audio device
>"DVD": select DVD changer
*.
>"Picture": adjust picture
*.
>"Tone": tone control, e.g. treble and
bass.
You can also control the radio, CD player, CD
changer, external audio devices, and the DVD
changer using the buttons on the steering
Page 155 of 254
Navigation
Entertainment
Driving tips
153Reference
At a glance
Controls
Communications
Mobility
wheel, refer to page11, and via the voice com-
mand system
*, refer to page23.
Switching on/off
In order to switch the Entertainment sound out-
put on/off: press the knob.
The system selects the most recently used
audio or video source, radio, CD, external audio
device, or DVD.
Using the voice command system:
Using with ignition off
The audio and video functions remain available
for use for a period of approx. 30 minutes after
you switch off the ignition.
Switch the sound output back on to enjoy this
function.
Adjusting volume
Turn the knob to the desired volume level.
The sound system automatically reverts
to its mute mode whenever you initiate or
accept a phone call.
Tone control
You can change various tone settings, e.g. tre-
ble and bass or the speed-dependent volume
control. The tone settings are set globally for all
of the audio sources.
Speakers, headsets in the rear, and external
audio devices can be adjusted separately. The
sound settings of the headphones are made on
the rear seat screen with the headphones con-
nected. Only treble, bass and balance can be
adjusted.
The setting is stored for the remote control cur-
rently in use.
Tone adjustment
iDrive, for principle details, refer to page16.
1.Press the button to open the start
menu.
2.Move the controller toward "Entertain-
ment".
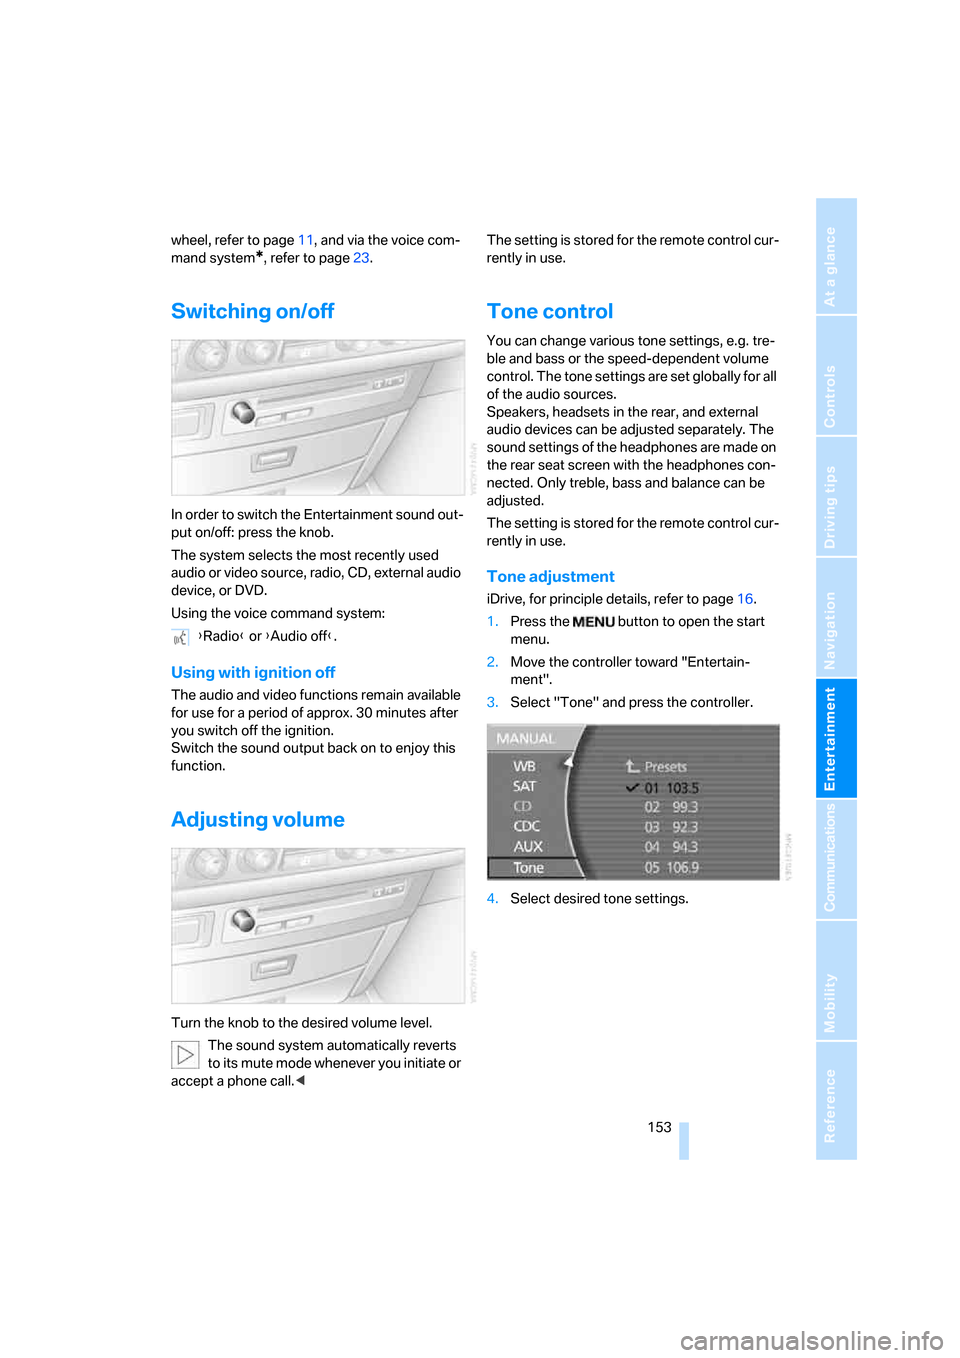
3.Select "Tone" and press the controller.
4.Select desired tone settings. {Radio} or {Audio off}.
Page 158 of 254
Radio
156
Radio
Your radio is equipped to receive the FM and
AM wavebands.
Listening to radio
Switch on audio or video sources, refer to
page153.
iDrive, for principle details, refer to page16.
1.Press the button to open the start
menu.
2.Move the controller toward "Entertain-
ment".
3.Select "FM" or "AM" and press the control-
ler.
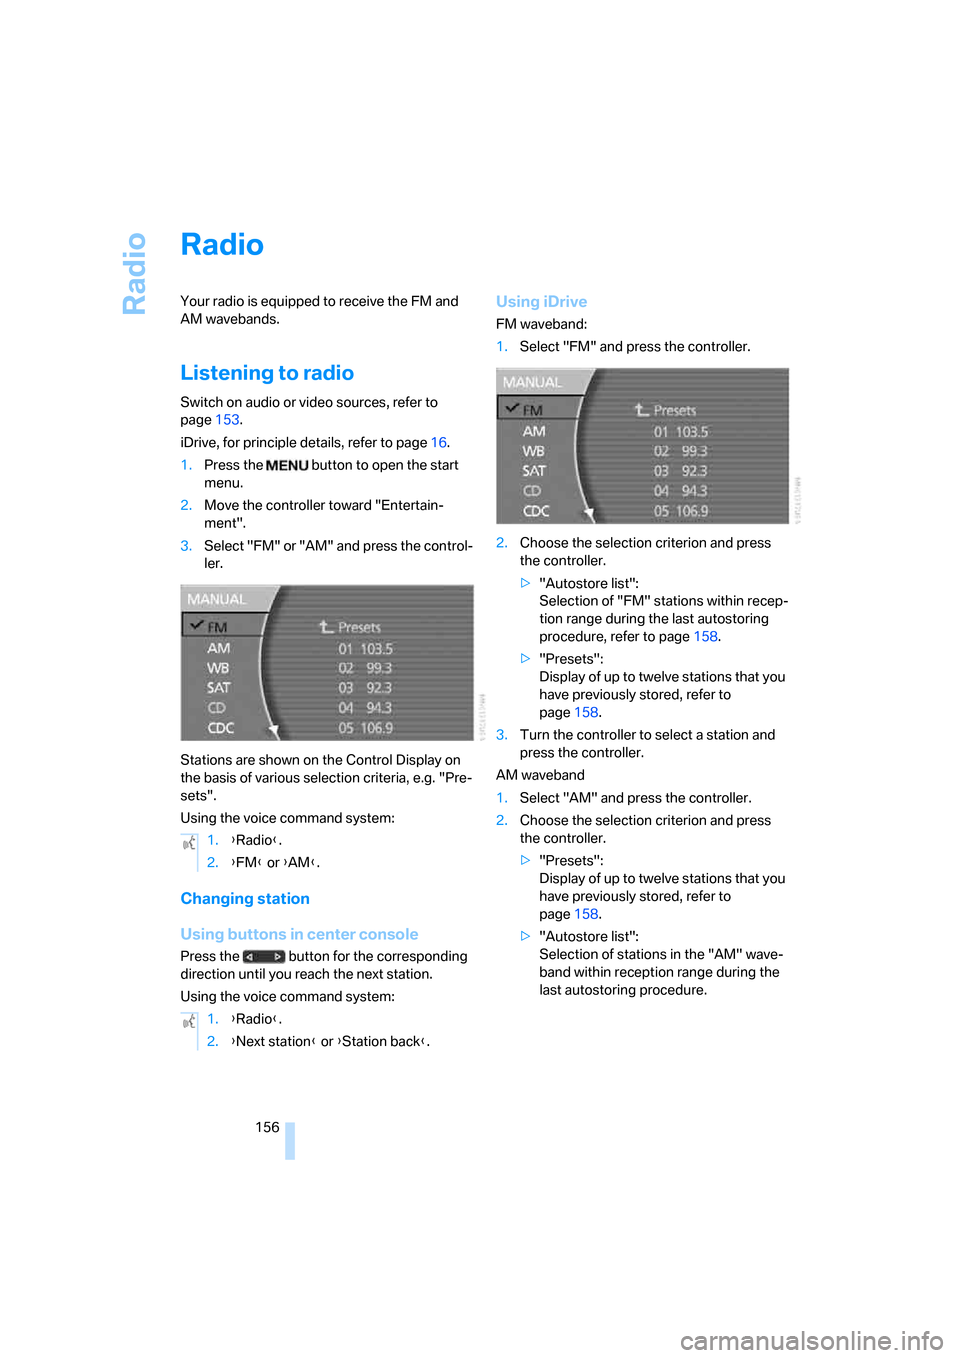
Stations are shown on the Control Display on
the basis of various selection criteria, e.g. "Pre-
sets".
Using the voice command system:
Changing station
Using buttons in center console
Press the button for the corresponding
direction until you reach the next station.
Using the voice command system:
Using iDrive
FM waveband:
1.Select "FM" and press the controller.
2.Choose the selection criterion and press
the controller.
>"Autostore list":
Selection of "FM" stations within recep-
tion range during the last autostoring
procedure, refer to page158.
>"Presets":
Display of up to twelve stations that you
have previously stored, refer to
page158.
3.Turn the controller to select a station and
press the controller.
AM waveband
1.Select "AM" and press the controller.
2.Choose the selection criterion and press
the controller.
>"Presets":
Display of up to twelve stations that you
have previously stored, refer to
page158.
>"Autostore list":
Selection of stations in the "AM" wave-
band within reception range during the
last autostoring procedure. 1.{Radio}.
2.{FM} or {AM}.
1.{Radio}.
2.{Next station} or {Station back}.
Page 160 of 254
Radio
158 Using the voice command system:
Updating selection of stations in
receiving range
In the course of longer trips, when you travel
outside the transmission range of the originally
selected stations, you can update the selection
of stations in receiving range.
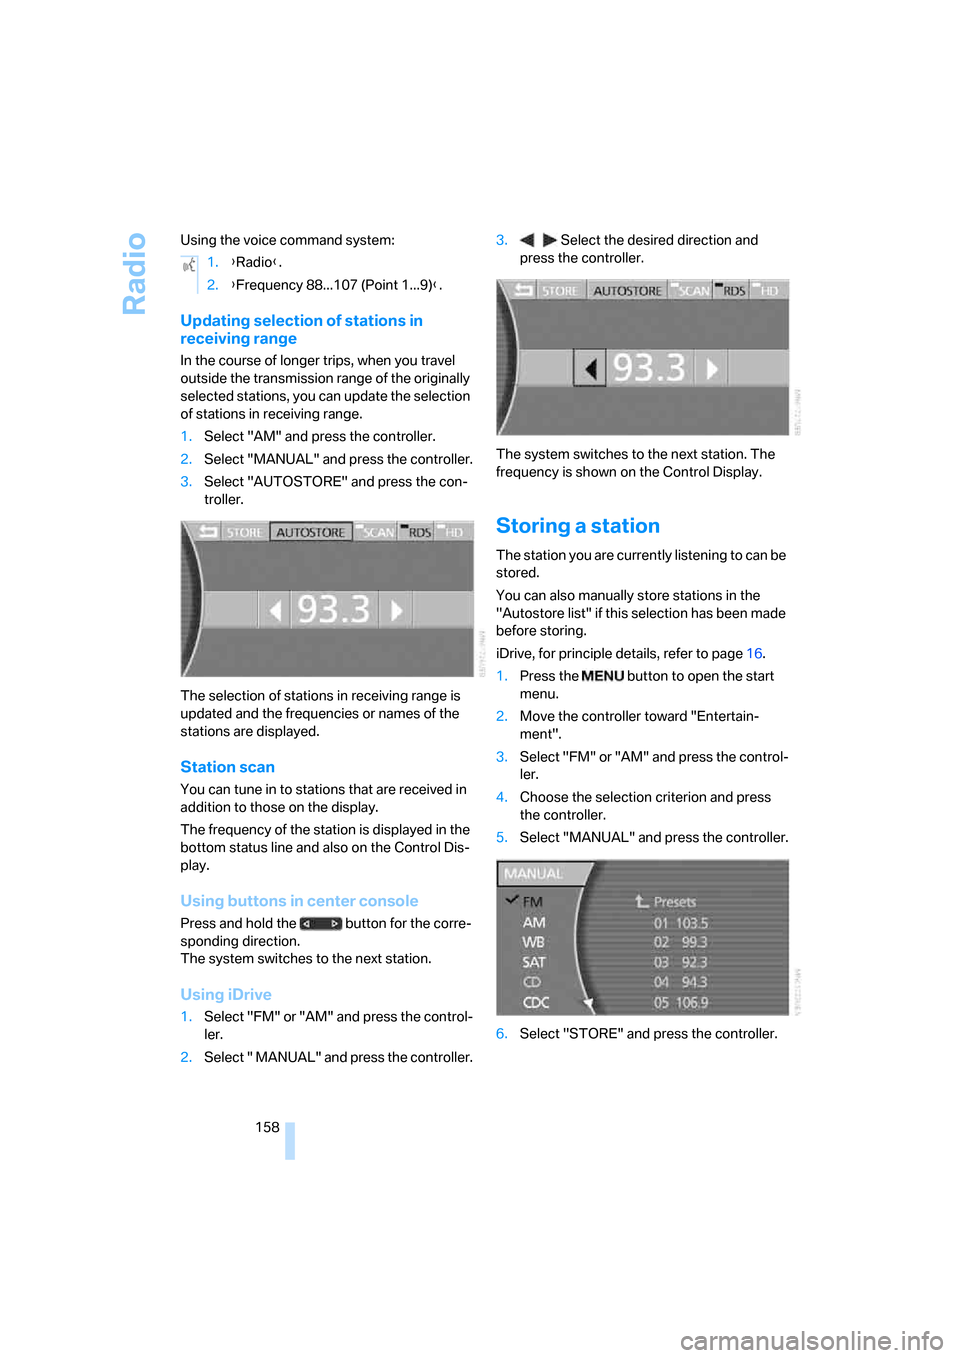
1.Select "AM" and press the controller.
2.Select "MANUAL" and press the controller.
3.Select "AUTOSTORE" and press the con-
troller.
The selection of stations in receiving range is
updated and the frequencies or names of the
stations are displayed.
Station scan
You can tune in to stations that are received in
addition to those on the display.
The frequency of the station is displayed in the
bottom status line and also on the Control Dis-
play.
Using buttons in center console
Press and hold the button for the corre-
sponding direction.
The system switches to the next station.
Using iDrive
1.Select "FM" or "AM" and press the control-
ler.
2.Select " MANUAL" and press the controller.3. Select the desired direction and
press the controller.
The system switches to the next station. The
frequency is shown on the Control Display.
Storing a station
The station you are currently listening to can be
stored.
You can also manually store stations in the
"Autostore list" if this selection has been made
before storing.
iDrive, for principle details, refer to page16.
1.Press the button to open the start
menu.
2.Move the controller toward "Entertain-
ment".
3.Select "FM" or "AM" and press the control-
ler.
4.Choose the selection criterion and press
the controller.
5.Select "MANUAL" and press the controller.
6.Select "STORE" and press the controller. 1.{Radio}.
2.{Frequency 88...107 (Point 1...9)}.
Page 162 of 254

Radio
160 please contact the nearest office of the National
Weather Service or write to the National
Weather Service at: W/OM1, National Oceanic
and Atmospheric Administration, 1325 East-
West Highway, Silver Spring, MD 20910.
Calling up weather reports
iDrive, for principle details, refer to page16.
1.Press the button to open the start
menu.
2.Move the controller toward "Entertain-
ment".
3.Select "WB" and press the controller.
A list of the available channels is displayed.
4.Turn the controller until the desired channel
is selected and press the controller.
The display shows a list of weather band sta-
tions
In some regions, only one or two channels
can be received or Weather Band chan-
nels are unavailable.<
Using the voice command system
Satellite radio*
You can receive approx. 100 different channels
with high sound quality.
The channels are offered to you in predefined
packages. To listen to the channels of your
choice, you must have these channels enabled.
With this new technology the signal may fail,
causing interruptions in reception.Using the voice command system:
Enabling or disabling channels
iDrive, for principle details, refer to page16.
1.Press the button to open the start
menu.
2.Move the controller toward "Entertain-
ment".
3.Select "SAT" and press the controller.
4.Select "Channels" and press the controller.
The channels that can be received are
shown in the list.
5.Select channel and press the controller.
A phone number and the electronic serial
number, ESN, are displayed.
The electronic serial number is
required to enable or disable.<
6.Dial the displayed telephone number to
have the channel enabled or disabled.
During the enabling or disabling process,
leave the ignition switched on.
These channels are enabled.
Channel selection
Using buttons in center console
Press the button for the corresponding
direction until you reach the next station.
Using the voice command system: 1.{Weatherband}.
2.{Channel 1...7}.
1.{Satellite Radio} or {SDARS}.
2.{Turn on}.
1.{Satellite Radio} or {SDARS}.
2.{Previous station} or {Next station}
Page 163 of 254

Navigation
Entertainment
Driving tips
161Reference
At a glance
Controls
Communications
Mobility
Using iDrive
1.Select "SAT" and press the controller.
2.Choose the selection criterion and press
the controller.
>"Channels":
All channels are displayed.
>"Categories":
All channels are displayed, sorted
according to categories.
>"Presets":
Up to twelve channels that you have pre-
viously stored are displayed.
3.Select channel and press the controller.
Using the voice command system:
Select a stored channel:
Displaying additional information
Select the channel currently being played and
press the controller.The name of the station, the name of the artist,
and the title of the track are displayed.
Notes
If no signal can be received for more than 4 sec-
onds, a message appears on the Control Dis-
play.
Reception may not be possible for certain
reasons, e.g. environmental influences or
topographical conditions. The satellite radio
has no influence on this.
The signal may not be available in tunnels or
underground garages, next to tall buildings,
near trees, mountains or other powerful
sources of radio interference.
Reception is usually possible again as soon as
the signal is available once more.<
Storing a station
1.Select "SAT" and press the controller.
2.Select "Channels" and press the controller.
3.Select the desired station.
4.Select "STORE" and press the controller.
The list of stored stations appears on the
display.
5.Select the desired station.
6.Turn the controller until you reach the
desired memory position. {Satellite Radio} or {SDARS}.
>{Previous station} or {Next station}
>{Previous} or {Next}.
1.{Satellite Radio} or {SDARS}.
2.{Station 1...12}.
Page 164 of 254
Radio
162 7.Press and hold the controller.
High Definition Radio*
Many stations transmit both analog and digital
signals. You can receive these stations digitally
and with improved sound quality.
Activating and deactivating digital
radio reception
iDrive, for principle details, refer to page16.
1.Press the button to open the start
menu.
2.Move the controller toward "Entertain-
ment".
3.Select "FM" or "AM" and press the control-
ler.
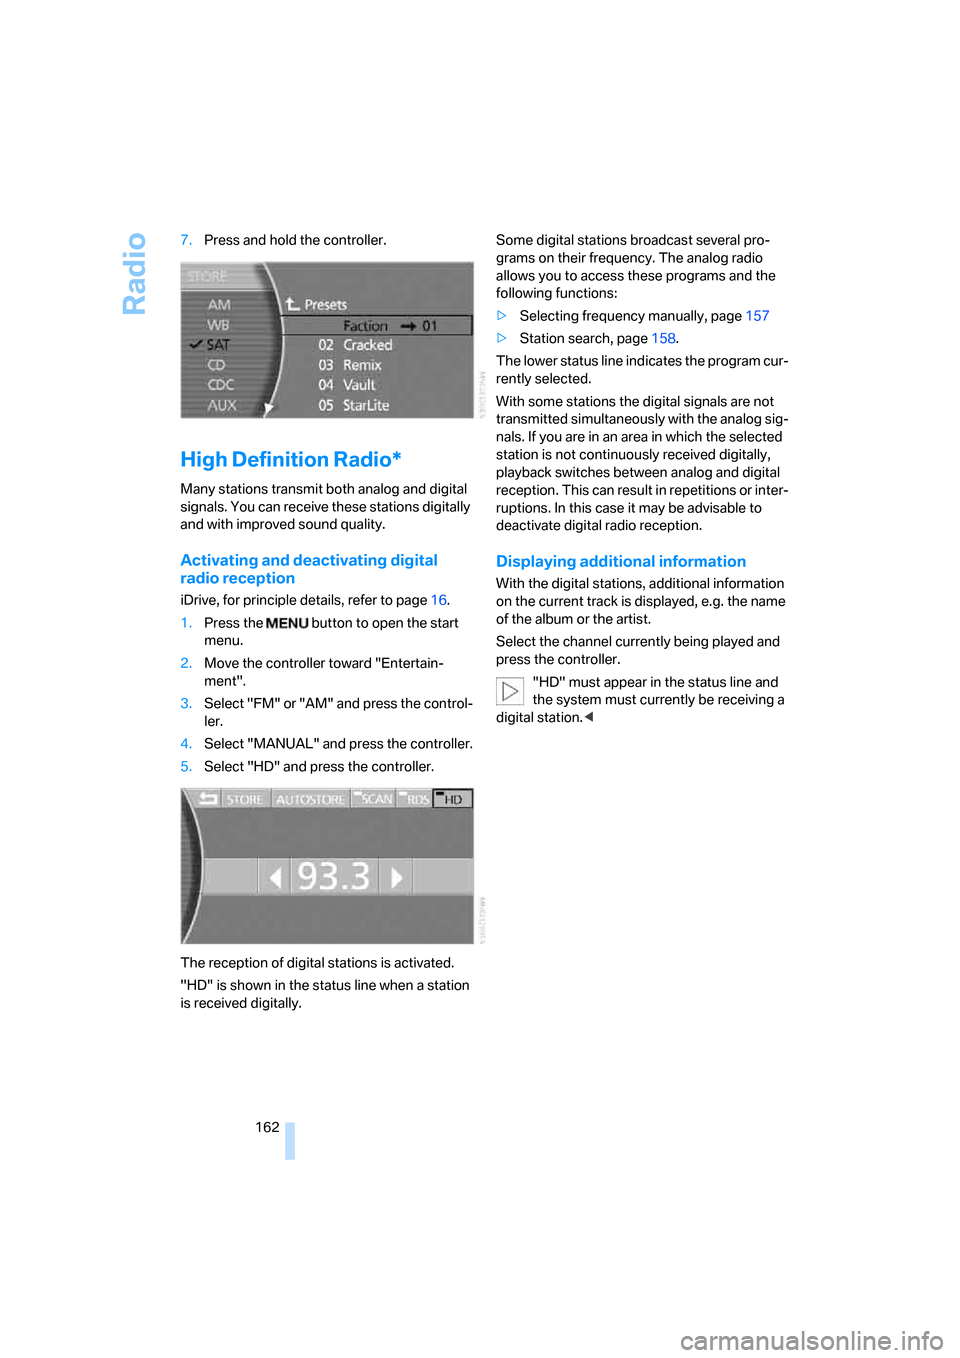
4.Select "MANUAL" and press the controller.
5.Select "HD" and press the controller.
The reception of digital stations is activated.
"HD" is shown in the status line when a station
is received digitally.Some digital stations broadcast several pro-
grams on their frequency. The analog radio
allows you to access these programs and the
following functions:
>Selecting frequency manually, page157
>Station search, page158.
The lower status line indicates the program cur-
rently selected.
With some stations the digital signals are not
transmitted simultaneously with the analog sig-
nals. If you are in an area in which the selected
station is not continuously received digitally,
playback switches between analog and digital
reception. This can result in repetitions or inter-
ruptions. In this case it may be advisable to
deactivate digital radio reception.
Displaying additional information
With the digital stations, additional information
on the current track is displayed, e.g. the name
of the album or the artist.
Select the channel currently being played and
press the controller.
"HD" must appear in the status line and
the system must currently be receiving a
digital station.<