2008 BMW 650I CONVERTIBLE page 79
[x] Cancel search: page 79Page 167 of 264
Navigation
Entertainment
Driving tips
165Reference
At a glance
Controls
Communications
Mobility
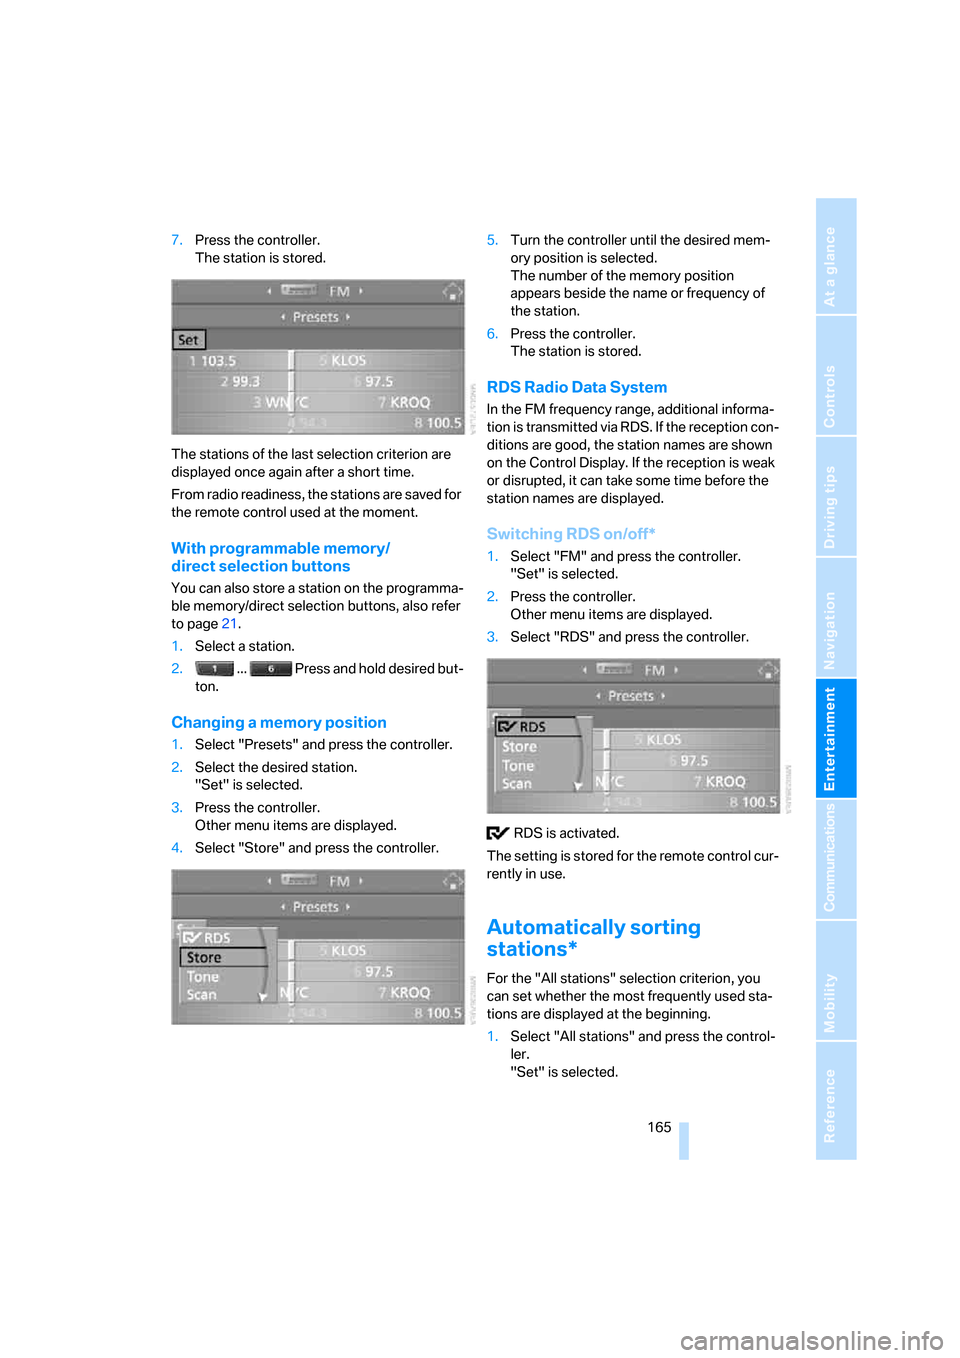
7.Press the controller.
The station is stored.
The stations of the last selection criterion are
displayed once again after a short time.
From radio readiness, the stations are saved for
the remote control used at the moment.
With programmable memory/
direct selection buttons
You can also store a station on the programma-
ble memory/direct selection buttons, also refer
to page21.
1.Select a station.
2. ... Press and hold desired but-
ton.
Changing a memory position
1.Select "Presets" and press the controller.
2.Select the desired station.
"Set" is selected.
3.Press the controller.
Other menu items are displayed.
4.Select "Store" and press the controller.5.Turn the controller until the desired mem-
ory position is selected.
The number of the memory position
appears beside the name or frequency of
the station.
6.Press the controller.
The station is stored.
RDS Radio Data System
In the FM frequency range, additional informa-
tion is transmitted via RDS. If the reception con-
ditions are good, the station names are shown
on the Control Display. If the reception is weak
or disrupted, it can take some time before the
station names are displayed.
Switching RDS on/off*
1.Select "FM" and press the controller.
"Set" is selected.
2.Press the controller.
Other menu items are displayed.
3.Select "RDS" and press the controller.
RDS is activated.
The setting is stored for the remote control cur-
rently in use.
Automatically sorting
stations*
For the "All stations" selection criterion, you
can set whether the most frequently used sta-
tions are displayed at the beginning.
1.Select "All stations" and press the control-
ler.
"Set" is selected.
Page 169 of 264
Navigation
Entertainment
Driving tips
167Reference
At a glance
Controls
Communications
Mobility
playback switches between analog and digital
reception. This can result in repetitions or inter-
ruptions. In this case it may be advisable to
deactivate digital radio reception.
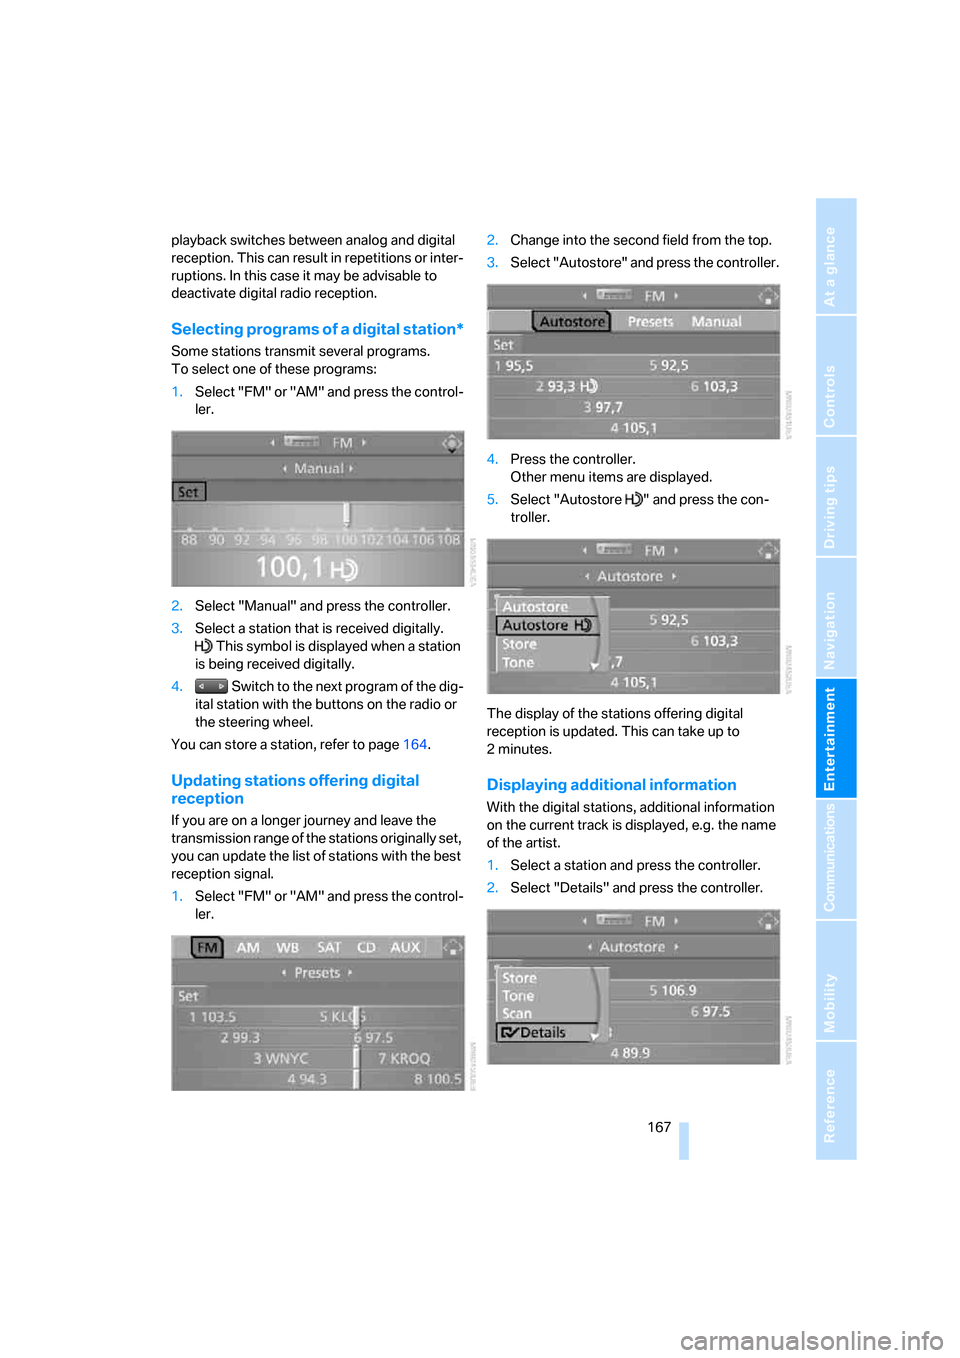
Selecting programs of a digital station*
Some stations transmit several programs.
To select one of these programs:
1.Select "FM" or "AM" and press the control-
ler.
2.Select "Manual" and press the controller.
3.Select a station that is received digitally.
This symbol is displayed when a station
is being received digitally.
4. Switch to the next program of the dig-
ital station with the buttons on the radio or
the steering wheel.
You can store a station, refer to page164.
Updating stations offering digital
reception
If you are on a longer journey and leave the
transmission range of the stations originally set,
you can update the list of stations with the best
reception signal.
1.Select "FM" or "AM" and press the control-
ler.2.Change into the second field from the top.
3.Select "Autostore" and press the controller.
4.Press the controller.
Other menu items are displayed.
5.Select "Autostore " and press the con-
troller.
The display of the stations offering digital
reception is updated. This can take up to
2minutes.
Displaying additional information
With the digital stations, additional information
on the current track is displayed, e.g. the name
of the artist.
1.Select a station and press the controller.
2.Select "Details" and press the controller.
Page 174 of 264
CD player and CD changer
172
CD player and CD changer
Listening to CDs
Compressed audio files*
CDs with compressed audio files, i.e. MP3,
can be played by the CD player, but not by the
CD changer.
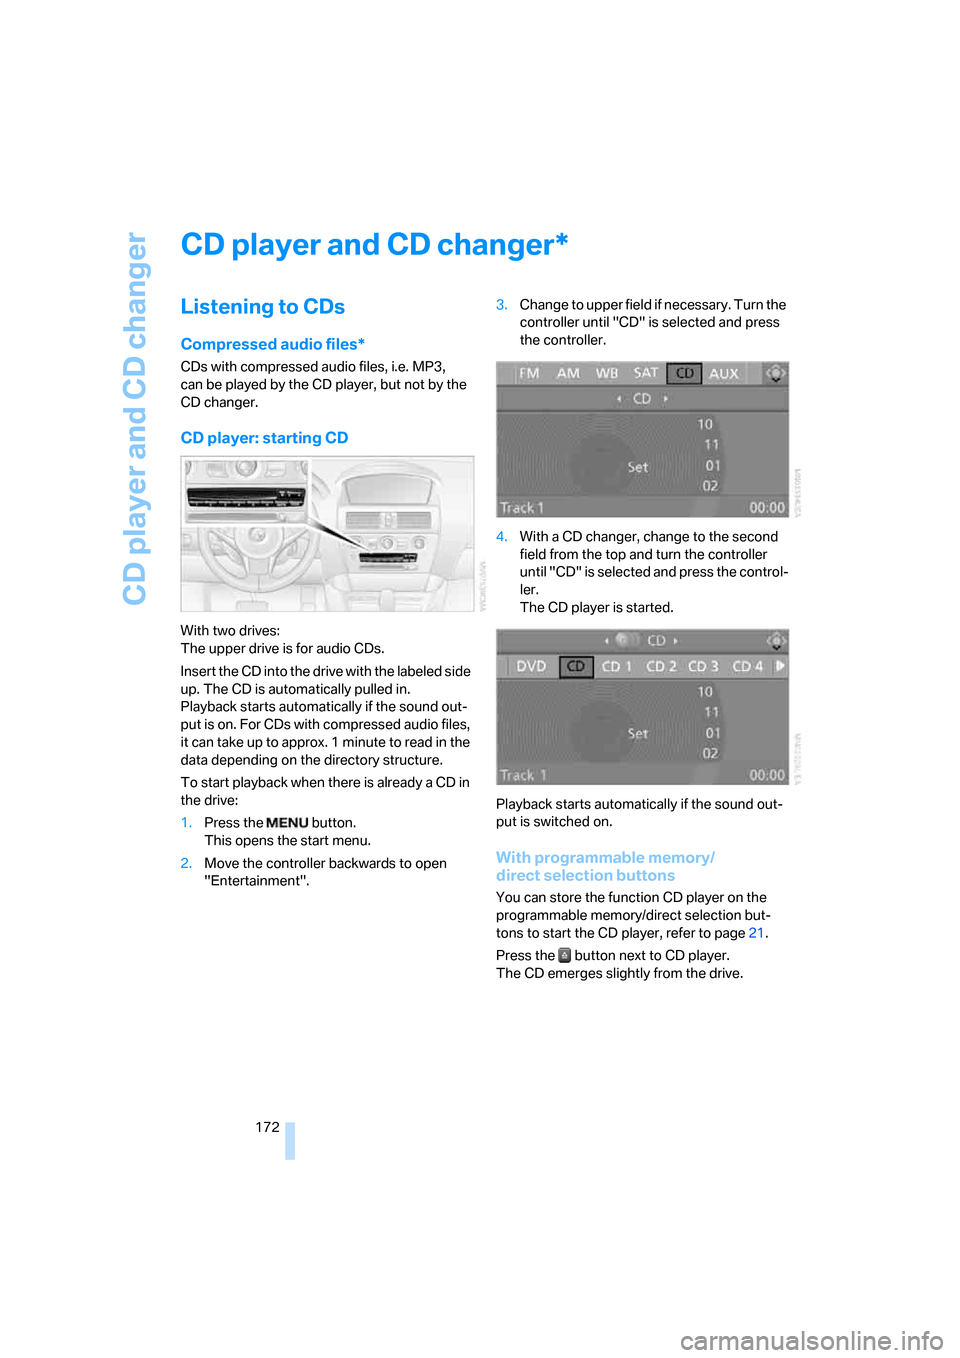
CD player: starting CD
With two drives:
The upper drive is for audio CDs.
Insert the CD into the drive with the labeled side
up. The CD is automatically pulled in.
Playback starts automatically if the sound out-
put is on. For CDs with compressed audio files,
it can take up to approx. 1 minute to read in the
data depending on the directory structure.
To start playback when there is already a CD in
the drive:
1.Press the button.
This opens the start menu.
2.Move the controller backwards to open
"Entertainment".3.Change to upper field if necessary. Turn the
controller until "CD" is selected and press
the controller.
4.With a CD changer, change to the second
field from the top and turn the controller
until "CD" is selected and press the control-
ler.
The CD player is started.
Playback starts automatically if the sound out-
put is switched on.
With programmable memory/
direct selection buttons
You can store the function CD player on the
programmable memory/direct selection but-
tons to start the CD player, refer to page21.
Press the button next to CD player.
The CD emerges slightly from the drive.
*
Page 175 of 264

Navigation
Entertainment
Driving tips
173Reference
At a glance
Controls
Communications
Mobility
CD changer: starting CD
Fill the CD magazine and insert, refer to
page176.
1.Press the button.
This opens the start menu.
2.Move the controller backwards to open
"Entertainment".
3.Change to upper field if necessary. Turn the
controller until "CD" is selected and press
the controller.
4.Change to the second field from the top if
necessary. Turn the controller until the
desired CD, CD 1 - 6, is selected and press
the controller.
At the end of the last track, the next CD will be
selected.
If the CD magazine has been newly filled, play-
back begins with the lowest CD, e.g. CD 1,
track 1.
The CD magazine's load status is indicated on
the Control Display.
With programmable memory/
direct selection buttons
You can store a CD compartment of the CD
changer on the programmable memory/direct
selection buttons to start the CD changer, refer
to page21.
Selecting a track
Buttons next to CD player
Press the button for the corresponding
direction repeatedly until you reach the desired
track.
The CD will start to play at the start of the track.
The track is displayed on the Control Display.
You can also change the track with buttons on
the steering wheel, refer to page11.
Via iDrive
Select a track by turning the controller.
Compressed audio files*
1.Select the directory if necessary and press
the controller.
2.Select the track and press the controller.
Page 176 of 264
CD player and CD changer
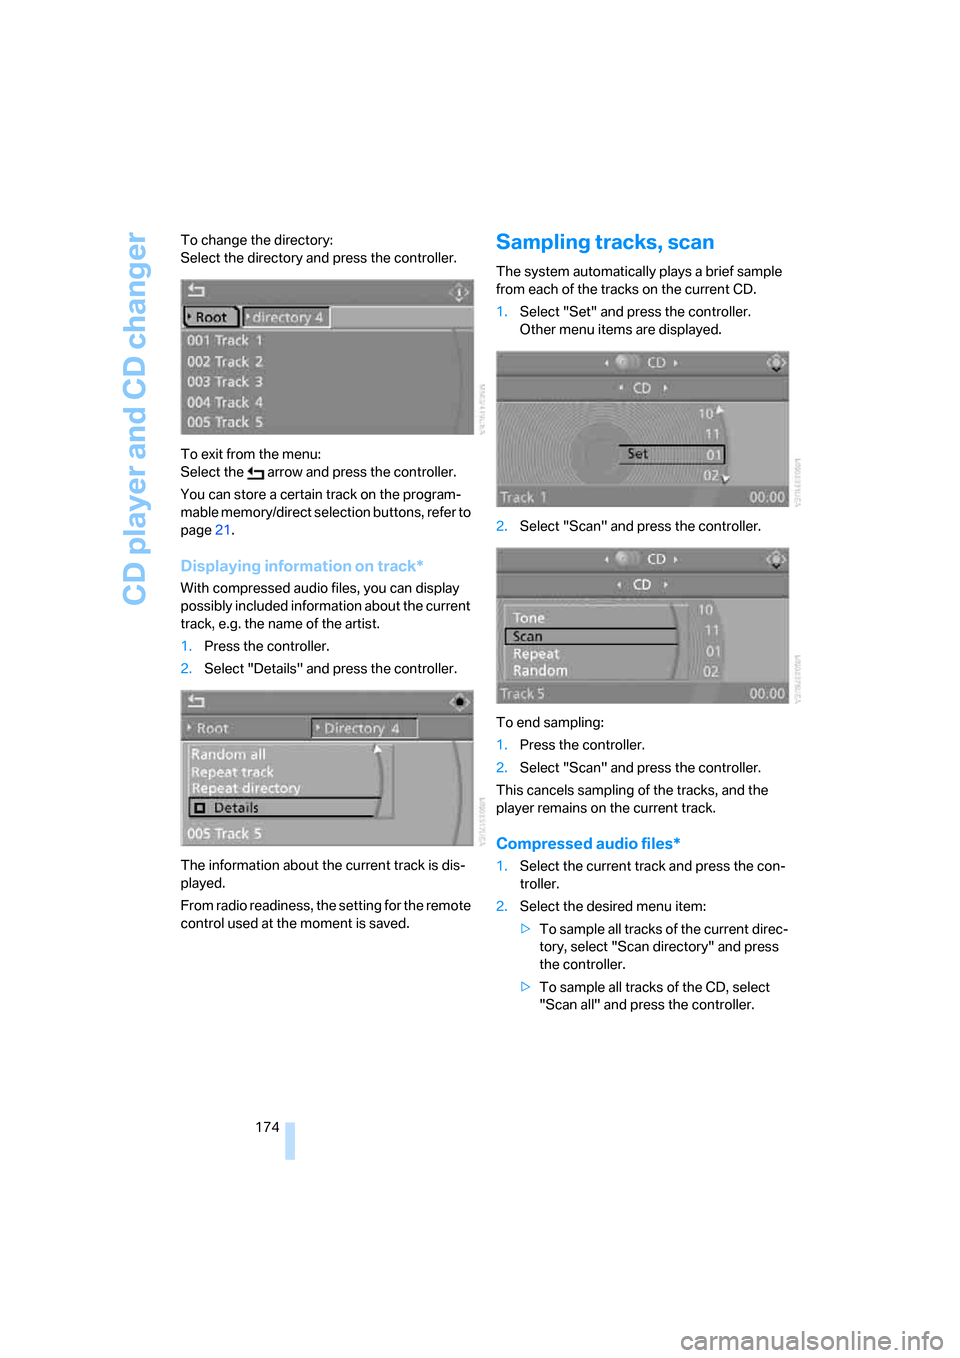
174 To change the directory:
Select the directory and press the controller.
To exit from the menu:
Select the arrow and press the controller.
You can store a certain track on the program-
mable memory/direct selection buttons, refer to
page21.
Displaying information on track*
With compressed audio files, you can display
possibly included information about the current
track, e.g. the name of the artist.
1.Press the controller.
2.Select "Details" and press the controller.
The information about the current track is dis-
played.
From radio readiness, the setting for the remote
control used at the moment is saved.
Sampling tracks, scan
The system automatically plays a brief sample
from each of the tracks on the current CD.
1.Select "Set" and press the controller.
Other menu items are displayed.
2.Select "Scan" and press the controller.
To end sampling:
1.Press the controller.
2.Select "Scan" and press the controller.
This cancels sampling of the tracks, and the
player remains on the current track.
Compressed audio files*
1.Select the current track and press the con-
troller.
2.Select the desired menu item:
>To sample all tracks of the current direc-
tory, select "Scan directory" and press
the controller.
>To sample all tracks of the CD, select
"Scan all" and press the controller.
Page 180 of 264
AUX-In connection
178
AUX-In connection
You can connect an external audio device, e.g.
an MP3 player, and play the sound via the vehi-
cle loudspeakers. The sound can be adjusted
via iDrive.
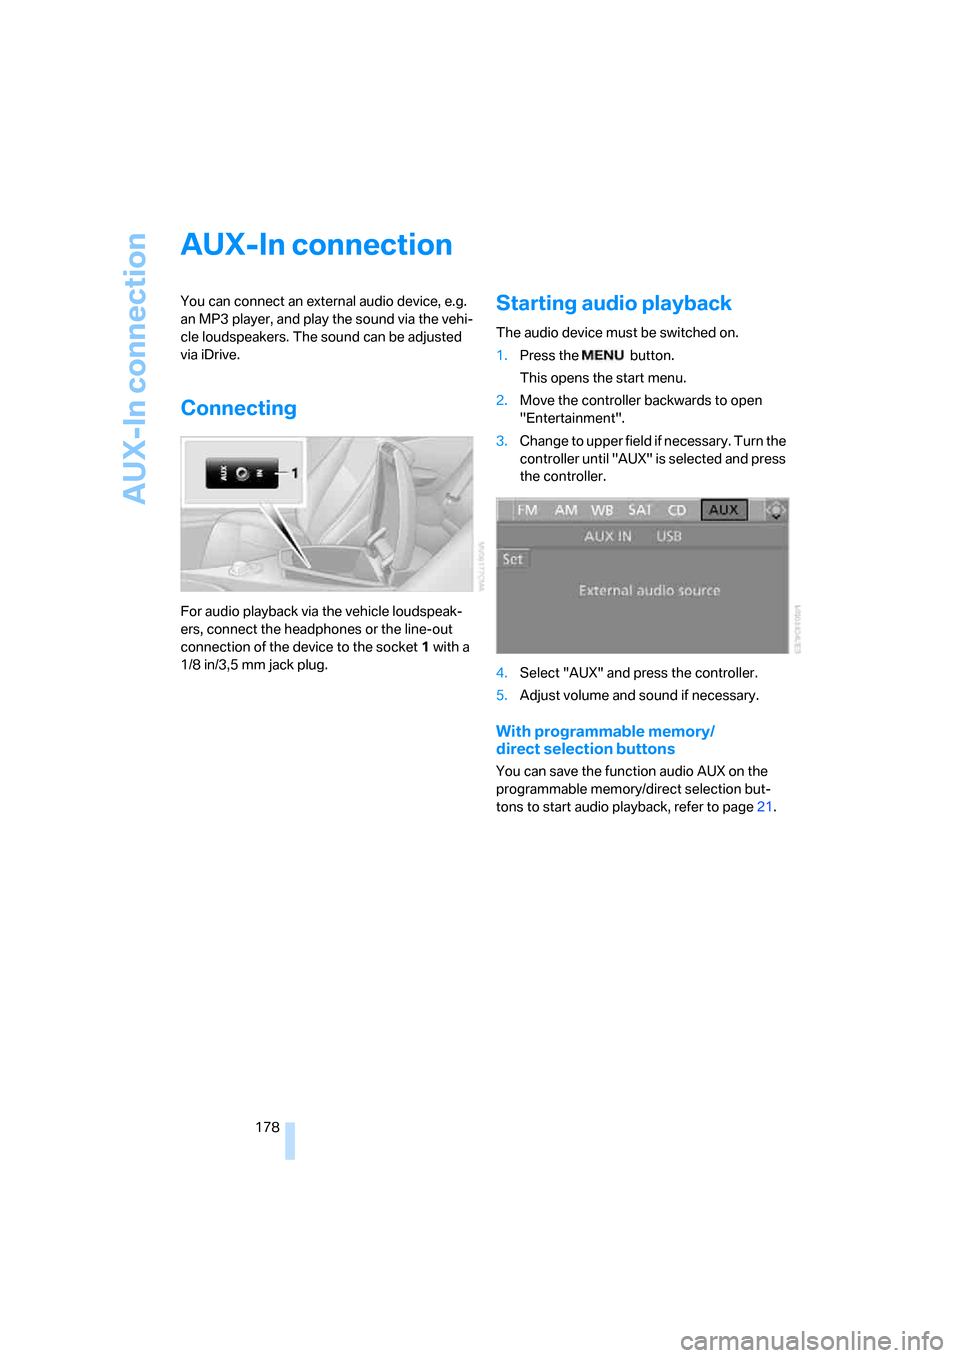
Connecting
For audio playback via the vehicle loudspeak-
ers, connect the headphones or the line-out
connection of the device to the socket1 with a
1/8 in/3,5 mm jack plug.
Starting audio playback
The audio device must be switched on.
1.Press the button.
This opens the start menu.
2.Move the controller backwards to open
"Entertainment".
3.Change to upper field if necessary. Turn the
controller until "AUX" is selected and press
the controller.
4.Select "AUX" and press the controller.
5.Adjust volume and sound if necessary.
With programmable memory/
direct selection buttons
You can save the function audio AUX on the
programmable memory/direct selection but-
tons to start audio playback, refer to page21.
Page 182 of 264
USB/audio interface
180
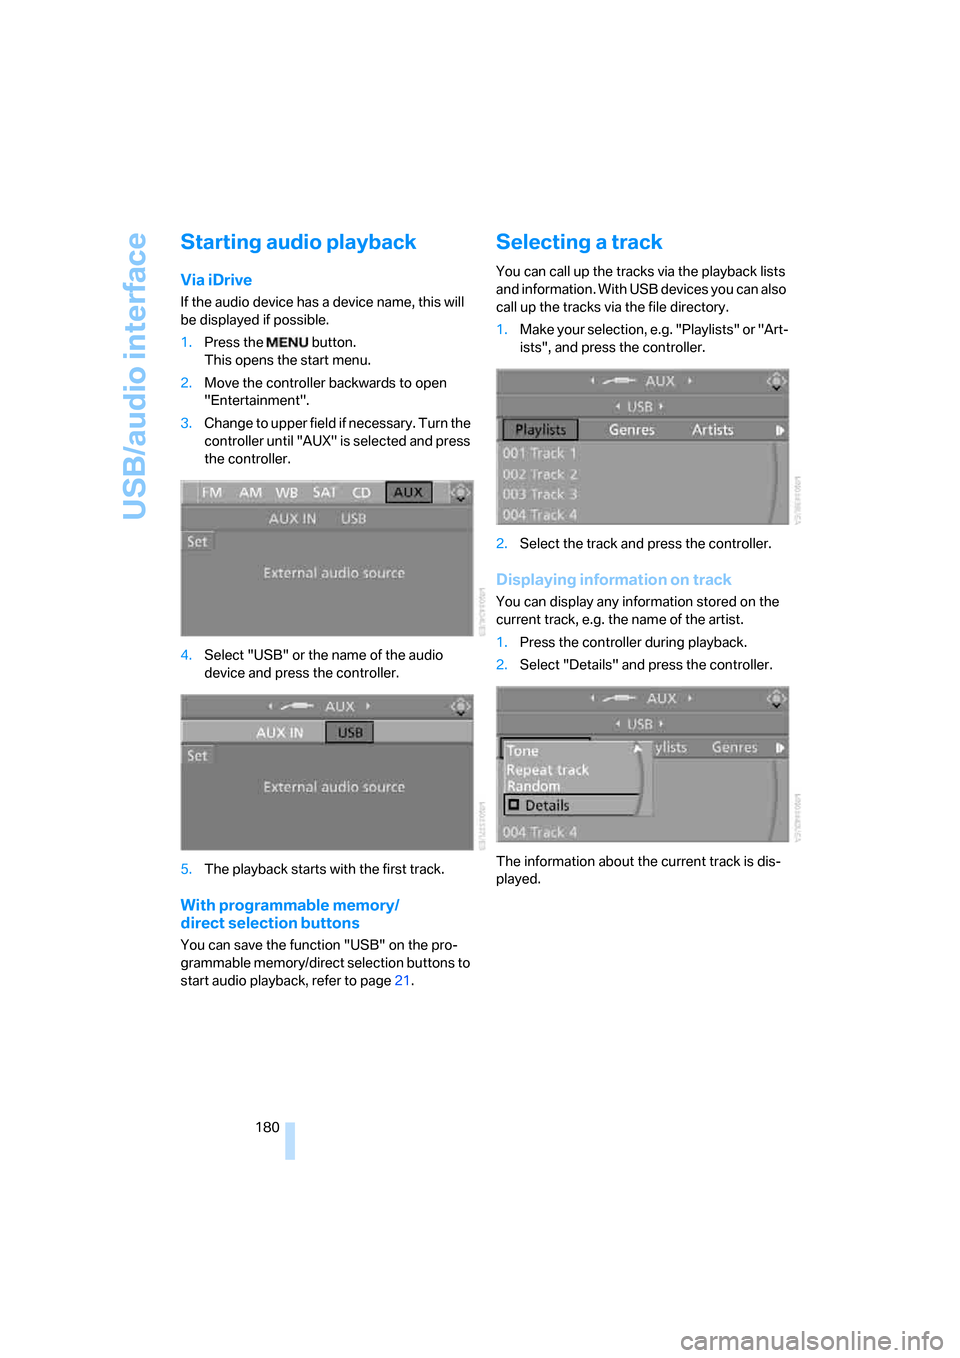
Starting audio playback
Via iDrive
If the audio device has a device name, this will
be displayed if possible.
1.Press the button.
This opens the start menu.
2.Move the controller backwards to open
"Entertainment".
3.Change to upper field if necessary. Turn the
controller until "AUX" is selected and press
the controller.
4.Select "USB" or the name of the audio
device and press the controller.
5.The playback starts with the first track.
With programmable memory/
direct selection buttons
You can save the function "USB" on the pro-
grammable memory/direct selection buttons to
start audio playback, refer to page21.
Selecting a track
You can call up the tracks via the playback lists
and information. With USB devices you can also
call up the tracks via the file directory.
1.Make your selection, e.g. "Playlists" or "Art-
ists", and press the controller.
2.Select the track and press the controller.
Displaying information on track
You can display any information stored on the
current track, e.g. the name of the artist.
1.Press the controller during playback.
2.Select "Details" and press the controller.
The information about the current track is dis-
played.
Page 186 of 264

Telephoning
184
Telephoning
The concept
Your BMW is equipped with a full mobile phone
preparation package. After a suitable mobile
phone has been paired in the vehicle once, you
can operate the mobile phone via iDrive, with
the buttons on the steering wheel and by voice.
A mobile phone that has been paired once is
automatically detected again as soon as it is
brought back inside the vehicle, provided that
the engine is running or the ignition is switched
on. The pairing data of up to four mobile phones
can be stored simultaneously. If several mobile
phones are detected simultaneously, the most
recently paired mobile phone can be operated
via the vehicle.
Using a phone in your vehicle
Using snap-in adapter*
The so-called snap-in adapter, a mobile phone
cradle, enables the battery to be charged and
the mobile phone to be connected to the exter-
nal antenna of your vehicle. This ensures
improved network reception and a consistent
voice reproduction quality. Ask your BMW cen-
ter which mobile phones snap-in adapters are
offered for.
For your safety
A car phone makes life more convenient in
many ways, and can even save lives in an emer-
gency. While you should consult your mobile
phone's separate operating instructions for a
detailed description of safety precautions and
information, we request that you direct your
particular attention to the following:
Only make entries when traffic conditions
allow you to do so. Do not hold the mobile
phone in your hand while you are driving; use
the hands-free system instead. If you do not
observe this precaution, your being distracted can endanger vehicle occupants and other road
users.<
Suitable mobile phones
Ask your BMW center which mobile phones
with a Bluetooth interface are supported by the
mobile phone preparation package or which
mobile phones will fit in the snap-in adapters
they offer. These mobile phones support the
functions described in this Owner's Manual,
provided they are running a certain software
version. Malfunctions can occur with other
mobile phones.
Care instructions
You can find what you need to know about car-
ing for your mobile phone in the separate Caring
for your vehicle brochure and in the mobile
phone operating instructions.
Operating options
You can operate the mobile phone* using:
>Buttons on steering wheel, refer to page11
>iDrive, refer to page16
>Voice commands, refer to page195
>Programmable memory/direct selection
buttons, refer to page21
Avoid operating a mobile phone detected by
the vehicle with the keypad of the mobile
phone, otherwise malfunctions can occur.
Placing phone calls with BMW Assist
system*: BMW Assist calls
You can use the BMW Assist system via the
hands-free unit for BMW Assist calls.
When the status information "BMW Assist" or
"BMW Service" is displayed in "Communica-
tion", only BMW Assist calls are possible.
*