2008 AUDI S5 check engine
[x] Cancel search: check enginePage 199 of 294
Downloaded from www.Manualslib.com manuals search engine Your vehicle and the environment197
Controls
Safety
Driving tips
General maintenance
Self-help
Technical data Avoid carrying unneccessary loads
Every kilo of extra weight will increase the fuel consumption, so it is
worth checking the luggage compartment occasionally to make
sure that no unnecessary loads are being transported.
A roof carrier is often left in place for the sake of convenience, even
when it is no longer needed. At a speed of 100-120 km/h your car will
use about 12 % more fuel as a result of the extra wind resistance
caused by the roof carrier - even when it is empty.
Save electrical energy
The engine drives the alternator to generate electricity. This means
that fuel consumption rises when more power is required for elec-
trical equipment. Switch off electrical equipment when it is not
needed. Electrical equipment which uses a lot of electricity includes
the blower (at a high setting), the rear window heating and the seat
heating*.
Environmental compatibilityEnvironmental protection is a top priority in the design, choice of
materials and production of your new Audi.
Design measures for economical recycling•
Joints and connections designed for ease of dismantling
•
Modular construction to facilitate dismantling
•
Increased use of single-grade materials
•
Plastic parts and elastomers are labelled in accordance with ISO
1043, ISO 11469 and ISO 1629
Choice of materials
•
Nearly all materials used can be recycled
•
Similar types of plastics grouped together for easy recycling
•
Recycled materials used in manufacture
•
Reduced vapour emissions from plastics
•
CFC-free refrigerant in air conditioner
Compliance with the laws prohibiting the use of: Cadmium,
asbestos, lead, mercury and chrome VI.
Manufacturing methods
•
Using recycling material for manufacturing plastic parts
•
Solvent-free cavity sealing
•
Solvent-free wax for protecting the vehicles in transit
•
Solvent-free adhesives
•
No CFCs used in production
•
Surplus materials used extensively for energy conversion and
building materials
•
Overall water consumption reduced
•
Heat recovery systems
•
Water-soluble paint
document_0900452a81793dcc.book Seite 197 Mittwoch, 21. März 2007 5:42 17
Page 200 of 294
Downloaded from www.Manualslib.com manuals search engine Towing a trailer 198Towing a trailerDriving the vehicle with a trailer or
caravanTechnical requirements
The towing bracket must comply with certain technical
requirements.Your car is intended mainly for transporting passengers and
luggage. However, if suitably equipped, it can also be used to tow a
trailer or caravan.
If the car is supplied with a factory-fitted towing bracket it will
already have the necessary technical modifications and meet the
statutory requirements.
A 13-pin socket is provided to make the electrical connection
between the car and the trailer. If the trailer has a 7-pin plug you can
use an adapter cable. This is available from Audi dealers.
WARNING
If a towing bracket is retrofitted, the installation should be carried
out by a qualified workshop.•
In particular in high outside temperatures it is not possible to
drive up long steep gradients without a suitable cooling system.
The engine would then overheat.
•
Incorrect installation can result in a safety risk.
Points to check before towingTrailer weights
Never exceed the maximum permitted trailer weights ⇒page 281.If you do not load the trailer up to the maximum permitted trailer
weight, you can then climb correspondingly steeper gradients.
The maximum trailer weights listed are only applicable for altitudes
up to 1000 m above sea level. With increasing altitude the engine
power and therefore the car's climbing ability are impaired because
of the reduced air density, so the maximum trailer weight has to be
reduced accordingly. The weight of the car and trailer must be
reduced by 10% for every further 1000 m (or part thereof). This
figure refers to the combined weight of the (loaded) vehicle and
(loaded) trailer.
The figures for the draw bar weight that appear on the identification
plate of the towing bracket are for certification purposes only. The
correct figures for your specific vehicle, which may be lower than
these figures for the towing bracket, are given in the registration
documents. Also refer to ⇒page 281.
Distributing the load
Distribute loads in the trailer so that heavy objects are as near to the
axle as possible. Loads carried in the trailer must be secured to
prevent them slipping.
Where possible, operate the trailer with the maximum permitted
draw bar weight on the ball joint of the towing bracket, but do not
exceed the specified limit.
Tyre pressure
Check the tyre pressures on your car and adjust for “full load” condi-
tions (refer to the sticker listing the tyre pressures on the end face
of the driver's door). It may also be necessary to adjust the tyre pres-
sures on the trailer according to the recommendations of the trailer
manufacturer.
Exterior mirrors
Check whether you can see enough of the road behind the trailer
with the standard mirrors. If this is not the case you should have
document_0900452a81793dcc.book Seite 198 Mittwoch, 21. März 2007 5:42 17
Page 204 of 294
Downloaded from www.Manualslib.com manuals search engine Towing a trailer 202The removable ball joint attachment for the towing bracket is stored
under the floor panel on the left-hand side of the luggage compart-
ment.
The ball joint can be fitted and removed by hand.
WARNING
Never use tools of any kind when fitting and removing the ball
joint. This could damage the mechanism which locks the ball joint
in place and impair its safety (accident risk).
Note
•
Do not attempt to modify or repair the ball joint or other towing
bracket components.
•
Should you have any difficulties when using the towing bracket,
or suspect that it is not fitted properly, contact a qualified workshop.
•
Before setting off, always check that the ball joint is secured
properly ⇒page 204.
•
Never disengage the ball joint with the caravan / trailer still
hitched or with a bicycle rack or similar accessory still attached.
•
It is advisable to remove the ball joint when you are not towing a
trailer. Fold the socket back to its original position so that the
mounting fixture is properly closed.
•
The ball joint must be removed if you intend to clean the car with
a steam cleaning attachment. Make sure that the mounting fixture
is properly closed.
•
For installation and removal of the ball joint we recommend that
the gloves provided be used.
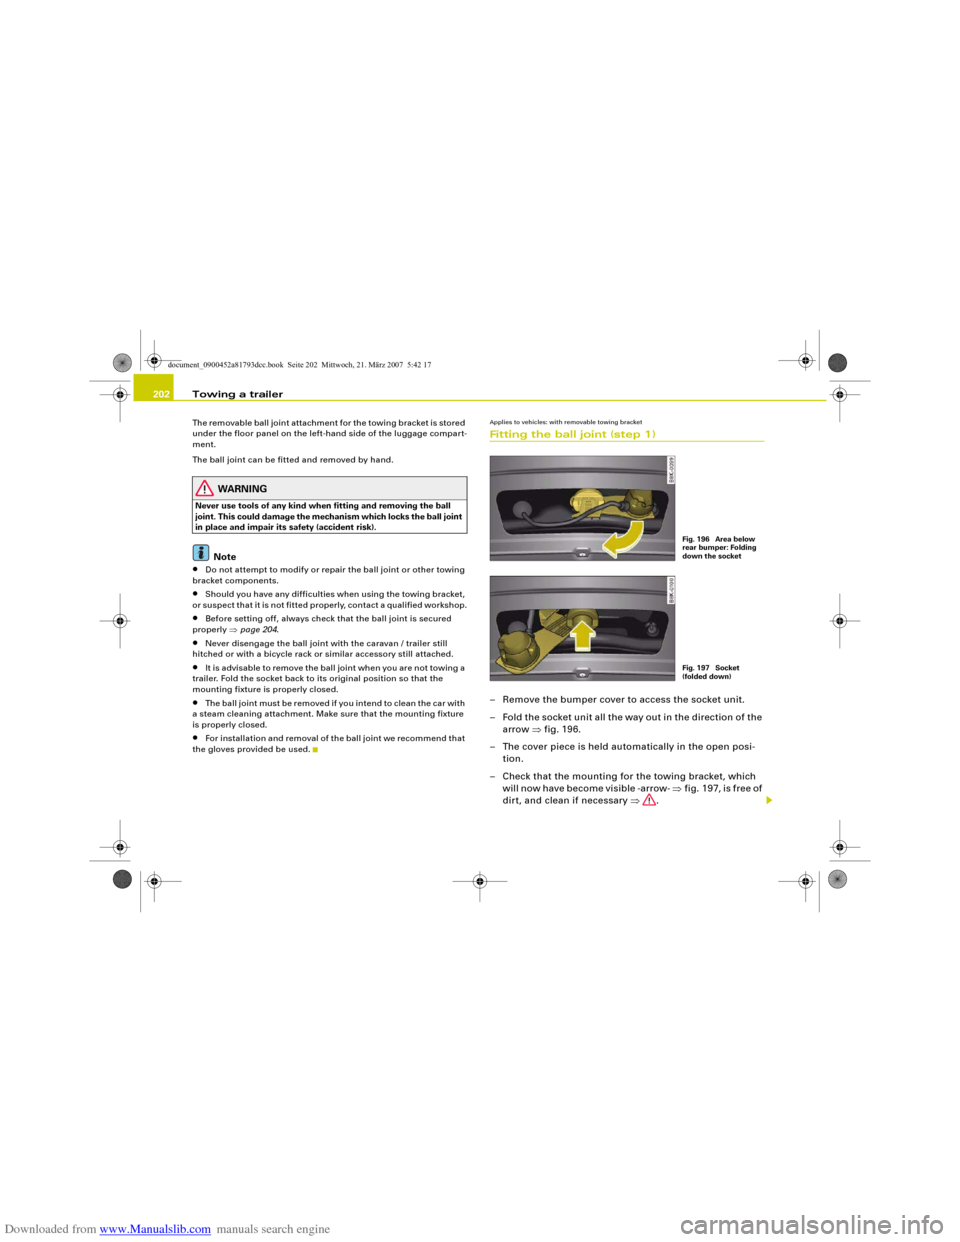
Applies to vehicles: with removable towing bracketFitting the ball joint (step 1)– Remove the bumper cover to access the socket unit.
– Fold the socket unit all the way out in the direction of the
arrow ⇒fig. 196.
– The cover piece is held automatically in the open posi-
tion.
– Check that the mounting for the towing bracket, which
will now have become visible -arrow- ⇒fig. 197, is free of
dirt, and clean if necessary ⇒.
Fig. 196 Area below
rear bumper: Folding
down the socketFig. 197 Socket
(folded down)
document_0900452a81793dcc.book Seite 202 Mittwoch, 21. März 2007 5:42 17
Page 205 of 294
Downloaded from www.Manualslib.com manuals search engine Towing a trailer203
Controls
Safety
Driving tips
General maintenance
Self-help
Technical data
– Also check the shaft section of the ball joint and its asso-
ciated mechanical parts to make sure they are clean and
undamaged.Continued ⇒page 203, “Fitting the ball joint (step 2)”.
WARNING
It is important to keep the mounting fixture clean. Otherwise the
ball joint may fail to engage securely (accident risk).Applies to vehicles: with removable towing bracketFitting the ball joint (step 2)The spring mechanism inside the ball joint must
be in the "ready" position.
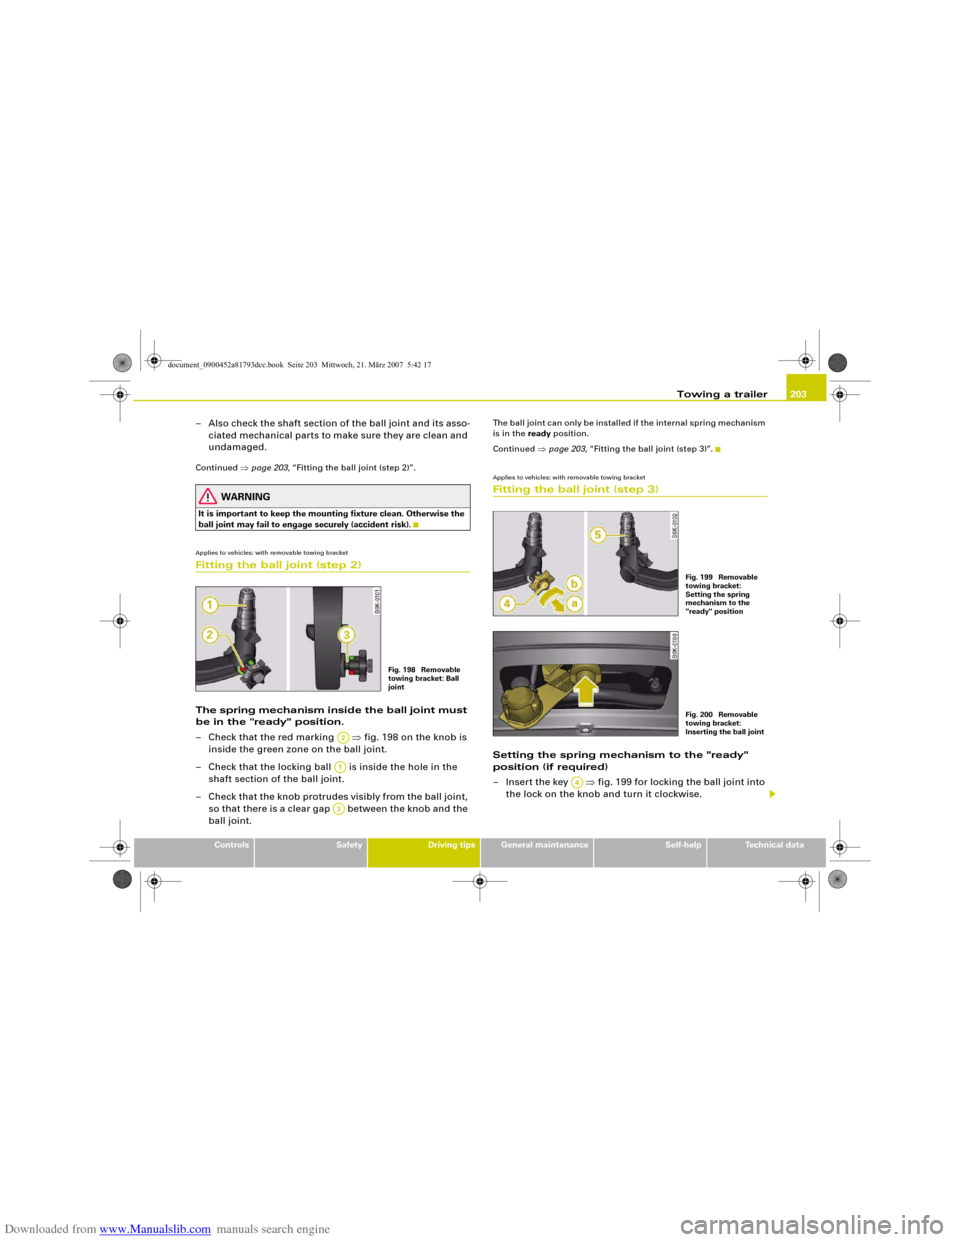
– Check that the red marking ⇒fig. 198 on the knob is
inside the green zone on the ball joint.
– Check that the locking ball is inside the hole in the
shaft section of the ball joint.
– Check that the knob protrudes visibly from the ball joint,
so that there is a clear gap between the knob and the
ball joint.
The ball joint can only be installed if the internal spring mechanism
is in the ready position.
Continued ⇒page 203, “Fitting the ball joint (step 3)”.Applies to vehicles: with removable towing bracketFitting the ball joint (step 3)Setting the spring mechanism to the "ready"
position (if required)
– Insert the key ⇒fig. 199 for locking the ball joint into
the lock on the knob and turn it clockwise.
Fig. 198 Removable
towing bracket: Ball
joint
A2A1A3
Fig. 199 Removable
towing bracket:
Setting the spring
mechanism to the
"ready" positionFig. 200 Removable
towing bracket:
Inserting the ball joint
A4
document_0900452a81793dcc.book Seite 203 Mittwoch, 21. März 2007 5:42 17
Page 206 of 294
Downloaded from www.Manualslib.com manuals search engine Towing a trailer 204
– Pull out the knob in direction , hold and turn in direc-
tion until the locking ball engages ⇒.
Inserting the ball joint
– With the spring mechanism in the “ready” position,
insert the ball joint into the mounting fixture and push it
upwards ⇒page 203, fig. 200 in the direction indicated
(arrow) ⇒. The spring mechanism should then
engage automatically with an audible click.
– Lock the ball joint by turning the key anti-clockwise.
– Take out the key and press the cover cap provided onto
the lock.Continued ⇒page 204, “Fitting the ball joint (step 4)”.
WARNING
•
If it is not possible to set the spring mechanism to the "ready"
position as described above, do not use the ball joint. Please take
your vehicle to a qualified workshop.
•
To avoid injury, keep your hands away from the knob and the
cover piece when inserting the ball joint into the mounting fixture.Note
Make sure that the knob can turn freely when the ball joint is
inserted.
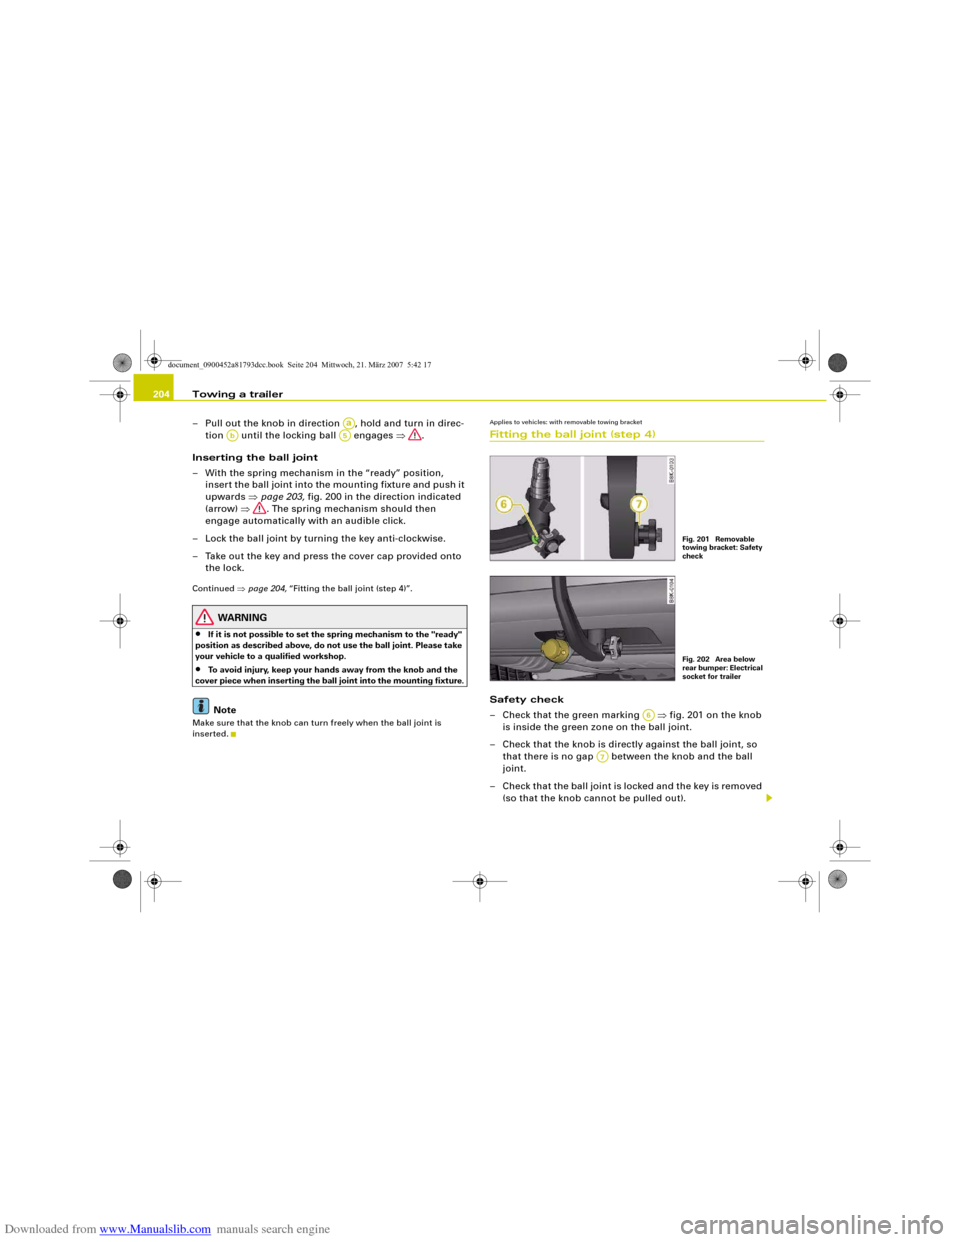
Applies to vehicles: with removable towing bracketFitting the ball joint (step 4)Safety check
– Check that the green marking ⇒fig. 201 on the knob
is inside the green zone on the ball joint.
– Check that the knob is directly against the ball joint, so
that there is no gap between the knob and the ball
joint.
– Check that the ball joint is locked and the key is removed
(so that the knob cannot be pulled out).
Aa
Ab
A5
Fig. 201 Removable
towing bracket: Safety
checkFig. 202 Area below
rear bumper: Electrical
socket for trailer
A6
A7
document_0900452a81793dcc.book Seite 204 Mittwoch, 21. März 2007 5:42 17
Page 207 of 294
Downloaded from www.Manualslib.com manuals search engine Towing a trailer205
Controls
Safety
Driving tips
General maintenance
Self-help
Technical data
– Check that the ball joint fits tightly in the mounting
fixture (try moving it about to check).
Electrical socket for trailer
– The cable of the towing bracket can be connected to the
socket ⇒page 204, fig. 202.If the safety check is not satisfactory, the ball joint must be fitted
again properly.
WARNING
To avoid accidents, the ball joint must meet all the safety require-
ments listed in the safety check. The towing bracket must not be
used if any one of these requirements is not met. If this is the case,
you should contact a qualified workshop.Applies to vehicles: with removable towing bracketRemoving the ball joint
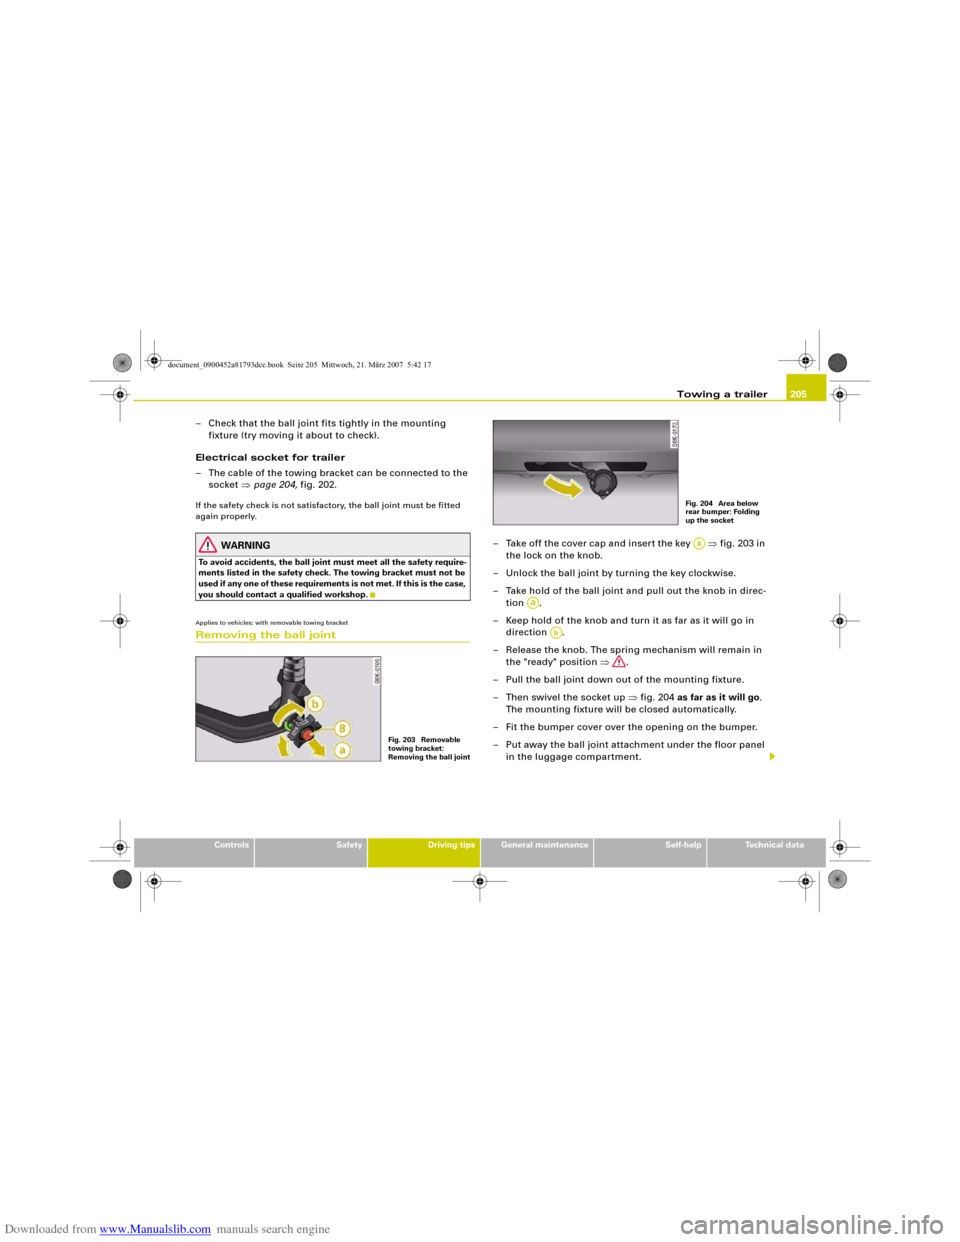
– Take off the cover cap and insert the key ⇒fig. 203 in
the lock on the knob.
– Unlock the ball joint by turning the key clockwise.
– Take hold of the ball joint and pull out the knob in direc-
tion .
– Keep hold of the knob and turn it as far as it will go in
direction .
– Release the knob. The spring mechanism will remain in
the "ready" position ⇒.
– Pull the ball joint down out of the mounting fixture.
– Then swivel the socket up ⇒fig. 204 as far as it will go.
The mounting fixture will be closed automatically.
– Fit the bumper cover over the opening on the bumper.
– Put away the ball joint attachment under the floor panel
in the luggage compartment.
Fig. 203 Removable
towing bracket:
Removing the ball joint
Fig. 204 Area below
rear bumper: Folding
up the socketA8
Aa
Ab
document_0900452a81793dcc.book Seite 205 Mittwoch, 21. März 2007 5:42 17
Page 218 of 294
Downloaded from www.Manualslib.com manuals search engine Care of vehicle and cleaning 216Applies to vehicles: with Alcantara seat coversCleaning AlcantaraRemoving dust and dirt
– Moisten a cloth just a little and wipe down the seat
covers.
Removing stains
– Moisten a cloth with lukewarm water or diluted methyl-
ated spirits.
– Dab at the stain. Start at the outside and work inwards.
– Dry the area you have cleaned with a soft cloth.Do not use leather cleaning products on Alcantara seat covers.
You may use a suitable shampoo on dust and dirt.
Dust and grit in the pores and seams can have an abrasive effect
and damage the surface of the leather. If the car is left standing in
the sun for long periods, the leather should be protected against
direct sunlight to prevent it from fading. However, slight colour vari-
ations will arise in normal use.
Caution
•
Do not use solvents, wax polish, shoe cream, stain removers,
leather cleaning products or any similar products on Alcantara.
•
To avoid damage, stubborn stains should be removed by a qual-
ified workshop.
•
On no account use brushes, hard sponges or similar utensils.
Seat belts
Seat belts should be looked after properly to ensure that
they give the full protection.– Keep the seat belts clean.
– For cleaning, use a mild soap solution.
– Check the condition of the seat belts at regular intervals.Very dirty belts may not retract properly.
Make sure that the inertia reel seat belts are completely dry before
allowing them to retract.
Caution
•
Do not remove the seat belts from the vehicle to clean them.
•
Do not use chemical cleaning agents on the seat belts, as this
can damage the webbing. Ensure that the belts do not come into
contact with corrosive fluids.
•
If you find any damage to the belt webbing, belt fittings, the belt
retractor or the buckle, the belt in question must be replaced by a
qualified workshop.
document_0900452a81793dcc.book Seite 216 Mittwoch, 21. März 2007 5:42 17
Page 222 of 294
Downloaded from www.Manualslib.com manuals search engine Checking and topping up fluids 220Checking and topping up fluidsBonnetReleasing the bonnet
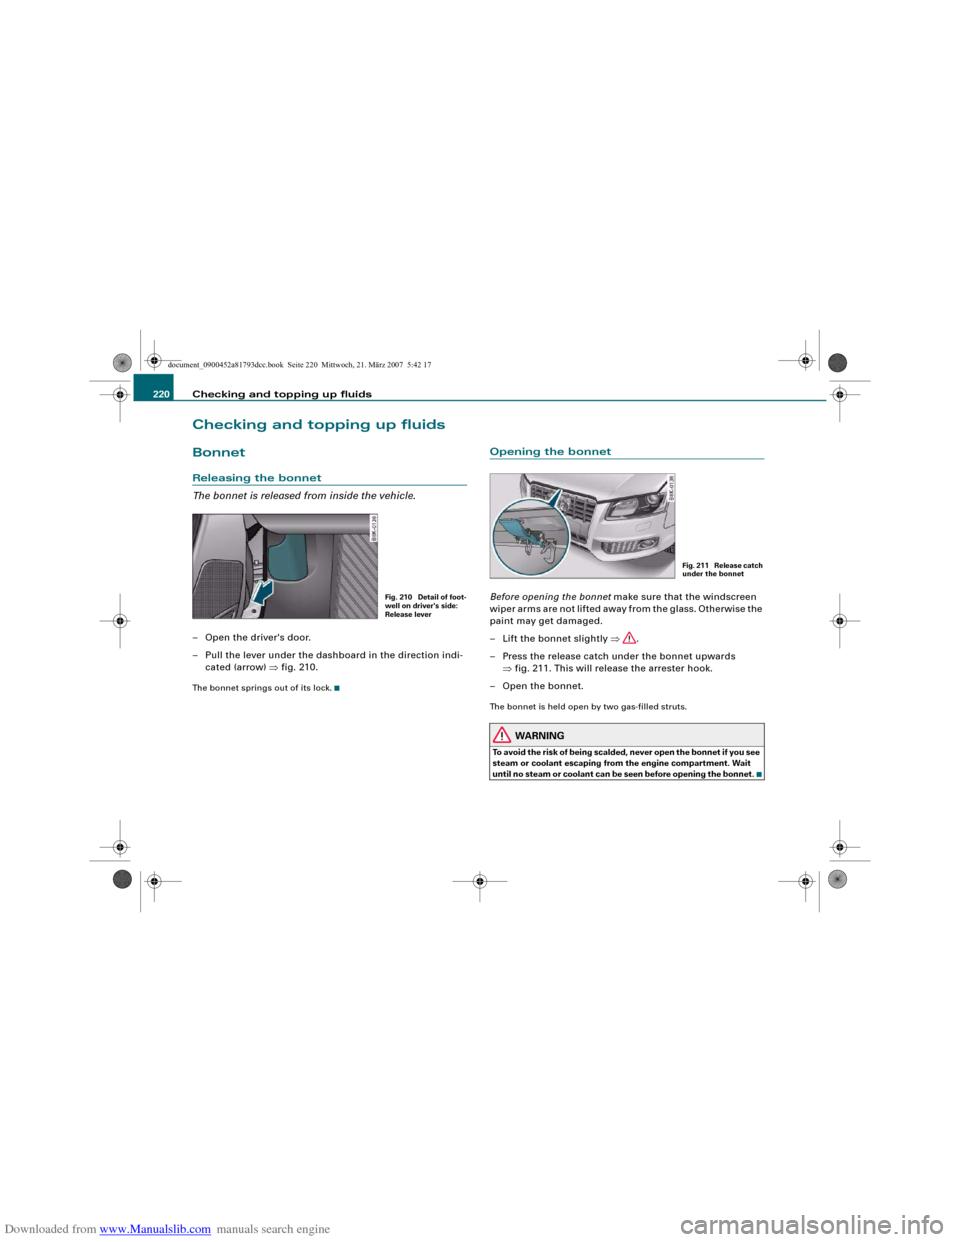
The bonnet is released from inside the vehicle.– Open the driver's door.
– Pull the lever under the dashboard in the direction indi-
cated (arrow) ⇒fig. 210.The bonnet springs out of its lock.
Opening the bonnetBefore opening the bonnet make sure that the windscreen
wiper arms are not lifted away from the glass. Otherwise the
paint may get damaged.
– Lift the bonnet slightly ⇒.
– Press the release catch under the bonnet upwards
⇒fig. 211. This will release the arrester hook.
– Open the bonnet.The bonnet is held open by two gas-filled struts.
WARNING
To avoid the risk of being scalded, never open the bonnet if you see
steam or coolant escaping from the engine compartment. Wait
until no steam or coolant can be seen before opening the bonnet.
Fig. 210 Detail of foot-
well on driver's side:
Release lever
Fig. 211 Release catch
under the bonnet
document_0900452a81793dcc.book Seite 220 Mittwoch, 21. März 2007 5:42 17