2008 AUDI S5 display
[x] Cancel search: displayPage 53 of 294
Downloaded from www.Manualslib.com manuals search engine Doors and windows51
Controls
Safety
Driving tips
General maintenance
Self-help
Technical data
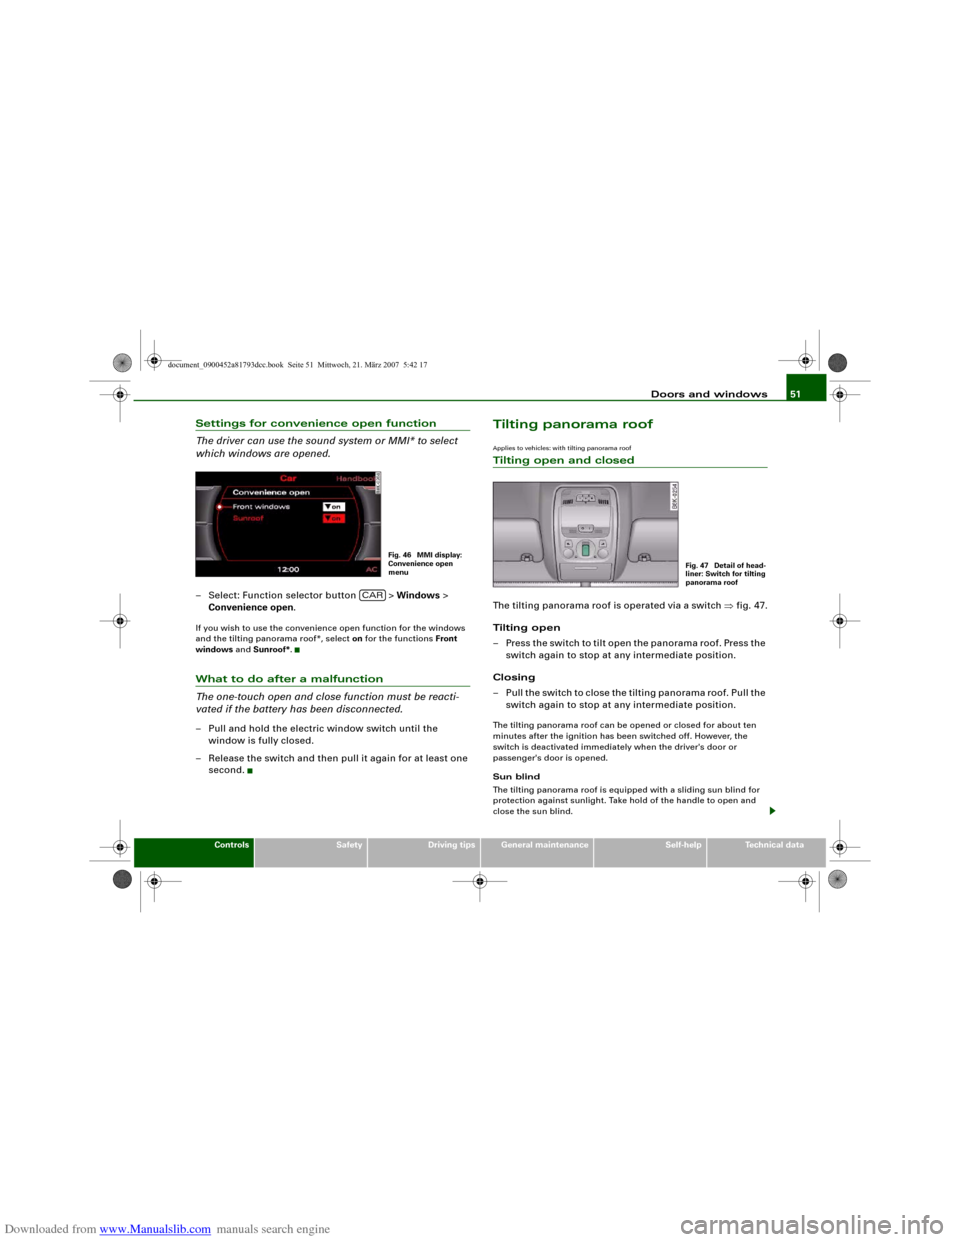
Settings for convenience open function
The driver can use the sound system or MMI* to select
which windows are opened.– Select: Function selector button > Windows >
Convenience open.If you wish to use the convenience open function for the windows
and the tilting panorama roof*, select on for the functions Front
windows and Sunroof*.What to do after a malfunction
The one-touch open and close function must be reacti-
vated if the battery has been disconnected.– Pull and hold the electric window switch until the
window is fully closed.
– Release the switch and then pull it again for at least one
second.
Tilting panorama roofApplies to vehicles: with tilting panorama roofTilting open and closedThe tilting panorama roof is operated via a switch ⇒fig. 47.
Tilting open
– Press the switch to tilt open the panorama roof. Press the
switch again to stop at any intermediate position.
Closing
– Pull the switch to close the tilting panorama roof. Pull the
switch again to stop at any intermediate position.The tilting panorama roof can be opened or closed for about ten
minutes after the ignition has been switched off. However, the
switch is deactivated immediately when the driver's door or
passenger's door is opened.
Sun blind
The tilting panorama roof is equipped with a sliding sun blind for
protection against sunlight. Take hold of the handle to open and
close the sun blind.
Fig. 46 MMI display:
Convenience open
menu
CAR
Fig. 47 Detail of head-
liner: Switch for tilting
panorama roof
document_0900452a81793dcc.book Seite 51 Mittwoch, 21. März 2007 5:42 17
Page 58 of 294
Downloaded from www.Manualslib.com manuals search engine Lights and vision 56
CautionTo avoid dazzling the traffic behind you, the rear fog light should
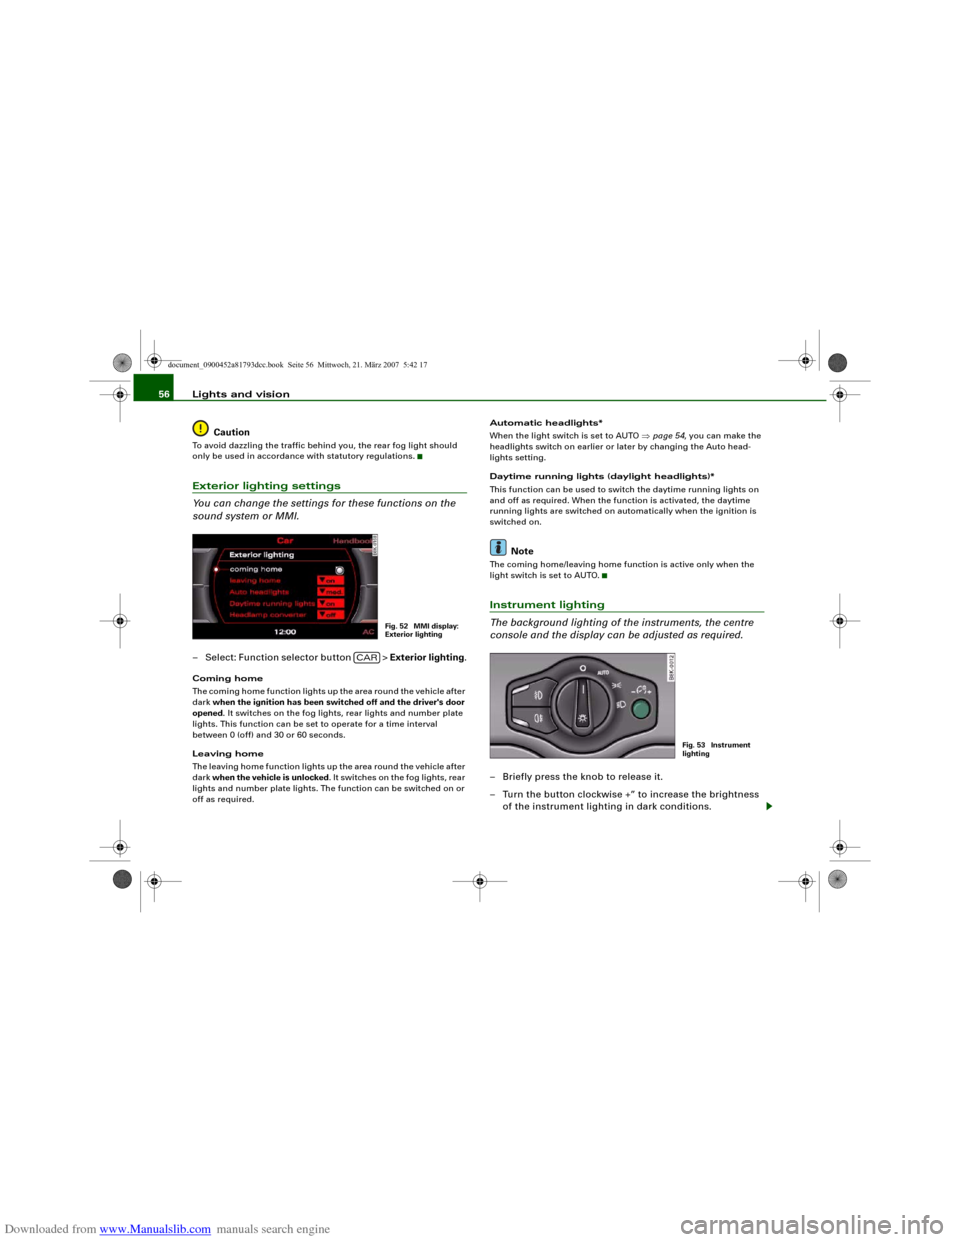
only be used in accordance with statutory regulations.Exterior lighting settings
You can change the settings for these functions on the
sound system or MMI.– Select: Function selector button > Exterior lighting.Coming home
The coming home function lights up the area round the vehicle after
dark when the ignition has been switched off and the driver's door
opened. It switches on the fog lights, rear lights and number plate
lights. This function can be set to operate for a time interval
between 0 (off) and 30 or 60 seconds.
Leaving home
The leaving home function lights up the area round the vehicle after
dark when the vehicle is unlocked. It switches on the fog lights, rear
lights and number plate lights. The function can be switched on or
off as required.Automatic headlights*
When the light switch is set to AUTO ⇒page 54, you can make the
headlights switch on earlier or later by changing the Auto head-
lights setting.
Daytime running lights (daylight headlights)*
This function can be used to switch the daytime running lights on
and off as required. When the function is activated, the daytime
running lights are switched on automatically when the ignition is
switched on.
Note
The coming home/leaving home function is active only when the
light switch is set to AUTO.Instrument lighting
The background lighting of the instruments, the centre
console and the display can be adjusted as required.– Briefly press the knob to release it.
– Turn the button clockwise +” to increase the brightness
of the instrument lighting in dark conditions.
Fig. 52 MMI display:
Exterior lighting
CAR
Fig. 53 Instrument
lighting
document_0900452a81793dcc.book Seite 56 Mittwoch, 21. März 2007 5:42 17
Page 59 of 294
Downloaded from www.Manualslib.com manuals search engine Lights and vision57
Controls
Safety
Driving tips
General maintenance
Self-help
Technical data
– Turn the button anti-clockwise -” to reduce the bright-
ness of the instrument lighting in dark conditions.
– Press the knob in again to prevent the setting from being
changed unintentionally.The instrument lighting (dials and needles), the centre console illu-
mination and the illumination of the displays are regulated by a
light sensor incorporated in the instrument cluster. In bright condi-
tions any changes made to the brightness of the instrument lighting
have no effect.
Note
The instrument lighting (illumination of dials and needles) is
switched on when the ignition is on and the vehicle's lights are off.
The instrument lighting is dimmed automatically as the daylight
starts to fade; it is switched off completely when the light condi-
tions become very poor. This function is intended to remind the
driver to switch on the dipped-beam headlights in good time when
light conditions become poor.Applies to vehicles: with xenon headlight bulbsDynamic headlight range controlHeadlights with xenon gas-discharge bulbs automatically adapt to
suit the load being carried when the engine is switched on. The
headlights are also automatically adjusted when the vehicle is in
motion (e.g. when accelerating and braking).
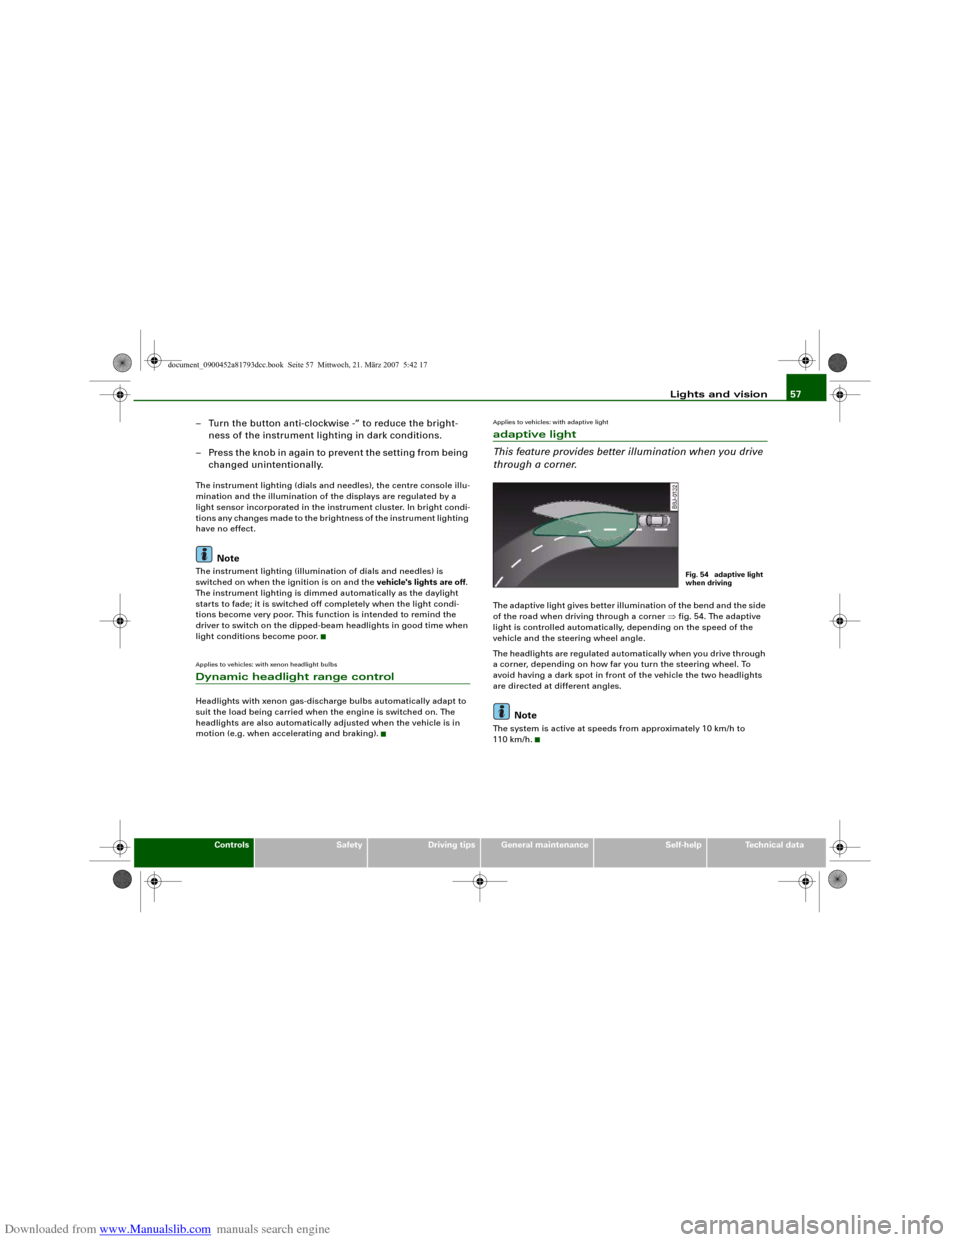
Applies to vehicles: with adaptive lightadaptive light
This feature provides better illumination when you drive
through a corner.The adaptive light gives better illumination of the bend and the side
of the road when driving through a corner ⇒fig. 54. The adaptive
light is controlled automatically, depending on the speed of the
vehicle and the steering wheel angle.
The headlights are regulated automatically when you drive through
a corner, depending on how far you turn the steering wheel. To
avoid having a dark spot in front of the vehicle the two headlights
are directed at different angles.
Note
The system is active at speeds from approximately 10 km/h to
110 km/h.
Fig. 54 adaptive light
when driving
document_0900452a81793dcc.book Seite 57 Mittwoch, 21. März 2007 5:42 17
Page 66 of 294
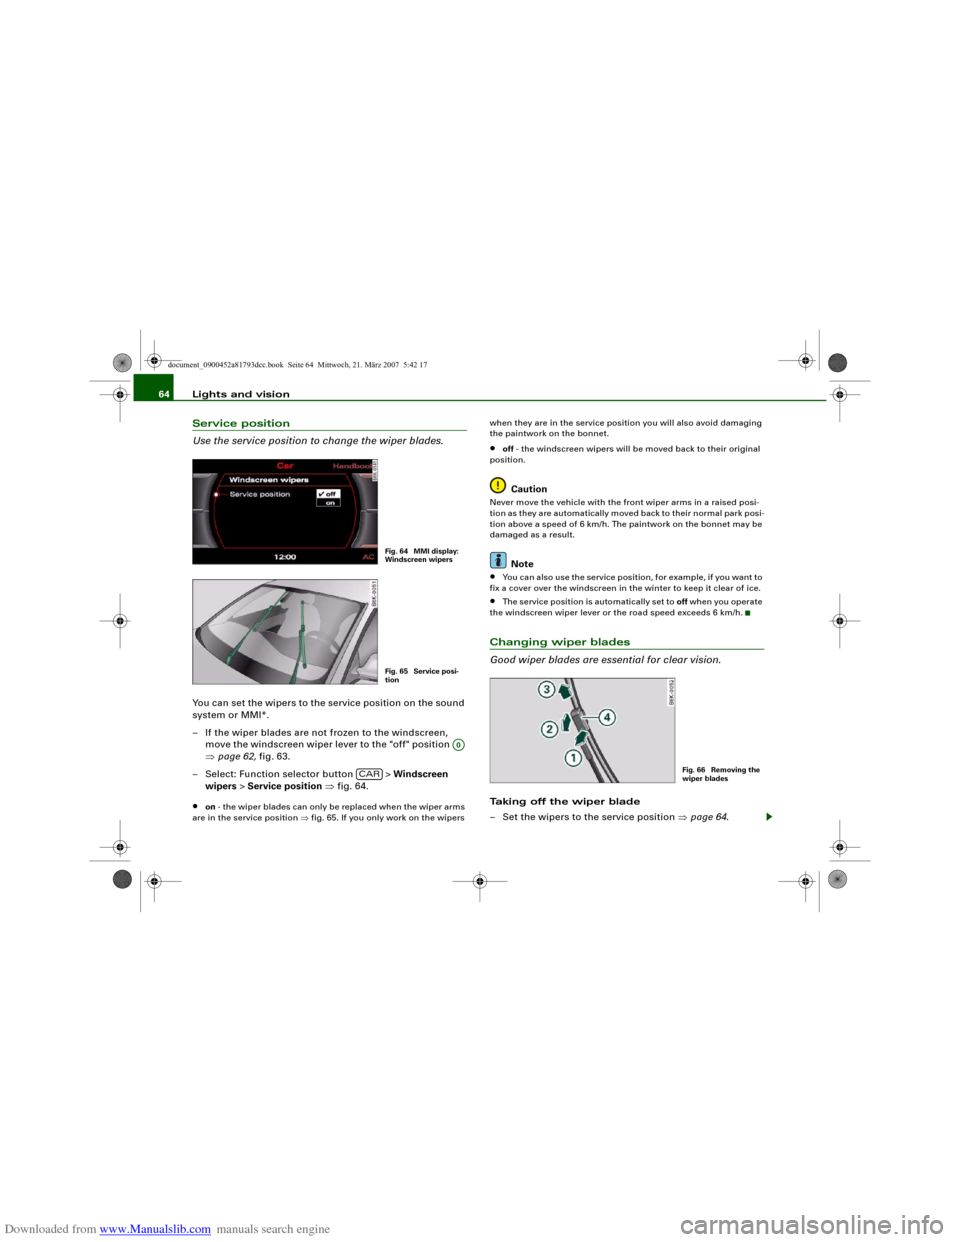
Downloaded from www.Manualslib.com manuals search engine Lights and vision 64Service position
Use the service position to change the wiper blades.You can set the wipers to the service position on the sound
system or MMI*.
– If the wiper blades are not frozen to the windscreen,
move the windscreen wiper lever to the "off" position
⇒page 62, fig. 63.
– Select: Function selector button > Windscreen
wipers > Service position ⇒fig. 64.•
on - the wiper blades can only be replaced when the wiper arms
are in the service position ⇒fig. 65. If you only work on the wipers when they are in the service position you will also avoid damaging
the paintwork on the bonnet.
•
off - the windscreen wipers will be moved back to their original
position.Caution
Never move the vehicle with the front wiper arms in a raised posi-
tion as they are automatically moved back to their normal park posi-
tion above a speed of 6 km/h. The paintwork on the bonnet may be
damaged as a result.
Note
•
You can also use the service position, for example, if you want to
fix a cover over the windscreen in the winter to keep it clear of ice.
•
The service position is automatically set to off when you operate
the windscreen wiper lever or the road speed exceeds 6 km/h.
Changing wiper blades
Good wiper blades are essential for clear vision.Taking off the wiper blade
– Set the wipers to the service position ⇒page 64.
Fig. 64 MMI display:
Windscreen wipersFig. 65 Service posi-
tion
A0
CAR
Fig. 66 Removing the
wiper blades
document_0900452a81793dcc.book Seite 64 Mittwoch, 21. März 2007 5:42 17
Page 70 of 294
Downloaded from www.Manualslib.com manuals search engine Lights and vision 68Digital compassApplies to vehicles: with digital compassActivating and deactivating the compass
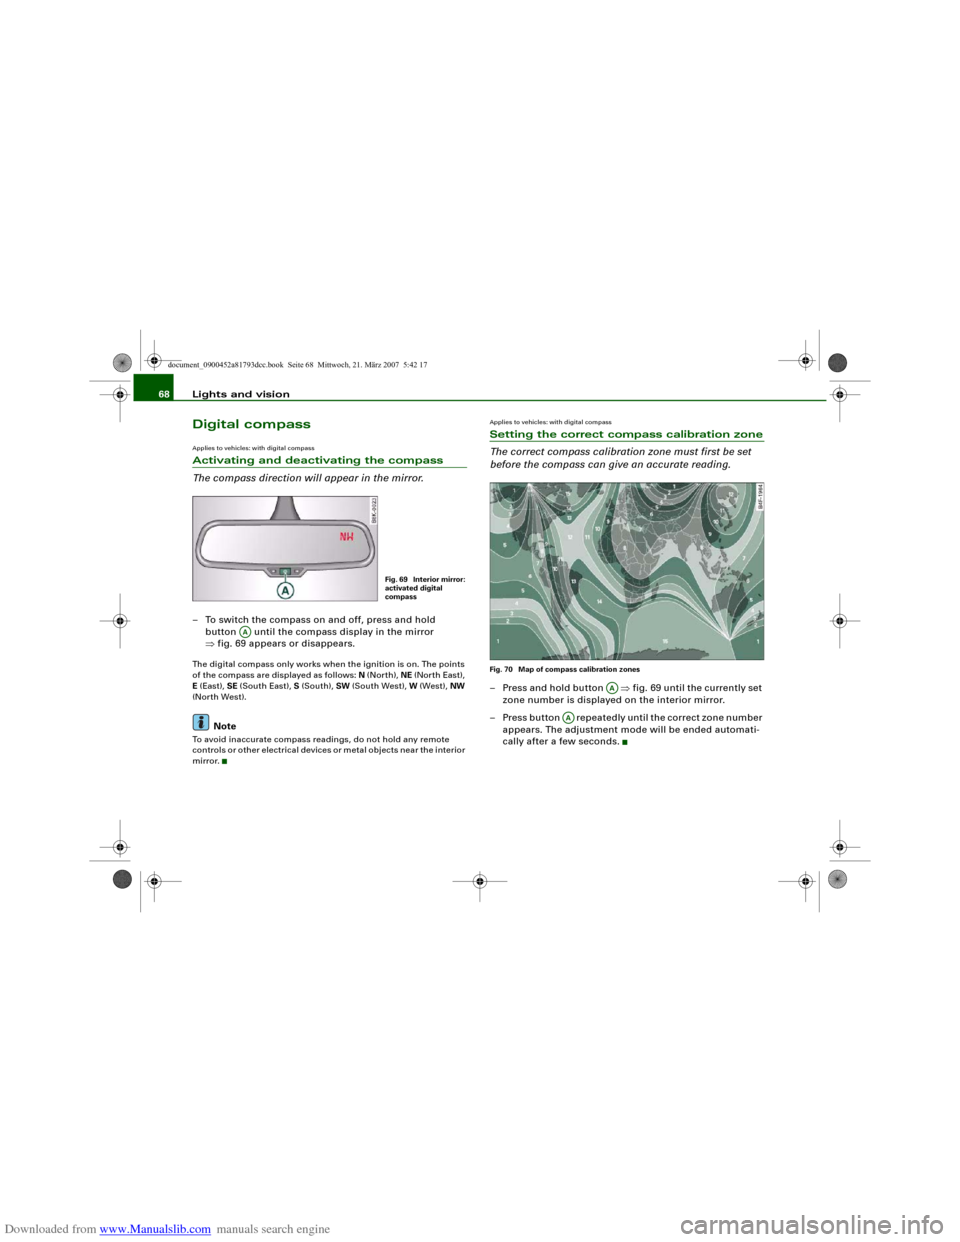
The compass direction will appear in the mirror.– To switch the compass on and off, press and hold
button until the compass display in the mirror
⇒fig. 69 appears or disappears.The digital compass only works when the ignition is on. The points
of the compass are displayed as follows: N (North), NE (North East),
E (East), SE (South East), S (South), SW (South West), W (West), NW
(North West).
Note
To avoid inaccurate compass readings, do not hold any remote
controls or other electrical devices or metal objects near the interior
mirror.
Applies to vehicles: with digital compassSetting the correct compass calibration zone
The correct compass calibration zone must first be set
before the compass can give an accurate reading.Fig. 70 Map of compass calibration zones– Press and hold button ⇒fig. 69 until the currently set
zone number is displayed on the interior mirror.
– Press button repeatedly until the correct zone number
appears. The adjustment mode will be ended automati-
cally after a few seconds.
Fig. 69 Interior mirror:
activated digital
compass
AA
AA
AA
document_0900452a81793dcc.book Seite 68 Mittwoch, 21. März 2007 5:42 17
Page 71 of 294
Downloaded from www.Manualslib.com manuals search engine Lights and vision69
Controls
Safety
Driving tips
General maintenance
Self-help
Technical data
Applies to vehicles: with digital compassCalibrating compass
The compass must be re-calibrated if the display is incor-
rect or inaccurate.– Press and hold button until the letter C appears in the
interior mirror.
– Drive in a circle at a speed of about 10 km/h until a point
of the compass is displayed in the interior mirror.
WARNING
Calibrate your compass at a location where there is no traffic so
that you do not endanger yourself or other road users (accident
risk).
AA
document_0900452a81793dcc.book Seite 69 Mittwoch, 21. März 2007 5:42 17
Page 75 of 294
Downloaded from www.Manualslib.com manuals search engine Seats and storage73
Controls
Safety
Driving tips
General maintenance
Self-help
Technical data
Recalling settings
– If the driver's door is open, press the desired recall
button briefly.
– If the driver's door is closed, press and hold down the
desired recall button until the programmed settings are
reached.A tone will sound and the diode in the button ⇒page 72,
fig. 73 will light up to confirm that the settings have been stored.
When you lock the vehicle the current settings are automatically
stored and assigned to the remote control key. However, the
settings assigned to the remote control key will not overwrite the
settings stored on recall buttons 1 and 2. The settings stored on the
recall buttons can be called up at any time. When you unlock the
vehicle, the settings assigned to the remote control key are recalled
automatically.
If your vehicle is also driven by other persons using your remote
control key, it is advisable to store your personal settings on one of
the recall buttons. You can then recall your own settings at any time
simply by pressing the corresponding recall button. When you lock
the vehicle these settings are then stored automatically and
assigned once again to the remote control key.
WARNING
•
For safety reasons, never recall seat settings when the vehicle
is moving - this could lead to an accident.
•
In an emergency the recall function can be stopped at any time
by pressing the switch, or by briefly pressing any of the
recall buttons.
Applies to vehicles: with seat memoryActivating memory for remote control key
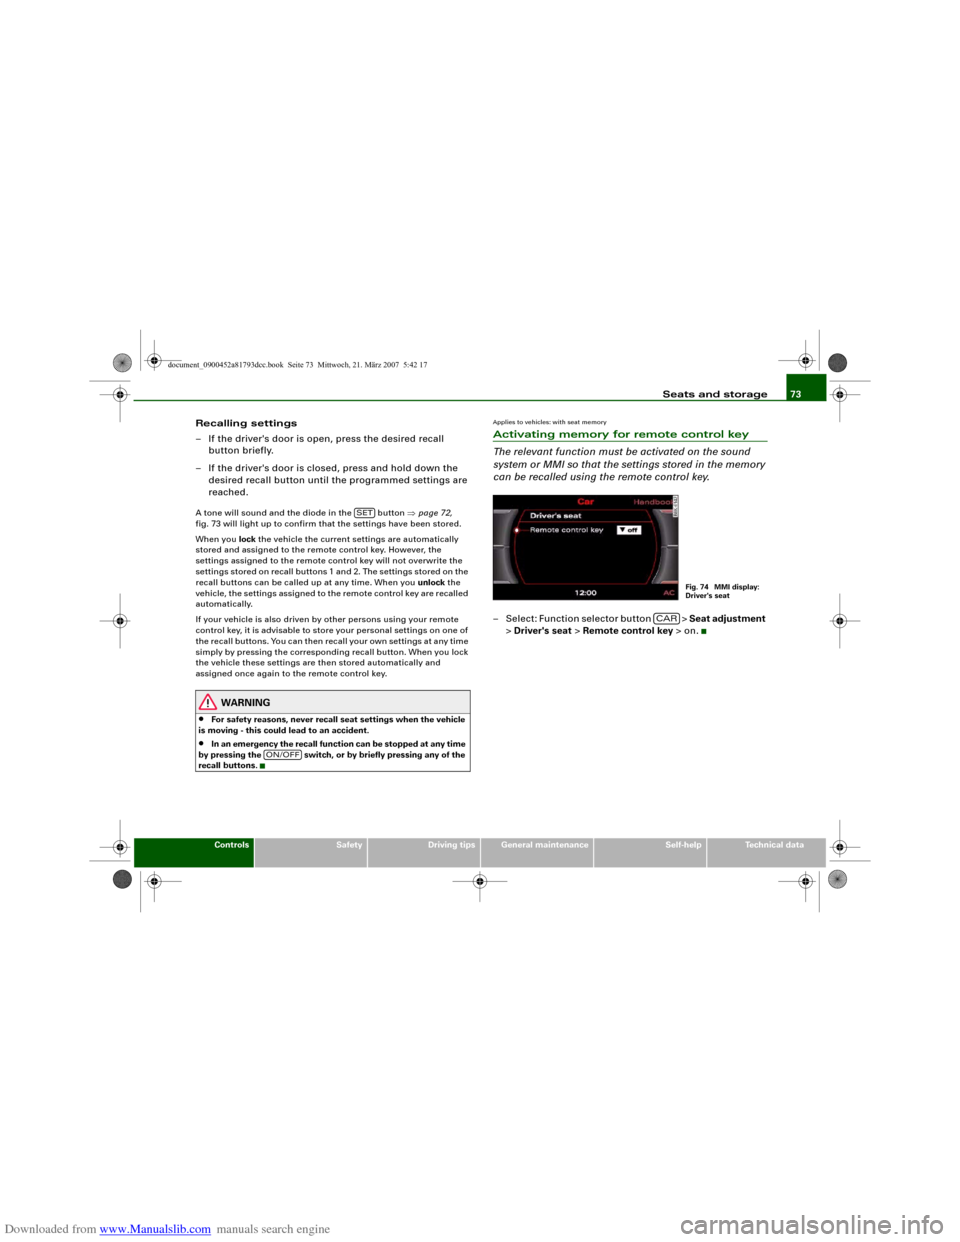
The relevant function must be activated on the sound
system or MMI so that the settings stored in the memory
can be recalled using the remote control key.– Select: Function selector button > Seat adjustment
> Driver's seat > Remote control key > on.
SET
ON/OFF
Fig. 74 MMI display:
Driver's seat
CAR
document_0900452a81793dcc.book Seite 73 Mittwoch, 21. März 2007 5:42 17
Page 95 of 294
Downloaded from www.Manualslib.com manuals search engine Heating and cooling93
Controls
Safety
Driving tips
General maintenance
Self-help
Technical data
Note
The grille on the control console ⇒page 92, fig. 103 must be kept
free. Please ensure that it is not covered by stickers or similar. Meas-
uring sensors are located behind it.Applies to vehicles: with deluxe automatic air conditionerSwitching on and offSwitching on air conditioner
– Press the button briefly, or
– Press the button.
Switching off air conditioner
– Press the button to switch off the air conditioner
and cut off the supply of fresh air from outside the
vehicle.The air conditioner will switch on again if one of the control buttons
is pressed.
Applies to vehicles: with deluxe automatic air conditionerAutomatic mode
The standard operating mode for all seasons.Switching on automatic mode
– Select a temperature between +16 °C (60 °F) and +28 °C
(84 °F).
– Press the button.The automatic mode maintains a constant temperature inside the
vehicle and dehumidifies the air. Air temperature, air delivery and
air distribution are regulated automatically to reach the desired
interior temperature as quickly as possible, and then to maintain
this temperature. The system automatically compensates for any
variations in the outside temperature and for the effect of direct
sunlight.
The automatic temperature regulation only operates at temperature
settings between +16 °C and +28 °C. If a temperature below +16 °C
is selected, LO appears on the display. If a temperature above +28 °C
is selected, the display will show HI. In the two extreme settings the
air conditioner operates continuously with maximum cooling or
heating output, and the temperature is not regulated
automatically.
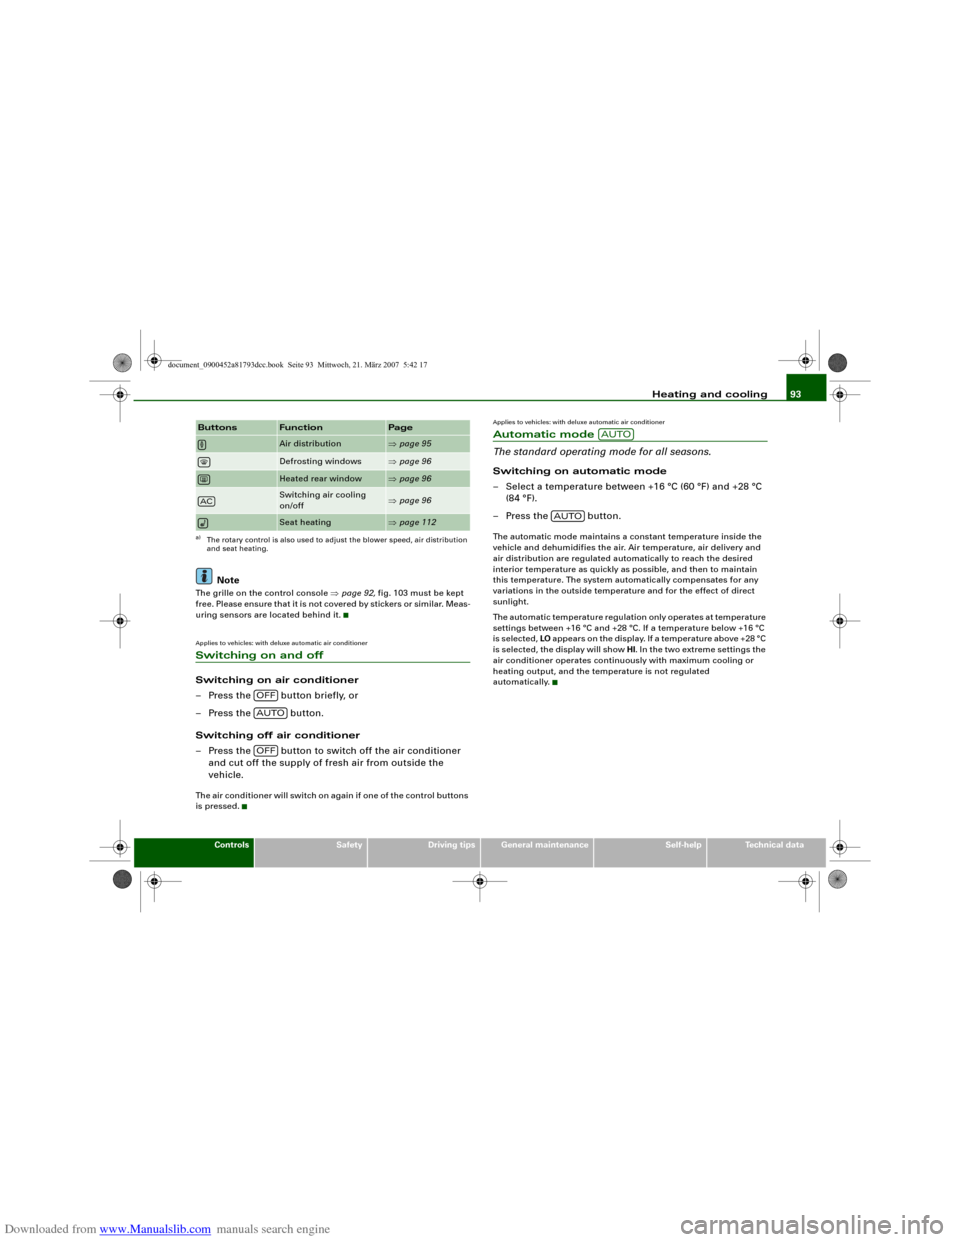
Air distribution
⇒page 95
Defrosting windows
⇒page 96
Heated rear window
⇒page 96
Switching air cooling
on/off
⇒page 96
Seat heating
⇒page 112
a)The rotary control is also used to adjust the blower speed, air distribution
and seat heating.Buttons
Function
Page
AC
OFFAUTOOFF
AUTO
AUTO
document_0900452a81793dcc.book Seite 93 Mittwoch, 21. März 2007 5:42 17