2008 AUDI S5 interior lights
[x] Cancel search: interior lightsPage 68 of 294
Downloaded from www.Manualslib.com manuals search engine Lights and vision 66•
when the interior lighting is switched on
•
when reverse gear is engaged
WARNING
Electrolyte fluid can leak from a broken mirror. This fluid can cause
irritation to the skin, eyes, and respiratory organs. Wash thor-
oughly with clean water should you come into contact with this
fluid. Seek medical assistance if needed.
Caution
Electrolyte fluid leaking from a broken mirror can cause damage to
plastic surfaces. Use a sponge or similar to remove the fluid as soon
as possible.
Note
•
If you switch off the anti-dazzle function for the interior mirror,
this will also deactivate the anti-dazzle function for the exterior
mirrors.
•
The automatic anti-dazzle function will only work properly if the
sun blind* for the rear window is not in use and there are no other
objects preventing light from reaching the interior mirror.
•
Do not attach any stickers to the windscreen in front of the
sensors, as these could lead to malfunctioning of the mirror.
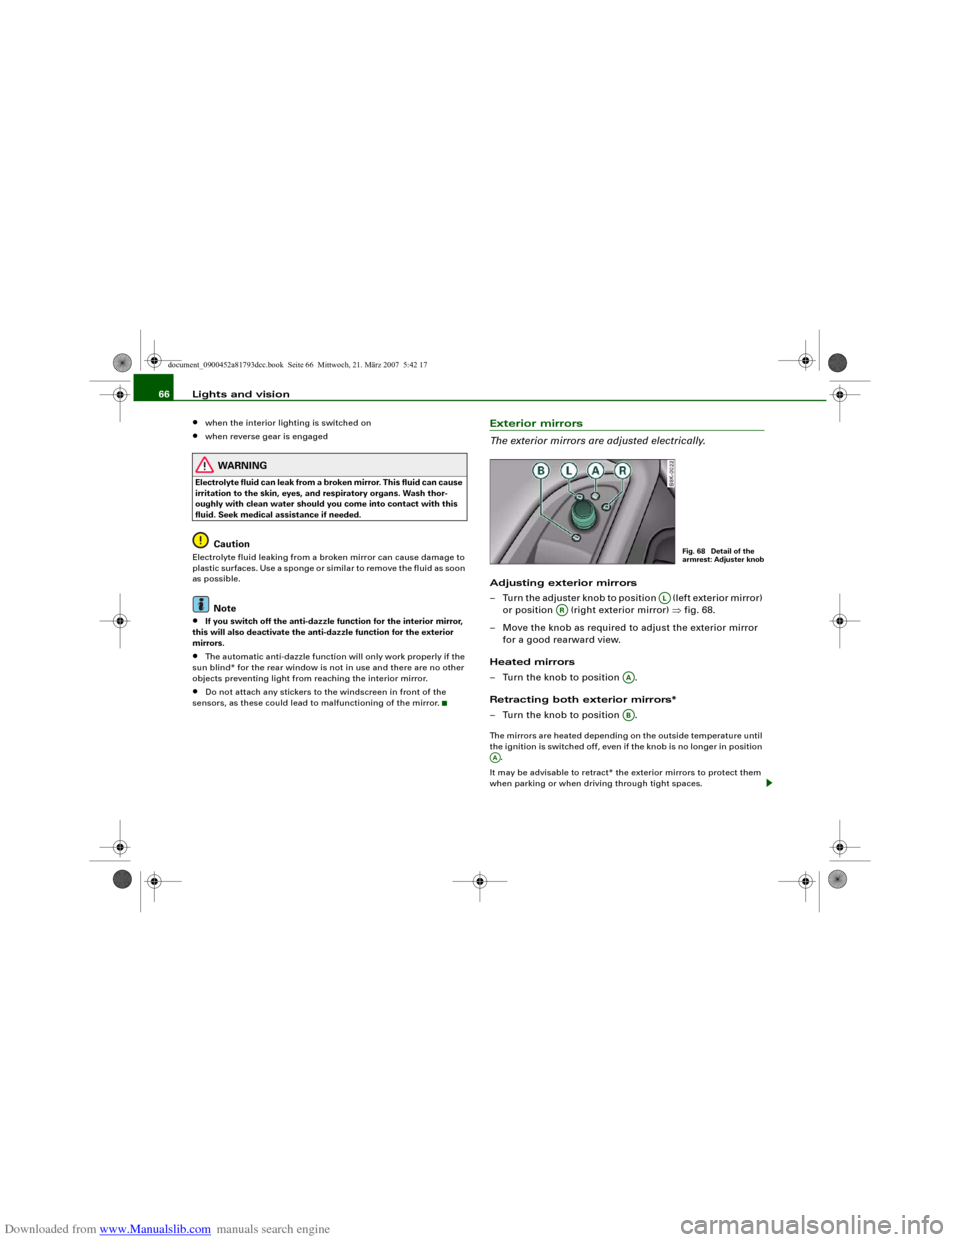
Exterior mirrors
The exterior mirrors are adjusted electrically.Adjusting exterior mirrors
– Turn the adjuster knob to position (left exterior mirror)
or position (right exterior mirror) ⇒fig. 68.
– Move the knob as required to adjust the exterior mirror
for a good rearward view.
Heated mirrors
– Turn the knob to position .
Retracting both exterior mirrors*
– Turn the knob to position .The mirrors are heated depending on the outside temperature until
the ignition is switched off, even if the knob is no longer in position
.
It may be advisable to retract* the exterior mirrors to protect them
when parking or when driving through tight spaces.
Fig. 68 Detail of the
armrest: Adjuster knob
AL
AR
AAAB
AA
document_0900452a81793dcc.book Seite 66 Mittwoch, 21. März 2007 5:42 17
Page 69 of 294
Downloaded from www.Manualslib.com manuals search engine Lights and vision67
Controls
Safety
Driving tips
General maintenance
Self-help
Technical data Memory for exterior mirrors*
On vehicles with memory function for the driver's seat, the setting
of the exterior mirrors is automatically stored together with the seat
position ⇒page 72.
Tilting function for exterior mirror on passenger side*
(only if equipped with memory for exterior mirrors)
When reverse gear is engaged, the mirror surface tilts slightly
downwards, provided the mirror control is switched to the exterior
mirror on the passenger's side (knob in position ⇒page 66,
fig. 68). This provides a better view of the kerb when parking.
The mirror returns to its original position when reverse gear is
disengaged and the vehicle is driven forwards at a speed above
about 15 km/h. The mirror will also return to its original position
when the adjuster knob is turned to the position for the driver's
exterior mirror or when the ignition is switched off.
If the position of the mirror surface is changed while the mirror is
tilted, this new position is automatically stored and assigned to the
remote control key when you disengage reverse gear.
Caution
•
Convex or wide-angle* exterior mirrors give a larger field of
vision. However, they also make objects appear further away than
they actually are. For this reason, you should not rely on these
mirrors for judging the distance of vehicles behind.
•
If one of the mirror housings is knocked out of position (e.g.
when parking), the mirrors must first be fully retracted with the elec-
tric control. Do not readjust the mirror housing by hand, as this will
interfere with the mirror adjuster function.Note
If the electrical adjustment should ever fail to operate, the mirrors
can be adjusted by hand by lightly pressing the edge of the mirror
glass.
Applies to vehicles: with automatic anti-dazzle adjustment for exterior mirrorsAutomatic anti-dazzle adjustment for exterior mirrorsThe exterior mirrors darken together with the automatically
adjusting interior mirror. When the ignition is on, the mirrors will
darken automatically according to the amount of light received (for
example from the headlights of a vehicle behind).
When the interior lights are switched on, or when reverse gear is
engaged, the mirrors revert to their original (i.e. not darkened)
condition.
WARNING
Electrolyte fluid can leak from a broken mirror. This fluid can cause
irritation to the skin, eyes, and respiratory organs. Wash thor-
oughly with clean water should you come into contact with this
fluid. Seek medical assistance if needed.
Caution
Electrolyte fluid leaking from a broken mirror can cause damage to
the paintwork or plastic surfaces. Use a sponge or similar to remove
the fluid as soon as possible.
Note
•
If you switch off the anti-dazzle function for the interior mirror,
this will also deactivate the anti-dazzle function for the exterior
mirrors.
•
The automatic anti-dazzle function will only work properly if the
sun blind* for the rear window is not in use and there are no other
objects preventing light from reaching the interior mirror.
AR
AL
document_0900452a81793dcc.book Seite 67 Mittwoch, 21. März 2007 5:42 17
Page 70 of 294
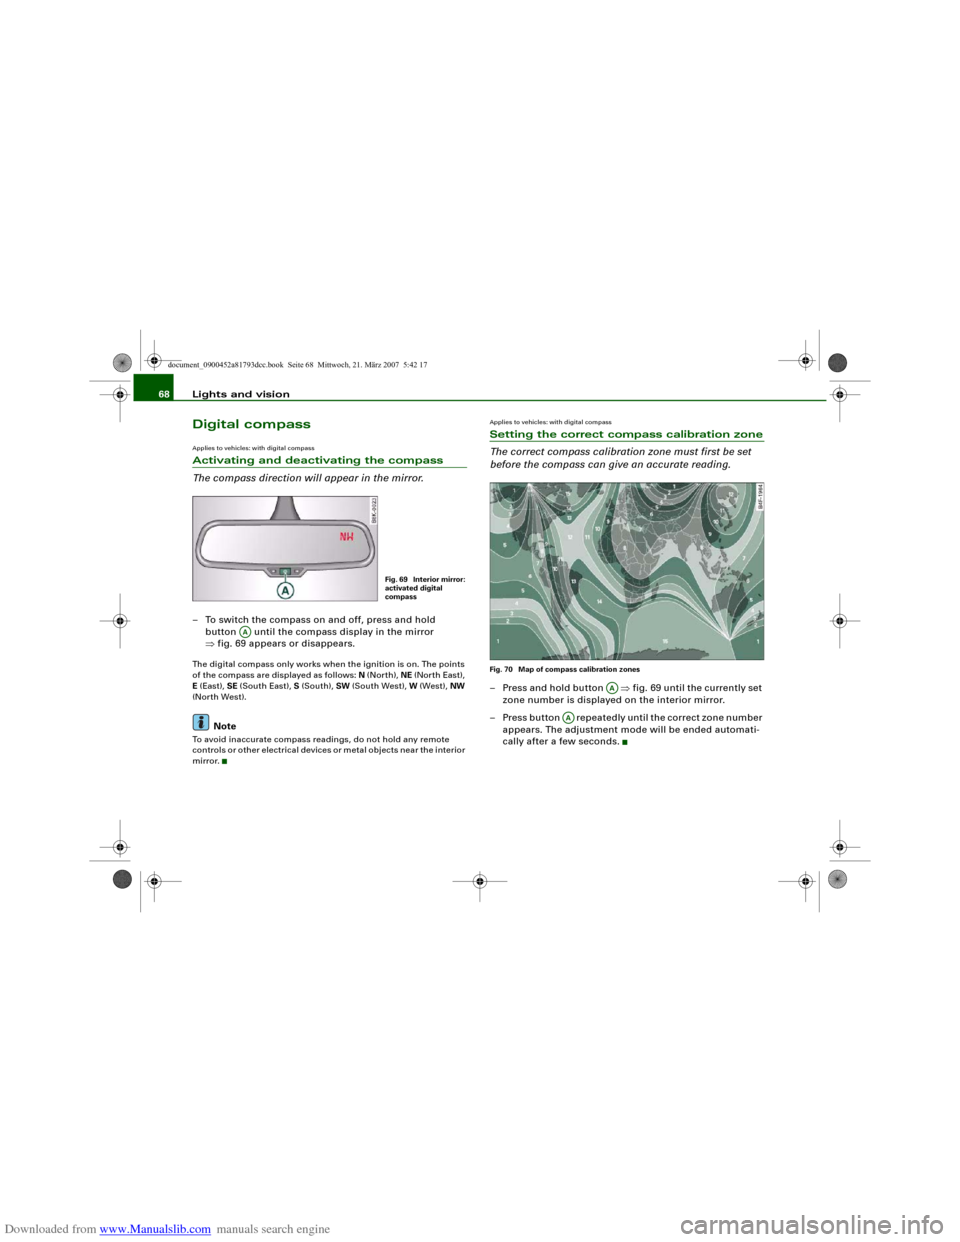
Downloaded from www.Manualslib.com manuals search engine Lights and vision 68Digital compassApplies to vehicles: with digital compassActivating and deactivating the compass
The compass direction will appear in the mirror.– To switch the compass on and off, press and hold
button until the compass display in the mirror
⇒fig. 69 appears or disappears.The digital compass only works when the ignition is on. The points
of the compass are displayed as follows: N (North), NE (North East),
E (East), SE (South East), S (South), SW (South West), W (West), NW
(North West).
Note
To avoid inaccurate compass readings, do not hold any remote
controls or other electrical devices or metal objects near the interior
mirror.
Applies to vehicles: with digital compassSetting the correct compass calibration zone
The correct compass calibration zone must first be set
before the compass can give an accurate reading.Fig. 70 Map of compass calibration zones– Press and hold button ⇒fig. 69 until the currently set
zone number is displayed on the interior mirror.
– Press button repeatedly until the correct zone number
appears. The adjustment mode will be ended automati-
cally after a few seconds.
Fig. 69 Interior mirror:
activated digital
compass
AA
AA
AA
document_0900452a81793dcc.book Seite 68 Mittwoch, 21. März 2007 5:42 17
Page 71 of 294
Downloaded from www.Manualslib.com manuals search engine Lights and vision69
Controls
Safety
Driving tips
General maintenance
Self-help
Technical data
Applies to vehicles: with digital compassCalibrating compass
The compass must be re-calibrated if the display is incor-
rect or inaccurate.– Press and hold button until the letter C appears in the
interior mirror.
– Drive in a circle at a speed of about 10 km/h until a point
of the compass is displayed in the interior mirror.
WARNING
Calibrate your compass at a location where there is no traffic so
that you do not endanger yourself or other road users (accident
risk).
AA
document_0900452a81793dcc.book Seite 69 Mittwoch, 21. März 2007 5:42 17
Page 155 of 294
Downloaded from www.Manualslib.com manuals search engine Safe driving153
Controls
Safety
Driving tips
General maintenance
Self-help
Technical data
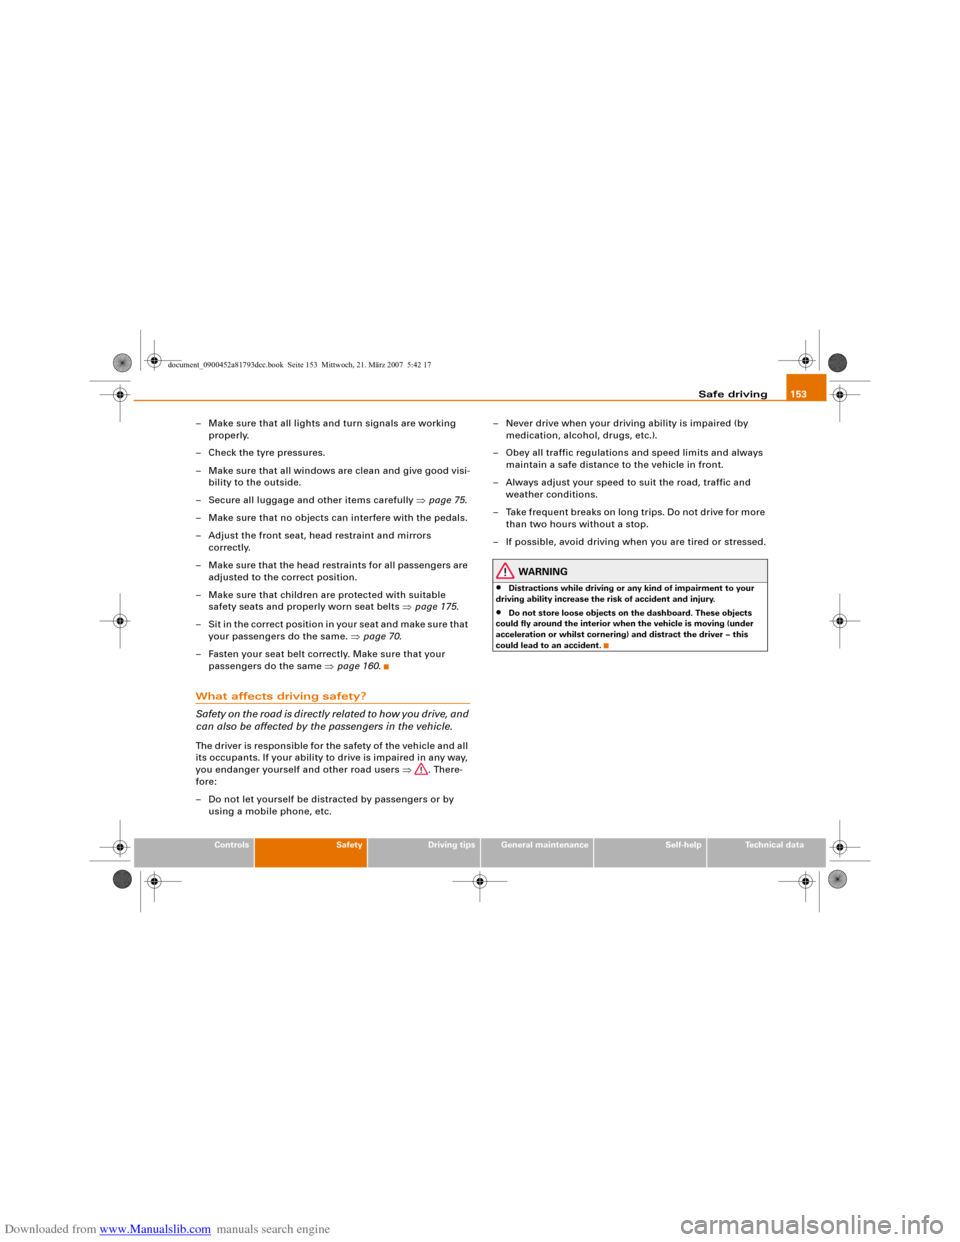
– Make sure that all lights and turn signals are working
properly.
– Check the tyre pressures.
– Make sure that all windows are clean and give good visi-
bility to the outside.
– Secure all luggage and other items carefully ⇒page 75.
– Make sure that no objects can interfere with the pedals.
– Adjust the front seat, head restraint and mirrors
correctly.
– Make sure that the head restraints for all passengers are
adjusted to the correct position.
– Make sure that children are protected with suitable
safety seats and properly worn seat belts ⇒page 175.
– Sit in the correct position in your seat and make sure that
your passengers do the same. ⇒page 70.
– Fasten your seat belt correctly. Make sure that your
passengers do the same ⇒page 160.What affects driving safety?
Safety on the road is directly related to how you drive, and
can also be affected by the passengers in the vehicle.The driver is responsible for the safety of the vehicle and all
its occupants. If your ability to drive is impaired in any way,
you endanger yourself and other road users ⇒. There-
fore:
– Do not let yourself be distracted by passengers or by
using a mobile phone, etc.– Never drive when your driving ability is impaired (by
medication, alcohol, drugs, etc.).
– Obey all traffic regulations and speed limits and always
maintain a safe distance to the vehicle in front.
– Always adjust your speed to suit the road, traffic and
weather conditions.
– Take frequent breaks on long trips. Do not drive for more
than two hours without a stop.
– If possible, avoid driving when you are tired or stressed.
WARNING
•
Distractions while driving or any kind of impairment to your
driving ability increase the risk of accident and injury.
•
Do not store loose objects on the dashboard. These objects
could fly around the interior when the vehicle is moving (under
acceleration or whilst cornering) and distract the driver – this
could lead to an accident.
document_0900452a81793dcc.book Seite 153 Mittwoch, 21. März 2007 5:42 17
Page 275 of 294
Downloaded from www.Manualslib.com manuals search engine Fuses and bulbs273
Controls
Safety
Driving tips
General maintenance
Self-help
Technical data
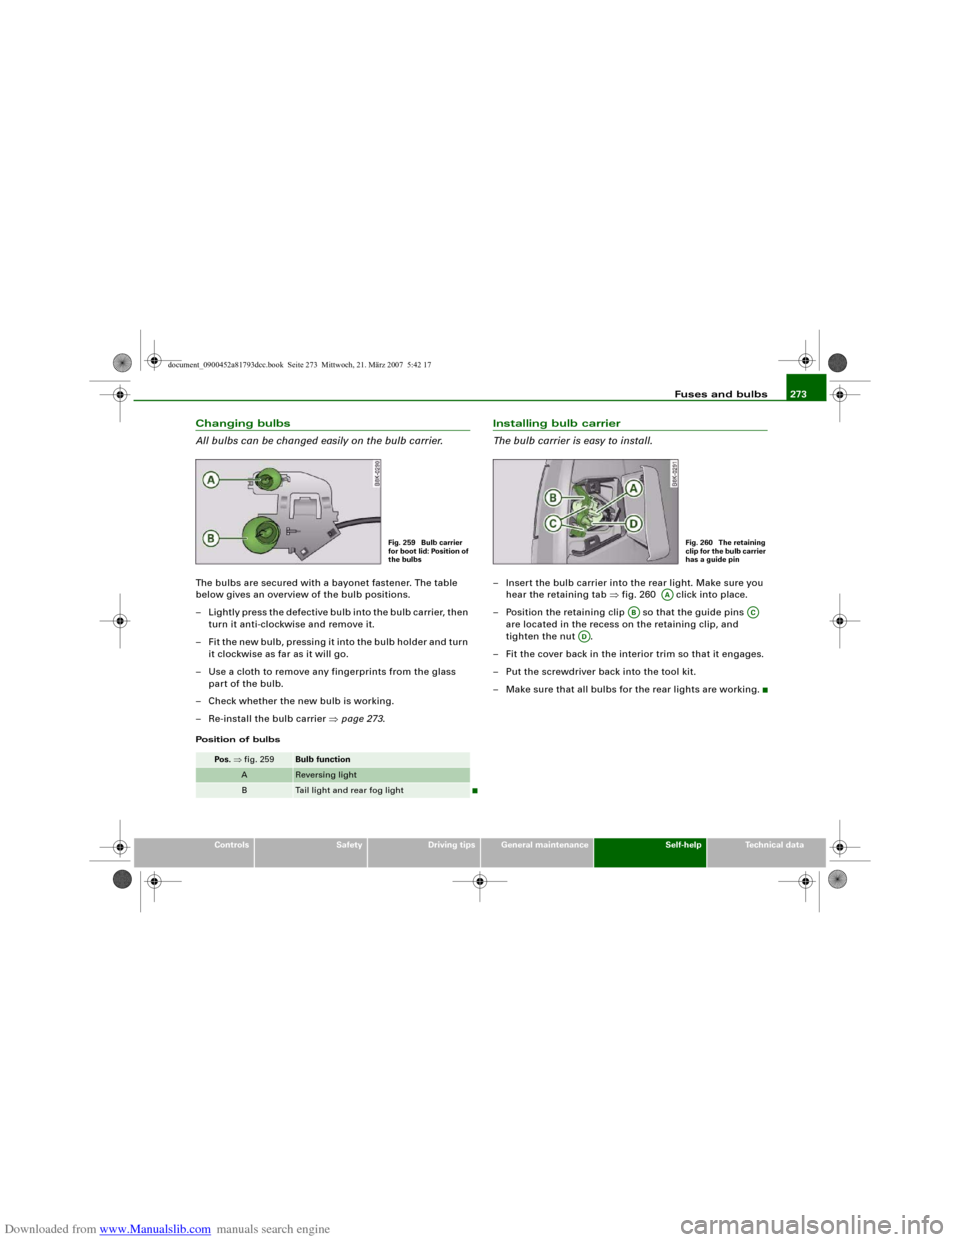
Changing bulbs
All bulbs can be changed easily on the bulb carrier.The bulbs are secured with a bayonet fastener. The table
below gives an overview of the bulb positions.
– Lightly press the defective bulb into the bulb carrier, then
turn it anti-clockwise and remove it.
– Fit the new bulb, pressing it into the bulb holder and turn
it clockwise as far as it will go.
– Use a cloth to remove any fingerprints from the glass
part of the bulb.
– Check whether the new bulb is working.
– Re-install the bulb carrier ⇒page 273.Position of bulbs
Installing bulb carrier
The bulb carrier is easy to install.– Insert the bulb carrier into the rear light. Make sure you
hear the retaining tab ⇒fig. 260 click into place.
– Position the retaining clip so that the guide pins
are located in the recess on the retaining clip, and
tighten the nut .
– Fit the cover back in the interior trim so that it engages.
– Put the screwdriver back into the tool kit.
– Make sure that all bulbs for the rear lights are working.
Pos. ⇒fig. 259
Bulb function
A
Reversing light
B
Tail light and rear fog light
Fig. 259 Bulb carrier
for boot lid: Position of
the bulbs
Fig. 260 The retaining
clip for the bulb carrier
has a guide pin
AA
AB
AC
AD
document_0900452a81793dcc.book Seite 273 Mittwoch, 21. März 2007 5:42 17
Page 290 of 294
Downloaded from www.Manualslib.com manuals search engine Index 288
Ethanol . . . . . . . . . . . . . . . . . . . . . . . . . 217
Fuel gauge . . . . . . . . . . . . . . . . . . . . . . . 19
Fuel level low . . . . . . . . . . . . . . . . . . . . . 36
Petrol . . . . . . . . . . . . . . . . . . . . . . . . . . 217
Saving fuel . . . . . . . . . . . . . . . . . . . . . . 196
Fuel consumption . . . . . . . . . . . . . . . . . . . 279
Fuel gauge . . . . . . . . . . . . . . . . . . . . . . . . . . 19
Fuel range . . . . . . . . . . . . . . . . . . . . . . . . . . 25
Fuel tank flap . . . . . . . . . . . . . . . . . . . . . . 217
Fuse, changing . . . . . . . . . . . . . . . . . . . . . 261
GGarage door opener . . . . . . . . . . . . . . . . . 145
Gear-change indicator . . . . . . . . . . . . . . . . 21
Generator
SeeAlternator . . . . . . . . . . . . . . . . . . . . 31
Glove box . . . . . . . . . . . . . . . . . . . . . . . . . . . 89HHandbrake
SeeElectro-mechanical parking brake . . .
119
Hazard warning lights . . . . . . . . . . . . . . . . 58
Indicator lamp . . . . . . . . . . . . . . . . . . . . 16
Head restraints
Front seats . . . . . . . . . . . . . . . . . . . . . . . 74
Rear seats . . . . . . . . . . . . . . . . . . . . . . . 74
Headlight flasher . . . . . . . . . . . . . . . . . . . . 58
Headlight range control
Malfunction . . . . . . . . . . . . . . . . . . . . . . 37Headlights . . . . . . . . . . . . . . . . . . . . . . . . . . 54
adaptive light . . . . . . . . . . . . . . . . . . . . . 57
Changing dip settings . . . . . . . . . . . . 195
Washer system . . . . . . . . . . . . . . . . . . . 63
Heated
Exterior mirrors . . . . . . . . . . . . . . . . . . . 66
Front seats (deluxe automatic air
conditioner) . . . . . . . . . . . . . . . . . . . . 112
Rear seats . . . . . . . . . . . . . . . . . . . . . . 113
Rear window . . . . . . . . . . . . . . . . . 96, 104
Washer jets . . . . . . . . . . . . . . . . . . . . . . 62
Heated rear window . . . . . . . . . . . . . . 96, 104
Heating
Deluxe automatic air conditioner . . . . 91
Deluxe automatic air conditioner plus 99
HomeLink . . . . . . . . . . . . . . . . . . . . . . . . . . 145
Horn . . . . . . . . . . . . . . . . . . . . . . . . . . . . . . . . 9
IIgnition key
Emergency release . . . . . . . . . . . . . . . . 41
Safety interlock . . . . . . . . . . . . . . . . . . 114
Ignition lock . . . . . . . . . . . . . . . . . . . . . . . . 114
Malfunction . . . . . . . . . . . . . . . . . . . 34, 37
Immobiliser . . . . . . . . . . . . . . . . . . . . . . 14, 38
Indicator lamps . . . . . . . . . . . . . . . . . . . . . . 15
Cruise control system . . . . . . . . . . . . . . 17
Main beam headlights . . . . . . . . . . . . . 17
Overview . . . . . . . . . . . . . . . . . . . . . . . . . 15
Trailer turn signals . . . . . . . . . . . . . . . . 17
Turn signals . . . . . . . . . . . . . . . . . . . . . . 16
Inflation pressures (tyres) . . . . . . . . . . . . 232Inspection intervals . . . . . . . . . . . . . . . . . . 23
Instrument cluster . . . . . . . . . . . . . . . . . . . 11
Instrument lighting . . . . . . . . . . . . . . . . . . . 56
Interior lights
Dimming . . . . . . . . . . . . . . . . . . . . . . . . . 59
Front . . . . . . . . . . . . . . . . . . . . . . . . . . . . 59
Rear . . . . . . . . . . . . . . . . . . . . . . . . . . . . . 60
Interior mirrors
SeeMirrors . . . . . . . . . . . . . . . . . . . . . . . 65
Interior monitor . . . . . . . . . . . . . . . . . . . . . . 47
Intermittent wipe . . . . . . . . . . . . . . . . . . . . 62
Rain sensor . . . . . . . . . . . . . . . . . . . . . . 62
ISOFIX . . . . . . . . . . . . . . . . . . . . . . . . . . . . . 181
JJack . . . . . . . . . . . . . . . . . . . . . . . . . . 245, 252
Jacking points . . . . . . . . . . . . . . . . . . . . . . 252
Jump-starting . . . . . . . . . . . . . . . . . . . . . . 255KKey-operated switch for front passenger's
airbag . . . . . . . . . . . . . . . . . . . . . . . . . 173
Keys . . . . . . . . . . . . . . . . . . . . . . . . . . . . . . . 38
Emergency key . . . . . . . . . . . . . . . . . . . . 40
Replacement keys . . . . . . . . . . . . . . . . . 38
Replacing the battery . . . . . . . . . . . . . . 39LLeather care
Alcantara . . . . . . . . . . . . . . . . . . . . . . . 216
Natural leather . . . . . . . . . . . . . . . . . . . 215
document_0900452a81793dcc.book Seite 288 Mittwoch, 21. März 2007 5:42 17
Page 291 of 294
Downloaded from www.Manualslib.com manuals search engine Index289
Controls
Safety
Driving tips
General maintenance
Self-help
Technical data Light sensor . . . . . . . . . . . . . . . . . . . . . . . . . 54
Light sensor defective . . . . . . . . . . . . . . . . 35
Lights . . . . . . . . . . . . . . . . . . . . . . . . . . . . . . 54
Coming home . . . . . . . . . . . . . . . . . . . . . 56
Daytime running lights . . . . . . . . . . . . . 56
Exterior lighting . . . . . . . . . . . . . . . . . . . 56
Front fog lights . . . . . . . . . . . . . . . . . . . 55
Headlight control . . . . . . . . . . . . . . . . . . 54
Leaving home . . . . . . . . . . . . . . . . . . . . . 56
Rear fog lights . . . . . . . . . . . . . . . . . . . . 55
Switching on and off . . . . . . . . . . . . . . . 54
Loading luggage compartment . . . . . . . . 158
Load-through hatch . . . . . . . . . . . . . . . . . . 81
Locking . . . . . . . . . . . . . . . . . . . . . . . . . . . . . 43
Central locking system . . . . . . . . . . . . . 45
Locking and unlocking the vehicle from in-
side
Central locking system . . . . . . . . . . . . . 46
Locking doors manually . . . . . . . . . . . . . . . 47
LongLife Service . . . . . . . . . . . . . . . . . . . . 222
Luggage compartment . . . . . . . . . . . . . . . . 75
Extending . . . . . . . . . . . . . . . . . . 78, 79, 80
Fastening rings . . . . . . . . . . . . . . . . . . . 76
Loading . . . . . . . . . . . . . . . . . . . . . . . . . . 75
Load-through hatch . . . . . . . . . . . . . . . . 81
Side storage compartment . . . . . . . . . . 77
Stretch net . . . . . . . . . . . . . . . . . . . . . . . 77
See alsoLoading luggage compartment
158
Luggage rack
SeeRoof carrier . . . . . . . . . . . . . . . . . . . 82
MMain beam headlights . . . . . . . . . . . . . . . . 58
Indicator lamp . . . . . . . . . . . . . . . . . . . . 17
Make-up mirrors . . . . . . . . . . . . . . . . . . . . . 60
Manual operation
Boot lid . . . . . . . . . . . . . . . . . . . . . . . . . . 49
Fuel tank flap . . . . . . . . . . . . . . . . . . . . 219
Tilting panorama roof . . . . . . . . . . . . . . 52
Maximum speed
SeePerformance, weights and
dimensions . . . . . . . . . . . . . . . . . . . . 281
Memory for driver's seat . . . . . . . . . . . . . . 72
Activating remote control key . . . . . . . 73
Recalling settings . . . . . . . . . . . . . . . . . 72
Storing settings . . . . . . . . . . . . . . . . . . . 72
Messages . . . . . . . . . . . . . . . . . . . . . . . . . . . 30
Mileage recorder . . . . . . . . . . . . . . . . . . . . . 14
Minimising pollution . . . . . . . . . . . . . . . . . 196
Mirrors
Anti-dazzle setting . . . . . . . . . . . . . . . . . 65
Automatic anti-dazzle exterior mirrors 67
Automatic anti-dazzle interior mirror . 65
Exterior mirrors . . . . . . . . . . . . . . . . . . . 66
Interior mirror . . . . . . . . . . . . . . . . . . . . 65
Make-up mirrors . . . . . . . . . . . . . . . . . . 60
MMI control console, cleaning . . . . . . . . 213
MMI display, cleaning . . . . . . . . . . . . . . . . 213
Mobile phones . . . . . . . . . . . . . . . . . . . . . . 240
Modifications . . . . . . . . . . . . . . . . . . . . . . . 239
NNatural leather . . . . . . . . . . . . . . . . . . . . . . 214
Number plate light
Changing bulb . . . . . . . . . . . . . . . . . . . 274OOctane rating . . . . . . . . . . . . . . . . . . . . . . . 217
Oil
SeeEngine oil . . . . . . . . . . . . . . . . . . . . 223
Oil consumption . . . . . . . . . . . . . . . . . . . . 223
Oil dipstick . . . . . . . . . . . . . . . . . . . . . . . . . 223
Oil level . . . . . . . . . . . . . . . . . . . . . . . . . . . . . 37
On-board computer . . . . . . . . . . . . . . . . . . . 25
Opening
Bonnet . . . . . . . . . . . . . . . . . . . . . . . . . . 220
Outside temperature display . . . . . . . . . . . 21
Overview . . . . . . . . . . . . . . . . . . . . . . . . . . . . . 9PPaint damage . . . . . . . . . . . . . . . . . . . . . . . 212
Paint No. . . . . . . . . . . . . . . . . . . . . . . . . . . . 279
Parking . . . . . . . . . . . . . . . . . . . . . . . . . . . . 120
Parking aid
Seeparking system . . . . . . . . . . . . . . . 128
Parking brake . . . . . . . . . . . . . . . . . . . . . . . 119
Parking lights . . . . . . . . . . . . . . . . . . . . . . . . 58
parking system
Adjusting warning beeps . . . . . . . . . . 139
Detection range of reversing camera 135
Front and rear, with display . . . . . . . . 129
document_0900452a81793dcc.book Seite 289 Mittwoch, 21. März 2007 5:42 17