2008 AUDI S5 boot
[x] Cancel search: bootPage 47 of 294
Downloaded from www.Manualslib.com manuals search engine Doors and windows45
Controls
Safety
Driving tips
General maintenance
Self-help
Technical data door is unlocked. The remote control key has to be within a range of
about 1.5 metres of the relevant door or the boot lid. It does not
matter where you carry the key, for instance whether it is in your
jacket pocket or in a briefcase.
The unlocking function may be affected if the sensor area on the
door handle is touched while the vehicle is being unlocked.
The locking function may be affected if you grasp the door handle
while the vehicle is being locked.
Once the doors have been locked, they cannot be opened again
immediately. This will enable you to check that the doors are prop-
erly closed.
The system will either unlock both the doors or one door only,
depending on the settings you have chosen on the sound system or
MMI* ⇒page 43.
WARNING
Do not leave anyone (especially children) in the car if it is locked
from the outside and the deadlock mechanism is activated: the
doors and windows cannot then be opened from the inside.
Locked doors could delay assistance in an emergency, potentially
putting lives at risk.
Note
Please note the following points if the vehicle is left parked for long
periods:•
To save electrical power, the proximity sensors are switched off
after a few days. You will then need to pull the door handle once to
unlock the vehicle, and a second time to open it.
•
To prevent the battery from becoming discharged and thus
maintain the vehicle's starting ability for as long as possible, the
power management system will gradually switch off convenience
functions that are not required. In this case you may not be able to
unlock the vehicle with this convenience function.
Locking and unlocking the vehicle using the key
If the central locking system should fail to work, you can
still lock and unlock the driver's door by turning the emer-
gency key or spare key in the lock.Unlocking
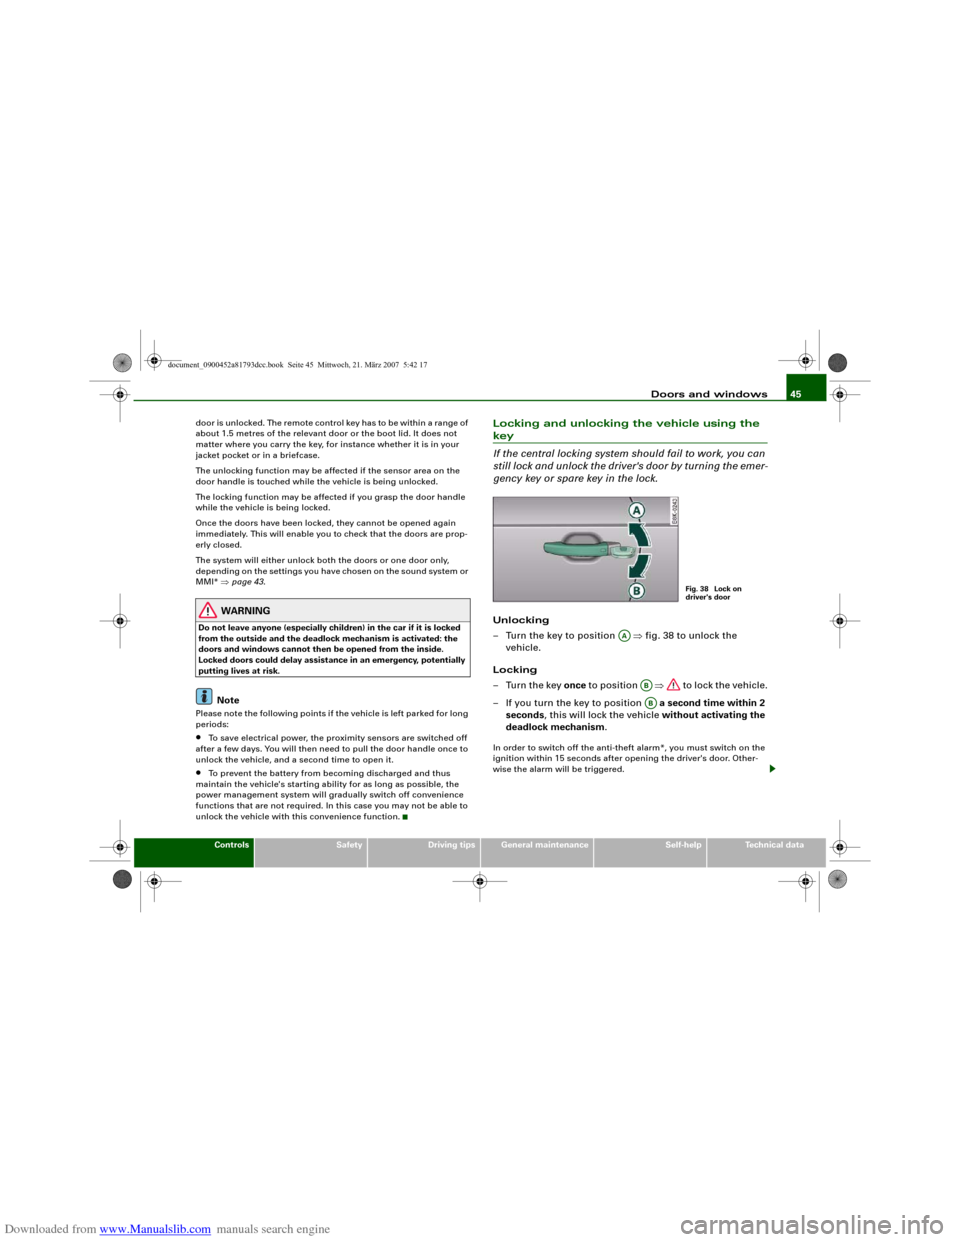
– Turn the key to position ⇒fig. 38 to unlock the
vehicle.
Locking
–Turn the key once to position ⇒ to lock the vehicle.
– If you turn the key to position a second time within 2
seconds, this will lock the vehicle without activating the
deadlock mechanism.In order to switch off the anti-theft alarm*, you must switch on the
ignition within 15 seconds after opening the driver's door. Other-
wise the alarm will be triggered.
Fig. 38 Lock on
driver's door
AA
ABAB
document_0900452a81793dcc.book Seite 45 Mittwoch, 21. März 2007 5:42 17
Page 48 of 294
Downloaded from www.Manualslib.com manuals search engine Doors and windows 46
WARNING
Do not leave anyone (especially children) in the car if it is locked
from the outside and the deadlock mechanism is activated: the
doors and windows cannot then be opened from the inside.
Locked doors could delay assistance in an emergency, potentially
putting lives at risk.
Note
•
The central locking switch and the release button for the boot lid
will function after the ignition is switched on.
•
If the vehicle is locked with the key when the central locking
system is operational, it is only possible to unlock all the doors and
the boot lid centrally with the key within the next 45 seconds. After
this period, the key will only unlock the driver's door.
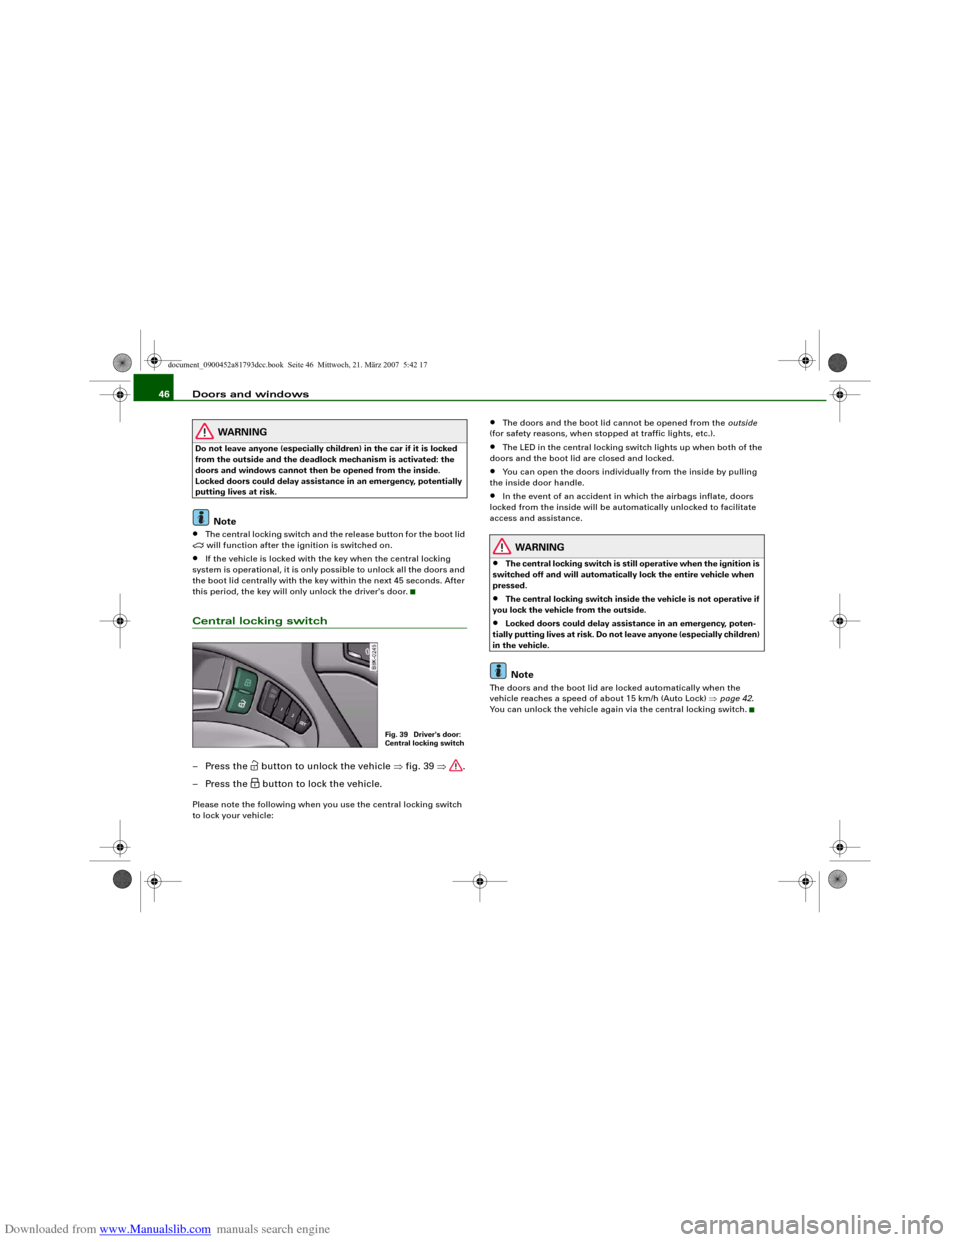
Central locking switch– Press the
button to unlock the vehicle ⇒fig. 39 ⇒.
– Press the button to lock the vehicle.
Please note the following when you use the central locking switch
to lock your vehicle:
•
The doors and the boot lid cannot be opened from the outside
(for safety reasons, when stopped at traffic lights, etc.).
•
The LED in the central locking switch lights up when both of the
doors and the boot lid are closed and locked.
•
You can open the doors individually from the inside by pulling
the inside door handle.
•
In the event of an accident in which the airbags inflate, doors
locked from the inside will be automatically unlocked to facilitate
access and assistance.
WARNING
•
The central locking switch is still operative when the ignition is
switched off and will automatically lock the entire vehicle when
pressed.
•
The central locking switch inside the vehicle is not operative if
you lock the vehicle from the outside.
•
Locked doors could delay assistance in an emergency, poten-
tially putting lives at risk. Do not leave anyone (especially children)
in the vehicle.Note
The doors and the boot lid are locked automatically when the
vehicle reaches a speed of about 15 km/h (Auto Lock) ⇒page 42.
You can unlock the vehicle again via the central locking switch.
Fig. 39 Driver's door:
Central locking switch
document_0900452a81793dcc.book Seite 46 Mittwoch, 21. März 2007 5:42 17
Page 50 of 294
Downloaded from www.Manualslib.com manuals search engine Doors and windows 48Once the door has been closed it can no longer be opened from the
outside. The door can be opened from the inside by pulling the door
handle.Boot lidOpening and closing the boot lidOpening boot lid
– Press the
button on the remote control key for at least
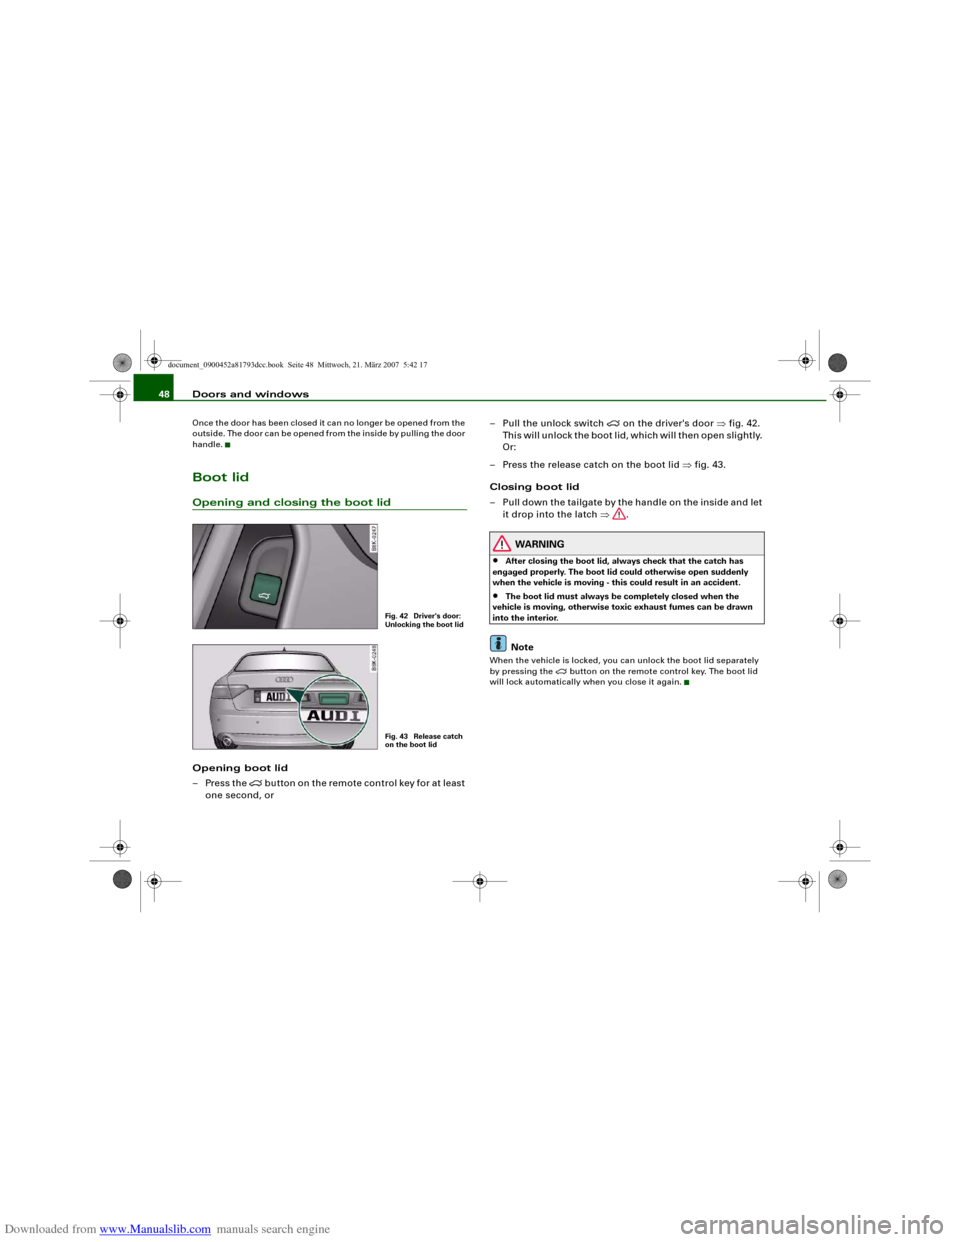
one second, or– Pull the unlock switch
on the driver's door ⇒fig. 42.
This will unlock the boot lid, which will then open slightly.
Or:
– Press the release catch on the boot lid ⇒fig. 43.
Closing boot lid
– Pull down the tailgate by the handle on the inside and let
it drop into the latch ⇒.
WARNING
•
After closing the boot lid, always check that the catch has
engaged properly. The boot lid could otherwise open suddenly
when the vehicle is moving - this could result in an accident.
•
The boot lid must always be completely closed when the
vehicle is moving, otherwise toxic exhaust fumes can be drawn
into the interior.Note
When the vehicle is locked, you can unlock the boot lid separately
by pressing the
button on the remote control key. The boot lid
will lock automatically when you close it again.
Fig. 42 Driver's door:
Unlocking the boot lidFig. 43 Release catch
on the boot lid
document_0900452a81793dcc.book Seite 48 Mittwoch, 21. März 2007 5:42 17
Page 51 of 294
Downloaded from www.Manualslib.com manuals search engine Doors and windows49
Controls
Safety
Driving tips
General maintenance
Self-help
Technical data
Manual release of the boot lid
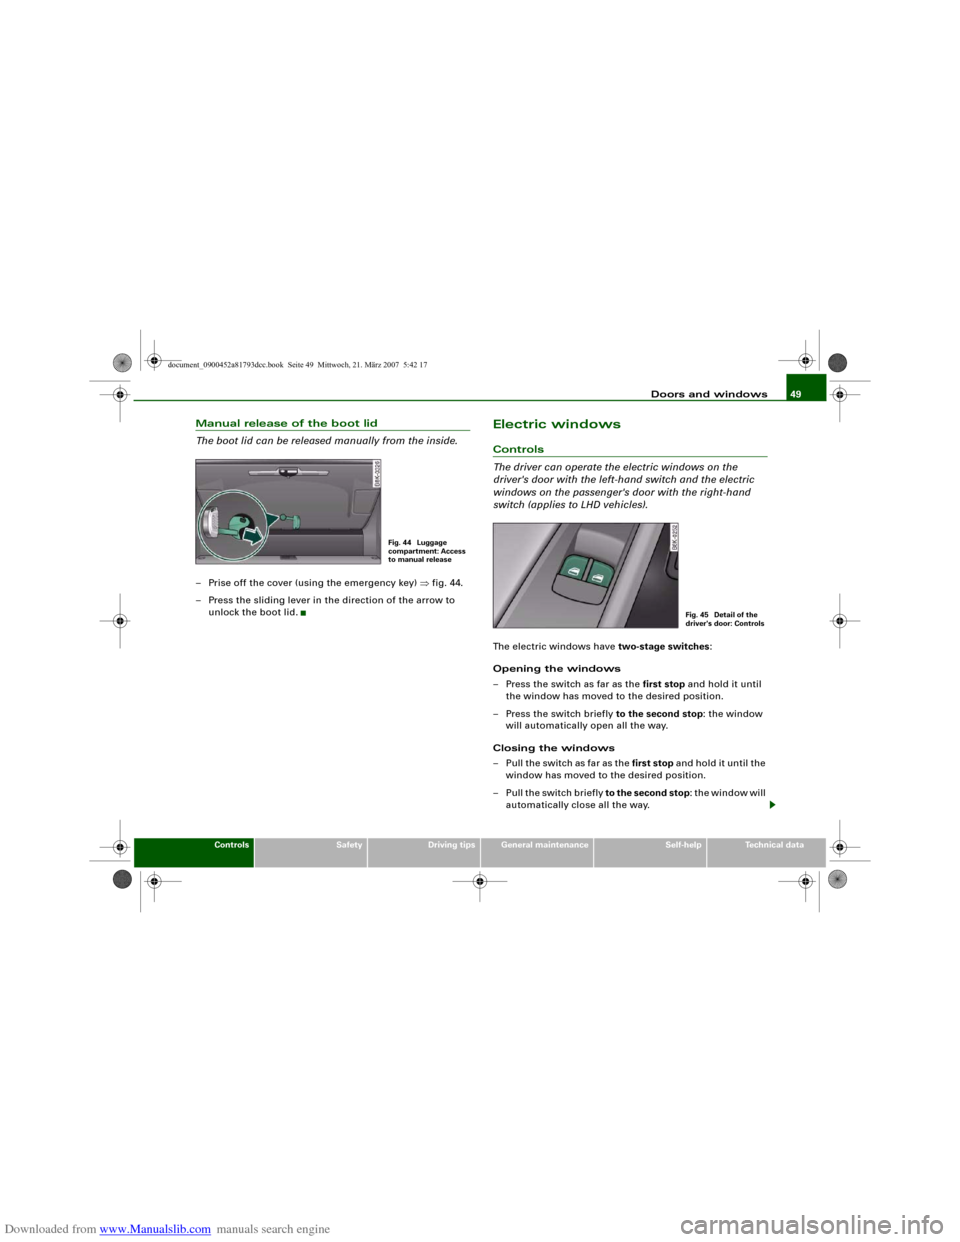
The boot lid can be released manually from the inside.– Prise off the cover (using the emergency key) ⇒fig. 44.
– Press the sliding lever in the direction of the arrow to
unlock the boot lid.
Electric windowsControls
The driver can operate the electric windows on the
driver's door with the left-hand switch and the electric
windows on the passenger's door with the right-hand
switch (applies to LHD vehicles).The electric windows have two-stage switches:
Opening the windows
– Press the switch as far as the first stop and hold it until
the window has moved to the desired position.
– Press the switch briefly to the second stop: the window
will automatically open all the way.
Closing the windows
– Pull the switch as far as the first stop and hold it until the
window has moved to the desired position.
–Pull the switch briefly to the second stop: the window will
automatically close all the way.
Fig. 44 Luggage
compartment: Access
to manual release
Fig. 45 Detail of the
driver's door: Controls
document_0900452a81793dcc.book Seite 49 Mittwoch, 21. März 2007 5:42 17
Page 80 of 294
Downloaded from www.Manualslib.com manuals search engine Seats and storage 78
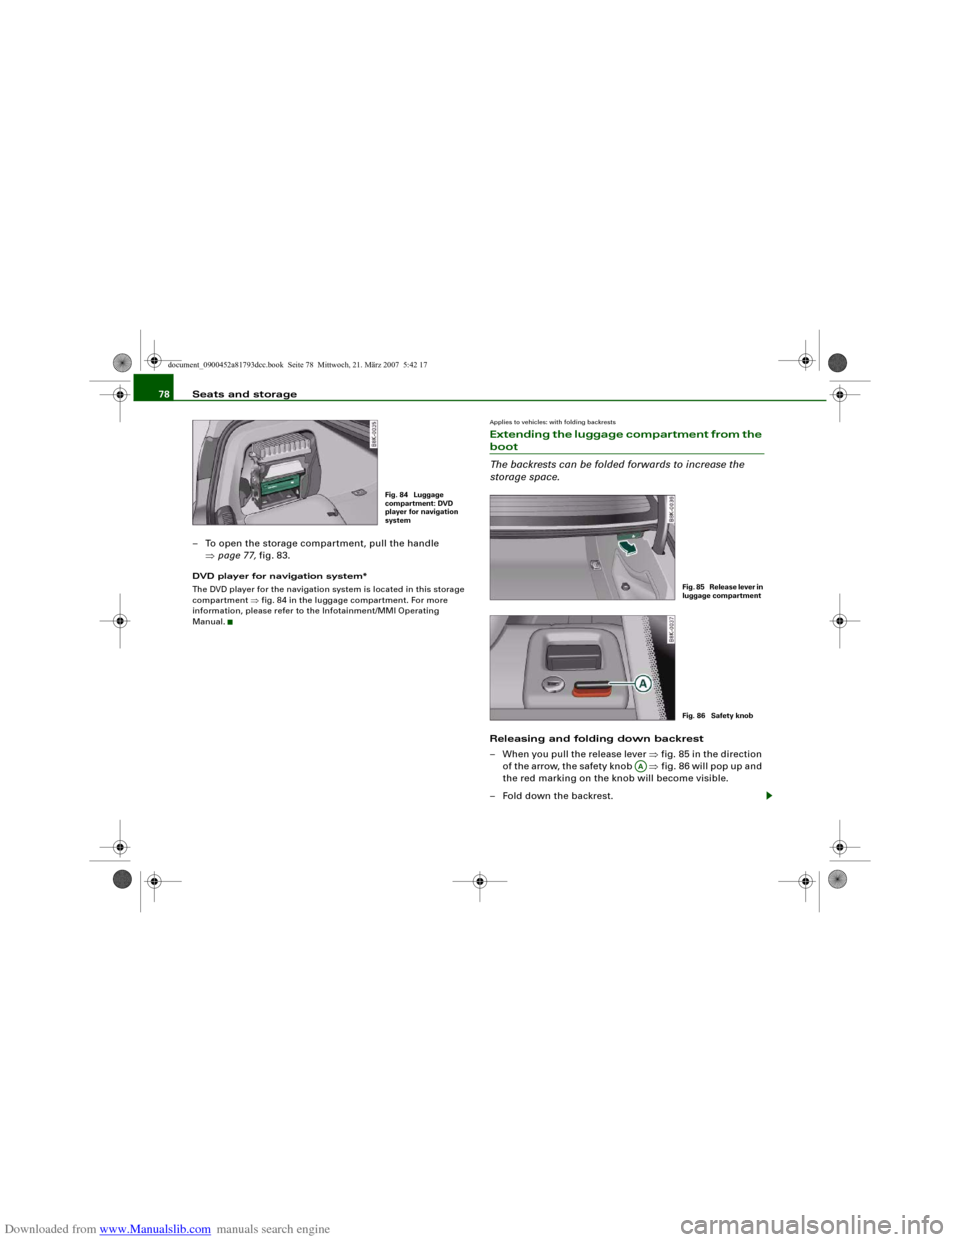
– To open the storage compartment, pull the handle
⇒page 77, fig. 83.DVD player for navigation system*
The DVD player for the navigation system is located in this storage
compartment ⇒fig. 84 in the luggage compartment. For more
information, please refer to the Infotainment/MMI Operating
Manual.
Applies to vehicles: with folding backrestsExtending the luggage compartment from the boot
The backrests can be folded forwards to increase the
storage space.Releasing and folding down backrest
– When you pull the release lever ⇒fig. 85 in the direction
of the arrow, the safety knob ⇒fig. 86 will pop up and
the red marking on the knob will become visible.
– Fold down the backrest.
Fig. 84 Luggage
compartment: DVD
player for navigation
system
Fig. 85 Release lever in
luggage compartmentFig. 86 Safety knob
AA
document_0900452a81793dcc.book Seite 78 Mittwoch, 21. März 2007 5:42 17
Page 81 of 294
Downloaded from www.Manualslib.com manuals search engine Seats and storage79
Controls
Safety
Driving tips
General maintenance
Self-help
Technical data
Returning backrest to an upright position
– Push the backrest up again until it engages securely
⇒. The red marking on the safety knob ⇒page 78,
fig. 86 should no longer be visible when the backrest is
properly secured.When the backrest is properly engaged in its upright position, it can
be locked and unlocked with the key. This prevents unauthorised
access to the luggage compartment from inside the vehicle.
The luggage compartment can only be extended from the boot
when the backrest is not locked with the key.
WARNING
The rear backrest must always be securely latched so that objects
stored in the luggage compartment will not fly forward during
sudden braking.
Caution
When returning the backrest to an upright position, make sure that
the seat belts for the rear seats are in their guides so that they
cannot be caught up and damaged in the catches for the backrest.
It is also important to remove any other objects from the rear seats
to avoid damaging the backrest when folding it forwards.
Applies to vehicles: with folding backrestsExtending the luggage compartment from inside the vehicle
The backrests can be folded forwards to increase the
storage space.Folding down backrest
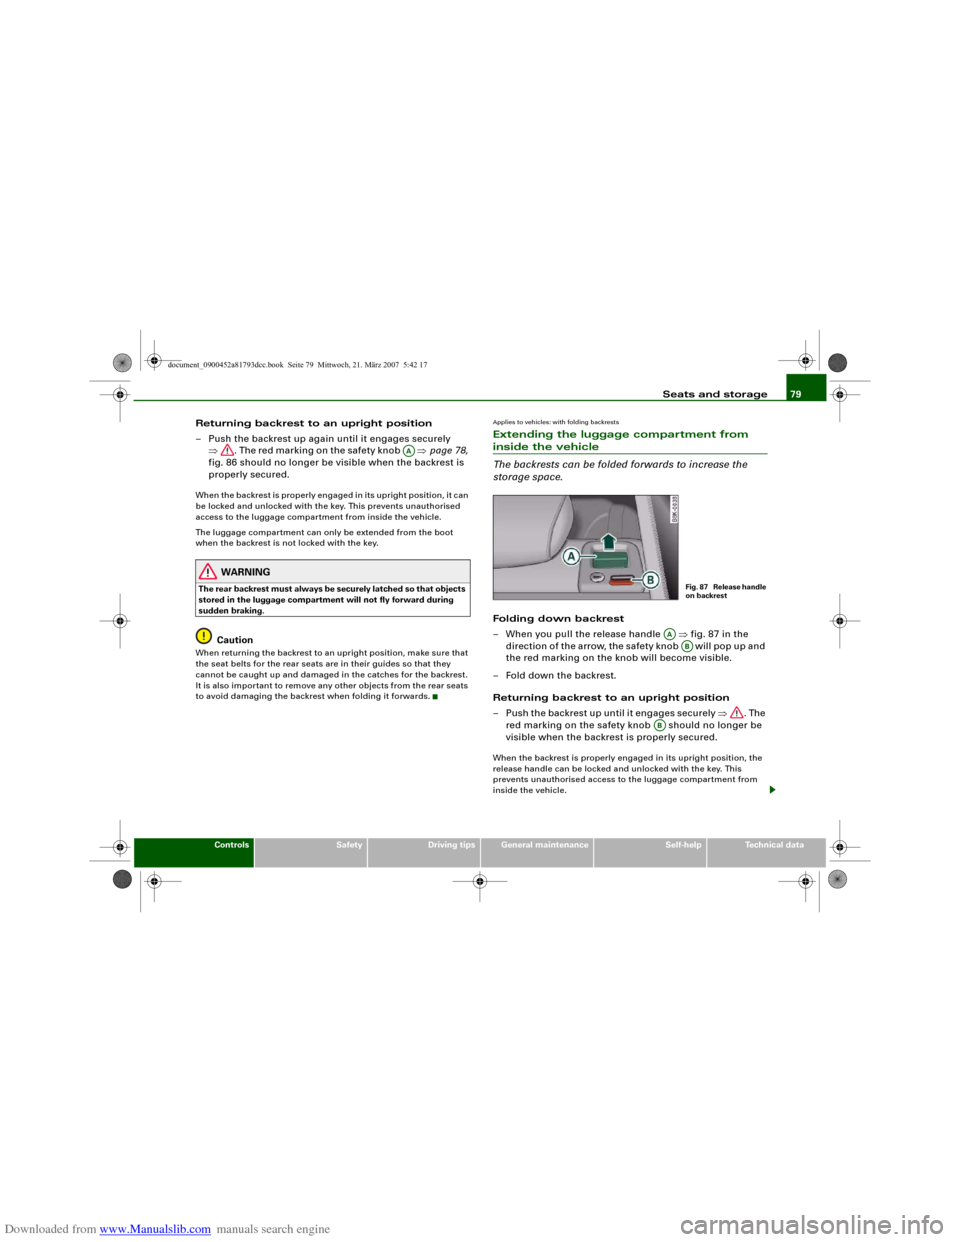
– When you pull the release handle ⇒fig. 87 in the
direction of the arrow, the safety knob will pop up and
the red marking on the knob will become visible.
– Fold down the backrest.
Returning backrest to an upright position
– Push the backrest up until it engages securely ⇒. The
red marking on the safety knob should no longer be
visible when the backrest is properly secured.When the backrest is properly engaged in its upright position, the
release handle can be locked and unlocked with the key. This
prevents unauthorised access to the luggage compartment from
inside the vehicle.
AA
Fig. 87 Release handle
on backrest
AA
AB
AB
document_0900452a81793dcc.book Seite 79 Mittwoch, 21. März 2007 5:42 17
Page 83 of 294
Downloaded from www.Manualslib.com manuals search engine Seats and storage81
Controls
Safety
Driving tips
General maintenance
Self-help
Technical data
Applies to vehicles: with load-through hatchLoad-through hatch
You can use the load-through hatch and bag to transport
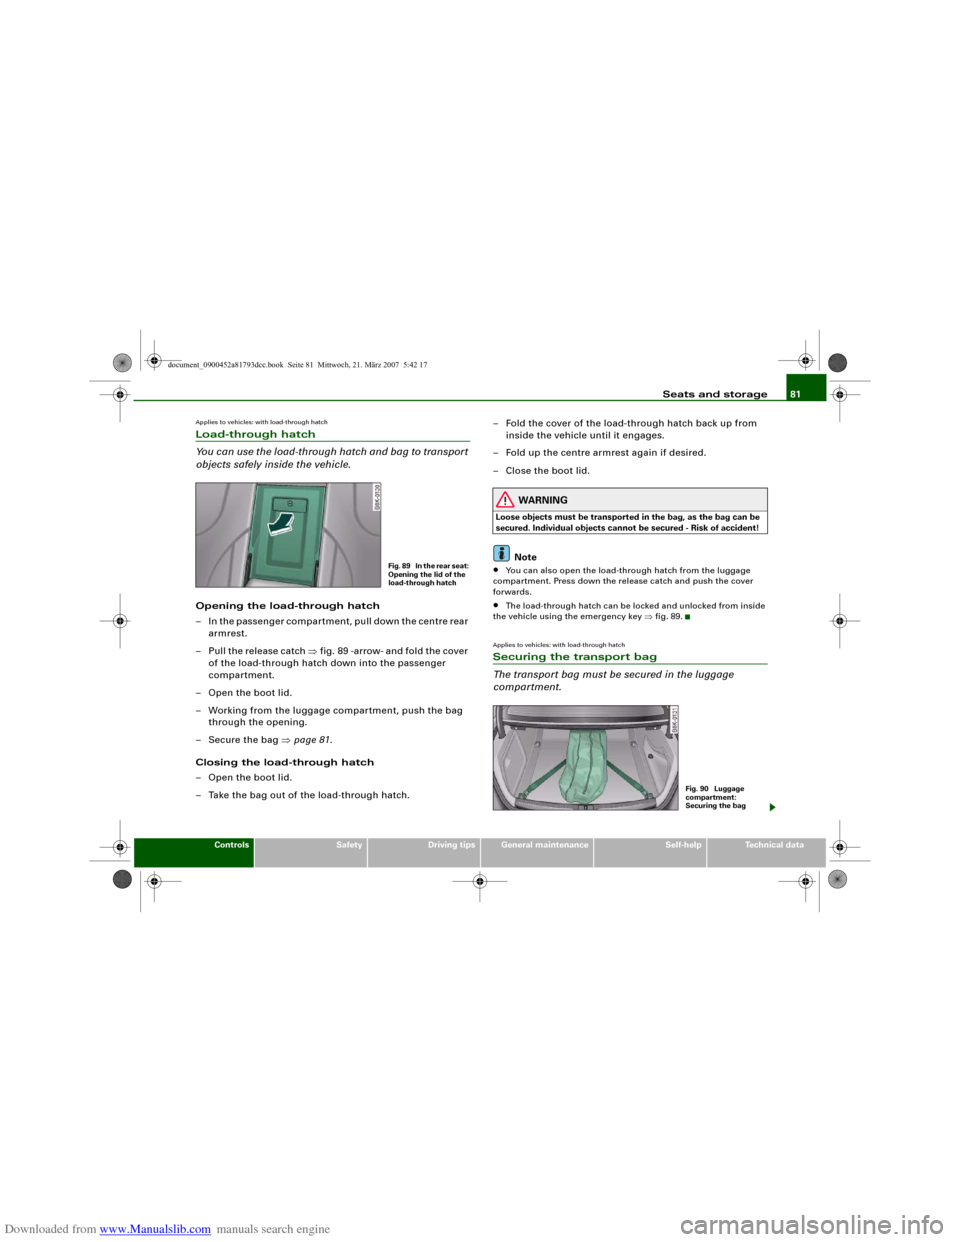
objects safely inside the vehicle.Opening the load-through hatch
– In the passenger compartment, pull down the centre rear
armrest.
– Pull the release catch ⇒fig. 89 -arrow- and fold the cover
of the load-through hatch down into the passenger
compartment.
– Open the boot lid.
– Working from the luggage compartment, push the bag
through the opening.
– Secure the bag ⇒page 81.
Closing the load-through hatch
– Open the boot lid.
– Take the bag out of the load-through hatch.– Fold the cover of the load-through hatch back up from
inside the vehicle until it engages.
– Fold up the centre armrest again if desired.
– Close the boot lid.
WARNING
Loose objects must be transported in the bag, as the bag can be
secured. Individual objects cannot be secured - Risk of accident!
Note
•
You can also open the load-through hatch from the luggage
compartment. Press down the release catch and push the cover
forwards.
•
The load-through hatch can be locked and unlocked from inside
the vehicle using the emergency key ⇒fig. 89.
Applies to vehicles: with load-through hatchSecuring the transport bag
The transport bag must be secured in the luggage
compartment.
Fig. 89 In the rear seat:
Opening the lid of the
load-through hatch
Fig. 90 Luggage
compartment:
Securing the bag
document_0900452a81793dcc.book Seite 81 Mittwoch, 21. März 2007 5:42 17
Page 130 of 294
Downloaded from www.Manualslib.com manuals search engine Audi parking system 128Audi parking systemParking aid systemsApplies to vehicles: with parking systemGeneral notes
Depending on the optional equipment fitted, there are
various parking aid systems to assist you when parking or
manoeuvring in tight spaces.parking system*:
The parking system comprises the rear acoustic parking aid
⇒page 128.
The rear acoustic parking system uses ultrasonic sensors to
measure the distance between the vehicle and an obstacle which
has been detected. There are four sensors which are located in the
rear bumper (two in the centre, two at the sides).
parking system plus*:
The parking system plus* comprises the rear and front acoustic
parking aid ⇒page 129 in conjunction with a graphic display.
The parking system plus* uses ultrasonic sensors to measure the
distance between the vehicle and an obstacle which has been
detected. There are a total of 8 sensors located in the front and rear
bumpers (2 in the centre and 2 on the side of each bumper).
parking system advanced*:
The parking system advanced* comprises the rear and front
acoustic parking aid in conjunction with the graphic display as well
as a reversing camera (Rear View) ⇒page 131.
The reversing camera is located in the boot lid ⇒page 131, fig. 143
and assists the driver when parking or manoeuvring in tight spaces.
The reversing camera provides an image which is shown in the MMI display. It represents the mirror image of a section of the area
behind the vehicle ⇒page 135, fig. 148.
Note
There is a slight delay in the picture display.parking systemApplies to vehicles: with parking systemRear parking aid
The parking aid gives an acoustic warning if it detects any
obstacles behind the vehicle.– Engage reverse gear. You will hear a short beep to
confirm that the rear parking aid has been activated. The
rear parking aid remains active for as long as the reverse
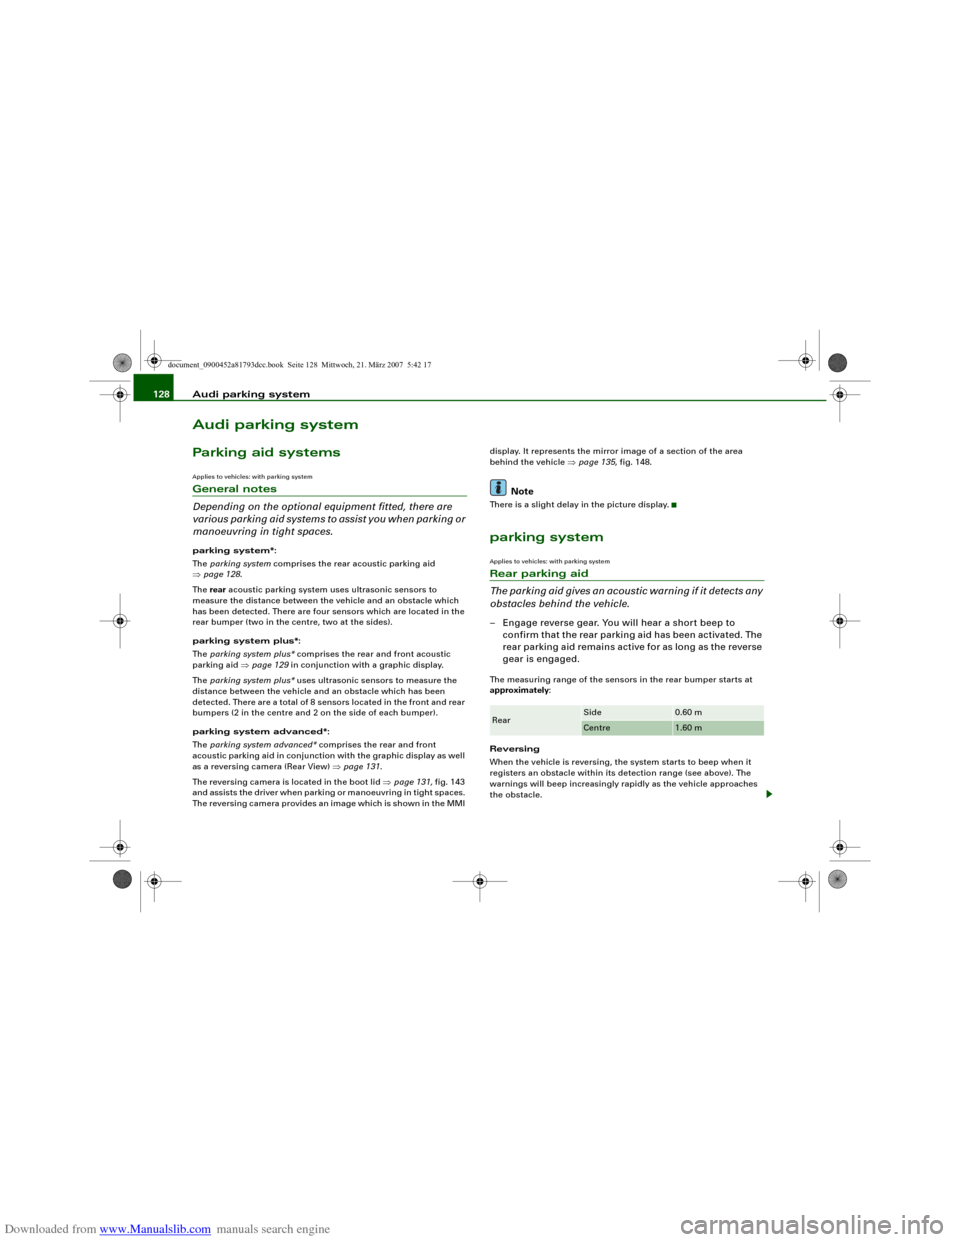
gear is engaged.The measuring range of the sensors in the rear bumper starts at
approximately:
Reversing
When the vehicle is reversing, the system starts to beep when it
registers an obstacle within its detection range (see above). The
warnings will beep increasingly rapidly as the vehicle approaches
the obstacle.Rear
Side
0.60 m
Centre
1.60 m
document_0900452a81793dcc.book Seite 128 Mittwoch, 21. März 2007 5:42 17