2008 AUDI A5 display
[x] Cancel search: displayPage 58 of 313
Lights and vision 56
CautionTo avoid dazzling the traffic behind you, the rear fog light should
only be used in accordance with statutory regulations.Exterior lighting settings
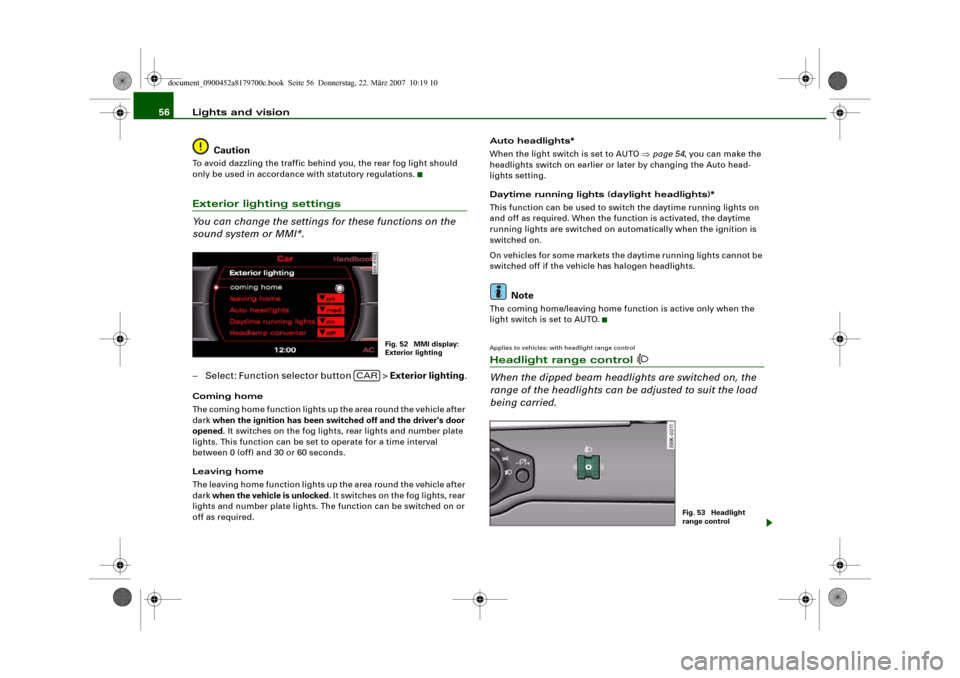
You can change the settings for these functions on the
sound system or MMI*.– Select: Function selector button > Exterior lighting.Coming home
The coming home function lights up the area round the vehicle after
dark when the ignition has been switched off and the driver's door
opened. It switches on the fog lights, rear lights and number plate
lights. This function can be set to operate for a time interval
between 0 (off) and 30 or 60 seconds.
Leaving home
The leaving home function lights up the area round the vehicle after
dark when the vehicle is unlocked. It switches on the fog lights, rear
lights and number plate lights. The function can be switched on or
off as required.Auto headlights*
When the light switch is set to AUTO ⇒page 54, you can make the
headlights switch on earlier or later by changing the Auto head-
lights setting.
Daytime running lights (daylight headlights)*
This function can be used to switch the daytime running lights on
and off as required. When the function is activated, the daytime
running lights are switched on automatically when the ignition is
switched on.
On vehicles for some markets the daytime running lights cannot be
switched off if the vehicle has halogen headlights.
Note
The coming home/leaving home function is active only when the
light switch is set to AUTO.Applies to vehicles: with headlight range controlHeadlight range control
When the dipped beam headlights are switched on, the
range of the headlights can be adjusted to suit the load
being carried.
Fig. 52 MMI display:
Exterior lighting
CAR
Fig. 53 Headlight
range control
document_0900452a8179700c.book Seite 56 Donnerstag, 22. März 2007 10:19 10
Page 59 of 313
Lights and vision57
Controls
Safety
Driving tips
General maintenance
Self-help
Technical data
– Turn the thumbwheel
⇒page 56, fig. 53 to the appro-
priate setting.
Adjustment settings
The settings correspond roughly to the following load conditions:
Two front occupants, luggage compartment empty
All seats occupied, luggage compartment empty
All seats occupied, luggage compartment loaded
Driver only, luggage compartment loaded
Caution
Always adjust the headlights to avoid dazzling oncoming traffic.
Make sure you lower the headlights when the vehicle is carrying a
heavy load.Instrument lighting
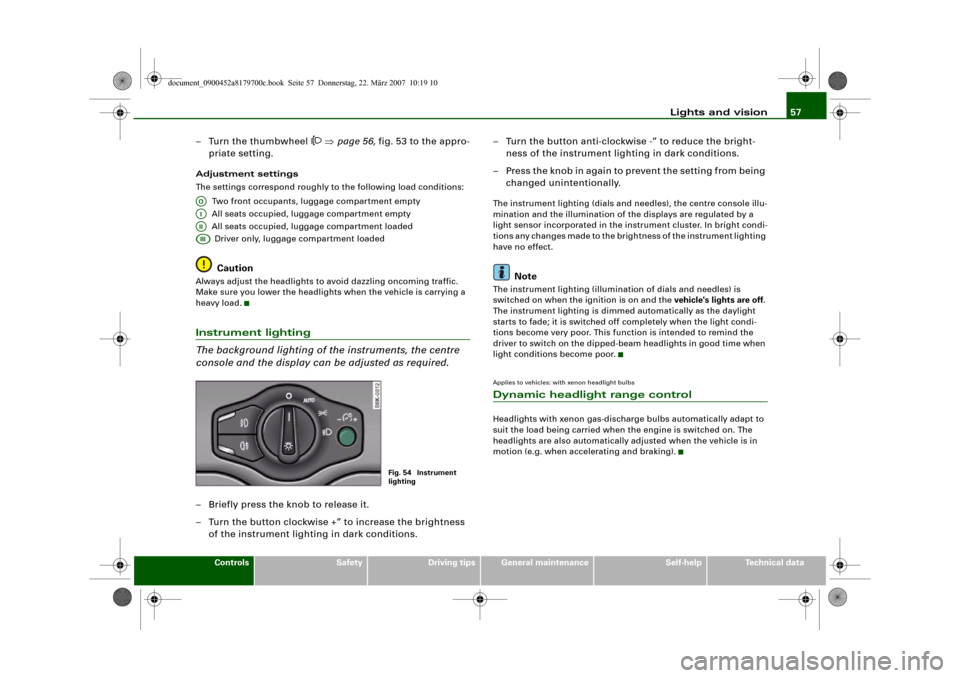
The background lighting of the instruments, the centre
console and the display can be adjusted as required.– Briefly press the knob to release it.
– Turn the button clockwise +” to increase the brightness
of the instrument lighting in dark conditions.– Turn the button anti-clockwise -” to reduce the bright-
ness of the instrument lighting in dark conditions.
– Press the knob in again to prevent the setting from being
changed unintentionally.
The instrument lighting (dials and needles), the centre console illu-
mination and the illumination of the displays are regulated by a
light sensor incorporated in the instrument cluster. In bright condi-
tions any changes made to the brightness of the instrument lighting
have no effect.
Note
The instrument lighting (illumination of dials and needles) is
switched on when the ignition is on and the vehicle's lights are off.
The instrument lighting is dimmed automatically as the daylight
starts to fade; it is switched off completely when the light condi-
tions become very poor. This function is intended to remind the
driver to switch on the dipped-beam headlights in good time when
light conditions become poor.Applies to vehicles: with xenon headlight bulbsDynamic headlight range controlHeadlights with xenon gas-discharge bulbs automatically adapt to
suit the load being carried when the engine is switched on. The
headlights are also automatically adjusted when the vehicle is in
motion (e.g. when accelerating and braking).
AOAIAIIAIII
Fig. 54 Instrument
lighting
document_0900452a8179700c.book Seite 57 Donnerstag, 22. März 2007 10:19 10
Page 66 of 313
Lights and vision 64
Note•
Check that the washer fluid reservoir is full before starting a long
journey. Filling the reservoir ⇒page 242.
•
Worn or dirty wiper blades can cause smearing on the glass
which can also impair the effectiveness of the rain sensor. Please
check the wiper blades regularly.
Applies to vehicles: with headlight washersHeadlight washer systemThe headlight washer system only operates when the lights
are switched on.
– Move the automatic wash and wipe lever to position
⇒page 62, fig. 64.The headlight washer system is always activated the first time you
operate the automatic wash and wipe. Subsequently, it is only acti-
vated about every five wash and wipe cycles. The headlights are
always washed if you hold the lever for longer than about
2 seconds.
The headlight washer jets come out of the bumper automatically
(under water pressure).
Clean off stubborn dirt (insects, etc.) from the lenses at regular
intervals, for instance when stopping for fuel.
To ensure that the system works properly in winter, keep the nozzle
holders free of snow and remove any ice with a de-icer spray.
Service position
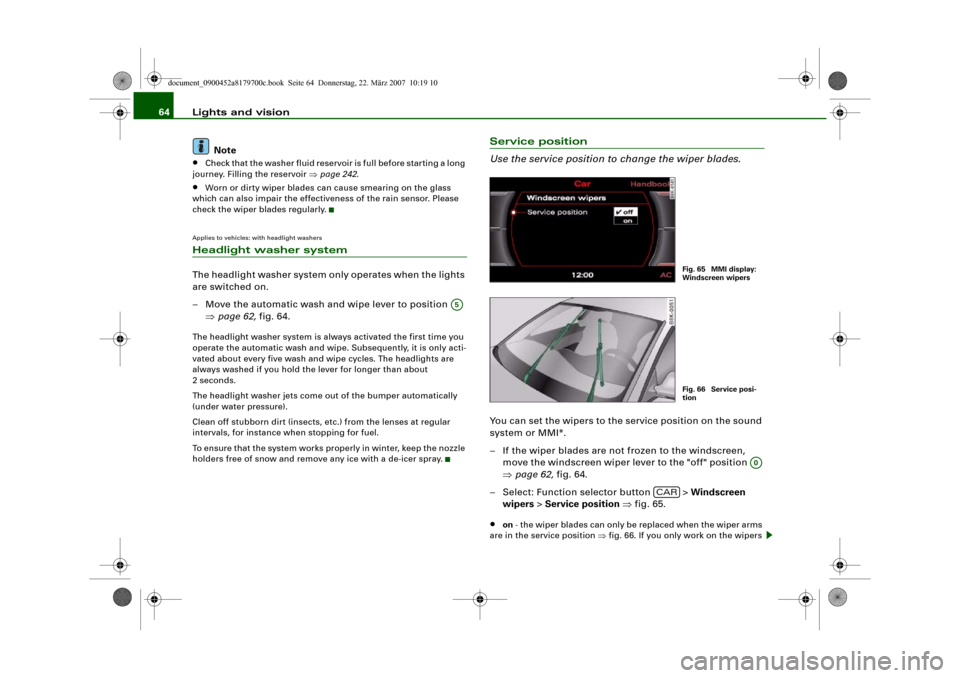
Use the service position to change the wiper blades.You can set the wipers to the service position on the sound
system or MMI*.
– If the wiper blades are not frozen to the windscreen,
move the windscreen wiper lever to the "off" position
⇒page 62, fig. 64.
– Select: Function selector button > Windscreen
wipers > Service position ⇒fig. 65.•
on - the wiper blades can only be replaced when the wiper arms
are in the service position ⇒fig. 66. If you only work on the wipers
A5
Fig. 65 MMI display:
Windscreen wipersFig. 66 Service posi-
tion
A0
CAR
document_0900452a8179700c.book Seite 64 Donnerstag, 22. März 2007 10:19 10
Page 70 of 313
Lights and vision 68Applies to vehicles: with automatic anti-dazzle adjustment for exterior mirrorsAutomatic anti-dazzle adjustment for exterior mirrorsThe exterior mirrors darken together with the automatically
adjusting interior mirror. When the ignition is on, the mirrors will
darken automatically according to the amount of light received (for
example from the headlights of a vehicle behind).
When the interior lights are switched on, or when reverse gear is
engaged, the mirrors revert to their original (i.e. not darkened)
condition.
WARNING
Electrolyte fluid can leak from a broken mirror. This fluid can cause
irritation to the skin, eyes, and respiratory organs. Wash thor-
oughly with clean water should you come into contact with this
fluid. Seek medical assistance if needed.
Caution
Electrolyte fluid leaking from a broken mirror can cause damage to
the paintwork or plastic surfaces. Use a sponge or similar to remove
the fluid as soon as possible.
Note
•
If you switch off the anti-dazzle function for the interior mirror,
this will also deactivate the anti-dazzle function for the exterior
mirrors.
•
The automatic anti-dazzle function will only work properly if the
sun blind* for the rear window is not in use and there are no other
objects preventing light from reaching the interior mirror.
Digital compassApplies to vehicles: with digital compassActivating and deactivating the compass
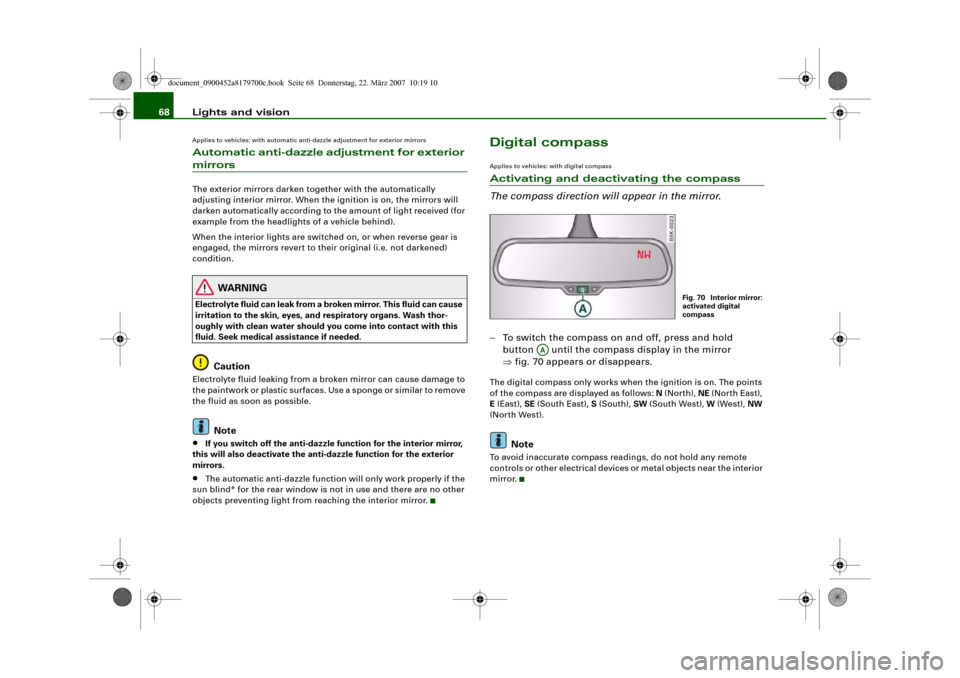
The compass direction will appear in the mirror.– To switch the compass on and off, press and hold
button until the compass display in the mirror
⇒fig. 70 appears or disappears.The digital compass only works when the ignition is on. The points
of the compass are displayed as follows: N (North), NE (North East),
E (East), SE (South East), S (South), SW (South West), W (West), NW
(North West).
Note
To avoid inaccurate compass readings, do not hold any remote
controls or other electrical devices or metal objects near the interior
mirror.
Fig. 70 Interior mirror:
activated digital
compass
AA
document_0900452a8179700c.book Seite 68 Donnerstag, 22. März 2007 10:19 10
Page 71 of 313
Lights and vision69
Controls
Safety
Driving tips
General maintenance
Self-help
Technical data
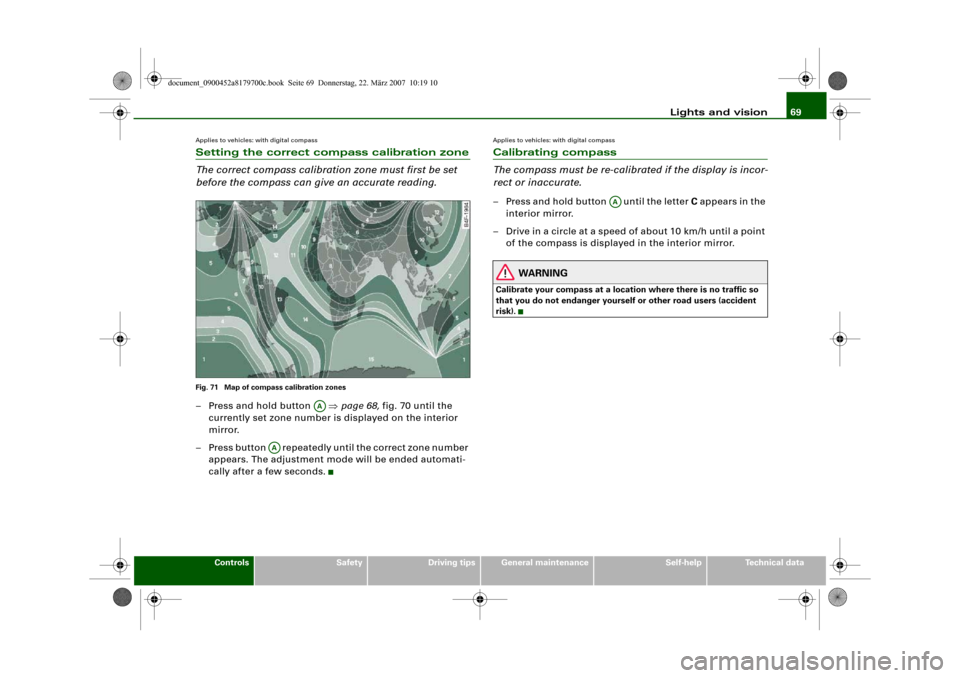
Applies to vehicles: with digital compassSetting the correct compass calibration zone
The correct compass calibration zone must first be set
before the compass can give an accurate reading.Fig. 71 Map of compass calibration zones– Press and hold button ⇒page 68, fig. 70 until the
currently set zone number is displayed on the interior
mirror.
– Press button repeatedly until the correct zone number
appears. The adjustment mode will be ended automati-
cally after a few seconds.
Applies to vehicles: with digital compassCalibrating compass
The compass must be re-calibrated if the display is incor-
rect or inaccurate.– Press and hold button until the letter C appears in the
interior mirror.
– Drive in a circle at a speed of about 10 km/h until a point
of the compass is displayed in the interior mirror.
WARNING
Calibrate your compass at a location where there is no traffic so
that you do not endanger yourself or other road users (accident
risk).
AA
AA
AA
document_0900452a8179700c.book Seite 69 Donnerstag, 22. März 2007 10:19 10
Page 77 of 313
Seats and storage75
Controls
Safety
Driving tips
General maintenance
Self-help
Technical data
Recalling settings
– If the driver's door is open, press the desired recall
button briefly.
– If the driver's door is closed, press and hold down the
desired recall button until the programmed settings are
reached.A tone will sound and the diode in the button ⇒page 74,
fig. 76 will light up to confirm that the settings have been stored.
When you lock the vehicle the current settings are automatically
stored and assigned to the remote control key. However, the
settings assigned to the remote control key will not overwrite the
settings stored on recall buttons 1 and 2. The settings stored on the
recall buttons can be called up at any time. When you unlock the
vehicle, the settings assigned to the remote control key are recalled
automatically.
If your vehicle is also driven by other persons using your remote
control key, it is advisable to store your personal settings on one of
the recall buttons. You can then recall your own settings at any time
simply by pressing the corresponding recall button. When you lock
the vehicle these settings are then stored automatically and
assigned once again to the remote control key.
WARNING
•
For safety reasons, never recall seat settings when the vehicle
is moving - this could lead to an accident.
•
In an emergency the recall function can be stopped at any time
by pressing the switch, or by briefly pressing any of the
recall buttons.
Applies to vehicles: with seat memoryActivating memory for remote control key
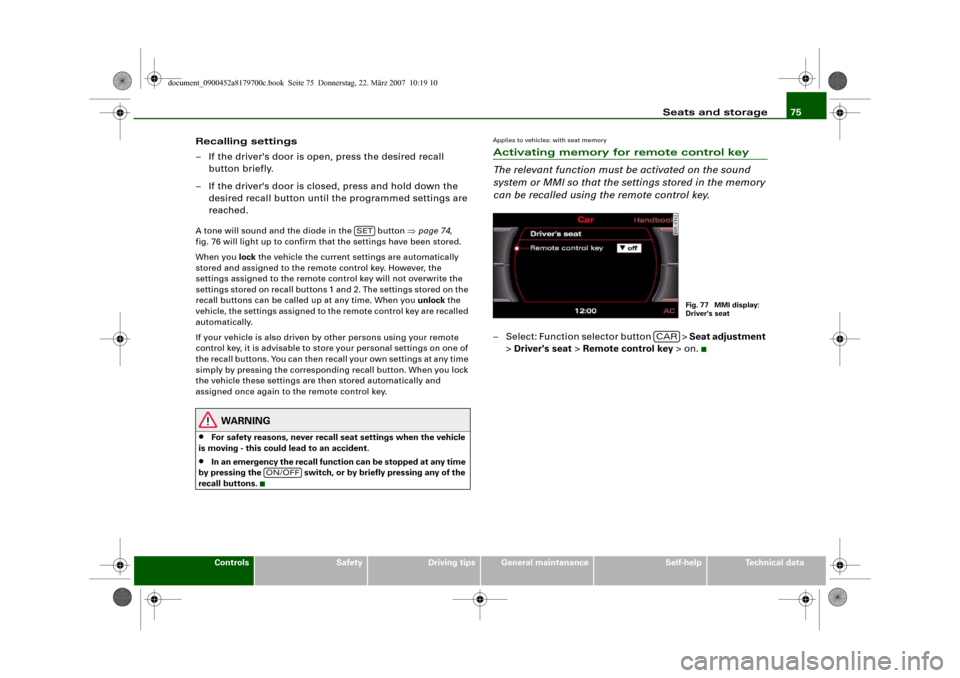
The relevant function must be activated on the sound
system or MMI so that the settings stored in the memory
can be recalled using the remote control key.– Select: Function selector button > Seat adjustment
> Driver's seat > Remote control key > on.
SET
ON/OFF
Fig. 77 MMI display:
Driver's seat
CAR
document_0900452a8179700c.book Seite 75 Donnerstag, 22. März 2007 10:19 10
Page 97 of 313
Heating and cooling95
Controls
Safety
Driving tips
General maintenance
Self-help
Technical data
Note
The grille on the control console ⇒page 94, fig. 106 must be kept
free. Please ensure that it is not covered by stickers or similar. Meas-
uring sensors are located behind it.Applies to vehicles: with deluxe automatic air conditionerSwitching on and offSwitching on air conditioner
– Press the button briefly, or
– Press the button.
Switching off air conditioner
– Press the button to switch off the air conditioner
and cut off the supply of fresh air from outside the
vehicle.The air conditioner will switch on again if one of the control buttons
is pressed.
Applies to vehicles: with deluxe automatic air conditionerAutomatic mode
The standard operating mode for all seasons.Switching on automatic mode
– Select a temperature between +16 °C (60 °F) and +28 °C
(84 °F).
– Press the button.The automatic mode maintains a constant temperature inside the
vehicle and dehumidifies the air. Air temperature, air delivery and
air distribution are regulated automatically to reach the desired
interior temperature as quickly as possible, and then to maintain
this temperature. The system automatically compensates for any
variations in the outside temperature and for the effect of direct
sunlight.
The automatic temperature regulation only operates at temperature
settings between +16 °C and +28 °C. If a temperature below +16 °C
is selected, LO appears on the display. If a temperature above +28 °C
is selected, the display will show HI. In the two extreme settings the
air conditioner operates continuously with maximum cooling or
heating output, and the temperature is not regulated
automatically.
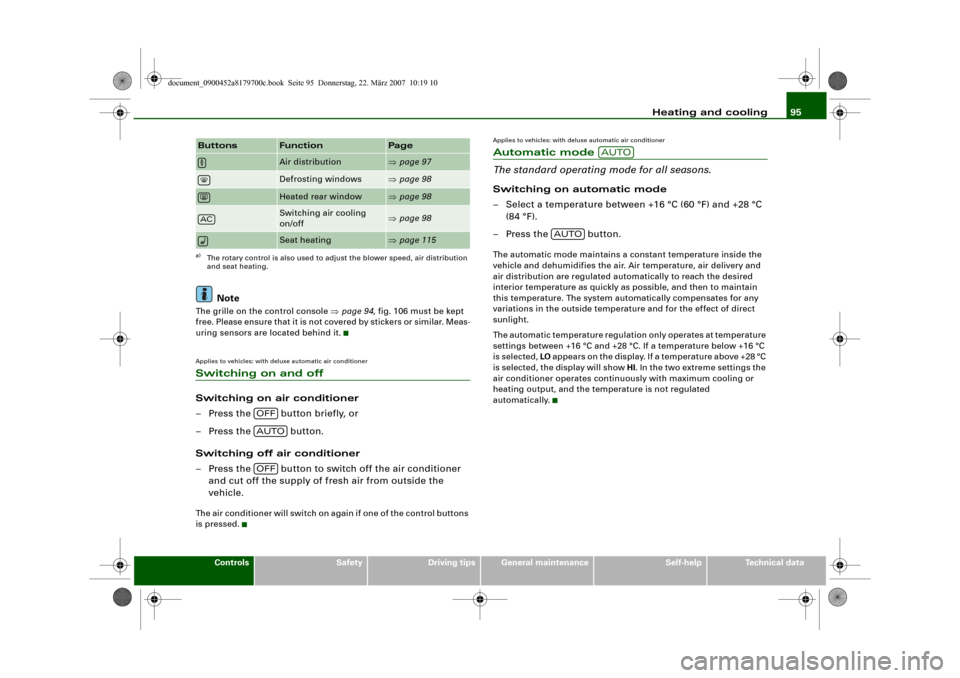
Air distribution
⇒page 97
Defrosting windows
⇒page 98
Heated rear window
⇒page 98
Switching air cooling
on/off
⇒page 98
Seat heating
⇒page 115
a)The rotary control is also used to adjust the blower speed, air distribution
and seat heating.Buttons
Function
Page
AC
OFFAUTOOFF
AUTO
AUTO
document_0900452a8179700c.book Seite 95 Donnerstag, 22. März 2007 10:19 10
Page 98 of 313
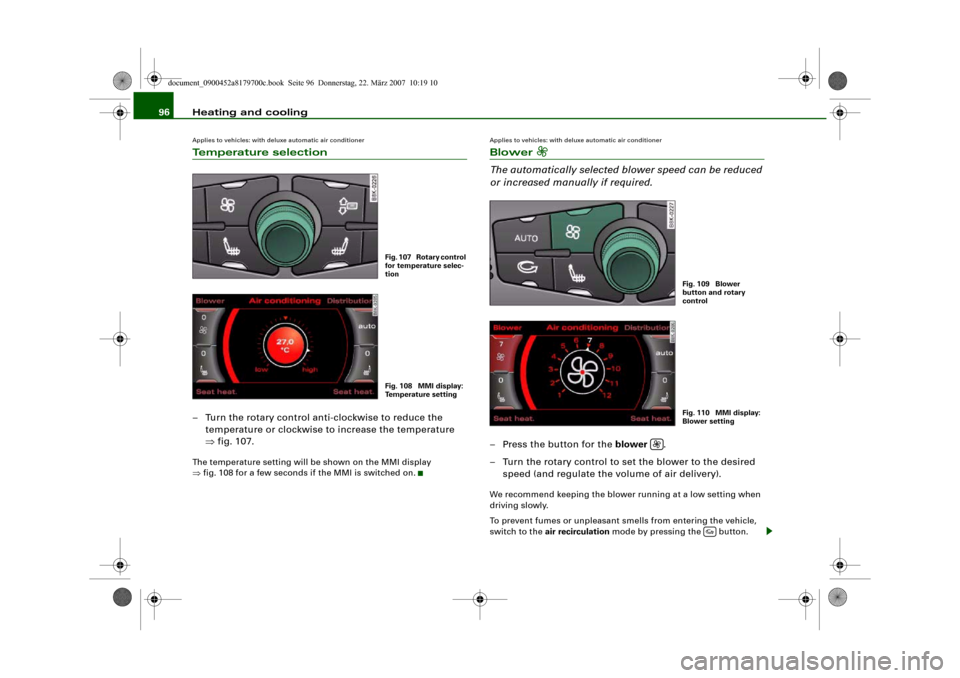
Heating and cooling 96Applies to vehicles: with deluxe automatic air conditionerTemperature selection– Turn the rotary control anti-clockwise to reduce the
temperature or clockwise to increase the temperature
⇒fig. 107.The temperature setting will be shown on the MMI display
⇒fig. 108 for a few seconds if the MMI is switched on.
Applies to vehicles: with deluxe automatic air conditionerBlower
The automatically selected blower speed can be reduced
or increased manually if required.– Press the button for the blower .
– Turn the rotary control to set the blower to the desired
speed (and regulate the volume of air delivery).We recommend keeping the blower running at a low setting when
driving slowly.
To prevent fumes or unpleasant smells from entering the vehicle,
switch to the air recirculation mode by pressing the button.
Fig. 107 Rotary control
for temperature selec-
tionFig. 108 MMI display:
Temperature setting
Fig. 109 Blower
button and rotary
controlFig. 110 MMI display:
Blower setting
document_0900452a8179700c.book Seite 96 Donnerstag, 22. März 2007 10:19 10