2008 AUDI A5 display
[x] Cancel search: displayPage 17 of 313
Instruments and warning/indicator lamps15
Controls
Safety
Driving tips
General maintenance
Self-help
Technical data
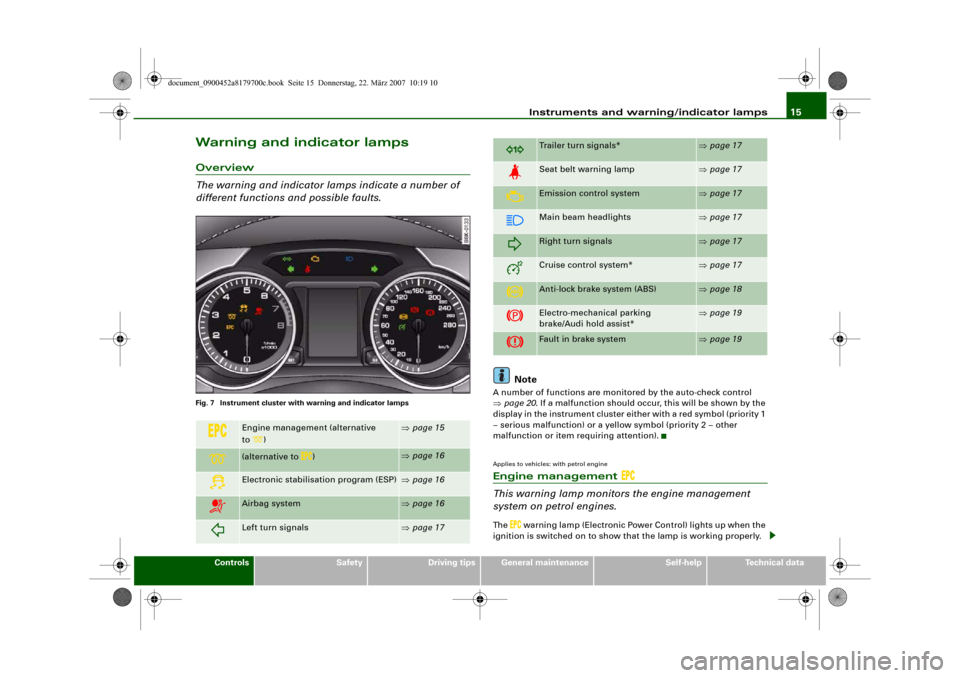
Warning and indicator lampsOverview
The warning and indicator lamps indicate a number of
different functions and possible faults.Fig. 7 Instrument cluster with warning and indicator lamps
Note
A number of functions are monitored by the auto-check control
⇒page 20. If a malfunction should occur, this will be shown by the
display in the instrument cluster either with a red symbol (priority 1
– serious malfunction) or a yellow symbol (priority 2 – other
malfunction or item requiring attention).Applies to vehicles: with petrol engineEngine management
This warning lamp monitors the engine management
system on petrol engines.The
warning lamp (Electronic Power Control) lights up when the
ignition is switched on to show that the lamp is working properly.
Engine management (alternative
to)
⇒page 15
(alternative to
)
⇒page 16
Electronic stabilisation program (ESP)
⇒page 16
Airbag system
⇒page 16
Left turn signals
⇒page 17
Trailer turn signals*
⇒page 17
Seat belt warning lamp
⇒page 17
Emission control system
⇒page 17
Main beam headlights
⇒page 17
Right turn signals
⇒page 17
Cruise control system*
⇒page 17
Anti-lock brake system (ABS)
⇒page 18
Electro-mechanical parking
brake/Audi hold assist*
⇒page 19
Fault in brake system
⇒page 19
document_0900452a8179700c.book Seite 15 Donnerstag, 22. März 2007 10:19 10
Page 21 of 313
Instruments and warning/indicator lamps19
Controls
Safety
Driving tips
General maintenance
Self-help
Technical data
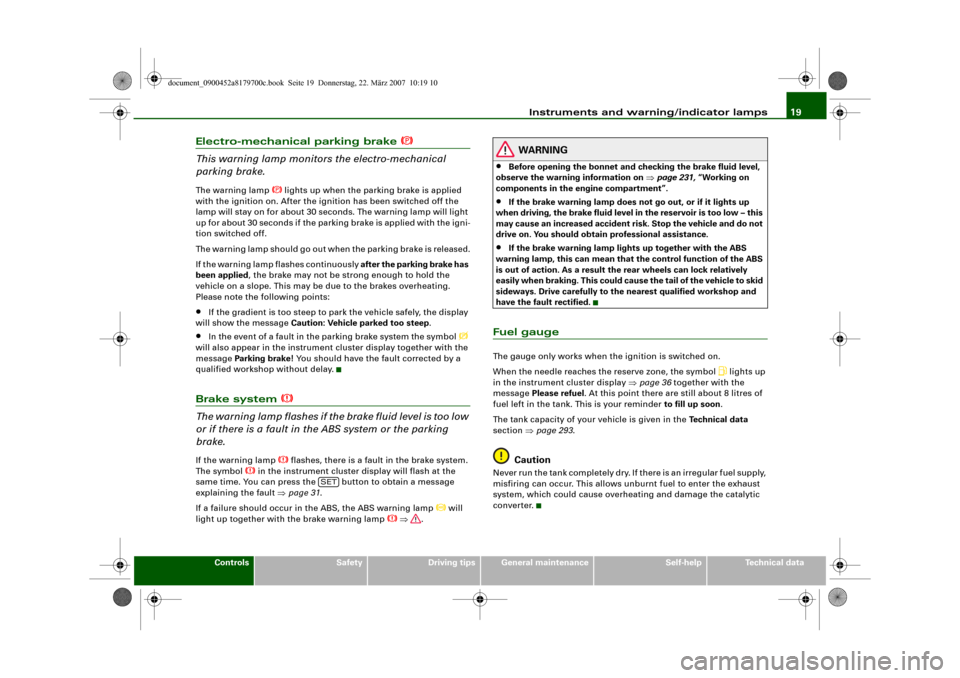
Electro-mechanical parking brake
This warning lamp monitors the electro-mechanical
parking brake.The warning lamp
lights up when the parking brake is applied
with the ignition on. After the ignition has been switched off the
lamp will stay on for about 30 seconds. The warning lamp will light
up for about 30 seconds if the parking brake is applied with the igni-
tion switched off.
The warning lamp should go out when the parking brake is released.
If the warning lamp flashes continuously after the parking brake has
been applied, the brake may not be strong enough to hold the
vehicle on a slope. This may be due to the brakes overheating.
Please note the following points:
•
If the gradient is too steep to park the vehicle safely, the display
will show the message Caution: Vehicle parked too steep.
•
In the event of a fault in the parking brake system the symbol
will also appear in the instrument cluster display together with the
message Parki ng b rake! You should have the fault corrected by a
qualified workshop without delay.
Brake system
The warning lamp flashes if the brake fluid level is too low
or if there is a fault in the ABS system or the parking
brake.If the warning lamp
flashes, there is a fault in the brake system.
The symbol
in the instrument cluster display will flash at the
same time. You can press the button to obtain a message
explaining the fault ⇒page 31.
If a failure should occur in the ABS, the ABS warning lamp
will
light up together with the brake warning lamp
⇒.
WARNING
•
Before opening the bonnet and checking the brake fluid level,
observe the warning information on ⇒page 231, “Working on
components in the engine compartment”.
•
If the brake warning lamp does not go out, or if it lights up
when driving, the brake fluid level in the reservoir is too low – this
may cause an increased accident risk. Stop the vehicle and do not
drive on. You should obtain professional assistance.
•
If the brake warning lamp lights up together with the ABS
warning lamp, this can mean that the control function of the ABS
is out of action. As a result the rear wheels can lock relatively
easily when braking. This could cause the tail of the vehicle to skid
sideways. Drive carefully to the nearest qualified workshop and
have the fault rectified.
Fuel gaugeThe gauge only works when the ignition is switched on.
When the needle reaches the reserve zone, the symbol
lights up
in the instrument cluster display ⇒page 36 together with the
message Please refuel. At this point there are still about 8 litres of
fuel left in the tank. This is your reminder to fill up soon.
The tank capacity of your vehicle is given in the Technical data
section ⇒page 293.
Caution
Never run the tank completely dry. If there is an irregular fuel supply,
misfiring can occur. This allows unburnt fuel to enter the exhaust
system, which could cause overheating and damage the catalytic
converter.
SET
document_0900452a8179700c.book Seite 19 Donnerstag, 22. März 2007 10:19 10
Page 22 of 313
Driver information system 20Driver information systemIntroductionGeneral notes
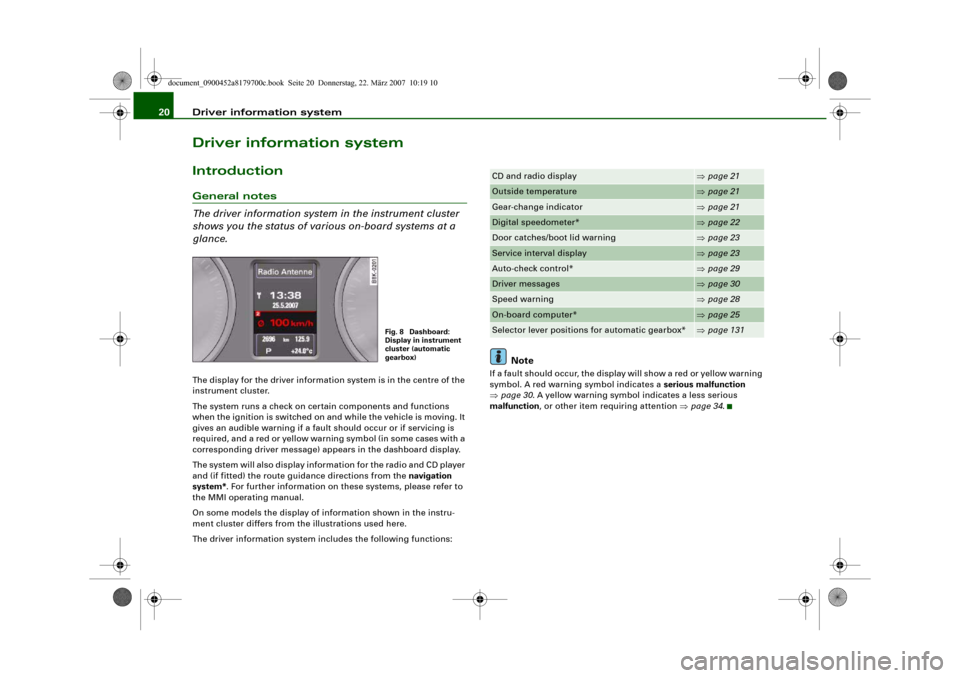
The driver information system in the instrument cluster
shows you the status of various on-board systems at a
glance.The display for the driver information system is in the centre of the
instrument cluster.
The system runs a check on certain components and functions
when the ignition is switched on and while the vehicle is moving. It
gives an audible warning if a fault should occur or if servicing is
required, and a red or yellow warning symbol (in some cases with a
corresponding driver message) appears in the dashboard display.
The system will also display information for the radio and CD player
and (if fitted) the route guidance directions from the navigation
system*. For further information on these systems, please refer to
the MMI operating manual.
On some models the display of information shown in the instru-
ment cluster differs from the illustrations used here.
The driver information system includes the following functions:
Note
If a fault should occur, the display will show a red or yellow warning
symbol. A red warning symbol indicates a serious malfunction
⇒page 30. A yellow warning symbol indicates a less serious
malfunction, or other item requiring attention ⇒page 34.
Fig. 8 Dashboard:
Display in instrument
cluster (automatic
gearbox)
CD and radio display
⇒page 21
Outside temperature
⇒page 21
Gear-change indicator
⇒page 21
Digital speedometer*
⇒page 22
Door catches/boot lid warning
⇒page 23
Service interval display
⇒page 23
Auto-check control*
⇒page 29
Driver messages
⇒page 30
Speed warning
⇒page 28
On-board computer*
⇒page 25
Selector lever positions for automatic gearbox*
⇒page 131
document_0900452a8179700c.book Seite 20 Donnerstag, 22. März 2007 10:19 10
Page 23 of 313
Driver information system21
Controls
Safety
Driving tips
General maintenance
Self-help
Technical data
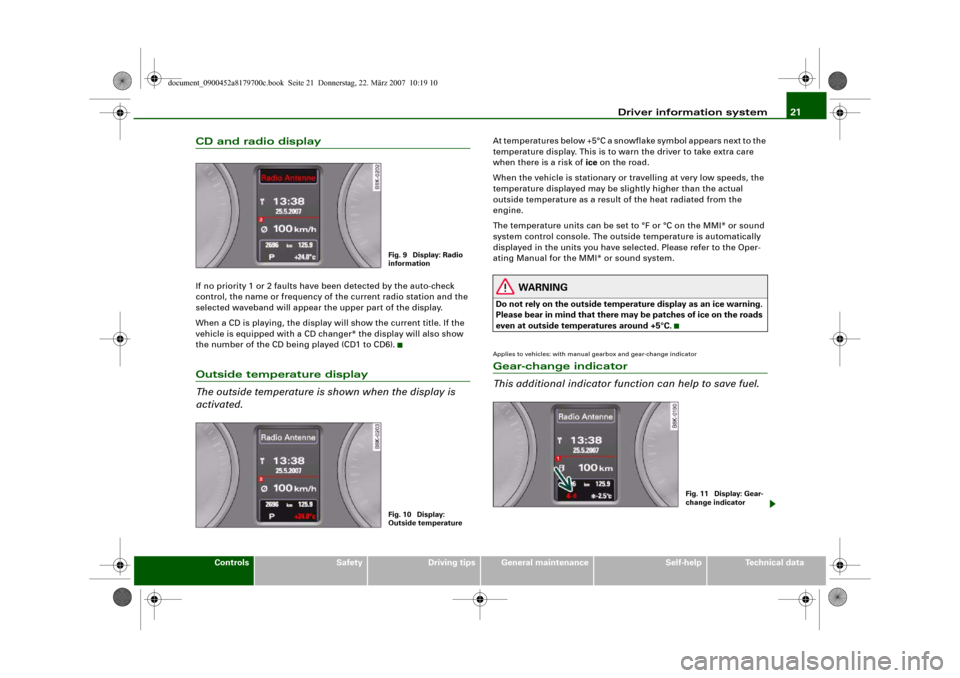
CD and radio displayIf no priority 1 or 2 faults have been detected by the auto-check
control, the name or frequency of the current radio station and the
selected waveband will appear the upper part of the display.
When a CD is playing, the display will show the current title. If the
vehicle is equipped with a CD changer* the display will also show
the number of the CD being played (CD1 to CD6).Outside temperature display
The outside temperature is shown when the display is
activated.
At temperatures below +5°C a snowflake symbol appears next to the
temperature display. This is to warn the driver to take extra care
when there is a risk of ice on the road.
When the vehicle is stationary or travelling at very low speeds, the
temperature displayed may be slightly higher than the actual
outside temperature as a result of the heat radiated from the
engine.
The temperature units can be set to °F or °C on the MMI* or sound
system control console. The outside temperature is automatically
displayed in the units you have selected. Please refer to the Oper-
ating Manual for the MMI* or sound system.
WARNING
Do not rely on the outside temperature display as an ice warning.
Please bear in mind that there may be patches of ice on the roads
even at outside temperatures around +5°C.Applies to vehicles: with manual gearbox and gear-change indicatorGear-change indicator
This additional indicator function can help to save fuel.
Fig. 9 Display: Radio
informationFig. 10 Display:
Outside temperature
Fig. 11 Display: Gear-
change indicator
document_0900452a8179700c.book Seite 21 Donnerstag, 22. März 2007 10:19 10
Page 24 of 313
Driver information system 22
You can deactivate the gear-change indicator on the sound
system or MMI.
Switching the gear-change indicator on and off
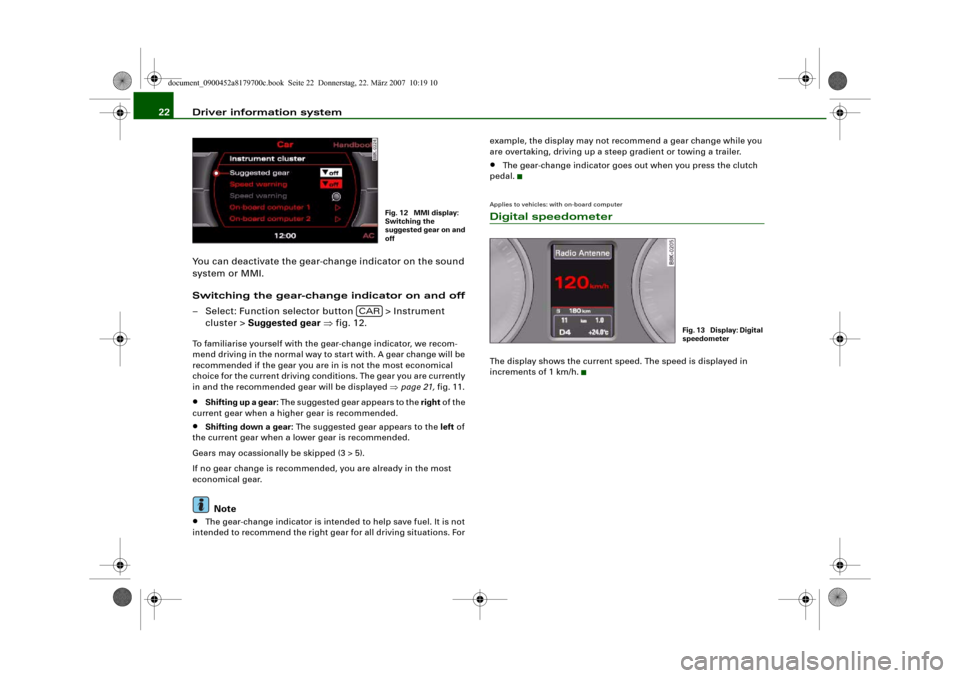
– Select: Function selector button > Instrument
cluster > Suggested gear ⇒fig. 12.To familiarise yourself with the gear-change indicator, we recom-
mend driving in the normal way to start with. A gear change will be
recommended if the gear you are in is not the most economical
choice for the current driving conditions. The gear you are currently
in and the recommended gear will be displayed ⇒page 21, fig. 11.•
Shifting up a gear: The suggested gear appears to the right of the
current gear when a higher gear is recommended.
•
Shifting down a gear: The suggested gear appears to the left of
the current gear when a lower gear is recommended.
Gears may ocassionally be skipped (3 > 5).
If no gear change is recommended, you are already in the most
economical gear.Note
•
The gear-change indicator is intended to help save fuel. It is not
intended to recommend the right gear for all driving situations. For example, the display may not recommend a gear change while you
are overtaking, driving up a steep gradient or towing a trailer.
•
The gear-change indicator goes out when you press the clutch
pedal.
Applies to vehicles: with on-board computerDigital speedometerThe display shows the current speed. The speed is displayed in
increments of 1 km/h.
Fig. 12 MMI display:
Switching the
suggested gear on and
off
CAR
Fig. 13 Display: Digital
speedometer
document_0900452a8179700c.book Seite 22 Donnerstag, 22. März 2007 10:19 10
Page 25 of 313
Driver information system23
Controls
Safety
Driving tips
General maintenance
Self-help
Technical data
Door catches / boot lid warning
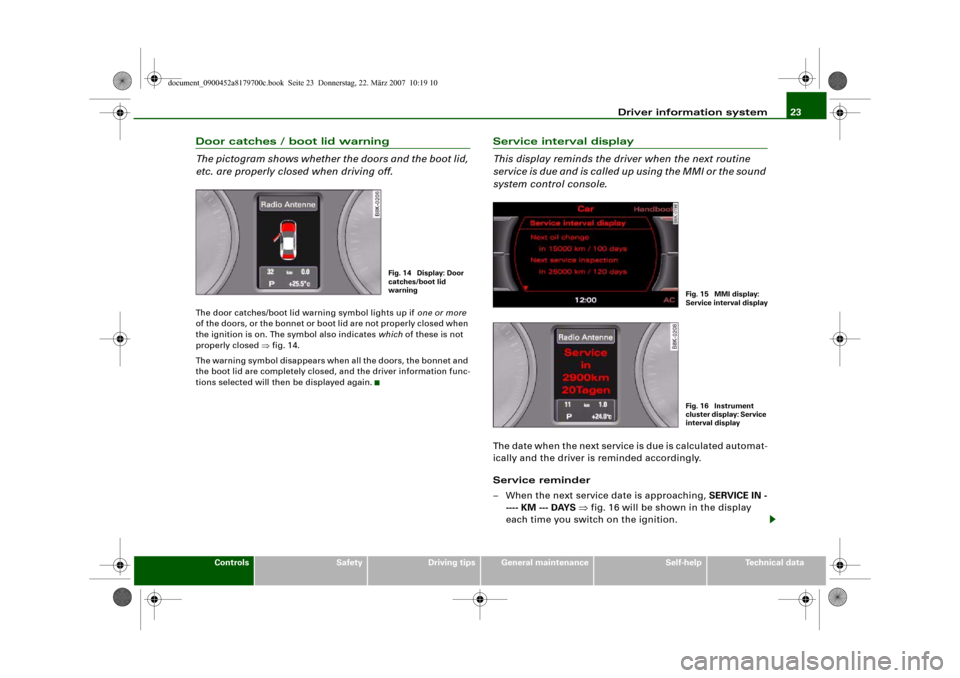
The pictogram shows whether the doors and the boot lid,
etc. are properly closed when driving off.The door catches/boot lid warning symbol lights up if one or more
of the doors, or the bonnet or boot lid are not properly closed when
the ignition is on. The symbol also indicates which of these is not
properly closed ⇒fig. 14.
The warning symbol disappears when all the doors, the bonnet and
the boot lid are completely closed, and the driver information func-
tions selected will then be displayed again.
Service interval display
This display reminds the driver when the next routine
service is due and is called up using the MMI or the sound
system control console.The date when the next service is due is calculated automat-
ically and the driver is reminded accordingly.
Service reminder
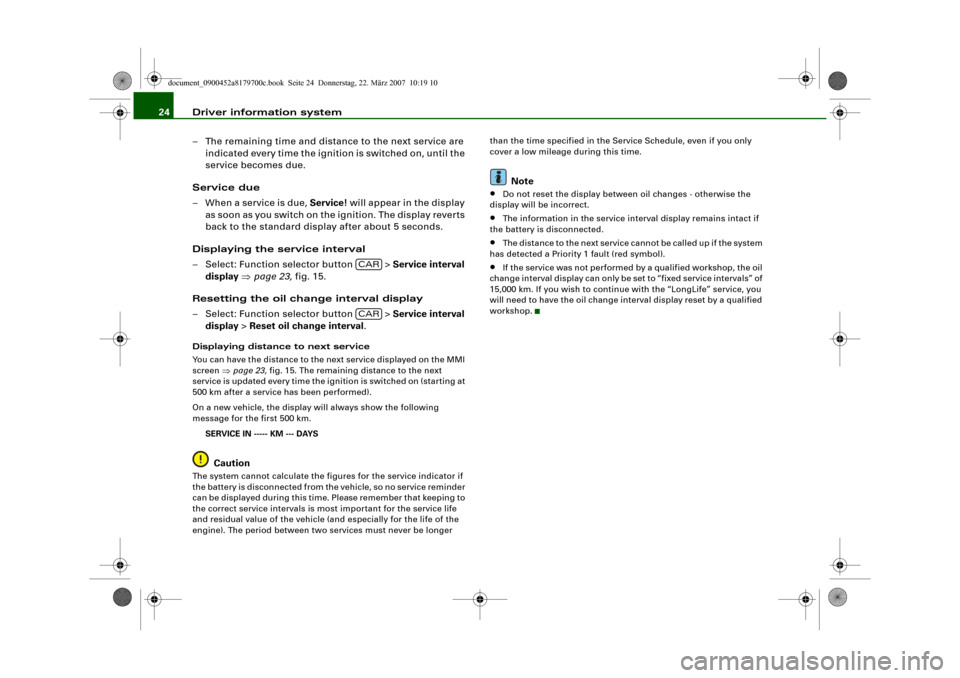
– When the next service date is approaching, SERVICE IN -
---- KM --- DAYS ⇒fig. 16 will be shown in the display
each time you switch on the ignition.
Fig. 14 Display: Door
catches/boot lid
warning
Fig. 15 MMI display:
Service interval displa
y
Fig. 16 Instrument
cluster display: Service
interval display
document_0900452a8179700c.book Seite 23 Donnerstag, 22. März 2007 10:19 10
Page 26 of 313
Driver information system 24
– The remaining time and distance to the next service are
indicated every time the ignition is switched on, until the
service becomes due.
Service due
–When a service is due, Service! will appear in the display
as soon as you switch on the ignition. The display reverts
back to the standard display after about 5 seconds.
Displaying the service interval
– Select: Function selector button > Service interval
display ⇒page 23, fig. 15.
Resetting the oil change interval display
– Select: Function selector button > Service interval
display > Reset oil change interval.Displaying distance to next service
You can have the distance to the next service displayed on the MMI
screen ⇒page 23, fig. 15. The remaining distance to the next
service is updated every time the ignition is switched on (starting at
500 km after a service has been performed).
On a new vehicle, the display will always show the following
message for the first 500 km.
SERVICE IN ----- KM --- DAYS
Caution
The system cannot calculate the figures for the service indicator if
the battery is disconnected from the vehicle, so no service reminder
can be displayed during this time. Please remember that keeping to
the correct service intervals is most important for the service life
and residual value of the vehicle (and especially for the life of the
engine). The period between two services must never be longer than the time specified in the Service Schedule, even if you only
cover a low mileage during this time.
Note
•
Do not reset the display between oil changes - otherwise the
display will be incorrect.
•
The information in the service interval display remains intact if
the battery is disconnected.
•
The distance to the next service cannot be called up if the system
has detected a Priority 1 fault (red symbol).
•
If the service was not performed by a qualified workshop, the oil
change interval display can only be set to “fixed service intervals” of
15,000 km. If you wish to continue with the “LongLife” service, you
will need to have the oil change interval display reset by a qualified
workshop.
CARCAR
document_0900452a8179700c.book Seite 24 Donnerstag, 22. März 2007 10:19 10
Page 27 of 313
Driver information system25
Controls
Safety
Driving tips
General maintenance
Self-help
Technical data
On-board computerApplies to vehicles: with on-board computerIntroduction
The on-board computer provides you with useful informa-
tion during a journey, including average and current fuel
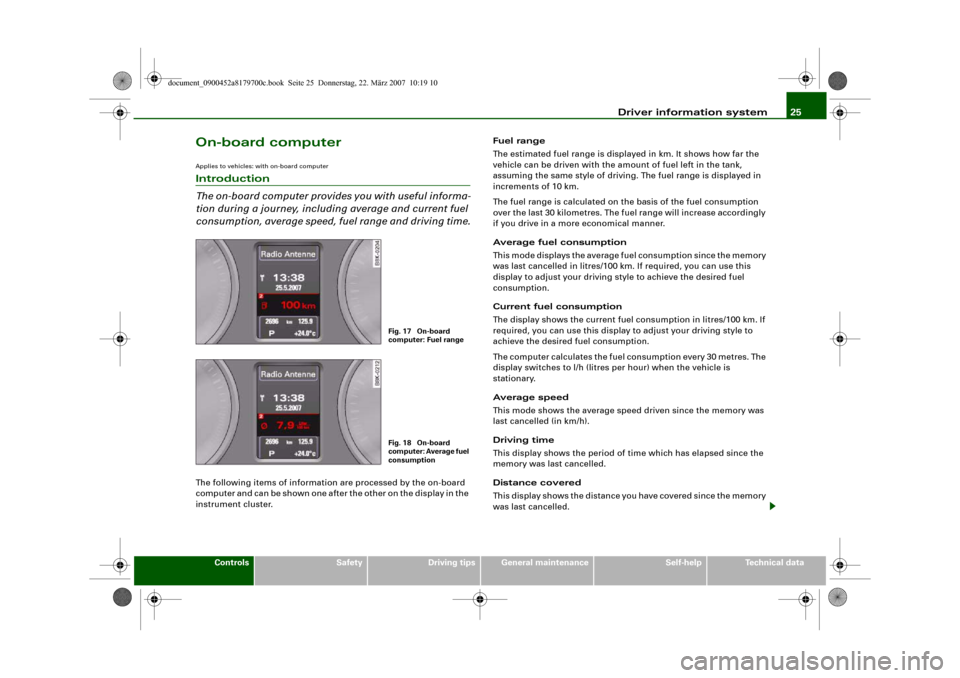
consumption, average speed, fuel range and driving time.The following items of information are processed by the on-board
computer and can be shown one after the other on the display in the
instrument cluster.Fuel range
The estimated fuel range is displayed in km. It shows how far the
vehicle can be driven with the amount of fuel left in the tank,
assuming the same style of driving. The fuel range is displayed in
increments of 10 km.
The fuel range is calculated on the basis of the fuel consumption
over the last 30 kilometres. The fuel range will increase accordingly
if you drive in a more economical manner.
Average fuel consumption
This mode displays the average fuel consumption since the memory
was last cancelled in litres/100 km. If required, you can use this
display to adjust your driving style to achieve the desired fuel
consumption.
Current fuel consumption
The display shows the current fuel consumption in litres/100 km. If
required, you can use this display to adjust your driving style to
achieve the desired fuel consumption.
The computer calculates the fuel consumption every 30 metres. The
display switches to l/h (litres per hour) when the vehicle is
stationary.
Average speed
This mode shows the average speed driven since the memory was
last cancelled (in km/h).
Driving time
This display shows the period of time which has elapsed since the
memory was last cancelled.
Distance covered
This display shows the distance you have covered since the memory
was last cancelled.
Fig. 17 On-board
computer: Fuel rangeFig. 18 On-board
computer: Average fuel
consumption
document_0900452a8179700c.book Seite 25 Donnerstag, 22. März 2007 10:19 10