2008 AUDI A5 warning lights
[x] Cancel search: warning lightsPage 65 of 313
Lights and vision63
Controls
Safety
Driving tips
General maintenance
Self-help
Technical data
Automatic wash and wipe
– Pull the lever to position .
– Release the lever again. The washer will stop and the
wipers will keep running for approximately 4 seconds.
The number of wipe cycles varies according to the length
of time the lever is pulled.
Switching off the wipers
– Move the lever to the "off" position .General notes
The washers and wipers will only work when the ignition is switched
on.
If you stop briefly, e.g. at traffic lights, the wiper speed will automat-
ically be reduced by one level.
The windscreen washer jets are heated when the ignition is
switched on if the outside temperature is low.
Dribble wipe
About 5 seconds after the wash and wipe cycle has finished, the
windscreen wiper system automatically gives the screen one extra
wipe to remove any dribbles of water.
If you want to deactivate the dribble wipe function while driving,
pull the lever to position again within 10 seconds.
The dribble wipe function will be re-activated the next time the igni-
tion is switched off and on.
Rain sensor*
The rain sensor will only function in the intermittent wipe position.
The intermittent wipe function is activated automatically when it
starts to rain.
Before you reach a road speed of 6 km/h you will have to activate the
rain sensor manually by switching it off and back on again.To reduce the sensitivity level of the rain sensor move control
⇒page 62, fig. 64 to the left. To increase the sensitivity level of the
rain sensor move the control to the right.
If you have selected a high sensitivity level for the rain sensor the
windscreen wipers will react sooner to any moisture on the wind-
screen. The wiper intervals in the intermittent wipe setting are also
varied automatically according to the road speed (in addition to the
sensitivity setting).
WARNING
•
Poor visibility can cause accidents. Always ensure that the
wiper blades are in good condition ⇒page 65, “Changing wiper
blades”.
•
The rain sensor is only intended to assist the driver. The driver
is still obliged to manually operate the windscreen wipers as
required depending on visibility.
•
Do not use water-repellent coatings on the windscreen. In bad
visibility conditions such as light rain, low sun or when driving at
night these coatings can cause increased dazzle, which is a
serious safety hazard. Such coatings can also cause the wiper
blades to judder.Caution
•
In icy conditions, always check that the wiper blades are not
frozen to the glass before using the wiper for the first time. If you
switch on the wipers when the wiper blades are frozen to the glass,
this could damage both the wiper blades and the wiper motor.
•
Make sure you switch off the windscreen wiper system (lever in
position "0") before you use an automatic car wash. This will avoid
inadvertent triggering of the wipers and possible damage to the
wiper system.
A5
A0
A5
AA
document_0900452a8179700c.book Seite 63 Donnerstag, 22. März 2007 10:19 10
Page 67 of 313
Lights and vision65
Controls
Safety
Driving tips
General maintenance
Self-help
Technical data when they are in the service position you will also avoid damaging
the paintwork on the bonnet.
•
off - the windscreen wipers will be moved back to their original
position.Caution
Never move the vehicle with the front wiper arms in a raised posi-
tion as they are automatically moved back to their normal park posi-
tion above a speed of 6 km/h. The paintwork on the bonnet may be
damaged as a result.
Note
•
You can also use the service position, for example, if you want to
fix a cover over the windscreen in the winter to keep it clear of ice.
•
The service position is automatically set to off when you operate
the windscreen wiper lever or the road speed exceeds 6 km/h.
Changing wiper blades
Good wiper blades are essential for clear vision.Taking off the wiper blade
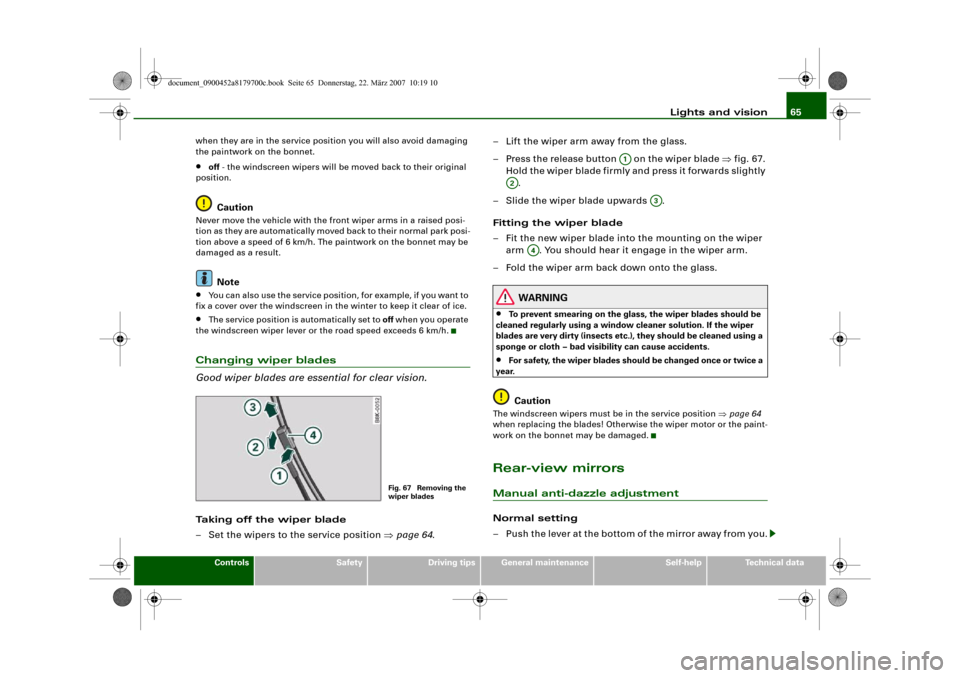
– Set the wipers to the service position ⇒page 64.– Lift the wiper arm away from the glass.
– Press the release button on the wiper blade ⇒fig. 67.
Hold the wiper blade firmly and press it forwards slightly
.
– Slide the wiper blade upwards .
Fitting the wiper blade
– Fit the new wiper blade into the mounting on the wiper
arm . You should hear it engage in the wiper arm.
– Fold the wiper arm back down onto the glass.
WARNING
•
To prevent smearing on the glass, the wiper blades should be
cleaned regularly using a window cleaner solution. If the wiper
blades are very dirty (insects etc.), they should be cleaned using a
sponge or cloth – bad visibility can cause accidents.
•
For safety, the wiper blades should be changed once or twice a
year.Caution
The windscreen wipers must be in the service position ⇒page 64
when replacing the blades! Otherwise the wiper motor or the paint-
work on the bonnet may be damaged.Rear-view mirrorsManual anti-dazzle adjustmentNormal setting
– Push the lever at the bottom of the mirror away from you.
Fig. 67 Removing the
wiper blades
A1
A2
A3
A4
document_0900452a8179700c.book Seite 65 Donnerstag, 22. März 2007 10:19 10
Page 68 of 313
Lights and vision 66
Anti-dazzle setting
– Pull the lever at the bottom of the mirror towards you.Applies to vehicles: with automatic anti-dazzle adjustment for interior mirrorAutomatic anti-dazzle adjustment
The automatic anti-dazzle function can be switched on
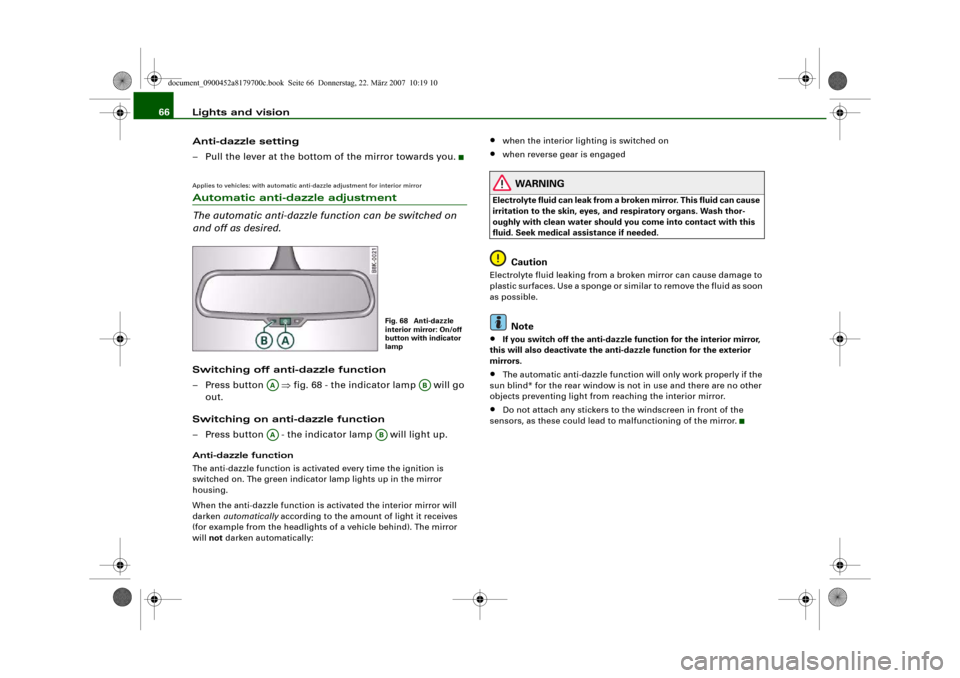
and off as desired.Switching off anti-dazzle function
– Press button ⇒fig. 68 - the indicator lamp will go
out.
Switching on anti-dazzle function
– Press button - the indicator lamp will light up.Anti-dazzle function
The anti-dazzle function is activated every time the ignition is
switched on. The green indicator lamp lights up in the mirror
housing.
When the anti-dazzle function is activated the interior mirror will
darken automatically according to the amount of light it receives
(for example from the headlights of a vehicle behind). The mirror
will not darken automatically:
•
when the interior lighting is switched on
•
when reverse gear is engaged
WARNING
Electrolyte fluid can leak from a broken mirror. This fluid can cause
irritation to the skin, eyes, and respiratory organs. Wash thor-
oughly with clean water should you come into contact with this
fluid. Seek medical assistance if needed.
Caution
Electrolyte fluid leaking from a broken mirror can cause damage to
plastic surfaces. Use a sponge or similar to remove the fluid as soon
as possible.
Note
•
If you switch off the anti-dazzle function for the interior mirror,
this will also deactivate the anti-dazzle function for the exterior
mirrors.
•
The automatic anti-dazzle function will only work properly if the
sun blind* for the rear window is not in use and there are no other
objects preventing light from reaching the interior mirror.
•
Do not attach any stickers to the windscreen in front of the
sensors, as these could lead to malfunctioning of the mirror.
Fig. 68 Anti-dazzle
interior mirror: On/off
button with indicator
lamp
AA
AB
AA
AB
document_0900452a8179700c.book Seite 66 Donnerstag, 22. März 2007 10:19 10
Page 70 of 313
Lights and vision 68Applies to vehicles: with automatic anti-dazzle adjustment for exterior mirrorsAutomatic anti-dazzle adjustment for exterior mirrorsThe exterior mirrors darken together with the automatically
adjusting interior mirror. When the ignition is on, the mirrors will
darken automatically according to the amount of light received (for
example from the headlights of a vehicle behind).
When the interior lights are switched on, or when reverse gear is
engaged, the mirrors revert to their original (i.e. not darkened)
condition.
WARNING
Electrolyte fluid can leak from a broken mirror. This fluid can cause
irritation to the skin, eyes, and respiratory organs. Wash thor-
oughly with clean water should you come into contact with this
fluid. Seek medical assistance if needed.
Caution
Electrolyte fluid leaking from a broken mirror can cause damage to
the paintwork or plastic surfaces. Use a sponge or similar to remove
the fluid as soon as possible.
Note
•
If you switch off the anti-dazzle function for the interior mirror,
this will also deactivate the anti-dazzle function for the exterior
mirrors.
•
The automatic anti-dazzle function will only work properly if the
sun blind* for the rear window is not in use and there are no other
objects preventing light from reaching the interior mirror.
Digital compassApplies to vehicles: with digital compassActivating and deactivating the compass
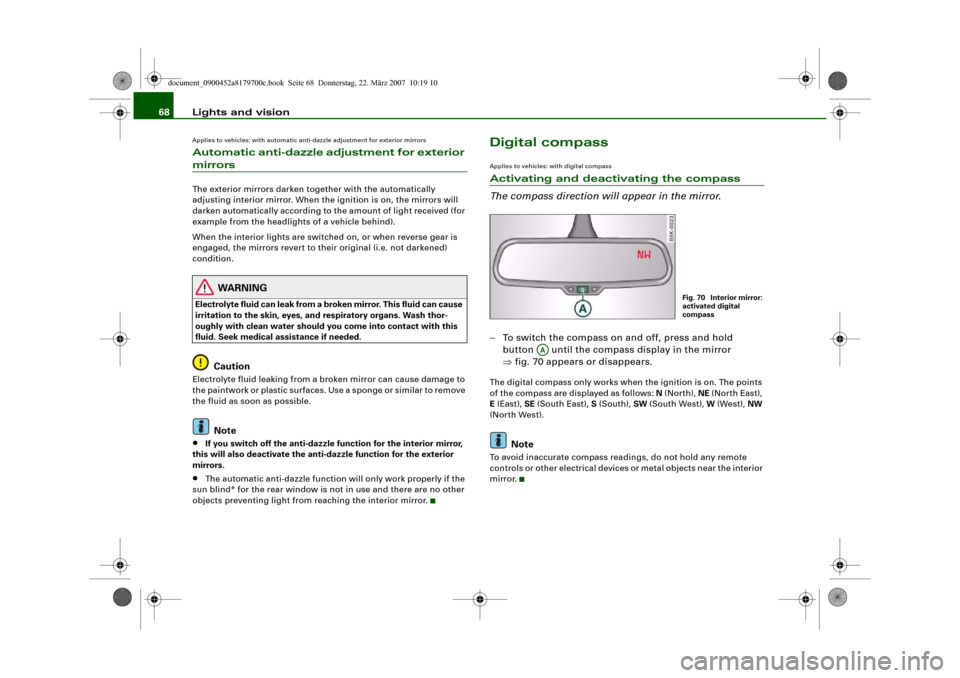
The compass direction will appear in the mirror.– To switch the compass on and off, press and hold
button until the compass display in the mirror
⇒fig. 70 appears or disappears.The digital compass only works when the ignition is on. The points
of the compass are displayed as follows: N (North), NE (North East),
E (East), SE (South East), S (South), SW (South West), W (West), NW
(North West).
Note
To avoid inaccurate compass readings, do not hold any remote
controls or other electrical devices or metal objects near the interior
mirror.
Fig. 70 Interior mirror:
activated digital
compass
AA
document_0900452a8179700c.book Seite 68 Donnerstag, 22. März 2007 10:19 10
Page 71 of 313
Lights and vision69
Controls
Safety
Driving tips
General maintenance
Self-help
Technical data
Applies to vehicles: with digital compassSetting the correct compass calibration zone
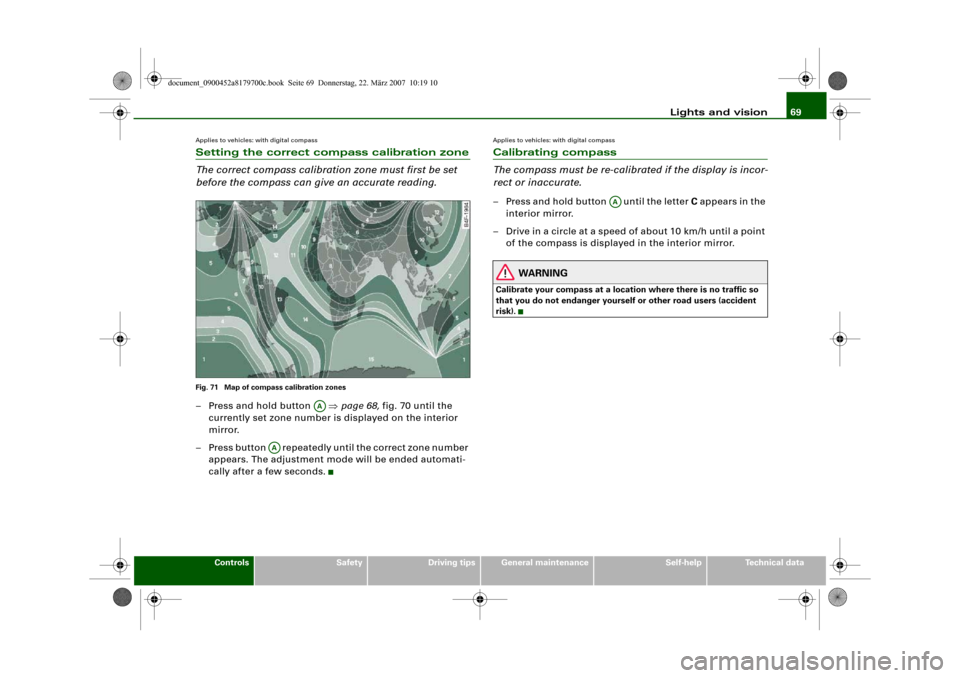
The correct compass calibration zone must first be set
before the compass can give an accurate reading.Fig. 71 Map of compass calibration zones– Press and hold button ⇒page 68, fig. 70 until the
currently set zone number is displayed on the interior
mirror.
– Press button repeatedly until the correct zone number
appears. The adjustment mode will be ended automati-
cally after a few seconds.
Applies to vehicles: with digital compassCalibrating compass
The compass must be re-calibrated if the display is incor-
rect or inaccurate.– Press and hold button until the letter C appears in the
interior mirror.
– Drive in a circle at a speed of about 10 km/h until a point
of the compass is displayed in the interior mirror.
WARNING
Calibrate your compass at a location where there is no traffic so
that you do not endanger yourself or other road users (accident
risk).
AA
AA
AA
document_0900452a8179700c.book Seite 69 Donnerstag, 22. März 2007 10:19 10
Page 118 of 313
Driving 116DrivingSteeringApplies to vehicles: with manually adjustable steering columnAdjusting the steering wheel position
The height and reach of the steering wheel can be
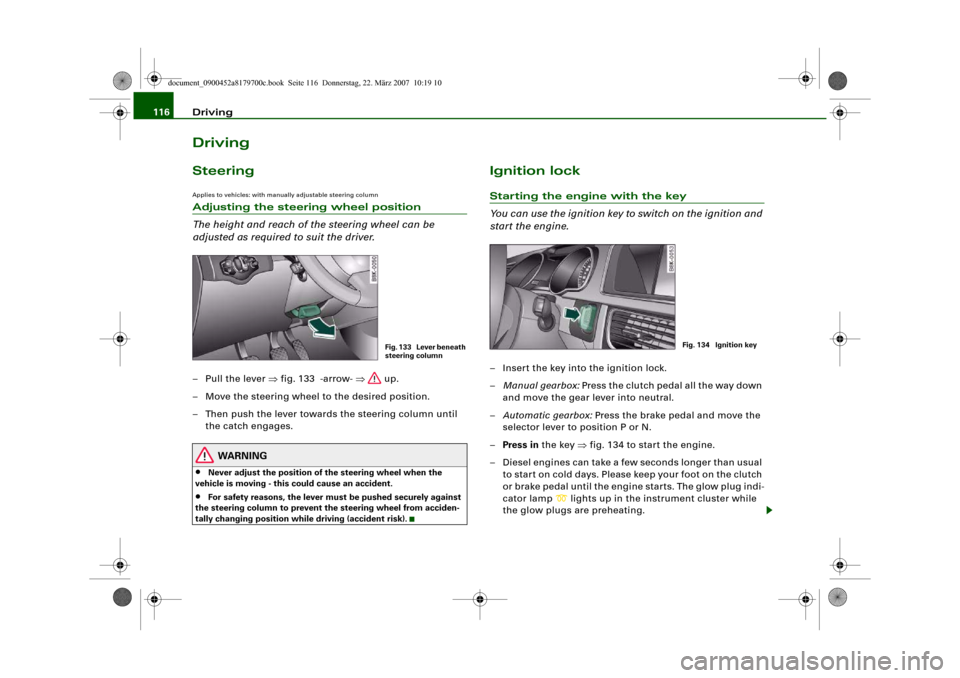
adjusted as required to suit the driver.– Pull the lever ⇒fig. 133 -arrow- ⇒ up.
– Move the steering wheel to the desired position.
– Then push the lever towards the steering column until
the catch engages.
WARNING
•
Never adjust the position of the steering wheel when the
vehicle is moving - this could cause an accident.
•
For safety reasons, the lever must be pushed securely against
the steering column to prevent the steering wheel from acciden-
tally changing position while driving (accident risk).
Ignition lockStarting the engine with the key
You can use the ignition key to switch on the ignition and
start the engine.– Insert the key into the ignition lock.
–Manual gearbox: Press the clutch pedal all the way down
and move the gear lever into neutral.
–Automatic gearbox: Press the brake pedal and move the
selector lever to position P or N.
–Press in the key ⇒fig. 134 to start the engine.
– Diesel engines can take a few seconds longer than usual
to star t on cold days. Please keep your foot on the clutch
or brake pedal until the engine starts. The glow plug indi-
cator lamp
lights up in the instrument cluster while
the glow plugs are preheating.
Fig. 133 Lever beneath
steering column
Fig. 134 Ignition key
document_0900452a8179700c.book Seite 116 Donnerstag, 22. März 2007 10:19 10
Page 121 of 313
Driving119
Controls
Safety
Driving tips
General maintenance
Self-help
Technical data
–Manual gearbox: Press the clutch pedal all the way down
and move the gear lever into neutral.
–Automatic gearbox: Press the brake pedal and move the
selector lever to position P or N ⇒.
–Press the Start/Stop button ⇒page 118, fig. 135 to start
the engine.
– Diesel engines can take a few seconds longer than usual
to star t on cold days. Please keep your foot on the clutch
or brake pedal until the engine starts. The glow plug indi-
cator lamp
lights up in the instrument cluster while
the glow plugs are preheating.
If you press the Start/Stop button without pressing the clutch or
brake pedal, the ignition will be switched on (and will be switched
off if you press the button again). Diesel engines are preheated
when the ignition is switched on.
If the engine fails to start straight-away, switch off the starter after
about 10 seconds and try again after about half a minute.
When starting from cold the engine may be a little noisy for the first
few seconds until oil pressure has built up in the hydraulic tappets.
This is quite normal and no cause for concern.
Driving away from a standstill
On some vehicles, the engine revs are automatically increased
slightly as soon as you release the clutch. This helps you drive off
more smoothly.
Driver message in the instrument cluster display
No key identified
This message appears when you press the Start/Stop button if there
is no remote control key inside the vehicle or if the system cannot
detect or identify the key. This can happen, for example, if the radio
signal from the key is obstructed by a metal briefcase or similar. Electronic equipment, such as mobile phones, can also interfere
with the radio signal from the key.
Press brake pedal to start engine
This message appears on automatic vehicles if you press the
Start/Stop button to start the engine without first pressing the
brake pedal. The engine will only start if you press the brake pedal.
Press clutch pedal to start engine
This message appears on manual vehicles if you press the
Start/Stop button to start the engine without first pressing the
clutch pedal. The engine will only star t if you press the clutch pedal.
Engage N or P to start engine
This message will appear if you try to start the engine when the
selector lever of the automatic gearbox is not in P or N. The engine
can only be started if the selector lever is in one of these positions.
Key not in vehicle
This message will appear together with the symbol
if the remote
control key is removed from the vehicle while the engine is running.
This is to remind you not to continue driving without the key (for
example if you change drivers).
If the remote control key is not in the vehicle you will not be able to
switch on the ignition or restart the engine after it has been
switched off. Without the key, you will also not be able to lock the
vehicle from the outside.
Shift to P, otherwise vehicle can roll away. Doors do not lock if lever
is not in P. or Please move selector lever to position P. Vehicle
cannot be locked.
For safety reasons, this message will appear and a warning buzzer
will sound if the selector lever of the automatic gearbox is not in
position P when you switch off the ignition with the Start/Stop
button. Put the selector lever in position P; otherwise the vehicle
can roll away. If the lever is not in position P you will not be able to
document_0900452a8179700c.book Seite 119 Donnerstag, 22. März 2007 10:19 10
Page 124 of 313
Driving 122a fault in the parking brake. Have the fault repaired by a qualified
workshop without delay ⇒page 31.
Note
•
The parking brake can be applied at any time - even when the
ignition is switched off. However, the ignition must be switched on
before the parking brake can be released.
•
Any slight noise which may be heard when the parking brake is
applied or released is quite normal and no cause for concern.
•
The parking brake runs an automatic test cycle at regular inter-
vals when the vehicle is parked. This may also cause a slight noise,
which is normal.
Parking
Please note the following points to ensure there is no risk
of the car rolling away accidentally after it is parked.Parking t he c ar
– Use the foot brake to stop the vehicle.
– Pull the switch to apply the parking brake.
– Automatic gearbox: Move the selector lever to P.
– Switch off the engine ⇒.
– Manual gearbox: Engage the first gear.
When parking on slopes
– Turn the steering wheel so that the vehicle would roll into
the kerb if it did start to move accidentally.
WARNING
•
Always take the key with you when leaving the vehicle – even
if you only intend to be gone for a short time. This is especially
important if children are left in the car. They might otherwise be
able to start the engine, release the parking brake or use power-
operated equipment such as the electric windows - this could lead
to injuries.
•
Do not leave anyone (especially children) in the vehicle when it
is locked. Locked doors could delay assistance in an emergency,
potentially putting lives at risk.
Driving away from a standstill
The parking brake auto release function releases the
parking brake automatically when you wish to start
moving.Applying the parking brake when stopping
– Pull the switch to apply the parking brake.
Releasing the parking brake when driving away
– Drive off in the normal way: the parking brake will be
released automatically and the vehicle will start moving.On vehicles with automatic gearbox, you can apply the parking
brake when stopping at traffic lights, etc. Then you do not have to
hold the car with the footbrake, as the parking brake will stop it
creeping forward while a gear is engaged in the automatic transmis-
sion. When you drive off in the normal way, the parking brake will be
released automatically and the vehicle will start moving.
Driving away on a slope
When driving away on a gradient, the parking brake auto release
function prevents the vehicle from rolling back unintentionally. The
document_0900452a8179700c.book Seite 122 Donnerstag, 22. März 2007 10:19 10