2008 AUDI A4 lock
[x] Cancel search: lockPage 83 of 342
Seats and storage81
Controls
Safety
Driving tips
General maintenance
Self-help
Technical data
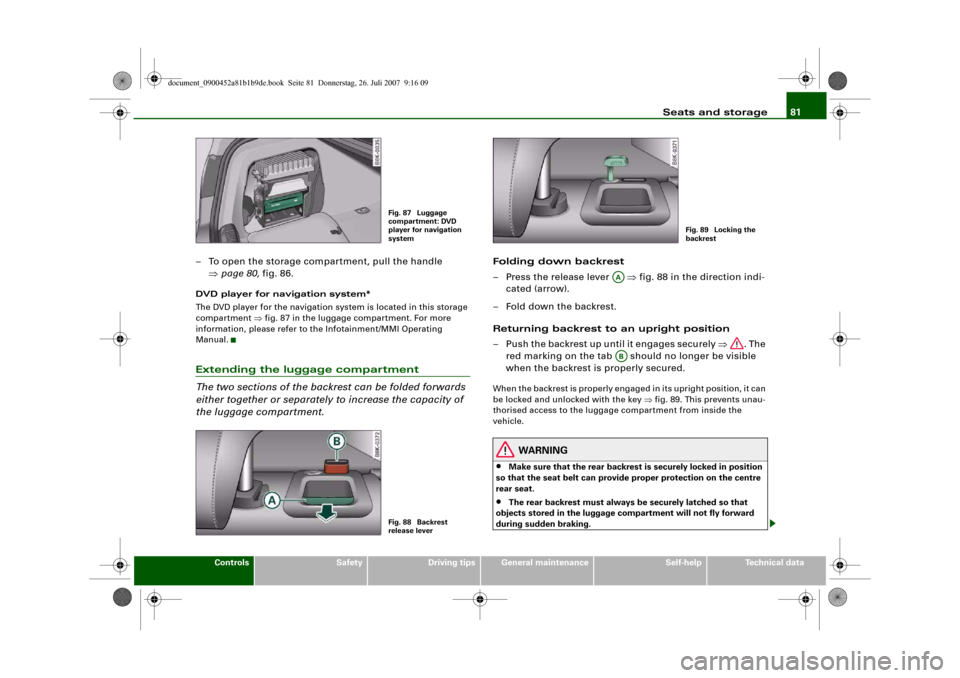
– To open the storage compartment, pull the handle
⇒page 80, fig. 86.DVD player for navigation system*
The DVD player for the navigation system is located in this storage
compartment ⇒fig. 87 in the luggage compartment. For more
information, please refer to the Infotainment/MMI Operating
Manual.Extending the luggage compartment
The two sections of the backrest can be folded forwards
either together or separately to increase the capacity of
the luggage compartment.
Folding down backrest
– Press the release lever ⇒fig. 88 in the direction indi-
cated (arrow).
– Fold down the backrest.
Returning backrest to an upright position
– Push the backrest up until it engages securely ⇒. The
red marking on the tab should no longer be visible
when the backrest is properly secured.When the backrest is properly engaged in its upright position, it can
be locked and unlocked with the key ⇒fig. 89. This prevents unau-
thorised access to the luggage compartment from inside the
vehicle.
WARNING
•
Make sure that the rear backrest is securely locked in position
so that the seat belt can provide proper protection on the centre
rear seat.
•
The rear backrest must always be securely latched so that
objects stored in the luggage compartment will not fly forward
during sudden braking.
Fig. 87 Luggage
compartment: DVD
player for navigation
systemFig. 88 Backrest
release lever
Fig. 89 Locking the
backrest
AAAB
document_0900452a81b1b9de.book Seite 81 Donnerstag, 26. Juli 2007 9:16 09
Page 92 of 342
Seats and storage 90•
If the power drawn by the connected appliances is above 150 W,
the inverter in the socket will get warm. The inverter will trip out if
the temperature exceeds a certain limit. The inverter can trip out on
hot days even when an appliance with a suitable power rating is
used. The inverter will switch on again automatically after it has
cooled down. Appliances which are already connected and
switched on will be activated again automatically ⇒.
•
Do not connect lamps which contain a neon tube. For technical
reasons, this may damage the lamp.
•
Do not connect 115 Volt appliances to the 230 Volt Euro socket.
This may cause irreparable damage to the appliance. Check the type
plate on the appliance if you are unsure of the voltage rating.
•
With some power supplies (e.g. on laptop computers), the inte-
grated surge suppressor prevents the equipment from being
switched on because the starting current is too high. If this
happens, please disconnect the power supply unit from the load
and wait for about 10 seconds before re-connecting.Note
•
Unshielded equipment can cause interference on the radio, TV
and vehicle's electrical system.
•
The Euro socket has an integrated child safety device. There is no
power at the socket until the Euro connector is fully inserted.
•
Some appliances may not function normally due to the lower
power rating (wattage).
•
The socket can be operated with 115 Volt power supplies, as is
the case in certain countries. In this case, a different type of inverter
must be installed in the vehicle. Retrofit kits are available from your
Audi dealer. Do not connect 115 Volt appliances to the 230 Volt Euro
socket.
•
Interference can occur on the radio's AM waveband if electrical
appliances are used near the rear window aerial.
Storage compartmentsOverview
There are several storage compartments at various points
in the vehicle.Glove box
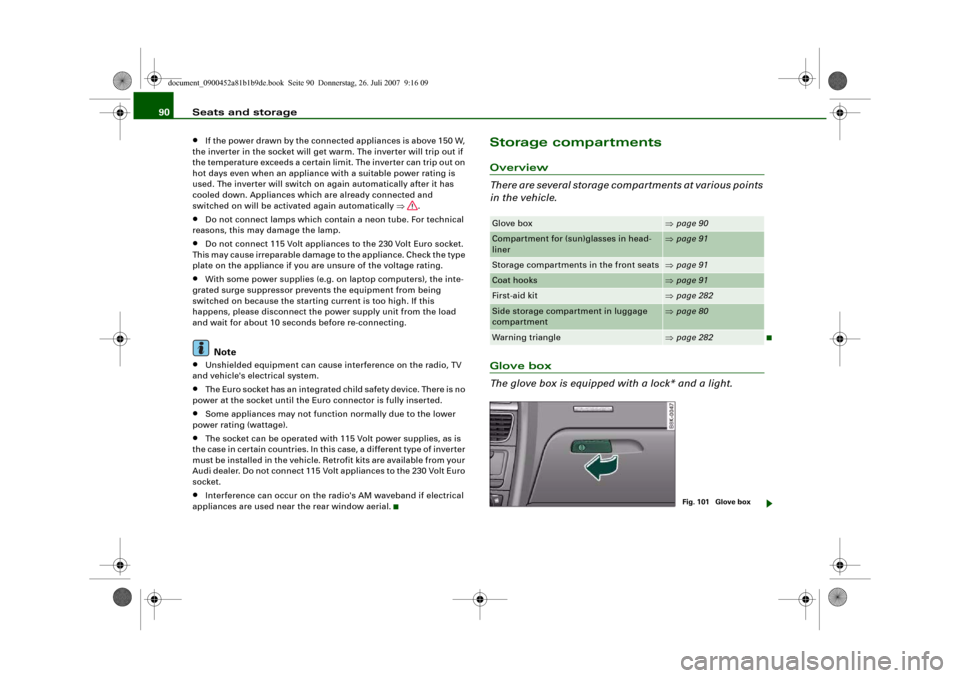
The glove box is equipped with a lock* and a light.Glove box
⇒page 90
Compartment for (sun)glasses in head-
liner
⇒page 91
Storage compartments in the front seats
⇒page 91
Coat hooks
⇒page 91
First-aid kit
⇒page 282
Side storage compartment in luggage
compartment
⇒page 80
Warning triangle
⇒page 282
Fig. 101 Glove box
document_0900452a81b1b9de.book Seite 90 Donnerstag, 26. Juli 2007 9:16 09
Page 98 of 342
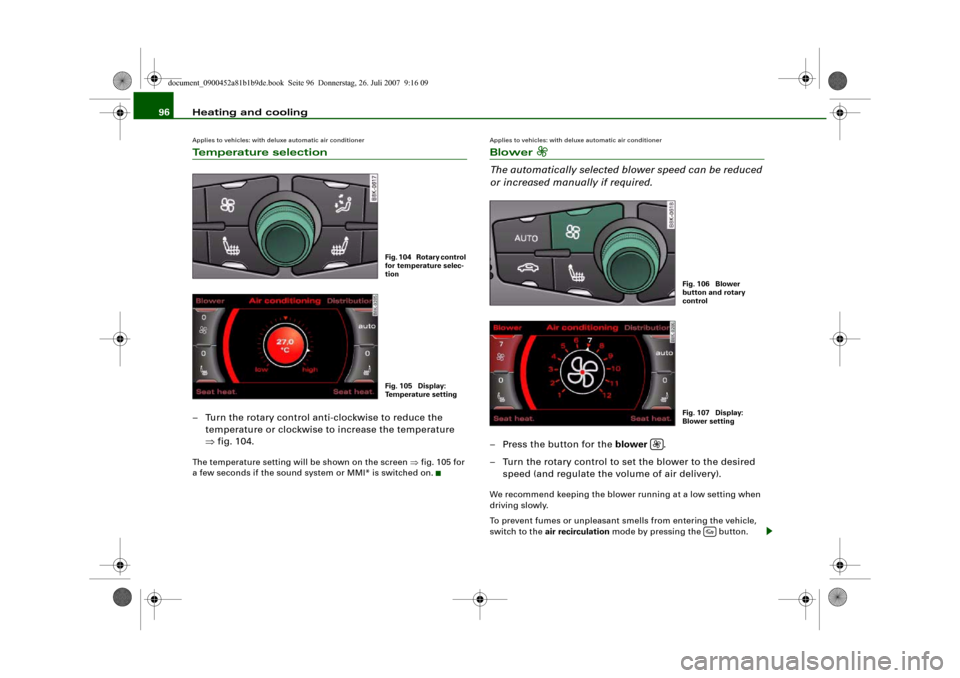
Heating and cooling 96Applies to vehicles: with deluxe automatic air conditionerTemperature selection– Turn the rotary control anti-clockwise to reduce the
temperature or clockwise to increase the temperature
⇒fig. 104.The temperature setting will be shown on the screen ⇒fig. 105 for
a few seconds if the sound system or MMI* is switched on.
Applies to vehicles: with deluxe automatic air conditionerBlower
The automatically selected blower speed can be reduced
or increased manually if required.– Press the button for the blower .
– Turn the rotary control to set the blower to the desired
speed (and regulate the volume of air delivery).We recommend keeping the blower running at a low setting when
driving slowly.
To prevent fumes or unpleasant smells from entering the vehicle,
switch to the air recirculation mode by pressing the button.
Fig. 104 Rotary control
for temperature selec-
tionFig. 105 Display:
Temperature setting
Fig. 106 Blower
button and rotary
controlFig. 107 Display:
Blower setting
document_0900452a81b1b9de.book Seite 96 Donnerstag, 26. Juli 2007 9:16 09
Page 106 of 342
Heating and cooling 104interior temperature as quickly as possible, and then to maintain
this temperature. The system automatically compensates for any
variations in the outside temperature and for the effect of direct
sunlight.
The automatic temperature regulation only operates at temperature
settings between +16 °C and +28 °C. If a temperature below +16 °C
is selected, LO appears on the display. If a temperature above +28 °C
is selected, the display will show HI. In the two extreme settings the
air conditioner operates continuously with maximum cooling or
heating output, and the temperature is not regulated
automatically.Applies to vehicles: with deluxe automatic air conditioner plusTemperature selection
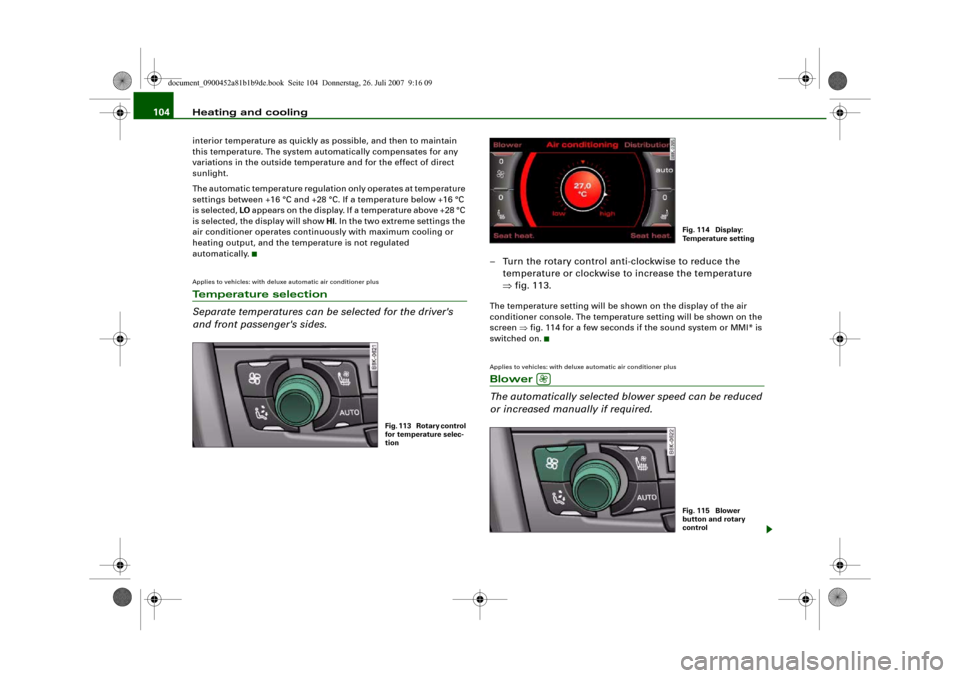
Separate temperatures can be selected for the driver's
and front passenger's sides.
– Turn the rotary control anti-clockwise to reduce the
temperature or clockwise to increase the temperature
⇒fig. 113.The temperature setting will be shown on the display of the air
conditioner console. The temperature setting will be shown on the
screen ⇒fig. 114 for a few seconds if the sound system or MMI* is
switched on.Applies to vehicles: with deluxe automatic air conditioner plusBlower
The automatically selected blower speed can be reduced
or increased manually if required.
Fig. 113 Rotary control
for temperature selec-
tion
Fig. 114 Display:
Te m p e r a t u r e s e t t i n g
Fig. 115 Blower
button and rotary
control
document_0900452a81b1b9de.book Seite 104 Donnerstag, 26. Juli 2007 9:16 09
Page 113 of 342
Heating and cooling111
Controls
Safety
Driving tips
General maintenance
Self-help
Technical data
Note
•
It is advisable to open the air outlets when using the auxiliary
heating/ventilation.
•
The auxiliary heating/ventilation will not switch on if the fuel in
the tank has reached the reserve zone.
•
The auxiliary heating/ventilation will not switch on if the battery
charge level is low.
•
The symbols
(auxiliary ventilation) or
(auxiliary heating)
flash in the instrument cluster next to the clock display when the
auxiliary heating/ventilation is switched on. Both symbols light
continuously when the timer is activated.
•
At low outside temperatures some visible water vapour may
form in the engine compartment. This is a normal phenomenon,
and no reason for concern.
Applies to vehicles: with auxiliary heating - under development at the time of printingSwitching on/off immediately
You can switch the auxiliary heating/ventilation on and
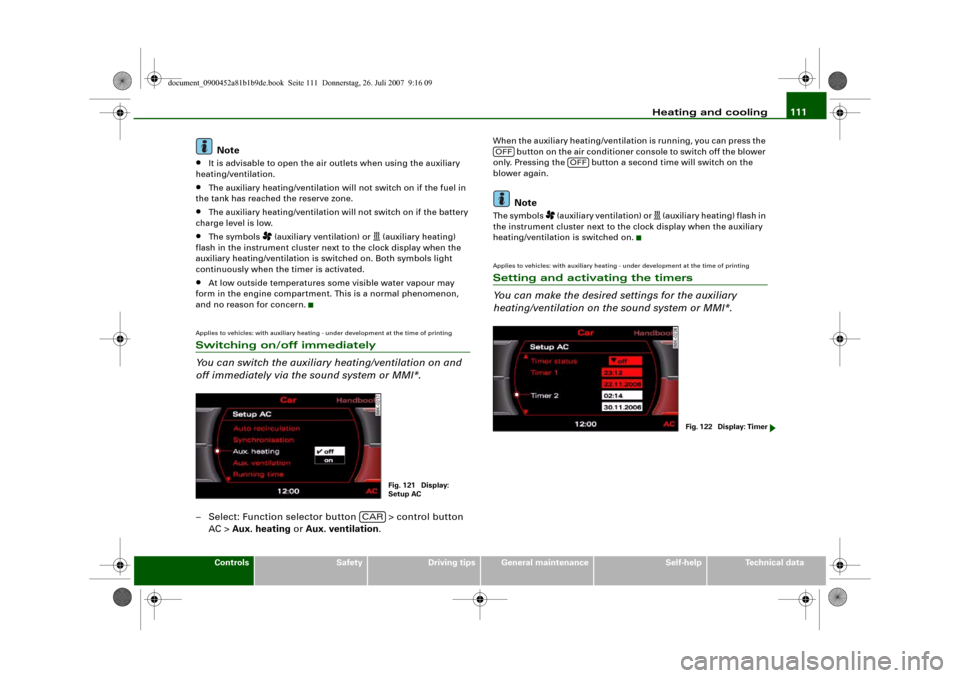
off immediately via the sound system or MMI*.– Select: Function selector button > control button
AC > Aux. heating or Aux. ventilation.
When the auxiliary heating/ventilation is running, you can press the
button on the air conditioner console to switch off the blower
only. Pressing the button a second time will switch on the
blower again.
Note
The symbols
(auxiliary ventilation) or
(auxiliary heating) flash in
the instrument cluster next to the clock display when the auxiliary
heating/ventilation is switched on.
Applies to vehicles: with auxiliary heating - under development at the time of printingSetting and activating the timers
You can make the desired settings for the auxiliary
heating/ventilation on the sound system or MMI*.
Fig. 121 Display:
Setup AC
CAR
OFF
OFF
Fig. 122 Display: Timer
document_0900452a81b1b9de.book Seite 111 Donnerstag, 26. Juli 2007 9:16 09
Page 116 of 342
Heating and cooling 114Transmitting range
The range of the remote control transmitter is about 600 metres.
However, this can be greatly reduced by obstacles (buildings, etc.)
between the remote control transmitter and the vehicle. Hold the
aerial upright when using the remote control.
You should not normally use the remote control at a distance of less
than 3 metres from the vehicle. If you are closer than this, or if you
use the remote control inside the vehicle, this can cause signal over-
load.
For the sake of the environment
Please dispose of old batteries in the proper manner so that they do
not harm the environment.Seat heatingApplies to vehicles: with front seat heating/ventilationSeat heating / ventilation
The seat cushions and backrests of the front seats can be
heated and ventilated* electrically.
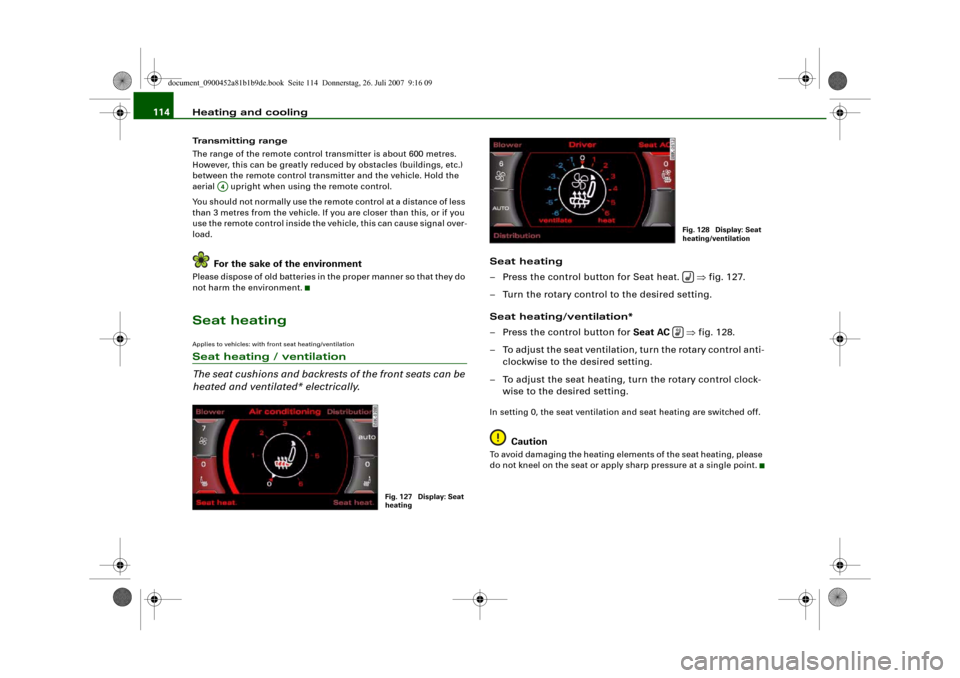
Seat heating
– Press the control button for Seat heat. ⇒fig. 127.
– Turn the rotary control to the desired setting.
Seat heating/ventilation*
– Press the control button for Seat AC ⇒fig. 128.
– To adjust the seat ventilation, turn the rotary control anti-
clockwise to the desired setting.
– To adjust the seat heating, turn the rotary control clock-
wise to the desired setting.In setting 0, the seat ventilation and seat heating are switched off.
Caution
To avoid damaging the heating elements of the seat heating, please
do not kneel on the seat or apply sharp pressure at a single point.
A4
Fig. 127 Display: Seat
heating
Fig. 128 Display: Seat
heating/ventilation
document_0900452a81b1b9de.book Seite 114 Donnerstag, 26. Juli 2007 9:16 09
Page 118 of 342
Driving 116DrivingSteeringApplies to vehicles: with manually adjustable steering columnAdjusting the steering wheel position
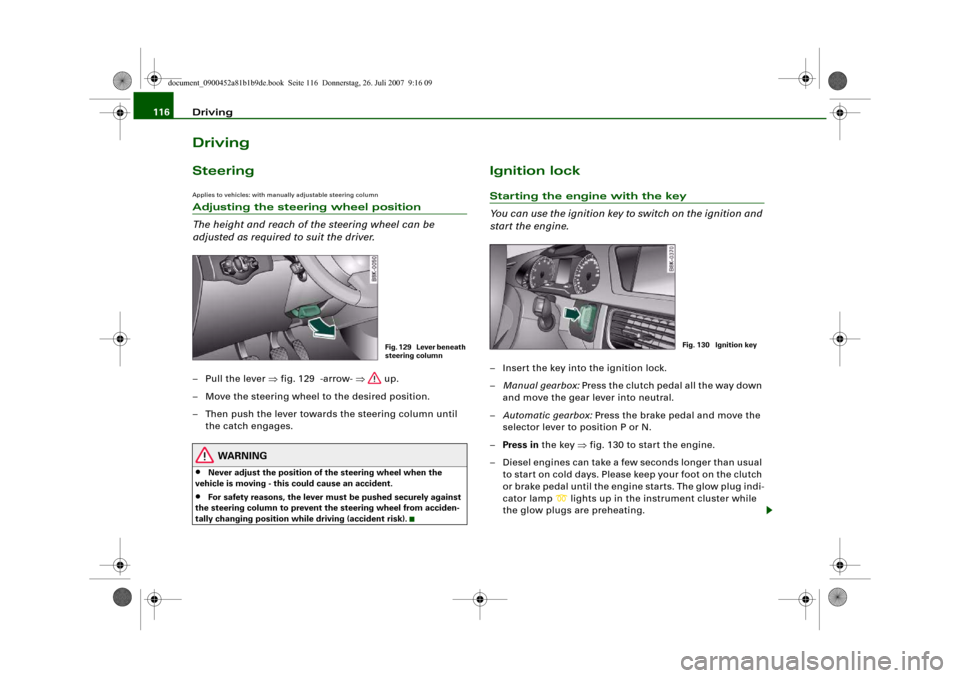
The height and reach of the steering wheel can be
adjusted as required to suit the driver.– Pull the lever ⇒fig. 129 -arrow- ⇒ up.
– Move the steering wheel to the desired position.
– Then push the lever towards the steering column until
the catch engages.
WARNING
•
Never adjust the position of the steering wheel when the
vehicle is moving - this could cause an accident.
•
For safety reasons, the lever must be pushed securely against
the steering column to prevent the steering wheel from acciden-
tally changing position while driving (accident risk).
Ignition lockStarting the engine with the key
You can use the ignition key to switch on the ignition and
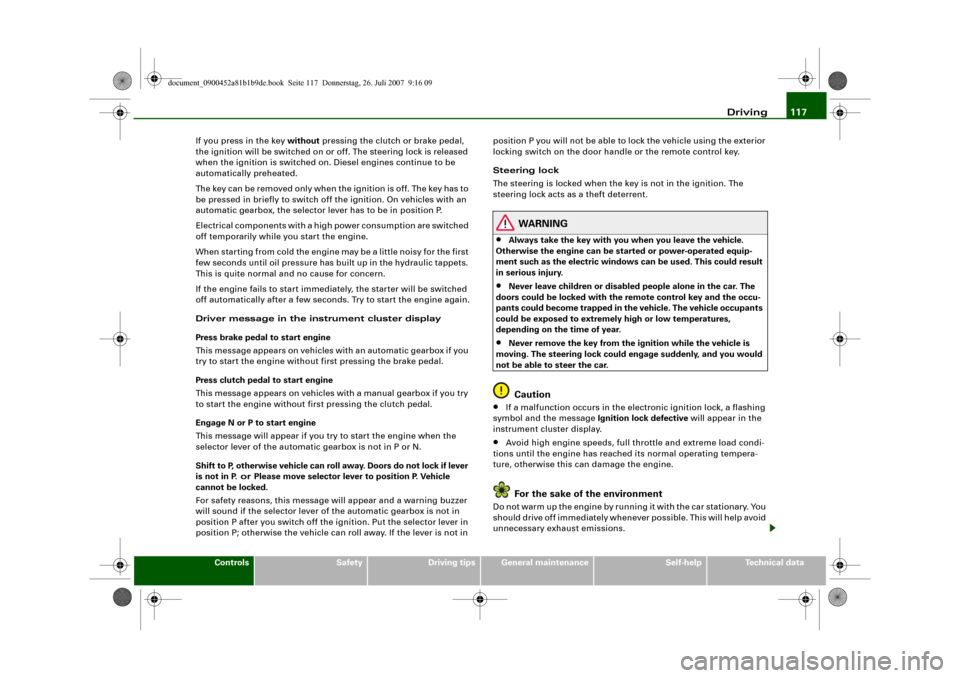
start the engine.– Insert the key into the ignition lock.
–Manual gearbox: Press the clutch pedal all the way down
and move the gear lever into neutral.
–Automatic gearbox: Press the brake pedal and move the
selector lever to position P or N.
–Press in the key ⇒fig. 130 to start the engine.
– Diesel engines can take a few seconds longer than usual
to star t on cold days. Please keep your foot on the clutch
or brake pedal until the engine starts. The glow plug indi-
cator lamp
lights up in the instrument cluster while
the glow plugs are preheating.
Fig. 129 Lever beneath
steering column
Fig. 130 Ignition key
document_0900452a81b1b9de.book Seite 116 Donnerstag, 26. Juli 2007 9:16 09
Page 119 of 342
Driving117
Controls
Safety
Driving tips
General maintenance
Self-help
Technical data If you press in the key without pressing the clutch or brake pedal,
the ignition will be switched on or off. The steering lock is released
when the ignition is switched on. Diesel engines continue to be
automatically preheated.
The key can be removed only when the ignition is off. The key has to
be pressed in briefly to switch off the ignition. On vehicles with an
automatic gearbox, the selector lever has to be in position P.
Electrical components with a high power consumption are switched
off temporarily while you start the engine.
When starting from cold the engine may be a little noisy for the first
few seconds until oil pressure has built up in the hydraulic tappets.
This is quite normal and no cause for concern.
If the engine fails to start immediately, the starter will be switched
off automatically after a few seconds. Try to start the engine again.
Driver message in the instrument cluster display
Press brake pedal to start engine
This message appears on vehicles with an automatic gearbox if you
try to start the engine without first pressing the brake pedal.
Press clutch pedal to start engine
This message appears on vehicles with a manual gearbox if you try
to start the engine without first pressing the clutch pedal.
Engage N or P to start engine
This message will appear if you try to start the engine when the
selector lever of the automatic gearbox is not in P or N.
Shift to P, otherwise vehicle can roll away. Doors do not lock if lever
is not in P. or Please move selector lever to position P. Vehicle
cannot be locked.
For safety reasons, this message will appear and a warning buzzer
will sound if the selector lever of the automatic gearbox is not in
position P after you switch off the ignition. Put the selector lever in
position P; otherwise the vehicle can roll away. If the lever is not in position P you will not be able to lock the vehicle using the exterior
locking switch on the door handle or the remote control key.
Steering lock
The steering is locked when the key is not in the ignition. The
steering lock acts as a theft deterrent.
WARNING
•
Always take the key with you when you leave the vehicle.
Otherwise the engine can be started or power-operated equip-
ment such as the electric windows can be used. This could result
in serious injury.
•
Never leave children or disabled people alone in the car. The
doors could be locked with the remote control key and the occu-
pants could become trapped in the vehicle. The vehicle occupants
could be exposed to extremely high or low temperatures,
depending on the time of year.
•
Never remove the key from the ignition while the vehicle is
moving. The steering lock could engage suddenly, and you would
not be able to steer the car.Caution
•
If a malfunction occurs in the electronic ignition lock, a flashing
symbol and the message Ignition lock defective will appear in the
instrument cluster display.
•
Avoid high engine speeds, full throttle and extreme load condi-
tions until the engine has reached its normal operating tempera-
ture, otherwise this can damage the engine.For the sake of the environment
Do not warm up the engine by running it with the car stationary. You
should drive off immediately whenever possible. This will help avoid
unnecessary exhaust emissions.
document_0900452a81b1b9de.book Seite 117 Donnerstag, 26. Juli 2007 9:16 09