2008 AUDI A4 ECO mode
[x] Cancel search: ECO modePage 111 of 342
Heating and cooling109
Controls
Safety
Driving tips
General maintenance
Self-help
Technical data
Deluxe automatic air conditioner plus
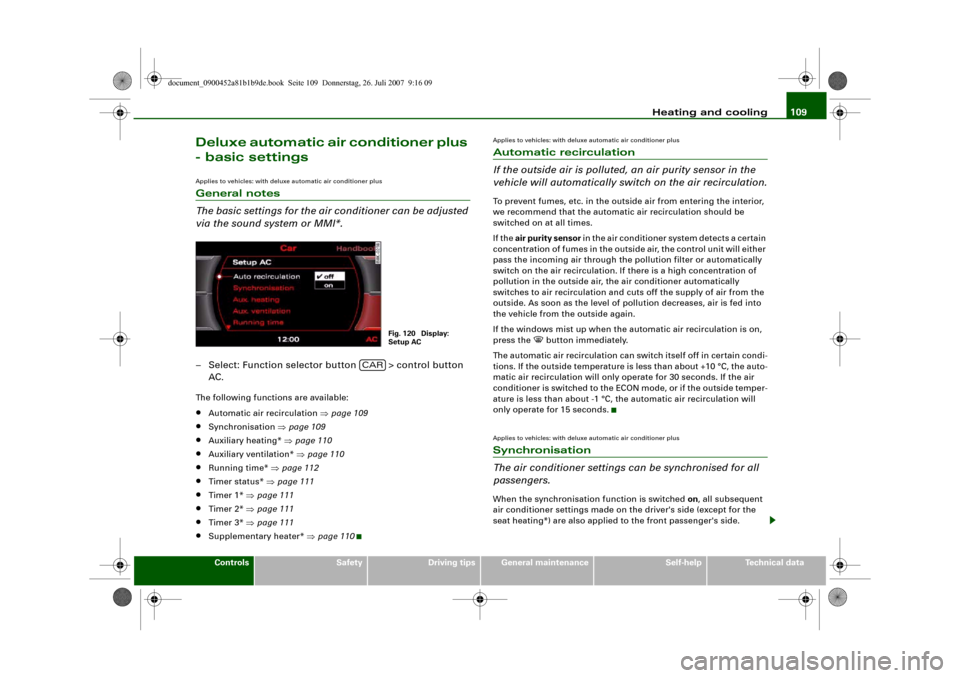
- basic settingsApplies to vehicles: with deluxe automatic air conditioner plusGeneral notes
The basic settings for the air conditioner can be adjusted
via the sound system or MMI*.– Select: Function selector button > control button
AC.The following functions are available:•
Automatic air recirculation ⇒page 109
•
Synchronisation ⇒page 109
•
Auxiliary heating* ⇒page 110
•
Auxiliary ventilation* ⇒page 110
•
Running time* ⇒page 112
•
Timer status* ⇒page 111
•
Timer 1* ⇒page 111
•
Timer 2* ⇒page 111
•
Timer 3* ⇒page 111
•
Supplementary heater* ⇒page 110
Applies to vehicles: with deluxe automatic air conditioner plusAutomatic recirculation
If the outside air is polluted, an air purity sensor in the
vehicle will automatically switch on the air recirculation.To prevent fumes, etc. in the outside air from entering the interior,
we recommend that the automatic air recirculation should be
switched on at all times.
If the air purity sensor in the air conditioner system detects a certain
concentration of fumes in the outside air, the control unit will either
pass the incoming air through the pollution filter or automatically
switch on the air recirculation. If there is a high concentration of
pollution in the outside air, the air conditioner automatically
switches to air recirculation and cuts off the supply of air from the
outside. As soon as the level of pollution decreases, air is fed into
the vehicle from the outside again.
If the windows mist up when the automatic air recirculation is on,
press the
button immediately.
The automatic air recirculation can switch itself off in certain condi-
tions. If the outside temperature is less than about +10 °C, the auto-
matic air recirculation will only operate for 30 seconds. If the air
conditioner is switched to the ECON mode, or if the outside temper-
ature is less than about -1 °C, the automatic air recirculation will
only operate for 15 seconds.
Applies to vehicles: with deluxe automatic air conditioner plusSynchronisation
The air conditioner settings can be synchronised for all
passengers.When the synchronisation function is switched on, all subsequent
air conditioner settings made on the driver's side (except for the
seat heating*) are also applied to the front passenger's side.
Fig. 120 Display:
Setup AC
CAR
document_0900452a81b1b9de.book Seite 109 Donnerstag, 26. Juli 2007 9:16 09
Page 135 of 342

adaptive cruise control (ACC)133
Controls
Safety
Driving tips
General maintenance
Self-help
Technical data
Applies to vehicles: with adaptive cruise controlSetting the distance
The distance can be set in 4 different stages.– Briefly press the sliding switch ⇒fig. 142 once towards
or . The display in the instrument cluster will briefly
show the current distance setting.
– Press the sliding switch again towards or to
increase or reduce the distance by one level at a time.Choosing the distance
The adaptive cruise control system determines the distance to the
vehicle in front by time intervals. It defines a time-based distance to
the vehicle in front which is kept at a constant level. This converts
to a distance which depends on the speed - the higher the speed,
the higher the safety distance in metres ⇒.
The actual distance maintained by the adaptive cruise control can
be longer or shorter, depending on the traffic situation and the
driving style of the driver in front.
Distance 1
This setting is suitable for brisk driving in a line of traffic. The time
interval is 1 second. This is equivalent to (for instance):•
A distance of 14 metres at a speed of 50 km/h
•
A distance of 36 metres at a speed of 130 km/h
Distance 2
This setting is suitable for relaxed “moving with the flow” in a line
of traffic. The time interval is 1.3 seconds. This is equivalent to (for
instance):•
A distance of 18 metres at a speed of 50 km/h
•
A distance of 47 metres at a speed of 130 km/h
Distance 3
This (recommended) setting is suitable for relaxed “moving with the
flow” in a line of traffic. The time interval is 1.8 seconds. This is
equivalent to (for instance):•
A distance of 25 metres at a speed of 50 km/h
•
A distance of 65 metres at a speed of 130 km/h
Distance 4
This setting is suitable for single-carriageway roads. The time
interval is 2.3 seconds. This is equivalent to (for instance):•
A distance of 32 metres at a speed of 50 km/h
•
A distance of 83 metres at a speed of 130 km/h
You can control the acceleration and braking response of your
vehicle in adaptive cruise control mode by adjusting the settings on
the sound system or MMI* ⇒page 139. Depending on the driving
program and distance selected, acceleration and braking response
will range from dynamic (1) to relaxed (5).
Fig. 142 Control lever
for: Setting the
distance
A+
A-
A+
A-
Driving pro-
gram
dynamic
standard
comfort
Distance 1
1
2
3
Distance 2
2
3
4
Distance 3
2
3
4
Distance 4
3
4
5
document_0900452a81b1b9de.book Seite 133 Donnerstag, 26. Juli 2007 9:16 09
Page 138 of 342
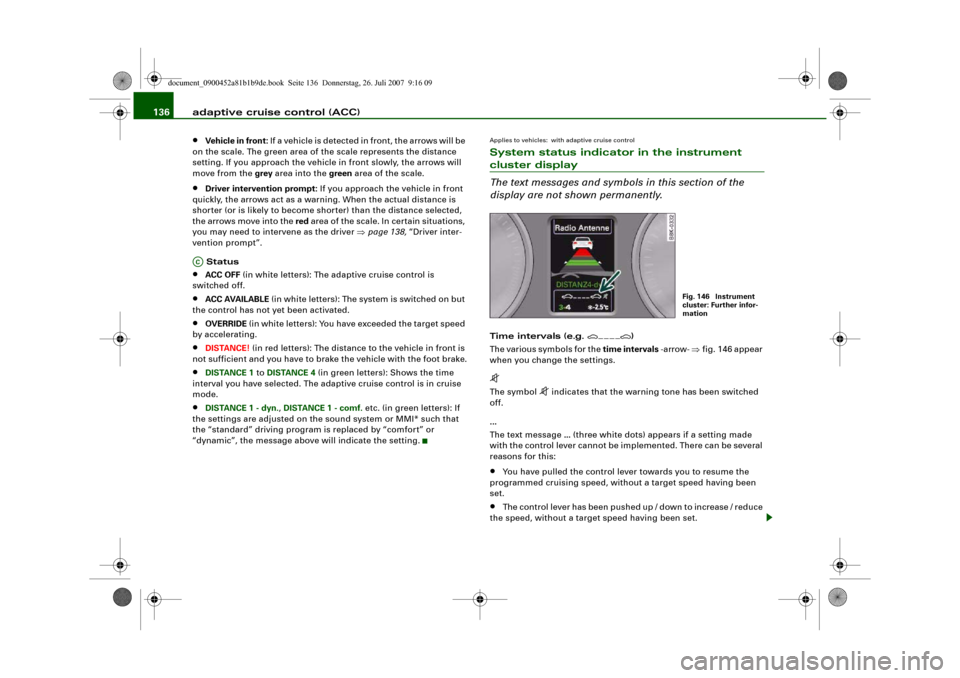
adaptive cruise control (ACC) 136•
Vehicle in front: If a vehicle is detected in front, the arrows will be
on the scale. The green area of the scale represents the distance
setting. If you approach the vehicle in front slowly, the arrows will
move from the grey area into the green area of the scale.
•
Driver intervention prompt: If you approach the vehicle in front
quickly, the arrows act as a warning. When the actual distance is
shorter (or is likely to become shorter) than the distance selected,
the arrows move into the red area of the scale. In certain situations,
you may need to intervene as the driver ⇒page 138, “Driver inter-
vention prompt”.
Status
•
ACC OFF (in white letters): The adaptive cruise control is
switched off.
•
ACC AVAILABLE (in white letters): The system is switched on but
the control has not yet been activated.
•
OVERRIDE (in white letters): You have exceeded the target speed
by accelerating.
•
DISTANCE! (in red letters): The distance to the vehicle in front is
not sufficient and you have to brake the vehicle with the foot brake.
•
DISTANCE 1 to DISTANCE 4 (in green letters): Shows the time
interval you have selected. The adaptive cruise control is in cruise
mode.
•
DISTANCE 1 - dyn., DISTANCE 1 - comf. etc. (in green letters): If
the settings are adjusted on the sound system or MMI* such that
the “standard” driving program is replaced by “comfort” or
“dynamic”, the message above will indicate the setting.
Applies to vehicles: with adaptive cruise controlSystem status indicator in the instrument cluster display
The text messages and symbols in this section of the
display are not shown permanently.Time intervals (e.g.
)
The various symbols for the time intervals -arrow- ⇒fig. 146 appear
when you change the settings.
The symbol
indicates that the warning tone has been switched
off.
...
The text message ... (three white dots) appears if a setting made
with the control lever cannot be implemented. There can be several
reasons for this:
•
You have pulled the control lever towards you to resume the
programmed cruising speed, without a target speed having been
set.
•
The control lever has been pushed up / down to increase / reduce
the speed, without a target speed having been set.
AC
Fig. 146 Instrument
cluster: Further infor-
mation
document_0900452a81b1b9de.book Seite 136 Donnerstag, 26. Juli 2007 9:16 09
Page 157 of 342
Audi side assist155
Controls
Safety
Driving tips
General maintenance
Self-help
Technical data quickly. The warning lamp on the exterior mirror does not light up
⇒ in “Safety notes” on page 157.
Warning lamp on exterior mirror does not light up
If you operate the turn signal in situation , the warning lamp on
the exterior mirror will still not give any warning ⇒ in “Safety
notes” on page 157.
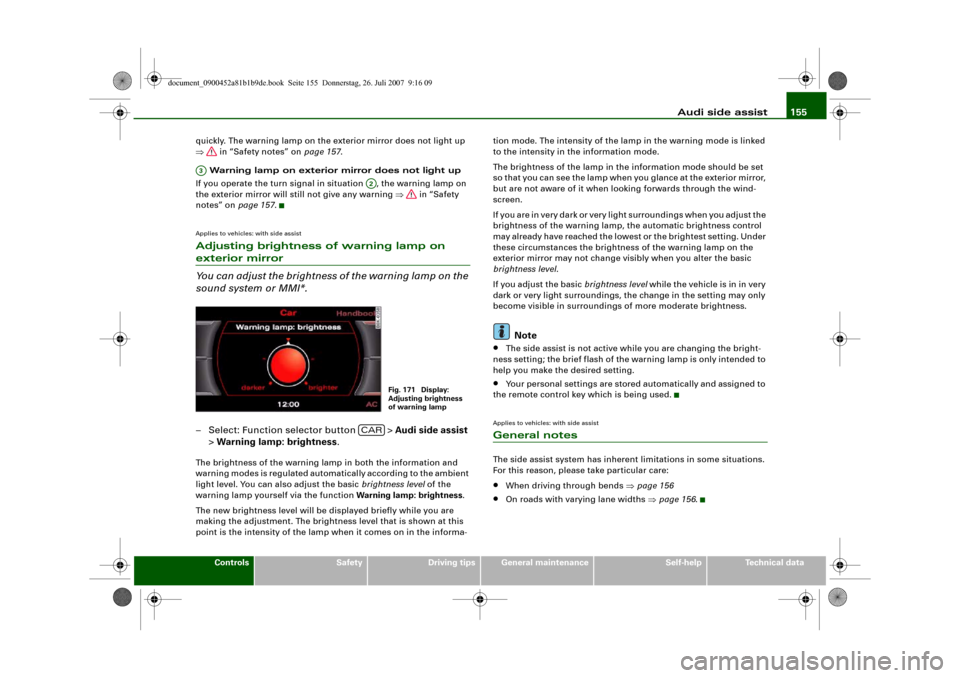
Applies to vehicles: with side assistAdjusting brightness of warning lamp on exterior mirror
You can adjust the brightness of the warning lamp on the
sound system or MMI*.– Select: Function selector button > Audi side assist
> Warning lamp: brightness.The brightness of the warning lamp in both the information and
warning modes is regulated automatically according to the ambient
light level. You can also adjust the basic brightness level of the
warning lamp yourself via the function Warning lamp: brightness.
The new brightness level will be displayed briefly while you are
making the adjustment. The brightness level that is shown at this
point is the intensity of the lamp when it comes on in the informa-tion mode. The intensity of the lamp in the warning mode is linked
to the intensity in the information mode.
The brightness of the lamp in the information mode should be set
so that you can see the lamp when you glance at the exterior mirror,
but are not aware of it when looking forwards through the wind-
screen.
If you are in very dark or very light surroundings when you adjust the
brightness of the warning lamp, the automatic brightness control
may already have reached the lowest or the brightest setting. Under
these circumstances the brightness of the warning lamp on the
exterior mirror may not change visibly when you alter the basic
brightness level.
If you adjust the basic brightness level while the vehicle is in in very
dark or very light surroundings, the change in the setting may only
become visible in surroundings of more moderate brightness.
Note
•
The side assist is not active while you are changing the bright-
ness setting; the brief flash of the warning lamp is only intended to
help you make the desired setting.
•
Your personal settings are stored automatically and assigned to
the remote control key which is being used.
Applies to vehicles: with side assistGeneral notesThe side assist system has inherent limitations in some situations.
For this reason, please take particular care:•
When driving through bends ⇒page 156
•
On roads with varying lane widths ⇒page 156.
A3
A2
Fig. 171 Display:
Adjusting brightness
of warning lamp
CAR
document_0900452a81b1b9de.book Seite 155 Donnerstag, 26. Juli 2007 9:16 09
Page 164 of 342
Automatic gearbox 162Automatic gearboxmultitronic
®, tiptronic (6-speed
gearbox)
Applies to vehicles: with multitronic® or tiptronicIntroductionApplies to vehicles with multitronic
® gearbox
The vehicle is equipped with an electronically controlled continu-
ously variable transmission (multitronic
®). Unlike conventional
automatics, the gear ratios are not shifted in fixed steps but contin-
uously variable. This gives smoother transmission and makes for
better fuel economy.
The gearbox selects the gear ratio and shifts up or down automati-
cally according to the gear change programmes stored in the
control unit ⇒page 166.
If desired, you can also select the gears manually (tiptronic mode)
⇒page 166.
Please note that on vehicles with a multitronic® gearbox, torque is
transmitted via a multi-plate clutch, and not via a torque converter
as on conventional automatics. This means that the car will not
“creep” as much as conventional automatics when the engine is
idling if you stop temporarily with the selector lever in position D, S
or R.
Applies to vehicles with tiptronic gearbox
The vehicle is equipped with an electronically controlled 6-speed
automatic gearbox. The gearbox changes up and down automati-
cally.
If desired, you can also select the gears manually (tiptronic mode)
⇒page 166.
Applies to vehicles: with multitronic® or tiptronicGeneral notes on using multitronic
®
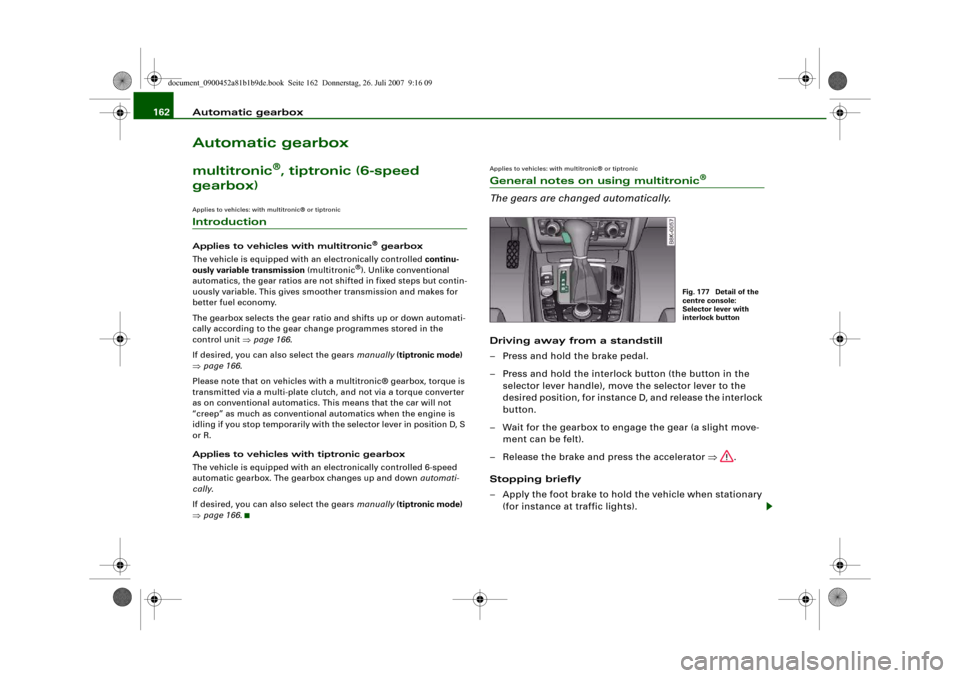
The gears are changed automatically.Driving away from a standstill
– Press and hold the brake pedal.
– Press and hold the interlock button (the button in the
selector lever handle), move the selector lever to the
desired position, for instance D, and release the interlock
button.
– Wait for the gearbox to engage the gear (a slight move-
ment can be felt).
– Release the brake and press the accelerator ⇒.
Stopping briefly
– Apply the foot brake to hold the vehicle when stationary
(for instance at traffic lights).
Fig. 177 Detail of the
centre console:
Selector lever with
interlock button
document_0900452a81b1b9de.book Seite 162 Donnerstag, 26. Juli 2007 9:16 09
Page 166 of 342
Automatic gearbox 164moving the selector lever either in or out of position P. The lever can
only be moved out of position P when the ignition is on.
R - Reverse gear
When reverse gear is engaged the gearbox automatically selects the
lowest gear ratio.
Reverse gear must only be engaged when the vehicle is stationary
and the engine is idling ⇒.
To move the selector lever to position R, press in the interlock
button and at the same time press the brake pedal. Depending on
the model, one or two reversing lights will come on in selector lever
position R (when ignition is switched on).
N - Neutral
In this position the gearbox is in neutral ⇒.
D - Drive (forwards)
In this position the gearbox automatically selects the best gear
ratio. This depends on the engine load, the road speed and the
dynamic gear control program (DCP).
Press the brake pedal when moving the selector lever from N to D if
the vehicle is stationary or at speeds below 5 km/h ⇒.
In some situations (such as on mountain roads or when towing a
trailer or caravan) it can be advantageous to switch temporarily to
tiptronic mode ⇒page 166, so that the gear ratios can be selected
manually to suit the driving conditions.
S - Sport position
Select this position if you wish to take full advantage of the car's
performance. This setting makes use of the engine's maximum
power output. When accelerating the gear shifts will be noticeable.
Press the brake pedal when moving the selector lever from N to S if
the vehicle is stationary or at speeds below 5 km/h ⇒.
WARNING
•
Never move the selector lever to R or P when driving, as this
could cause an accident.
•
In selector position D or S the vehicle must always be held with
the foot brake when the engine is running. This is because an auto-
matic gearbox still transmits power even at idling speed, and the
vehicle tends to “creep”. The throttle must on no account be
opened inadvertently (for instance by hand from the engine
compartment) when a gear is engaged with the vehicle stationary.
The vehicle could otherwise start moving immediately (in some
cases even if the parking brake is engaged) and possibly cause an
accident.
•
To avoid accidents, apply the parking brake and put the
selector lever in position P before opening the bonnet and working
on the vehicle with the engine running. Please observe the impor-
tant safety warnings ⇒page 255, “Working on components in the
engine compartment”.Note
You can select the sport program for gear changes on vehicles with
Audi drive select* by activating the DYNAMIC mode. There is no S
position on the selector lever.•
Applies to vehicles with tiptronic gearbox:
•
If the lever is moved accidentally to N when driving, release the
accelerator and let the engine speed drop to idling before selecting
D or S again.
•
For the sake of fuel economy (and the environment), the gearbox
ratios on some models are designed so that maximum speed is only
obtained when the selector lever is at position S.
document_0900452a81b1b9de.book Seite 164 Donnerstag, 26. Juli 2007 9:16 09
Page 168 of 342
Automatic gearbox 166
WARNING
Please note that if the road surface is slippery or wet, the kick-
down feature could cause the driving wheels to spin, which could
result in skidding.Applies to vehicles: with multitronic® or tiptronicDynamic gear control program (DCP)
The automatic gearbox is controlled electronically.The vehicle is equipped with an electronically controlled gearbox.
The gear ratios are selected automatically according to preset gear-
shift programmes.
When you drive at moderate speeds the gearbox will select the most
economical shift programme. It will then change up early and delay
the downshifts to give better fuel economy.
If you drive at higher speeds with heavy acceleration, if you open the
throttle quickly, or if you use the kick-down or the car's maximum
speed, the gearbox will automatically select the more “sporty” shift
programmes.
The gearbox is self-adapting, and continuously selects the most
suitable shift programme. At the same time, the driver can also
make the gearbox switch to a more "sporty" programme by pressing
the accelerator quickly. Depending on road speed, this makes the
gearbox shift down early into a lower gear ratio for more rapid accel-
eration (for instance to pass another vehicle), without having to
press the accelerator all the way down into the kick-down position.
After the gearbox has shifted back up it returns to the original
programme, depending on your style of driving.
Vehicles with multitronic® gearbox: The gearbox continuously
adapts the gear ratios on uphill gradients. If the brake pedal is
pressed on a downhill gradient the gearbox automatically shifts to
a lower gear ratio. This increases the engine braking effect.Vehicles with tiptronic gearbox: The gearbox adapts the gearshifts
for uphill and downhill gradients. This prevents the gearbox from
shifting up and down unnecessarily on uphill gradients.
Applies to vehicles: with multitronic® or tiptronicManual gear selection (tiptronic mode)
With the manual shift programme (tiptronic) the driver
can manually select pre-programmed gears.Switching over to the manual programme
– From position D, push the selector lever to the right. As
soon as the automatic gearbox has changed over to this
programme, the display will show the selected gear.
Fig. 180 Centre
console: Manual gear
selection (tiptronic
mode)Fig. 181 Display:
Manual gear selection
(tiptronic mode)
document_0900452a81b1b9de.book Seite 166 Donnerstag, 26. Juli 2007 9:16 09
Page 174 of 342
Parking aid 172garage ⇒fig. 187. Select “parking mode 2” if you wish to park
parallel to the roadside ⇒fig. 188.Applies to vehicles: with Audi parking system advancedDescriptionThe reversing camera covers approximately the area depicted in
⇒fig. 189 and ⇒fig. 190 . This is the area you will see in the
picture on the MMI display. Orientation lines and colour markings
are projected onto the picture to help you when parking or mano-
evring in tight spaces. Objects out of range of the camera in area
do not appear in the picture on the MMI display.
Applies to vehicles: with Audi parking system advancedGeneral notesWe recommend that you practise parking with the reversing camera
in a quiet location (car park or similar) in order to become familiar
with the system, including the orientation lines and all the other
features. Ideally, the weather and light conditions should be good.
Vehicles or other objects shown in the MMI display appear to be
further away or closer, if:•
you are reversing from a horizontal surface up a gradient or
down a hill,
•
you are reversing towards protruding objects,
•
the vehicle has been loaded with a greater load on the rear.
The accuracy of the orientation lines and the blue area markings
decreases if:
•
the reversing camera does not provide a reliable image, e.g. if
visibility is poor or the lens is dirty,
•
the sun is so dazzling that you cannot see the image on the
display screen.
How to clean the lens of the reversing camera
The reversing camera is located above the rear number plate. To
ensure that the parking aid works properly, the lens ⇒fig. 191 must
be kept clean.
Fig. 189 Viewed from
above: Area covered by
the reversing cameraFig. 190 Side view: :
Area covered by the
reversing camera; :
area NOT covered by
the reversing camera
A1A2
A1
A2
Fig. 1 91 Bo o t lid : Lo c a-
tion of reversing
camera
document_0900452a81b1b9de.book Seite 172 Donnerstag, 26. Juli 2007 9:16 09