2008 AUDI A4 low beam
[x] Cancel search: low beamPage 235 of 342
Towing a trailer233
Controls
Safety
Driving tips
General maintenance
Self-help
Technical data additional mirrors fitted. Both exterior mirrors should be mounted
on hinged extension brackets. Adjust the mirrors to give sufficient
vision to the rear.
Headlights
Before starting a journey, check the headlight beam settings with
the trailer hitched up. If necessary, alter the height of the headlight
beams by means of the headlight range control ⇒page 60.
Power supply
When you remove the ignition key the power supply to the trailer is
interrupted.
Removable ball joint coupling
Vehicles with a factory-fitted towing bracket are equipped with a
removable ball joint coupling. It is carried under the floor panel on
the left-hand side of the luggage compartment and is secured by a
strap.
Note
We recommend having the car serviced between the normal inspec-
tion intervals if it used frequently for towing a trailer.Applies to vehicles: with towing bracketTrailer stabilisation system
Trailer stabilisation helps to reduce the risk of the vehicle
skidding when towing a trailer.The trailer stabilisation system is operational only when the ESP is
switched on and there is no malfunction in the ESP ⇒page 17.
When is the trailer stabilisation system activated?
Trailer stabilisation is active when the following requirements are
met:•
The ESP must NOT be switched off ⇒page 222,
•
The trailer connector must be properly secured in the vehicle
socket.
•
Vehicle speed must be higher than approx. 60 km/h.
How trailer stabilisation works:
In many cases, the driver can stabilise a swaying trailer by manually
braking the vehicle.
However, if the ESP detects that the trailer is swaying and this is
affecting the towing vehicle, it will automatically brake the vehicle
to stabilise the trailer by slowing it down. The warning lamp
will
light up in the instrument cluster. If possible, do not turn the
steering wheel at this stage.
In order to warn traffic behind you, the brake lights will come on
during this automatic braking operation.
A trailer weighing less than 70% of the kerb weight of the towing
vehicle may sway quite considerably without the trailer stabilisation
system intervening. This can happen when the swaying movements
of the light-weight trailer are not or hardly passed on to the towing
vehicle and are therefore not detected by the ESP.
If the system for activating the trailer brake lights is defective, this
will be indicated in the instrument cluster display ⇒page 37, “Bulb
monitor ”.
Requirements for correct functioning of the trailer
stabilisation system
If these conditions are not met in full, the trailer stabilisation system
will only intervene to a limited extent or not at all ⇒.
•
The electrical connection between the towing vehicle and the
trailer must be functioning correctly, without any defects.
•
The load on the trailer must be properly secured.
•
The tyre pressures on both the vehicle and the trailer must be
adapted to the load that is being carried.
•
Where possible, operate the trailer with the maximum permitted
draw bar weight.
document_0900452a81b1b9de.book Seite 233 Donnerstag, 26. Juli 2007 9:16 09
Page 306 of 342
Fuses and bulbs 304BulbsChanging bulbs
Changing bulbs requires a certain degree of practical
skill.You can change the following bulbs for exterior lights yourself:•
Halogen headlights: Bulb for dipped headlights
•
Halogen headlights: Bulb for main beam headlights
•
Bulb for fog light
•
Bulbs for rear lights in boot lid
•
Bulbs for rear lights in side panel
•
Bulbs for number plate light
The following bulbs should only be changed by a qualified work-
shop:
•
Halogen headlights: Bulb for turn signals
•
Halogen headlights: Bulb for side lights
•
Xenon headlights*: Bulb for turn signals
•
Xenon headlights*: Light source for daytime running
lights/parking lights
•
Bulb for headlights: Bi-xenon lights ⇒
•
Light source for turn signal in exterior mirror housing
•
Light source for high-level brake light
As a rule, you require a certain degree of practical skill to change
defective bulbs. This applies in particular to those bulbs which are
only accessible from the engine compartment.
If in doubt, we recommend that you have defective bulbs changed
by a qualified workshop or qualified mechanic.
If you do decide to change bulbs in the engine compartment your-
self, be aware of the safety risks involved ⇒page 255 ⇒.
Types of bulbs
You must only replace a bulb with a bulb of the same type. Informa-
tion regarding e.g. the wattage can be found on the base of the
bulb.
4
Cigarette lighter
15
5
Parking aid
5
6
Phone pre-installation without handsfree sys-
tem (VDA interface)
5
7
Control unit for adaptive cruise control
15
8
Vacant
9
EPB switch (electro-mechanical parking brake)
5
10
Lane change assist feature
5
11
Seat heating, rear
5
12
Airbag
5
No.
Electrical equipment
amps
Front bulb (12 V)
Vers io n
Dipped-beam headlights (halogen)
55 W (H7)
Main beam headlights (halogen)
55 W (H7)
Front fog lights
55 W (H7)
Rear bulb (12 V)
Vers io n
Brake lights / tail lights
P 21 W
Turn signals (rear)
P 21 W
Reversing lights
W 16 W
Rear fog light
H 21 W
Number plate lights
5 W
document_0900452a81b1b9de.book Seite 304 Donnerstag, 26. Juli 2007 9:16 09
Page 313 of 342
Fuses and bulbs311
Controls
Safety
Driving tips
General maintenance
Self-help
Technical data
Applies to vehicles: with halogen main beam headlightsChanging bulb– Turn the bulb holder anti-clockwise ⇒page 306 and take
it out of the fog light housing.
– Insert the new bulb holder and turn it clockwise as far as
the stop ⇒page 306.After changing the bulb re-install all parts in the reverse sequence
and check that the bulb is working.
Changing bulbs for rear lights in side
panelOverview of rear lights•
Brake lights
•
Turn signals
The following instructions for changing the bulb refer to the left side
of the vehicle. Follow the same procedure for changing the bulb on
the other side of the vehicle.
Fig. 300 Front fog
light: Bulb holder is
highlighted
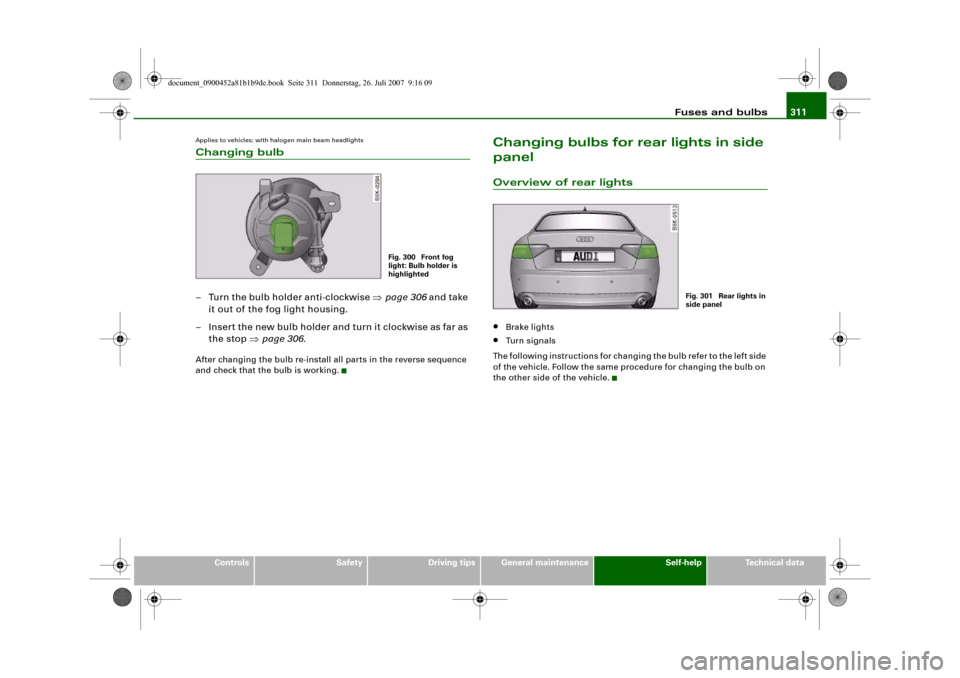
Fig. 301 Rear lights in
side panel
document_0900452a81b1b9de.book Seite 311 Donnerstag, 26. Juli 2007 9:16 09
Page 315 of 342
Fuses and bulbs313
Controls
Safety
Driving tips
General maintenance
Self-help
Technical data
Changing bulbs
All bulbs can be changed easily after removing the rear
light.– Detach the bulb carrier.
– Renew the defective bulb (pull to remove from plug-in
holder or turn to remove from bayonet holder)
⇒page 305.
– Attach the bulb carrier.
– Re-install the rear light ⇒page 313.
Applies to vehicles: with halogen main beam headlightsInstalling rear light
The rear light is easy to re-install.To re-install the rear light, follow the steps for removal in
reverse sequence.
– Plug in the electrical connector. Make sure you hear it
click into place.
– Insert the rear light into the rear light carrier ⇒fig. 305.
– Press the rear light into the two rubber mountings as far
as it will go. The rear light must be flush with the body
contour.
– Use the screw to secure the rear light from the luggage
compartment.
– Make sure that all bulbs for the rear lights are working.
CautionTake care when installing the rear light to make sure there is no
damage to the paintwork or any of its components.
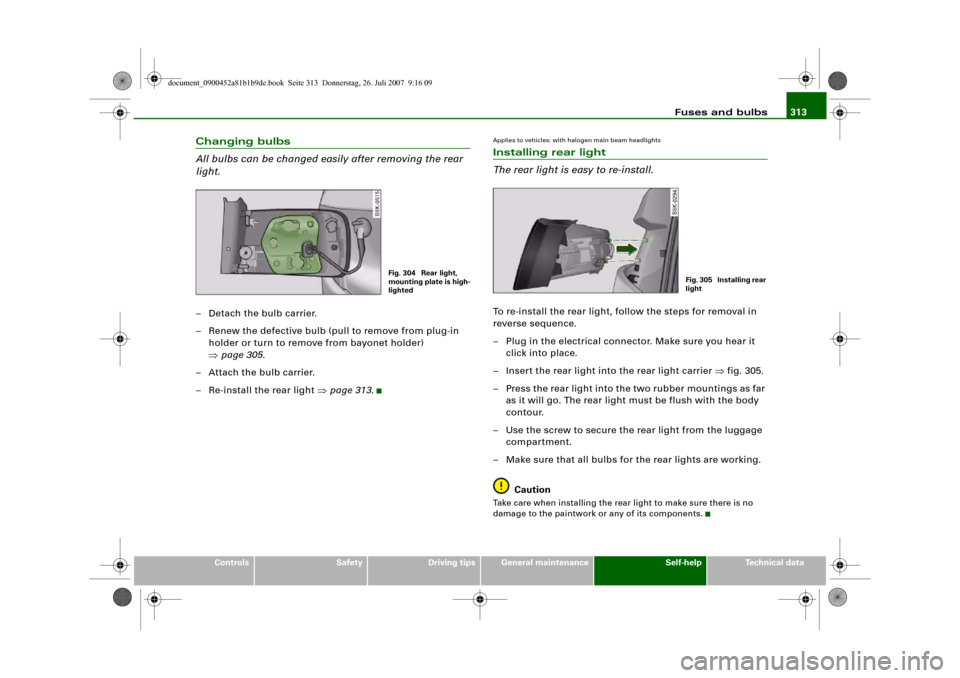
Fig. 304 Rear light,
mounting plate is high-
lighted
Fig. 305 Installing rear
light
document_0900452a81b1b9de.book Seite 313 Donnerstag, 26. Juli 2007 9:16 09
Page 333 of 342
Index331
Controls
Safety
Driving tips
General maintenance
Self-help
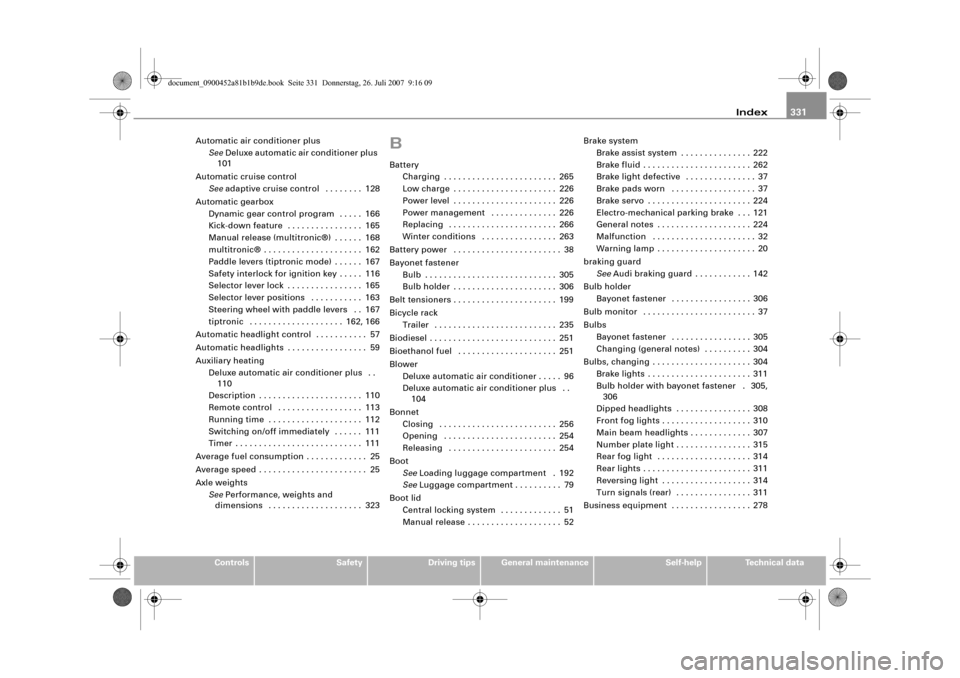
Technical data Automatic air conditioner plus
SeeDeluxe automatic air conditioner plus
101
Automatic cruise control
Seeadaptive cruise control . . . . . . . . 128
Automatic gearbox
Dynamic gear control program . . . . . 166
Kick-down feature . . . . . . . . . . . . . . . . 165
Manual release (multitronic®) . . . . . . 168
multitronic® . . . . . . . . . . . . . . . . . . . . . 162
Paddle levers (tiptronic mode) . . . . . . 167
Safety interlock for ignition key . . . . . 116
Selector lever lock . . . . . . . . . . . . . . . . 165
Selector lever positions . . . . . . . . . . . 163
Steering wheel with paddle levers . . 167
tiptronic . . . . . . . . . . . . . . . . . . . . 162, 166
Automatic headlight control . . . . . . . . . . . 57
Automatic headlights . . . . . . . . . . . . . . . . . 59
Auxiliary heating
Deluxe automatic air conditioner plus . .
110
Description . . . . . . . . . . . . . . . . . . . . . . 110
Remote control . . . . . . . . . . . . . . . . . . 113
Running time . . . . . . . . . . . . . . . . . . . . 112
Switching on/off immediately . . . . . . 111
Timer . . . . . . . . . . . . . . . . . . . . . . . . . . . 111
Average fuel consumption . . . . . . . . . . . . . 25
Average speed . . . . . . . . . . . . . . . . . . . . . . . 25
Axle weights
SeePerformance, weights and
dimensions . . . . . . . . . . . . . . . . . . . . 323
BBattery
Charging . . . . . . . . . . . . . . . . . . . . . . . . 265
Low charge . . . . . . . . . . . . . . . . . . . . . . 226
Power level . . . . . . . . . . . . . . . . . . . . . . 226
Power management . . . . . . . . . . . . . . 226
Replacing . . . . . . . . . . . . . . . . . . . . . . . 266
Winter conditions . . . . . . . . . . . . . . . . 263
Battery power . . . . . . . . . . . . . . . . . . . . . . . 38
Bayonet fastener
Bulb . . . . . . . . . . . . . . . . . . . . . . . . . . . . 305
Bulb holder . . . . . . . . . . . . . . . . . . . . . . 306
Belt tensioners . . . . . . . . . . . . . . . . . . . . . . 199
Bicycle rack
Trailer . . . . . . . . . . . . . . . . . . . . . . . . . . 235
Biodiesel . . . . . . . . . . . . . . . . . . . . . . . . . . . 251
Bioethanol fuel . . . . . . . . . . . . . . . . . . . . . 251
Blower
Deluxe automatic air conditioner . . . . . 96
Deluxe automatic air conditioner plus . .
104
Bonnet
Closing . . . . . . . . . . . . . . . . . . . . . . . . . 256
Opening . . . . . . . . . . . . . . . . . . . . . . . . 254
Releasing . . . . . . . . . . . . . . . . . . . . . . . 254
Boot
SeeLoading luggage compartment . 192
SeeLuggage compartment . . . . . . . . . . 79
Boot lid
Central locking system . . . . . . . . . . . . . 51
Manual release . . . . . . . . . . . . . . . . . . . . 52Brake system
Brake assist system . . . . . . . . . . . . . . . 222
Brake fluid . . . . . . . . . . . . . . . . . . . . . . . 262
Brake light defective . . . . . . . . . . . . . . . 37
Brake pads worn . . . . . . . . . . . . . . . . . . 37
Brake servo . . . . . . . . . . . . . . . . . . . . . . 224
Electro-mechanical parking brake . . . 121
General notes . . . . . . . . . . . . . . . . . . . . 224
Malfunction . . . . . . . . . . . . . . . . . . . . . . 32
Warning lamp . . . . . . . . . . . . . . . . . . . . . 20
braking guard
SeeAudi braking guard . . . . . . . . . . . . 142
Bulb holder
Bayonet fastener . . . . . . . . . . . . . . . . . 306
Bulb monitor . . . . . . . . . . . . . . . . . . . . . . . . 37
Bulbs
Bayonet fastener . . . . . . . . . . . . . . . . . 305
Changing (general notes) . . . . . . . . . . 304
Bulbs, changing . . . . . . . . . . . . . . . . . . . . . 304
Brake lights . . . . . . . . . . . . . . . . . . . . . . 311
Bulb holder with bayonet fastener . 305,
306
Dipped headlights . . . . . . . . . . . . . . . . 308
Front fog lights . . . . . . . . . . . . . . . . . . . 310
Main beam headlights . . . . . . . . . . . . . 307
Number plate light . . . . . . . . . . . . . . . . 315
Rear fog light . . . . . . . . . . . . . . . . . . . . 314
Rear lights . . . . . . . . . . . . . . . . . . . . . . . 311
Reversing light . . . . . . . . . . . . . . . . . . . 314
Turn signals (rear) . . . . . . . . . . . . . . . . 311
Business equipment . . . . . . . . . . . . . . . . . 278
document_0900452a81b1b9de.book Seite 331 Donnerstag, 26. Juli 2007 9:16 09
Page 337 of 342
Index335
Controls
Safety
Driving tips
General maintenance
Self-help
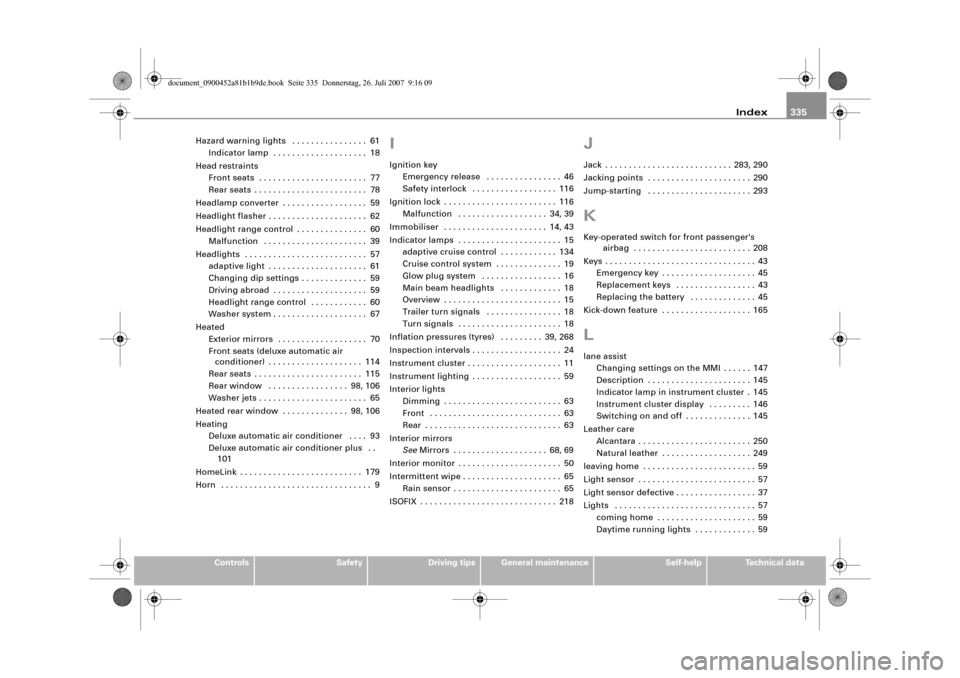
Technical data Hazard warning lights . . . . . . . . . . . . . . . . 61
Indicator lamp . . . . . . . . . . . . . . . . . . . . 18
Head restraints
Front seats . . . . . . . . . . . . . . . . . . . . . . . 77
Rear seats . . . . . . . . . . . . . . . . . . . . . . . . 78
Headlamp converter . . . . . . . . . . . . . . . . . . 59
Headlight flasher . . . . . . . . . . . . . . . . . . . . . 62
Headlight range control . . . . . . . . . . . . . . . 60
Malfunction . . . . . . . . . . . . . . . . . . . . . . 39
Headlights . . . . . . . . . . . . . . . . . . . . . . . . . . 57
adaptive light . . . . . . . . . . . . . . . . . . . . . 61
Changing dip settings . . . . . . . . . . . . . . 59
Driving abroad . . . . . . . . . . . . . . . . . . . . 59
Headlight range control . . . . . . . . . . . . 60
Washer system . . . . . . . . . . . . . . . . . . . . 67
Heated
Exterior mirrors . . . . . . . . . . . . . . . . . . . 70
Front seats (deluxe automatic air
conditioner) . . . . . . . . . . . . . . . . . . . . 114
Rear seats . . . . . . . . . . . . . . . . . . . . . . . 115
Rear window . . . . . . . . . . . . . . . . . 98, 106
Washer jets . . . . . . . . . . . . . . . . . . . . . . . 65
Heated rear window . . . . . . . . . . . . . . 98, 106
Heating
Deluxe automatic air conditioner . . . . 93
Deluxe automatic air conditioner plus . .
101
HomeLink . . . . . . . . . . . . . . . . . . . . . . . . . . 179
Horn . . . . . . . . . . . . . . . . . . . . . . . . . . . . . . . . 9
IIgnition key
Emergency release . . . . . . . . . . . . . . . . 46
Safety interlock . . . . . . . . . . . . . . . . . . 116
Ignition lock . . . . . . . . . . . . . . . . . . . . . . . . 116
Malfunction . . . . . . . . . . . . . . . . . . . 34, 39
Immobiliser . . . . . . . . . . . . . . . . . . . . . . 14, 43
Indicator lamps . . . . . . . . . . . . . . . . . . . . . . 15
adaptive cruise control . . . . . . . . . . . . 134
Cruise control system . . . . . . . . . . . . . . 19
Glow plug system . . . . . . . . . . . . . . . . . 16
Main beam headlights . . . . . . . . . . . . . 18
Overview . . . . . . . . . . . . . . . . . . . . . . . . . 15
Trailer turn signals . . . . . . . . . . . . . . . . 18
Turn signals . . . . . . . . . . . . . . . . . . . . . . 18
Inflation pressures (tyres) . . . . . . . . . 39, 268
Inspection intervals . . . . . . . . . . . . . . . . . . . 24
Instrument cluster . . . . . . . . . . . . . . . . . . . . 11
Instrument lighting . . . . . . . . . . . . . . . . . . . 59
Interior lights
Dimming . . . . . . . . . . . . . . . . . . . . . . . . . 63
Front . . . . . . . . . . . . . . . . . . . . . . . . . . . . 63
Rear . . . . . . . . . . . . . . . . . . . . . . . . . . . . . 63
Interior mirrors
SeeMirrors . . . . . . . . . . . . . . . . . . . . 68, 69
Interior monitor . . . . . . . . . . . . . . . . . . . . . . 50
Intermittent wipe . . . . . . . . . . . . . . . . . . . . . 65
Rain sensor . . . . . . . . . . . . . . . . . . . . . . . 65
ISOFIX . . . . . . . . . . . . . . . . . . . . . . . . . . . . . 218
JJack . . . . . . . . . . . . . . . . . . . . . . . . . . . 283, 290
Jacking points . . . . . . . . . . . . . . . . . . . . . . 290
Jump-starting . . . . . . . . . . . . . . . . . . . . . . 293KKey-operated switch for front passenger's
airbag . . . . . . . . . . . . . . . . . . . . . . . . . 208
Keys . . . . . . . . . . . . . . . . . . . . . . . . . . . . . . . . 43
Emergency key . . . . . . . . . . . . . . . . . . . . 45
Replacement keys . . . . . . . . . . . . . . . . . 43
Replacing the battery . . . . . . . . . . . . . . 45
Kick-down feature . . . . . . . . . . . . . . . . . . . 165Llane assist
Changing settings on the MMI . . . . . . 147
Description . . . . . . . . . . . . . . . . . . . . . . 145
Indicator lamp in instrument cluster . 145
Instrument cluster display . . . . . . . . . 146
Switching on and off . . . . . . . . . . . . . . 145
Leather care
Alcantara . . . . . . . . . . . . . . . . . . . . . . . . 250
Natural leather . . . . . . . . . . . . . . . . . . . 249
leaving home . . . . . . . . . . . . . . . . . . . . . . . . 59
Light sensor . . . . . . . . . . . . . . . . . . . . . . . . . 57
Light sensor defective . . . . . . . . . . . . . . . . . 37
Lights . . . . . . . . . . . . . . . . . . . . . . . . . . . . . . 57
coming home . . . . . . . . . . . . . . . . . . . . . 59
Daytime running lights . . . . . . . . . . . . . 59
document_0900452a81b1b9de.book Seite 335 Donnerstag, 26. Juli 2007 9:16 09