Page 49 of 223
47
3
INSTRUMENTS AND CONTROLS
When the key is extracted (and at least one of
the front doors is opened) the display will light
up for a few seconds, showing the Alfa Romeo
logo, the time, the total odometer and the
outside temperature. Button pressed at length:
- saves the changes confi rmed and returns
to the standard page (or the page that
was active before the MENU button was
pressed).
TRIP
Button pressed brie y:
- activates Trip A and B pages in succession
+/-
Button pressed briefly:
- selects the functions in the Setup menu
- sets/adjusts the functions in the Setup
menu. CONTROL BUTTONS
MENU
Button pressed briefly:
- when the vehicle is stationary, it activates
the “complete” Setup menu
- when the vehicle is moving, it activates the
“reduced” Setup menu
- confi rms the selected function
- confi rms the setting/change and returns
to the main menu page (to the same item
before the button was pressed)
- if the TRIP page is displayed, it returns to
the main page.
Page 50 of 223

48
3
How to select an item from the main menu
with submenu:
- briefl y press the MENU button to view the
fi rst item in the submenu
- press the + o – buttons once to scroll
through all the items in the submenu
- briefl y press the MENU button to select the
item in the submenu displayed and access
the relative setting menu
- press the + o – buttons once to select the
new setting for this item in the submenu;
- briefl y press the MENU button to save the
setting and simultaneously return to the
same item you selected previously. SETUP MENU
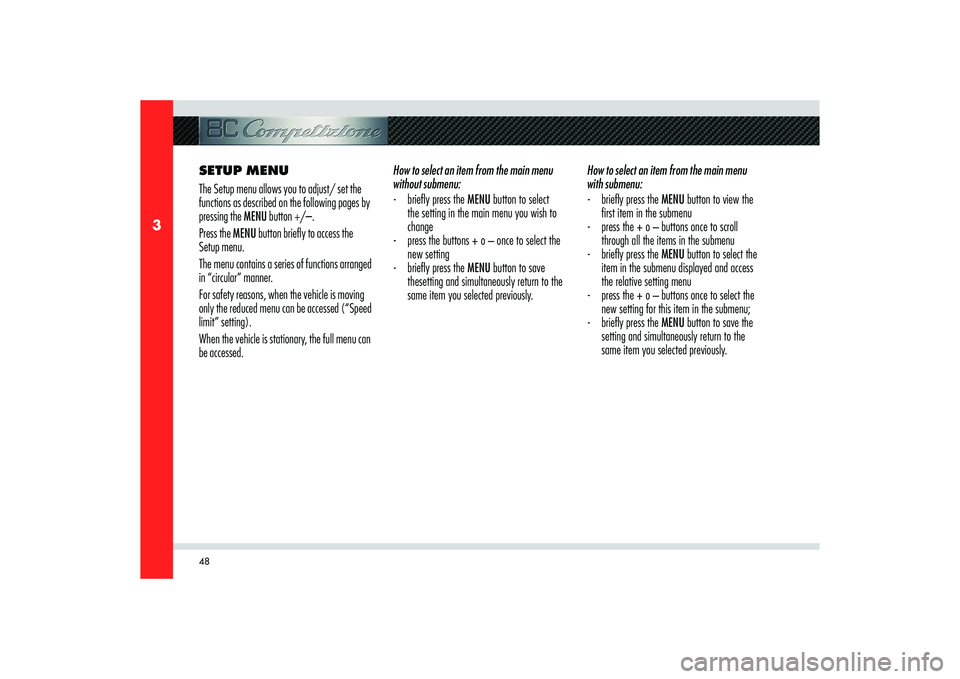
The Setup menu allows you to adjust/ set the
functions as described on the following pages by
pressing the MENU button +/–.
Press the MENU button briefly to access the
Setup menu.
The menu contains a series of functions arranged
in “circular” manner.
For safety reasons, when the vehicle is moving
only the reduced menu can be accessed (“Speed
limit” setting).
When the vehicle is stationary, the full menu can
be accessed.How to select an item from the main menu
without submenu:
- briefl y press the MENU button to select
the setting in the main menu you wish to
change
- press the buttons + o – once to select the
new setting
- briefl y press the MENU button to save
thesetting and simultaneously return to the
same item you selected previously.
Page 51 of 223
49
3
INSTRUMENTS AND CONTROLS
+
+–
–
Illumination Int.Speed Limit Light Sens. Reset Trip B
Clock
Mode 12/24 Date Indep.Boot Unlock Fda Door Lock Units LanguageBeep Vol.Service Beep Seatb.Quit setup
Day lights
+–
+–+–
+
–
+
–
+
–
+
–
+
–
+
–
+
–
+
–
+
–
+
–
+
–
+
–
Page 52 of 223

50
3
Brightness adjustment
This function allows you to adjust the brightness
of the instrument panel to 8 levels.
To adjust, proceed as follows:
- briefl y press the MENU button: the display
highlights the level previously set.
- press button + o – to adjust;
- press the MENU button briefl y to return to
the menu page or hold it down to return to
the standard page.Speed limit
This function allows you to set the vehicle
speed limit (km/h or mph). When this limit is
exceeded, you are warned with an acoustic and
visual warning and a message appears on the
display (see the section “Warning lights and
messages”).
To set the speed limit proceed as follows:
- briefl y press the MENU button: the message
OFF is displayed ;
- Press the + button: the message ON; is
displayed briefl y press the MENU button
then press the buttons +/– to set the
desired speed (the value fl ashes during
setting).
- press the MENU button briefl y to return to
the main page or hold it down to return to
the standard page.
WARNING: The value can be set between
30 and 250 km/h (or 20 and 150 mph)
depending on the unit of measure previously
set (see the chapter “Unit of measure” below).
When the +/– button is pressed once, the speed
is increased/decreased by 5 units. Holding the
+/– button down, the value automatically
increases/decreases continuously until you
release the button. When you are close to the
desired value, release the button and then press
it briefly a few times until you reach the desired
value.To cancel the setting:
- briefl y press the MENU button: the message
ON is displayed;
- press button –: the message OFF is
displayed;
- press the MENU button briefl y to return to
the menu page or hold it down to return to
the standard screen page.
Page 53 of 223

51
3
INSTRUMENTS AND CONTROLS
Adjusting the sensing range of the twilight
sensor (Automatic low-beam)
This function allows you to adjust the sensing
range of the twilight sensor to 3 levels.
To adjust, proceed as follows:
- briefl y press the MENU button: the display
highlights the sensing range level previously
set
- press button + o – to adjust;
- press the MENU button briefl y to return to
the menu page or hold it down to return to
the standard screen page.Trip B reset mode (Reset TRIP B)
This function allows you to select Trip B reset
mode (automatic or manual).
For further information see the chapter “TRIP
button”.Clock adjustment (Clock)
This function allows you to adjust the clock.
To adjust the time proceed as follows:
- briefl y press the MENU button: the display
highlights the “hours”
- press button + o – to adjust;
- briefl y press the MENU button: the display
highlights the “minutes”
- press button + o – to adjust;
WARNING: When the button is pressed once
+/– the value increases/decreases by 1
unit. Holding the +/– button down, the value
automatically increases/decreases continuously
until you release the button. When you are close
to the desired value, release the button and then
press it briefly a few times until you reach the
desired value.- press the MENU button briefl y to return to
the main page or hold it down to return to
the standard page.
Page 54 of 223

52
3
Clock mode (12/24 mode)
This function allows you to set the time display
mode in 12h or 24h format.
To set the clock proceed as follows:
- briefl y press the MENU button: the display
highlights 12h or 24h (depending on the
format previously set);
- press button + o – to select;
- press the MENU button briefl y to return to
the main page or hold it down to return to
the standard page.Date adjustment (Date)
This function allows you to adjust the date (year
- month - day).
To adjust the date proceed as follows:
- briefl y press the MENU button: the “year”
fl ashes on the display
- press button + o – to adjust;
- briefl y press the MENU button: the
“month” fl ashes on the display
- press button + o – to adjust;
- briefl y press the MENU button: the “day”
fl ashes on the display
- press button + o – to adjust;
WARNING: When the button is pressed once
+/– the value increases/decreases by 1 unit.
Holding the +/– button down +/–the value
automatically increases/decreases continuously
until you release the button. When you are close
to the desired value, release the button and then
press it briefly a few times until you reach the
desired value. - press the MENU button briefl y to return to
the main page or hold it down to return to
the standard page.
Page 55 of 223

53
3
INSTRUMENTS AND CONTROLS
Rear window unlocking independent of the
doors opening (Ind. luggage compartment)
This function allows you to unlock the rear
window independently of the doors.
When this function is enabled, the rear window
can be unlocked by pressing the button
on
the electronic key (see section 4 in the chapter
“Rear window” ).
To make rear window unlocking independent of
(ON) or dependent on door unlocking (OFF),
proceed as follows:
- briefl y press the MENU button: the message
ON or OFF is displayed (depending on the
mode previously set);
- Press the + or – button to select;
- press the MENU button briefl y to return to
the menu page or hold it down to return to
the standard screen page.Driver’s door unlocking (Unlock. driver’s
door)
This function allows you to unlock only the
driver’s door by pressing the button
on the
electronic key.
When this function is active (ON) the other
doors can still be unlocked by pressing the door
unlocking button on the centre console.
To activate/deactivate (ON/OFF) this function,
proceed as follows:
- briefl y press the MENU button: the message
ON or OFF is displayed (depending on the
mode previously set);
- press button + o – to select;
- press the MENU button briefl y to return to
the menu page or hold it down to return to
the standard screen page.Automatic central door locking when the
vehicle is moving (Door locking)
When activated (ON), this function allows the
doors to lock automatically when a speed of 20
km/h is exceeded.
To activate/deactivate (ON/OFF) this function,
proceed as follows:
- briefl y press the MENU button: the message
ON or OFF is displayed (depending on the
mode previously set);
- press button + o – to select;
- press the MENU button briefl y to return to
the menu page or hold it down to return to
the standard screen page.
The LED on the button
will illuminate to
indicate that this function has been activated.
Page 56 of 223

54
3
WARNING:If the vehicle is tested on the roller
test bench without any operator on board, check
in the vehicle Setup menu that the automatic
door locking function is disabled or that a
window is open, or that there is a second key
available outside the vehicle.
Unit of Measure (Unit of Measure)
This function allows you to set the unit of
measure for the mileage (km or mi), fuel
consumption (l/100 km, km/l or mpg) and
temperature (°C or °F).
DistanceTo set the desired unit of measure, proceed as
follows:
- briefl y press the MENU button: the display
highlights “km” or “mi” (depending on
what was previously set);
- press button + or – to select;
- press the MENU button briefl y to return to
the menu page or hold it down to return to
the standard screen page.
Fuel consumption If the unit of measure for the mileage is set to
“km” (see previous chapter), you can set the
unit of measure for fuel consumption (l/100
km, km/l or mpg).
If the unit of measure for the mileage is set to
“mi” (see previous chapter), the display will
show the fuel consumption in “mpg”.
In this case, the “Fuel consumption Unit of
Measure” option in the Setup menu can be
selected but is fixed on the indication in “mpg”.
To set the desired unit of measure, proceed as
follows:
- briefl y press the MENU button: the
display highlights “km/l” or “l/100 km”
(depending on the unit was previously set);
- press button + o – to select;
- press the MENU button briefl y to return to
the menu page or hold it down to return to
the standard screen page.