Page 63 of 208
Lockout switch for rear windows
The electrically operated rear door windows can be disabled by a switch located on the driver's door (see illustration).
If the light in the switch is OFF: The rear door windows can be raised or lowered with the buttons on the rear door
armrests or with the buttons on the driver's door armrest.
If the light in the switch is ON: The rear door windows can only be raised or lowered with the buttons on the driver's
door.
69 02 Instruments and controls
Power windows
Power window control - front passenger's side
The control for the power window in the front passenger's door operates that window only.
Power windows in the rear doors
ProCarManuals.com
Page 64 of 208
The rear door windows can be operated with the control on each door and with the switch on the driver's door.
70 02 Instruments and controls
Mirrors
Rearview mirror
Night position
To reduce glare from the headlights of following vehicles, use control (1) to switch between the normal and night-
driving positions.
2. Normal position
3. Night position, reduces glare from following traffic
Auto-dim function (option)
An optional integrated sensor reacts to headlights from following traffic and automatically reduces glare.
Rearview mirror with compass (option)
ProCarManuals.com
Page 72 of 208

NOTE
For your security, the HomeLink Universal Transceiver is designed to not function if you lock your car from the
outside.
Retain the original transmitter(s) for future programming procedures (for example, if you purchase a new vehicle).
For your own security, erase all programmed buttons on the HomeLink Universal Transceiver when you sell your
vehicle.
Metallic sun protection films should not be used on any windows in a vehicle equipped with HomeLink Universal
Transceiver. This could interfere with the transceivers function.
Operating the HomeLink Universal Transceiver
Once programmed, the HomeLink Universal Transceiver can be used in place of your handheld transmitters.
NOTE
The HomeLink universal transceiver will function for 30 minutes after the driver's door has been opened without
switching on the vehicle's ignition.
Press the programmed HomeLink button to activate the garage door, driveway gate, security lightning, home security
system etc.
Your original hand -held transmitters may, of course, be used at any time.
WARNING
If you use HomeLink to open a garage door or gate, be sure no one is near the gate or door while it is in motion.
Do not use the HomeLink Universal Transceiver with any garage door opener that lacks safety "stop" and
"reverse" features as required by federal safety standards. (This includes any garage door opener model manufactured
before April 1, 1982). A garage door opener that cannot "detect" an object, signalling the door to "stop" and
"reverse" does not meet current federal safety standards. Using a garage door opener without these features increases
the risk of serious injury or death. For more information on this matter, call toll-free 1-800-355-3515. (Internet:
www.HomeLink.com
).
Programming the transceiver for the first time (U.S. residents)
1. For first time training, press and hold the two outer HomeLink buttons, releasing only when the HomeLink indicator
light begins to flash after 20 seconds. (Do not perform this step when training the additional HomeLink buttons.)
2. Position the hand -held transmitter 1-3 inches away from the HomeLink surface
77 02 Instruments and controls
Home Link® Universal Transceiver (option)
(located on your sun visor), keeping the HomeLink indicator light in view.
3. Using both hands, simultaneously press and hold both the desired HomeLink button and hand held transmitter
button. DO NOT release until the HomeLink indicator light flashes slowly and then rapidly. When the indicator light
flashes rapidly, both buttons may be released. (The rapid flashing indicates successful training.)
NOTE
ProCarManuals.com
Page 76 of 208
2 0 0 7
VOLVO S40
80 03 Climate
General information 82
Air vents84
Manual climate control85
Electronic Climate Control (ECC) - option87
Air distribution90
81 03 Climate
82 03 Climate
General information
Air conditioning - A/C
Your car is equipped with a climate control system that includes either manually adjustable air conditioning or optional
Electronic Climate Control (ECC).
The air conditioning system can be switched off, but for optimal air quality in the passenger compartment and to
prevent the windows from fogging, the air conditioning should be left on - even in cool weather.
NOTE
In warm weather, a small amount of water may accumulate under the car when it has been parked. This water is
condensation from the A/C system and is normal.
Ice and snow
Always keep the air intake grille at the base of the windshield free of snow.
Climate control maintenance
ProCarManuals.com
Page 77 of 208

Special tools and equipment are required to maintain and carry out repairs on the climate system. Work of this type
should only be done by a trained and qualified Volvo service technician.
Refrigerant
Volvo cares about the environment. The air conditioning system in your car contains a CFC-free refrigerant - R134a.
This substance will not deplete the ozone layer. The system contains 1.2 lbs (530 g) R134a (HFC 134a), and uses PAG
oil.
Passenger compartment filter
Replace the cabin air filter with a new one at the recommended intervals. Please refer to your Warranty and Service
Records Information booklet, or consult your Volvo retailer for these intervals. The filter should be replaced more
often when driving under dirty and dusty conditions. The filter cannot be cleaned and therefore should always be
replaced with a new one.
NOTE
There are different types of cabin air filters. Ensure that the correct type is installed.
Display
The display above the climate control panel shows the climate settings that have been made.
Personal settings
There are two functions in the climate system that can be set to your preferences:
Blower speed to Auto mode (models with ECC only).
Timer controlled recirculation of the air in the passenger compartment. For information about how to make these
settings, see the Personal settings section on page 74
.
83 03 Climate
General information
Models equipped with ECC (option)
Sensors
The sunlight sensor on the upper side of the dashboard and the passenger compartment temperature sensor, located
behind the climate system control panel, should not be obstructed.
Side windows and optional moonroof
The electronic climate control system will function best if the windows and moonroof are closed. If you drive with the
windows or moonroof open, it may be preferable to manually adjust the temperature and blower control (the LED in
the AUTO switch should be off).
Acceleration
The air conditioning system is temporarily switched off during full throttle acceleration.
84 03 Climate
ProCarManuals.com
Page 78 of 208
Air vents
Air vents in the dashboard
A. Open
B. Closed
C. Horizontal air flow
D. Vertical air flow
Direct the outer air vents toward the side windows to defrost.
85 03 Climate
Manual climate control
1. Blower speed
2. Recirculation
3. Defroster
4. Airflow controls
5. A/C - ON/OFF
ProCarManuals.com
Page 79 of 208

6. Heated driver's seat
7. Heated front passenger's seat
8. Rear window and door mirror defrosters
9. Temperature selector
Manual climate system functions
1. Blower
The blower speed can be increased or decreased by turning the knob. If the knob is turned counterclockwise and the
indicator light in the display goes out, the blower and the air conditioning are switched off. The display shows the
blower symbol and OFF.
2. Recirculation
This function can be used to shut out exhaust fumes, smoke, etc from the passenger compartment. The air in the
passenger compartment is then recirculated, i.e. no air from outside the car is taken into the car when this function is
activated. Recirculation (together with the air conditioning system) cools the passenger compartment more quickly in
very warm weather. If the air in the car recirculates for too long, there is a risk of condensation
86 03 Climate
Manual climate control
forming on the insides of the windows, especially in winter.
Timer
The timer function minimizes the risk of misting, or stale air when the recirculation function is selected. See page 74
for information on setting the recirculation timer. Recirculation is always disengaged when you select Defroster (3).
3. Defroster
Directs airflow to the windshield and side windows and increases blower speed. When the defroster is activated:
Air flows to the windows at high blower speed.
The LED in the defroster button lights up when this function is activated. The air conditioning system is controlled
to provide maximum air dehumidification.
The air conditioning is automatically switched on (can be switched off by pressing button 5).
The air is not recirculated.
4. Airflow controls
ProCarManuals.com
Page 80 of 208

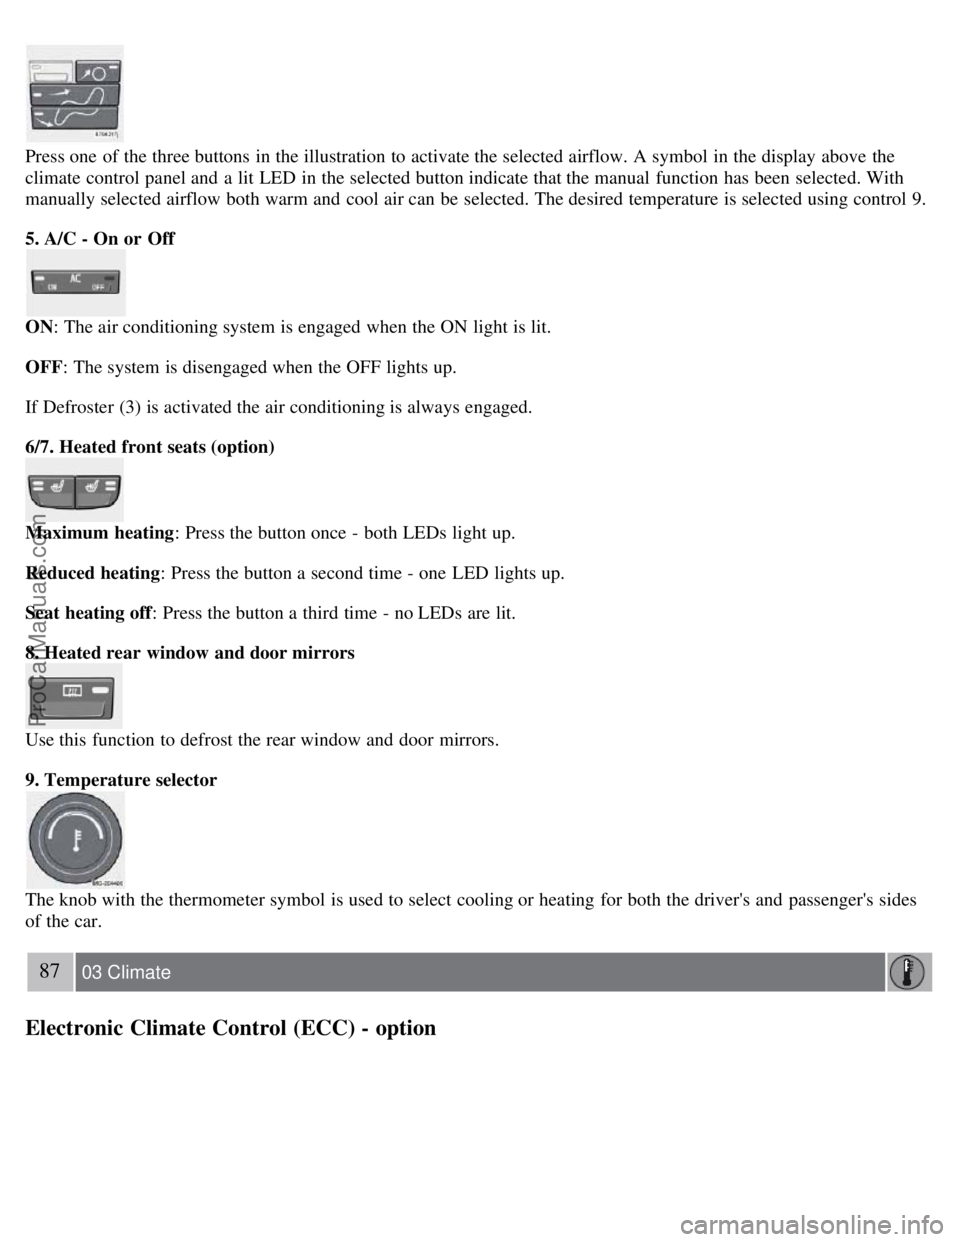
Press one of the three buttons in the illustration to activate the selected airflow. A symbol in the display above the
climate control panel and a lit LED in the selected button indicate that the manual function has been selected. With
manually selected airflow both warm and cool air can be selected. The desired temperature is selected using control 9.
5. A/C - On or Off
ON: The air conditioning system is engaged when the ON light is lit.
OFF: The system is disengaged when the OFF lights up.
If Defroster (3) is activated the air conditioning is always engaged.
6/7. Heated front seats (option)
Maximum heating: Press the button once - both LEDs light up.
Reduced heating : Press the button a second time - one LED lights up.
Seat heating off : Press the button a third time - no LEDs are lit.
8. Heated rear window and door mirrors
Use this function to defrost the rear window and door mirrors.
9. Temperature selector
The knob with the thermometer symbol is used to select cooling or heating for both the driver's and passenger's sides
of the car.
87 03 Climate
Electronic Climate Control (ECC) - option
ProCarManuals.com