2007 VOLKSWAGEN JETTA high
[x] Cancel search: highPage 232 of 477

Booklet 3.1 Controls and Equipment @
Applies lo veh icles: with cruise con tro l
Cruise control CRUISE or t-)
The indicator lig ht or ·r.i li g hts up when
the cruise contro l is sw itched
Powe r steering system
The pow er steeri ng syste m automatica lly ad
ju sts itself to the vehicle 's spee d and the steer ing
w heel angl e.
Th e wa rnin g light sh o uld ligh t up for a few sec
o nd s w hen th e ignition is sw itch ed on ..
T here is a m alfun ctio n in the power steering
sys te m i f th e warn ing light (
does 1101 go
o ut or ligh ts u p w hile yo u are dri vin g. The power
s te eri ng cou ld be re du ced (lamp ) or may have
fa iled co mpl etely
a nd thr ee aco usti c
wa rnin gs) . Ha ve th e powe r steering syste m
ch ecked by your au thori zed Volkswagen dea ler
s h ip as soo n as poss ible. If t he yellow wa rning
light r em ain s off afte r the ig niti on has been re
and you have driven a distance,
Fuel filler cap not closed properly
you do not n eed to an auth orize d Vo lk
s wag en d ea le rs hi p.
you nee d co nsid era bly m ore
for ce than norm al to stee r th e ve hicl e if th e
p ower ste ering is re duc ed or has failed com
pl etel y.
T he power steer ing do es not
w hen th e e n
gin e is off (e.g. wh en th e ve hicl e is being towed).
Tip s
If th e ban ery has bee n disconne cted, the ye llow
wa rning light li ghts up when the ig niti on is
s w itch ed on . I t shou ld go out when yo u h ave
dri ven a sh ort
This warning light lights when the filler cap is not prop erly closed .
If th e warn ing light come s on, you sh ou ld
turn th e e ngin e and th e fue l filler cap
p rope rly
Once the cap is prope rly close d all the way , th e
warn ing light will go out when th e ig n itio n is
turn ed on aga in and the ch ec k cycle is co mpl ete.
The comp le tion of the ch ec k cycle depend s on
how you d riv e.
High beam
If th e warnin g light ha s been o n for at leas t 5 it w ill go o ut onl y w hen th e ig niti on i s
turn ed and on aga in.
Note
A lways make sure the fue l filler ca p i s sc rewed on
a ll th e way. This pr eve nts fu el fr om spilling out
o r
This warning lig ht li ghts when th e hi gh beams are on.
The warn ing ligh t lights up wh en th e high
b ea ms are o n or when the head light flas her is
Instrument panel 29
Page 234 of 477

Booklet 3.1 Controls and Equipment
Opening and closing Keys
Key Set
Your vehicle's key set co ntains:
• two folding master keys
re m ote co ntrol
and panic bu 11on
• one va le t key
• one key
wi th key numb er.
Key tag
I f yo u n eed a re plac em ent key, tak e yo ur key
vehicl e.
If yo u se ll th e ve hicle, b e sur e
10 g ive the key 10 n ew ow ner.
WARNING
Improp er use of vehicl e keys res ult in se
riou s per sonal injury.
• Alwa ys tak e th e ke y with you when you
l eave the ve hicle. The engine can be sta rted
and vehicl e sys tems su ch as the pow er win
d ows ca n be operated leadi ng to serious per
s onal inju ry.
• Never le ave childr en, di sabled p ers ons or
anyone who canno t help them se lves in
ve
hi cle. The door s can be lo cke d using re
mot e co ntrol k ey. Thi s cou ld result in people
be ing trapped in
ve hicle in emerge ncy.
For exampl e, depending on the time of year ,
p eop le trapped in the vehicle can be exposed
to
high or low temperature s.
£0 WARNING (contin ued)
• Never re mo ve the key from steer ing lock
w hil e the ve hicle i s mo vingorwhile is rolling
lo a stop. The steering whee l co lum n will lock
up and you
not be able to ste er or contro l
the vehicl e.
N ote
• The k eys with th e re m ote c ont ro l electronic co mpo ne n ts. Pro tec t the se keys from
m ois ture an d roug h hand lin g.
• Never leave any vehicle keys in sid e th e ve
hi cle . Entry by unauth orized perso ns co uld
ha rm the ve hicle or yo ur ve hicl e co uld be s tolen.
A lway s tak e th e keys w ith you wheneve r yo u
l e ave your vehicl e.
numb er.
• The key numb er id entifi es th e
th e key
ha s 10 b e cut and all ows the mi croc hip in the key
t o be program med to work wi th the co ded elec
troni c imm obili zer in your vehicle .
• A key withou t the specia l micro chip or w ith a
c hi p
has 11 0 1 be en coded prope rly w ill not
wor k w ith your ve hicle, even if it has bee n cut
co rrec tly.
• Additiona l re m ote contr ol keys arc availab le
from auth orized Vo lksw agen dealer s. Each key
mu st be pro gramm ed to wo rk
yo ur vehicle .
• Yo u can use up to fo ur r em ote co ntro l keys
w ith your vehicl e . ._
Opening and closing Keys 31
Page 235 of 477

Booklet 3.1 Controls and Equipment
Remote control key
Locking and unlocking the vehicle
The remote control key can be used to lock and unlock the vehicle from a distance.
Fig. 14 A ssi gnme nt o f buttons on th e remote con tro l
k ey
Controls on the remote control key
Unlocking the vehicl e 14
Unlocking the rear
Lo cki ng the vehicle ©
Th e red
{PANIC! button ® activa tes the "pa nic
f un cti on" .
Press th e re le ase button © to fold out the key bit.
Th e re m ote contro l tran smitter and
batte ri es
ar e insid e th e key fob. The rece iver is in side the
ve hicle . T he maximum ran ge of th e remo te con
trol dep end s on various conditions. The range is
s h o rter when the balteric s are weak
15 .
The indicator light in th e key fob li ght s up when
cver
p u sh ed and when the
batt ery is ge llin g we ak.
Lo cking and unlocking
Usi ng "se t-up" in the inst rument clu ster you ca n
se lect doo r or doors un loc k you u se
th e remot e control. C hoo se th e sett ings yo u
want in the CONVENIENCE menu under DOOR
OPEN ..
Panic button
W hen yo u press t he panic butt on. horn
sou nds fo r about 30 seco nds an d th e turn signal s
32 Opening and closing Keys
Fig . 15 Ra nge of remote con'ro l
flash fo r about minut es. Press ing the pani c
butt on turn s them off. Use panic on ly in an emerge ncy.
Replacing the battery
Yo ur auth orized Volkswagen dealer can ch ange
the b atteri es for you.
WARNING
Improp er use of vehicl e key s ca n resu lt in se
ri ous per sona l injury.
• Alwa ys take the key with you when you
l e ave the vehicle. The en gine
be start ed vehicle systems such a s the power win
dow s can be operated le ading to seriou s per
sona l injur y.
• Never leave childr en, disab le d pe rsons or
anyone who cannot help them se lves in
ve
hicl e. The door s can be locked using the re
m ote con tro l ke y. This could r esult in peop le
b eing trapp ed in the vehicle in an emergency.
For exam ple, depending on the tim e of yea r,
people trapped in the vehicle can be exposed
to very high or low temp eratures.
•
build -up in the passenge r compar t
ment a nd luggage compartment of a parked
ve hicle can re sult in temp erature s in the ve-
Page 238 of 477
Booklet 3.1 Cont rols and Equipment
WARNING (cont inued)
• Never leave children, disabled persons or
anyone who cannot help themselves in the ve
hicle. The doors can be lock ed with the ce ntral
locking button. This could leave peo ple
trapped in the vehicle in an emergency. People
trapped in the vehicle can be exposed lo very
high or low temperat ures.
• Heat build-up in the passenger compart
ment and luggage compartment of a parked
ve hicle can result in temperatures in the ve
hicle that are much higher than the outside
t emperatures, particularly in summer. Tem
perature s can quickly reach leve ls that can
cause unconsciousness and death, particu
l arly lo small children.
Child safety locks
WARN ING (con tinued)
• Never allow passenge rs lo remain in a
lock ed vehicle. Locked doors can delay assis
tance to vehicle occupants and rescue from
the outs ide in the event of an emergency. In an
emergency any person still in sid e th e vehicle
might not be able to get out.
Tips
Wh en you lock your ve hicle with the central
l ocking button:
• The doors and the rear lid cannot be ope ned
from the out sid e ( fo r your safety, for examp le,
when stopped at a traffic light).
• If yo u tr y to lock the vehicle using the central
l ock ing button while the driv er's doo r is still
open, the driv er's door will not lock. This feature
pr eve nts you from locking yourself out of the
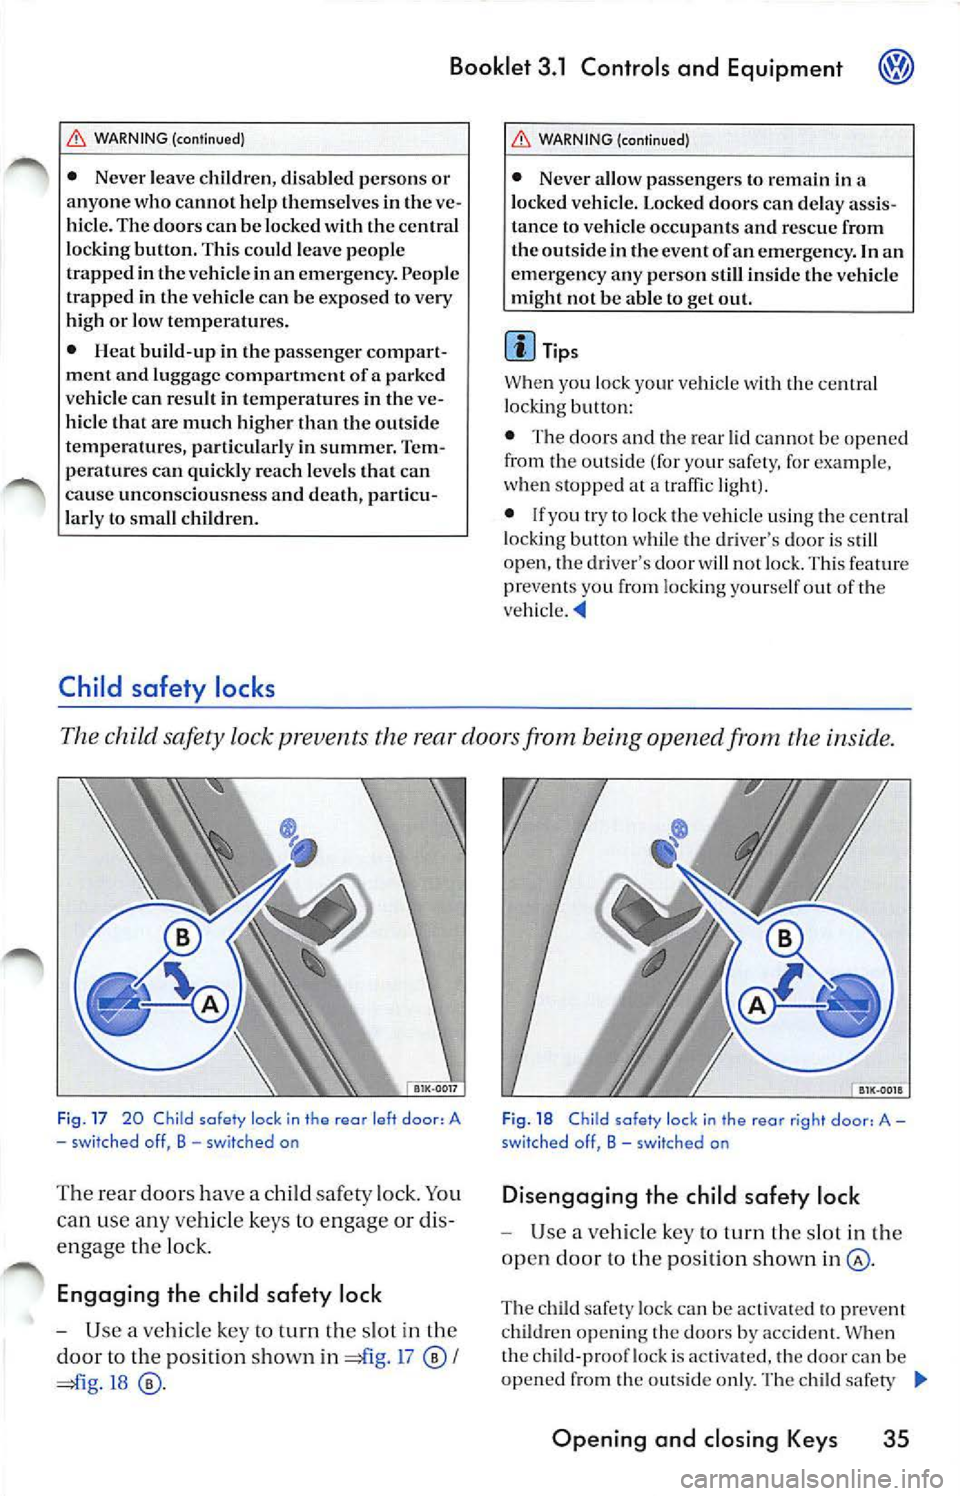
The child safety lock prevents the rear doors from being opened from the inside .
Fig . 17 20 Child safety lock in the rear left door, A
- sw it ched off, B - switched on
The rear doors have a child safety lock . You
can use any vehicle keys to engage or dis
engage the lo ck.
Engaging the child safe ty lock
- Use a vehicle key to turn the slot in the
door to the position sh own in =£l g. 1 7
I
=ii g.18
Fi g. 18 C hild safe ty loc k in the rear r ig ht doo r, A -
swit ched off, B -sw itched on
Di sengaging the child safety lock
Use a vehicle key to turn th e slot in the
open door to the position shown
The child safety loc k can be activat ed to pr eve nt
chi ldren ope ning th e doors by accident. When
the child-pro of lock is act ivated, the doo r can be
opened from the o utside only. The ch ild safe ty
Opening and closing Keys 35
Page 241 of 477

Booklet 3.1 Controls and Equipment
WARNING (continued)
• Never transport objects larger than those
fitting completely into the luggage area be
cause the rear
cannot be fully closed.
• If you absolu te ly must drive with the rear
lid open, observe the following notes to reduce
the risk of carbon monoxide poisoning:
Close all windows ,
Close the power roof,
Open all outlets in the in strument
panel,
Swi tch off the air recirculation,
Set the fresh air fan to the highest speed.
• Never leave yo ur veh icle unattended or let
ch ildr en play around your vehicle , esp ecially
with th e rear lid left open. A child could craw l
into the vehicle through the luggage com part-
Closing the rear lid
Place you r hand into one of the hand le
rece sses in the in sid e trim of th e re ar lid
and pull the rea r Lid do wn.
If the vehicl e is loc ke d (anti-theft alarm syste m
act ivate d ) and the r em ote co ntrol k ey is use d t o
o p en
rea r lid onl y, th e rea r li d is loc ke d im
m ediat ely w hen it is cl ose d. A ll turn sig n als flas h
bri efl y as co nfirmati on.
A di spl ay ap p ea rs in the in strum en t clu ster if th e
r e ar lid i s not properl y close d.
WARNING
Always close the rear lid properl y to help avoid
ser iou s personal injury.
• Never let anyone
in the way of the of the rear lid or its hin ges when the rear lid is
closing.
• Always make sure that the rear lid closes
properly when you close it so that
it cannot
open s udden ly while the vehicle is moving.
38 Opening and closing Keys
WARNING (cont inued)
ment and pull the lid shut becoming trapped
and unable to get out. Being trapped in ave
hicle can l ead to ser iou s persona l injury.
• Heat build-up in the passenger compart
ment and luggage compar tmen t or a parked
vehicle can result in temperature s in the ve
hicle that are much high er than the outside
temperatures, particularly in summer. Tem
pera tures can quickly reach leve ls that can
cau se unconsciou sn ess and death, particu
larly to sma ll ch ildr en.
Tips
At t emp era tur es below O • th e re ar lid will not
o pe n aut om atic all y a ll th e w ay afte r unl ockig it.
I t wil l b e necess ary to lift it by hand
WARNING (continued )
• Never leave your vehicle unattended or let
ch ildr en p lay around your vehicle, especially
w ith the r ear
op en. A child could craw l
into th e vehicle through the luggage compart
ment and pull the lid shut becom ing tra pped
and unable to get out. Being trapped in ave
hicl e can lead to serio us per sona l injury, esp e
cially when it is very hot or co ld.
• Nev er le ave c hildren, disabled per son s or
anyone who ca nnot help themsel ve s in the ve
hicle . The doors ca n be locked using the re
mot e co ntrol key or the central lo cki ng button.
Th is cou ld result in peop le being trapped in
the veh icle.
• Hea t b uil d-up in the passenger compart
ment and luggage compartm ent of a parked
vehicle ca n result in temperatures in the ve
hicle that are much higher than the outside
t e mperat ures , particularly in summer. Tem
peratures can quick ly reac h leve ls that can
cau se unconsciousness and death, particu
larl y to small children
Page 249 of 477
Booklet 3.1 Controls and Equipm ent
Lights and a clear view
Light s
Switching the lights on and off
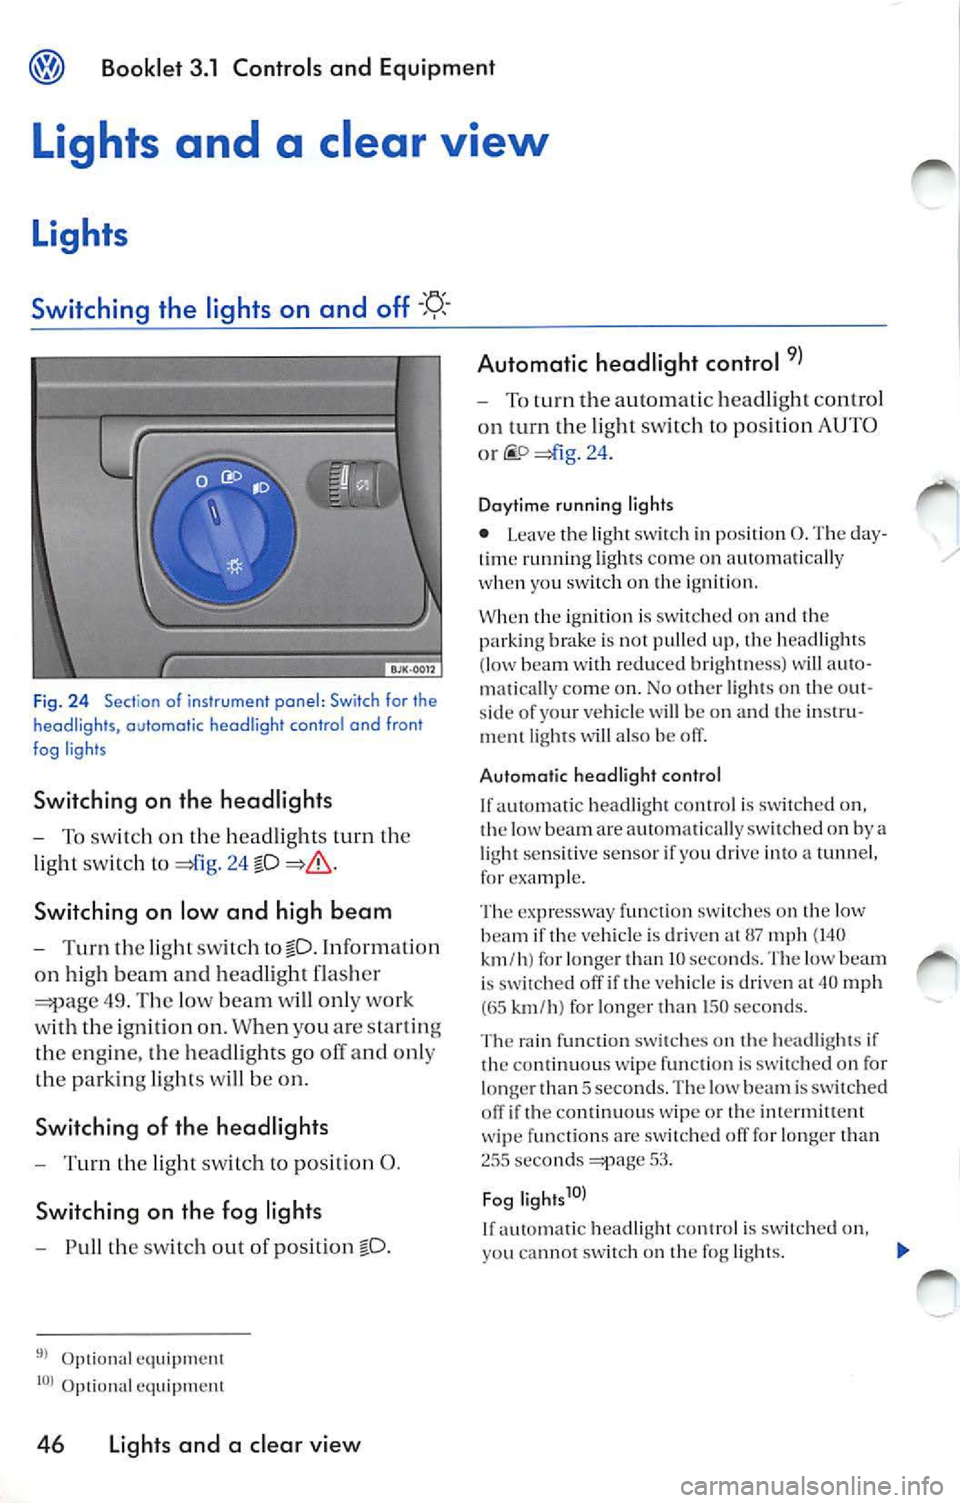
Fig. 24 Sectio n of i nstrument panel : Switch for the
headligh ts, automatic headlight contr o l and fron t
fog ligh ts
S w itching on the h eadl ights
T o sw itch on the head lig hts turn the
lig ht sw it c h to
24 fD
Switching on low and high b eam
T urn the lig ht sw itch tofD. Informati on
on hig h bea m and head light flas her
49 . Th e low beam will only wor k
with the ignition on. When you are startin g
th e engine, the hea dlights go ofT and only
the park in g lights will be on.
Switchin g of th e he adli ght s
Turn the ligh t sw itc h to posit ion 0.
S witchin g on th e fo g light s
Pull the switch ou t of po sit ion fD.
Optional equipm ent
Optiona l e quipment
46 Li ght s a nd a cl ea r vi ew Automatic headlight cont
rol
To turn the au tomatic headl ig ht control
o n tu rn th e lig ht sw itch to posit ion
AUTO
o r =)fig . 24 .
Da ytim e runni ng l ig hts
• L eave the light swi1ch in posit ion 0. The day
t im e ru nning ligh ts come on automa tica lly
when you switch o n the ignilion.
When 1he ignition is sw i1che
( low beam with r edu ced bri gh 111e ss) will au 10-
111a 1ica lly come on. No
lighls on the o ut
s ide of your vehicle will be on and 1h e in s1ru
men1 ligh ts will also be off.
Automatic hea dli g ht co ntrol
lfau10ma1ic headligh 1 co n1r ol is swi1c hed on,
th e low beam are auloma tica lly sw ilched on by
light sens it ive senso r if you drive in to tunne l,
for exam ple.
T he expre ssway func1io n swi 1c h es o n 1h e lo w
beam if 1he vehicle is dri ven al
mph (140 km /h ) for lon ger 1han IO seco nds. T he low beam
i s swi1ched off if 1he vehicle is dri ven 40 mph (65 km /h ) for lo n ge r th an 150 seco nds.
Th e rain fu nction switch es on the hea dlig ht s if
1h e
wipe function is swi tc h ed on for
long er 1h an 5 sec ond s. The low beam i s switched
o ff if th e co n1inuou s wipe o r 1he in1ermitt ent
w ip e funct ions are sw i1ch ecl
for lo nge r 1han seco nds 53.
Fog lig ht s
If a u1omatic hea dli gh 1 con ! rol is sw i1c hed on,
yo u canno t sw i1c h on 1h e fog ligh1 s.
Page 250 of 477

Booklet 3.1 Controls and Equipment @
WARNING
Cras hes a nd oth er acci dcn t s ca n hap pen w hen
yo u cann ot sec the road a head a nd when yo u
ca nn ot b e see n by other m otor is ts.
• Never use day time runn ing ligh ts to sec
w here yo u are goi ng. Th ey a rc no t b right
eno ugh an d w ill n ot let y ou sec fa r eno ugh
a h ea d for safety especia lly a l dusk or w hen it i s
dark. Always sw itch on the low bea m at du sk
or w hen it is dark .
•
t a il li ght s do not ligh t u p w hen da y
tim e runnin g lig ht s arc o n. A ve hicle w ithout
r ear ta il li gh ts turne d on ca nn ot b e see n by
ot hers in b ad wea the r at dusk o r w hen it s d ark .
Applies to ve hicles: with Highline instrument clus ter
WARN ING (continued)
• If aut oma tic head light cont rol is sw itch ed
o n, th e low bea m and w ill n ot be
switc hed on in fog or heavy You have to
sw itc h on t he low bea m using t he light sw itch .
• J\lways tu rn on th e he adli ght s befo re d usk
a n d in ra in or fo g so th at yo u ca n see a head
and so that oth ers can see your vehicl e from
t h e bac k.
Tip s
I f yo u re m ove the key from t he ig n ition lock w ith
t he ligh ls s till on, a b uzze r w iU sou nd when you
o pen
dri ver's door re mi nd yo u turn light s off .
• Always observe loca l o rdin an ces a nd traffi c
regu la tion s w hen using yo ur lights. •
Coming /leaving home function (orientation lighting)
T he comi ng hom e/ leav ing home functio n is ro lled by ligh t sensor.
Coming h om e function
If th e hea dlight s sw itc h
46, is in th e
"Au to ma tic headligh t co ntrol" (AUTO or po
sition whe n the ig n it ion is sw itc hed off an d th e
driver's door is opened and closed,
co ming
h o m e fun ction (sw itc h-off delay) switch es on
th e orientat ion ligh ti n g. The le ngth of
sw itch-o ff delay ca n be adju sted, o r sw itch ed off
co mple te ly, in Lights a nd vis io n 17.
L e a vi ng h om e fu ncl ion
th e ve hicl e is un locked, the leav ing hom e
func tion switch es on orie nt atio n li gh tin g. The lig
htin g is switched off as soo n as t he ign i
t ion is s witched on.
Tips
I f th e co min g home or le aving hom e fu nct ion is
sw itched on, the head ligh ts, s ide mar ke r ligh t,
t ai lli g h t a nd lice nse pla te ligh ts w ill come on.
• If yo u r em ove t he ignitio n key and open t he
dr iver door while the vehicle ligh ts are on , you
w ill not h ear an acoust ic warning if the comi ng
home funct io n is sw itched on.
• You can set th e com ing hom e fu ncti on
s wit ch off delay in th e Lights and vis io n
menu , provid ed yo ur ve hicl e has th is m en u in t he
di spla y.•
Lights and a clear view 47
Page 252 of 477

Booklet 3.1 Controls and Equipment
em erg ency flasher also works when th e ign ition
i s sw itched off .
L'.D, WARNING
A vehicle stalled or stopped on or bes ide a
highway can be st ruck by ot her vehicl es and
increase the risk of se rious per sonal injury.
• Whenever s tall ed or stopp ed fo r repair ,
move th e ve hicl e a safe distan ce off the road,
s top the engine, and turn of the emergency
WARNING (continued)
flash er and use a warning tria ngle or similar
d ev ice to warn approa ching
• Never park the vehicle in areas w here the
h ot cata ly tic con verter and exhaust system
ca n come in contac t w ith dry grass, brush, fu el
s pill or oth er mater ia l that can ca use fire.
Tips
Yo u can disc harge the ve hicle batt ery if yo u le ave
t h e eme rgency flash er on for a Jo ng time
Turn and high beam lever
The tum signal and high beam lever also operates the headli ght flashe,:
F ig. 27 Turn signal and high beam lever
The turn sig nal a nd high b eam lever has
rhe follo win g fun ctions:
Using the turn signals
-Mo ve the leve r a ll th e way up 27
to indicate a right turn, and all th e way
down
t o in di cat e a left turn .
Changing lane s
-Push the lever up or down to the point
w here yo u ca n start to feel res is tan ce. The
t u rn sig nal fla sh es as lon g as yo u hold the
l ever in thi s po sit ion.
Switching the h igh beam on and off
- Turn the light sw itch to
- Press th e lever fo rwa rd to po sit io n to
sw itch on the high beam s.
- Pull th e le ver back toward you to swit ch
th e hig h b eam off again.
Headlight flasher
- Pull th e lev er tow ard t he s tee rin g w hee l
to operate the
L'.D, WARNING
I mp roper use of the hea dlight fla sh er or the
hi gh b eams ca n di strac t oth er dri vers ca usin g
a cras h and serio us personal injury.
• Never use the head light flash er and high
bea ms w hen the y w ill bl ind or di stra ct ot her
m otor is ts .
• Always use the turn sig nals when chan gin g
l a n es to al ert ot her motori sts.
Tips
• The signa ls o nl y work w hen the ign ition
i s swi tched on. The co rrespo nding warnin g light
fla sh es in th e in strum ent clust er.
• The
then
co me s on in th e in strum ent clust er.
• The
flasher co mes on for as lon g as
yo u pu ll th e leve r- eve n if no oth er light s are
s w itch ed on. The warning lig ht
th en comes
o n in the instrum ent cluste r.
Light s and a clear view 49