Page 342 of 541
Note
After replacing a headlight bulb or other light bulb, always make sure that the rubber covers or plastic ca ps have been properly and securely rein
s talled to help prevent water from gettin g into the
e lec trica l connection s and headlight hou sin g and damaging th e e lectrical system_
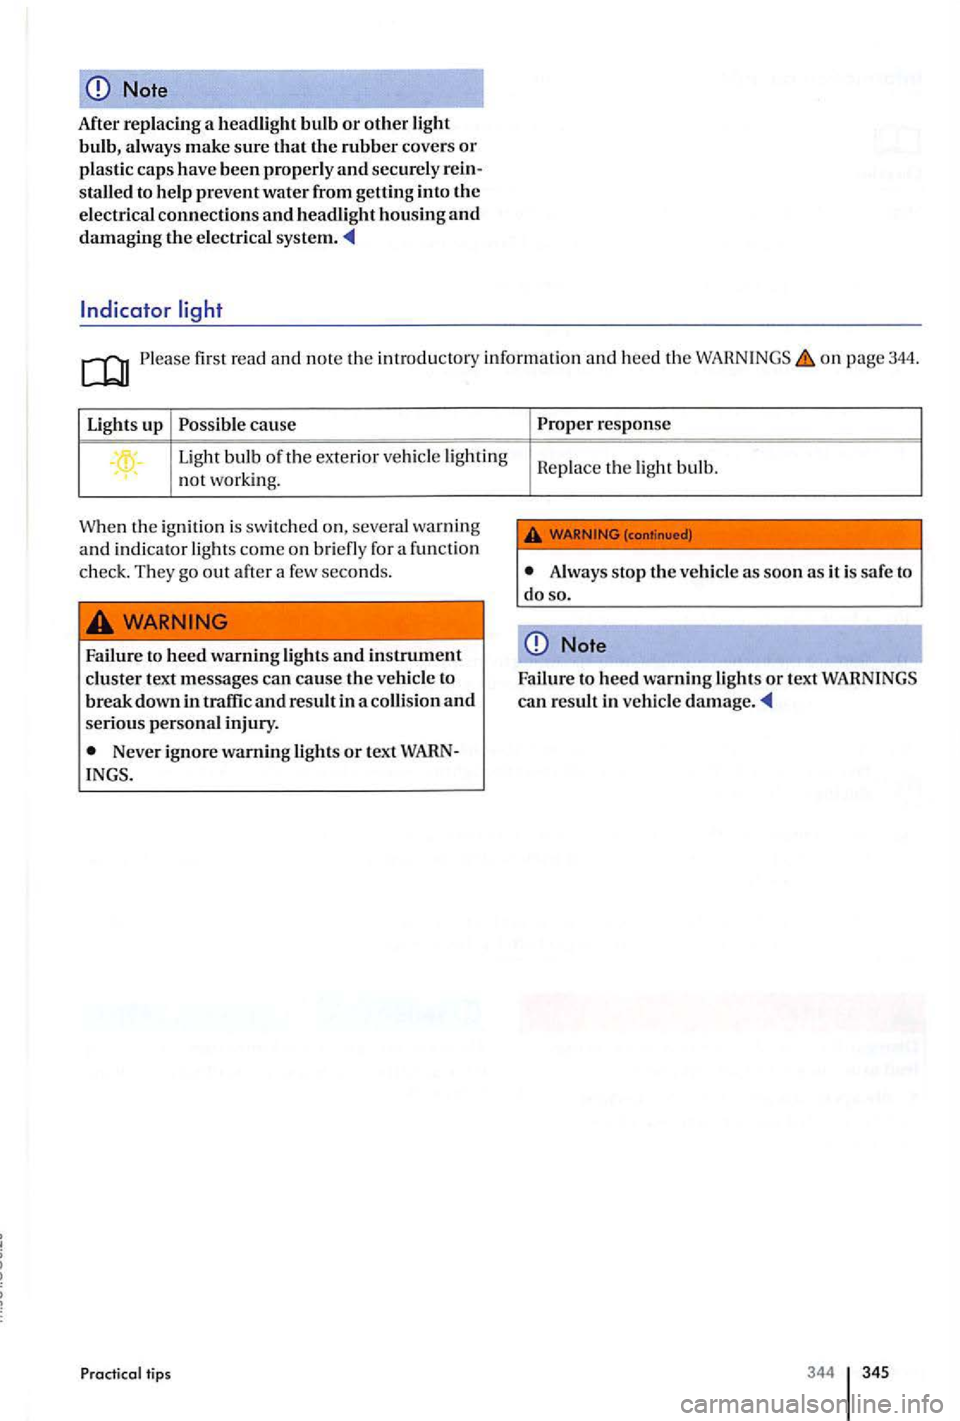
Please first read and note the introductory information and heed the o n page 344.
Lights up Possible cau se
Light bulb of th e exterio r ve hicle lighting . not working .
W
hen the ignit ion is swi tc h ed on, severa l wa rnin g
and indi cator lights come on briefl y for a fun ction
check. They go out after a few seconds.
Failure to heed warning lights and instrument cluste r text messages can cause the ve hicle to break down in traffic and result in a co llision and serious personal injury.
Never ignore warning lights or tex t WARNINGS.
tips
Proper response
R
epl ace the ligh t bu lb.
WARNING
A lways sto p th e ve hicl e as soon as it is safe to
do so .
Note
Failure to heed warning lights or tex t WARNINGS can result in vehicl e damage.
344 345
Page 343 of 541
Please first read and note the introdu cto ry information and heed the on page 344.
for re pla cing a light bulb. Please carry out these ste p s only in the order
page 188.
3. Turn the light switch page
4. Move the tu rn signal lever to neutral page
5. Auto mati c transmission: 179.
6. the eng ine and re move the key from the ig ni tion page 172.
7. Manu al transmission: Engage a page 179.
8. Let orie nt ation lighting go page
9. Let the burned out light bulb cool down.
page 341.
11. R e place the burned out light bulb accordi ng Always replace a burned-out light bulb with a good bulb with the sa me s pecifications. Specifications are on the g lass bulb or on
the meta l base.
12. Neve r tou ch the glass of th e light bulb with your bare hands. Finge rprin ts can clo ud t he o uter sur
f ace of the light bulb when heated, affec ting the lighting power, clouding the reflector, andre
d u ci ng th e brightness.
13. Always make sure th at the new bulb works. the bulb does not work, it may not be installed cor
rectly; the connector may no t be co mplet ely seated; the correspondin g fuse may be burned out; or the bulb may be bad.
14. Always have th e headligh ts adj usted by an authorized Vol k swage n dealer or an a uth orized swagen Service Facility
to accidents and serious Injuries.
Always review and follow the
Note
Alway s insert and remove lamps car efully to avoid damage to the vehicle paint or to other parts of the
Page 344 of 541
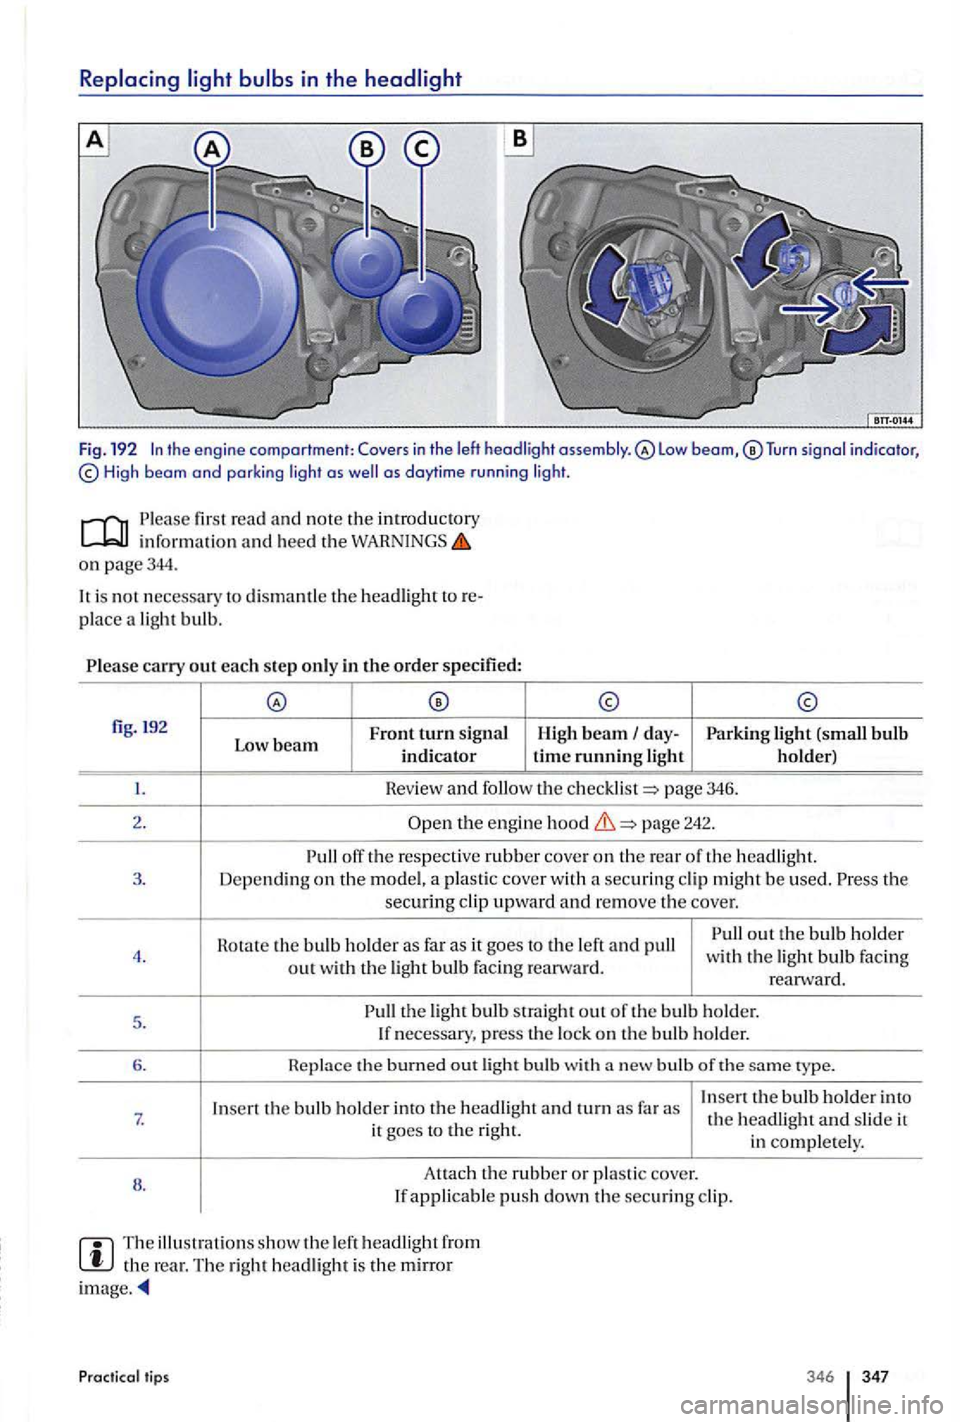
in the
Tu rn signal indicator, High beam and parki ng light as as daytime r u n ni ng lig ht.
fir st read and no te the introductory inform ation and heed the o n page344.
is no t necessary to dismantle th e headlight
pl ace a light bulb.
carry out each step only in the order specified:
fig. !92
Front turn sig n al
Low beam indicator H ig h beam day-Parking light (small bulb time running light h older)
Hev ie w and follow th e page 3 46.
2.
t h e engine page 2 42.
off the respective rubber co ve r on th e re a r o f th e 3. Dep endi ng on the model, a plas tic cove r w ith a securing cl ip mig h t be used. th e secu ring cl ip upward and r emove the c o ve r.
Rotate th e bulb h older as far as it goes to the left and pull out the bul b h old e r 4. with the light bulb Faci ng
out with t h e ligh t bulb facing rearw ard. rearward.
5 .
the light bulb straight out o f th e bulb ho ld er.
I f necessary, press the lo ck on th e bulb holder.
6. the burned out light bulb with bulb of th e ty pe.
I n
sert the bulb holder into the headlight and turn far as Insert th e bulb holder into 7. th e headligh t and sli d e it
it goes to the right.
in complete ly .
8 . Attac
h
the rubber or pla sti c c over. If applicable push down the securing cl ip.
The illu stra ti ons s how the le ft headlight fro m the re ar. The right h eadlight is the mirror ima ge.
Practical lips 346 347
Page 345 of 541
firs t read and n o te th e information and heed the o n page 344.
the cove r forward in the direction or the fig.
fas te n in g sc rew the screwdrive r the ve hicle page 32 6.
Fold the headlig
ht assembly slig htl y and pull out or the fig. (small row s).
H e le a
se th e connector pull it ofT.
H o tat e the bulb ho ld e r as it goes to the a nd pull it out with the ligh t bulb to the rear.
7. H e place the burned out light bulb w ith a new bulb of the sam e type.
8 .
to the bul b holder Th e connector must latch audibly.
10. fig . (s m all arrows) a nd fo ld
the fastening fig. tig h tly wit h the sc rewdrive r.
t h e cover into the fig .
Do it yourself
Page 346 of 541
in th e rear hatch
Fig. 195 the rear hatch: Removing the bulb holder.
first read and note the introducto ry info rm ation and heed the on page 344.
Revie w and follow the page 346.
2. page 45.
3. With the fla t blad e of the scre wdri ver from the ve hicl e too l kit 326 ) ca refull y pry off
the cove r a t the fig.
4. and re move th e bulb h ol der.
5. R e place th e burned out light bulb with a new bulb of the sam e type.
6. Heplace th e bulb hold er. The lo ckin g lu g must latc h audib ly.
7. A nac h the cover. The cover must l atc h tig htly.
Taillights w ith have a light bulb f or the back up light. This bul b can b e rep laced .
Practical tips 348 349
Page 347 of 541
Replacing tailligh t bulbs in the body of the vehicle
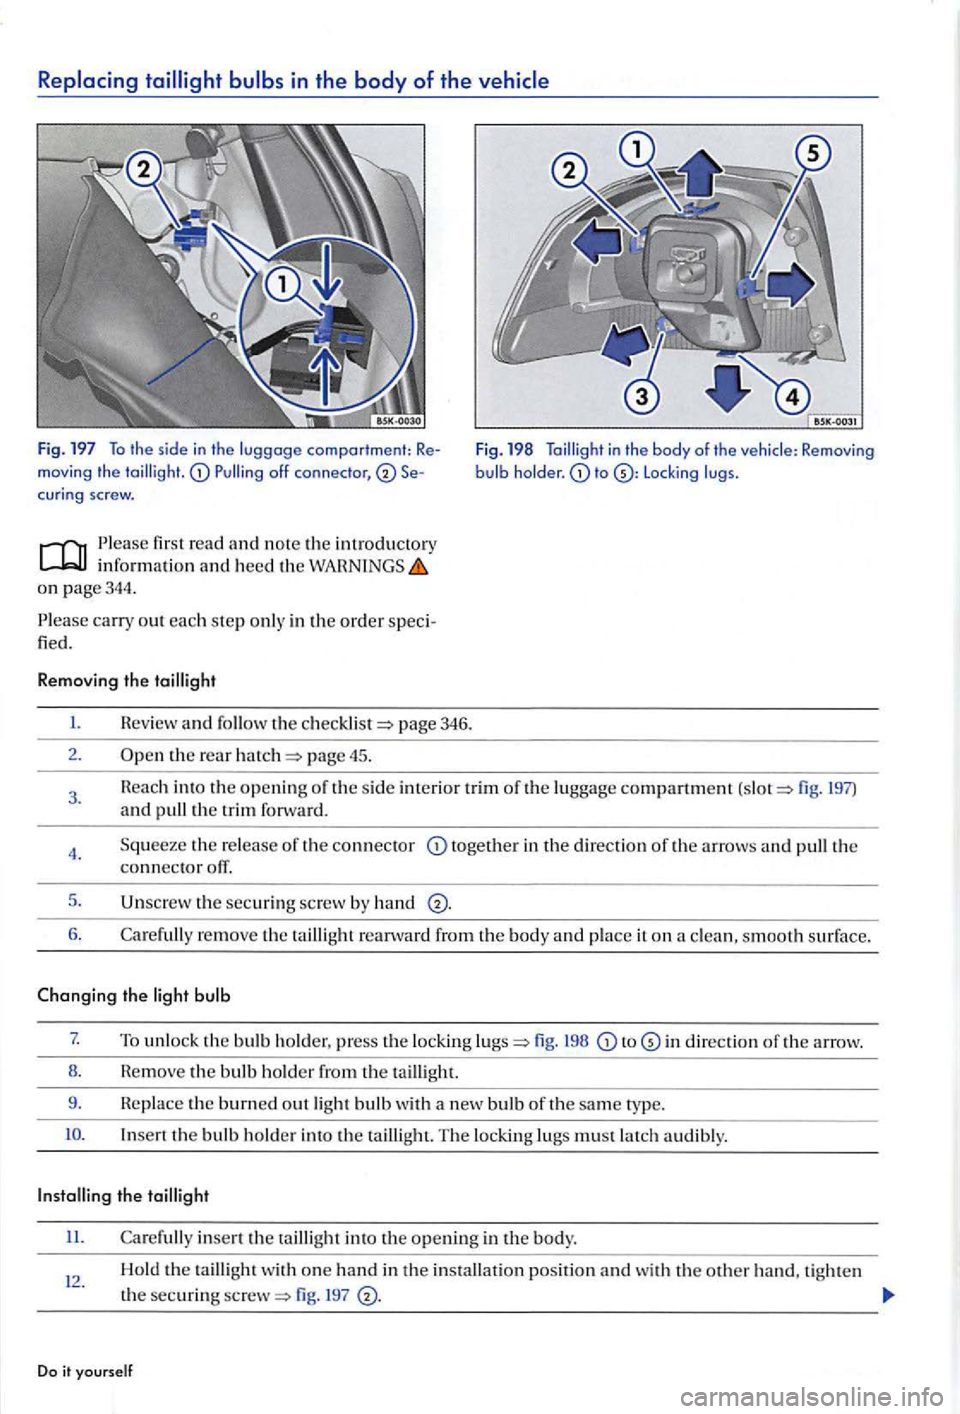
fig. 197 To th e s id e in th e luggage comportment: Remov ing th e cur in g screw.
Please fir st read
o n page 344 .
P l
ease carry out each ste p onl y in the order speci
fied.
Removing the
I. Review and the page 346.
2 . the rear page 45.
Fig. 198 to L oc king lugs .
3. 197) and pull the trim forwa rd .
4.
5.
6.
the re lease of th e connector together in th e direction of the arrows and th e connector otT.
th e securing screw by hand
Care full y re move th e taillig ht reanvard from th e body and place it on a clea n , s mooth surface.
Changing the light bulb
7. To unlock the bulb hold er, press th e locking fig. 198 to in direction th e arrow.
8 . Hem
ove th e bulb ho lder th e ta illi ght.
9 . Re
place the burned out light bulb w ith a n ew bulb or the same t ype.
Insert the bulb holde r into the tailli gh t. The lockin g lugs must latch a udibly.
II. Carefull y insert th e ta illight into the op en in g in the body.
12 . Hold the ta illight w ith o ne hand in th e in stallatio n position and wi th the othe r hand, tighte n
t h e
securing 197
Do it yo urself
Page 348 of 541
Check for prop er in stallatio n and secure fit of
Attac h t he page fig. to the bul b ho ld er.
H eplace the s id e inte rio r tr im of the lu gg age co mpartm ent.
C lose t h e re ar hatch page 45 .
D ue to diff ere n t v ers io ns of t he th e
re p resentati on in the illustratio ns.
Taill ights w ith h av e a bulb fo r the turn signal. This bul b ca n b e
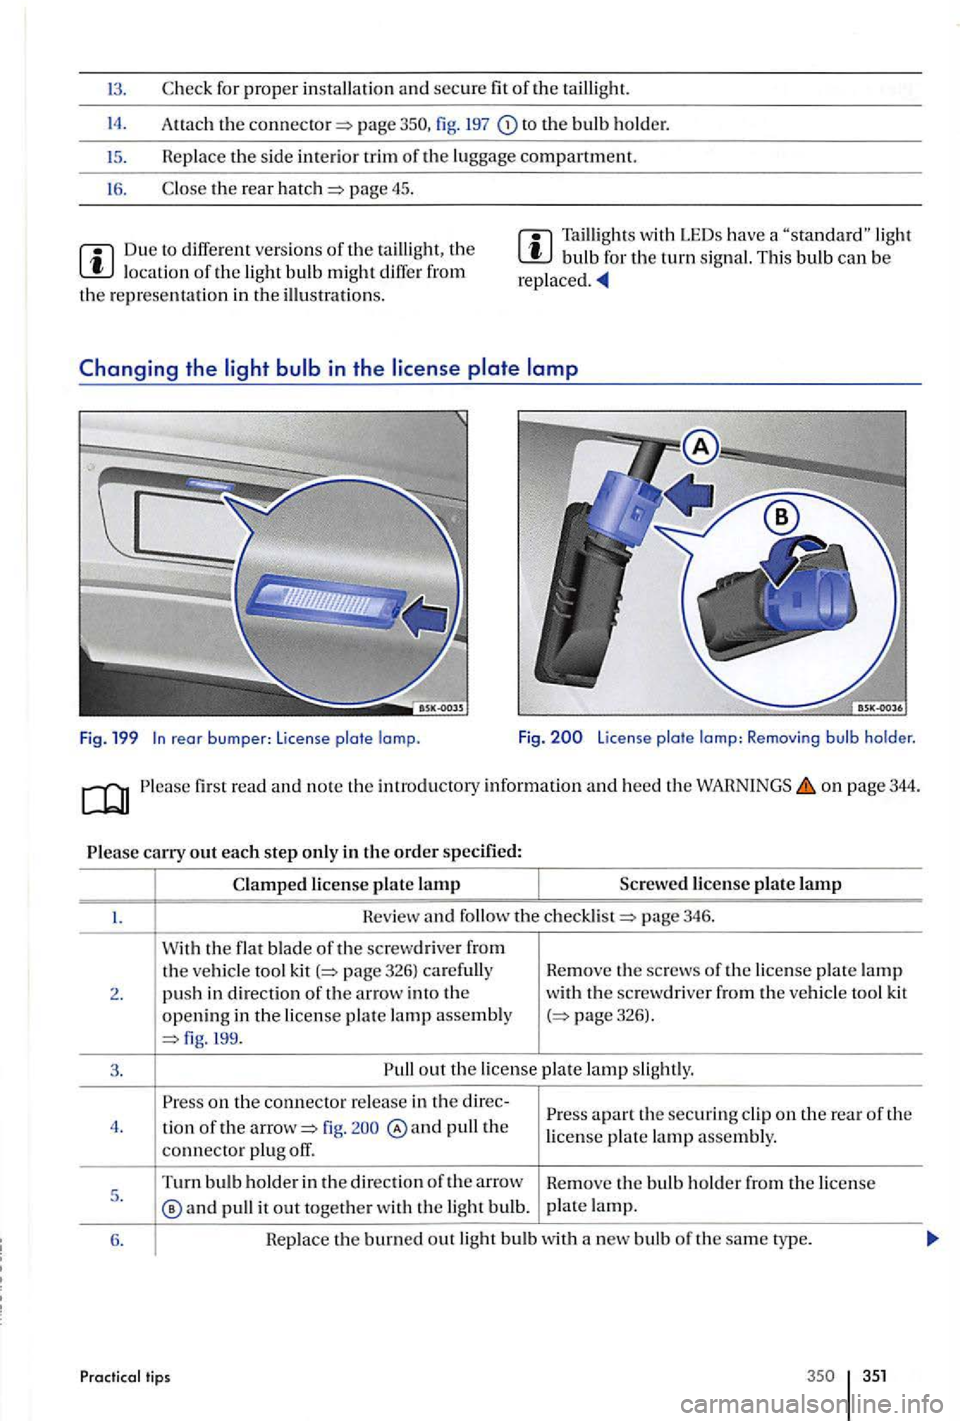
rear bumper: License plate lamp. Fig. License plate lamp: Removing bulb holder.
on page 344.
page 346 .
W ith
the flat bla de o f the screwdriver fr om the ve hicl e tool kit
3 . out th e license la m p sligh tly.
o n the connecto r re le ase in th e apa rt th e sec urin g cl ip on the rear of t he
4 .
lio n of the fig . pull the license plat e lam p assembly .
connect o r plu g off.
Turn bulb ho ld er in the direc tio n of the arro w
He move th e bul b ho ld er fr om the license 5 .
®an d p ull it out togethe r w ith th e light bulb. p
la te lamp.
6.
Hepl ace the burned out light b ulb w ith a new bulb of the sam e typ e.
Practical tips 35 1
Page 353 of 541
Improper usc of jumper cables when starling a ve hicl e wit h a dead battery can cause the battery to exp lode, leading to serious sonal injury. To help red uce the risk of battery
explo sion:
All work on the batteri es or the elec trical
sys tem in your veh icle can cause serious acid burns, fire s, or e lec trica l shocks. Always read and heed the followin g WARNINGS and safety
precaution s before working on the batteries or the electrical page 257,
Always wear proper eye protection. Never
lean over the vehicle batteries.
Attach the jumper cables in the correct order:
first the positive cable, then the negative cable.
Never connect the negative cable from the ve hicl e providing starting assistance to parts of th e fuel system or to the brake hoses or brak e
line s.
Never allow no n-i nsu lated parts of the battery clamp s to touch. Never allow the jumper cable attache d to the positive battery terminal to
contact metal parts of the ve hicle.
Do it yourself
hicl e battery. If you cannot sec the color ofthe window clearly, never usc a cigare tte
light er, or other open Use
Avoid electrosta tic dischar ge in the vicinity of the ve hicl e battery . Sparks may cause the
Neve r jump start
A lways follow the instru ction s of the jumper cable manufacturer.
Always make sure that the battery providing
star ting assistance has th e same vo lta ge as the dead battery (12 V) and about the same capacity
(sec battery lab el).
Batterie s give off explos ive hydrogen gas. ways keep fire, sparks , open and smoking
materials away from batteri es.
Never connect the negat ive cab le from the other vehicle directly to the negative terminal of the dead battery. The hydrogen gas from the battery is exp losive.
Neve r short out the battery te rminals by co nn ecting the positi ve(+) and negati ve(-)
terminal s with each other.