Page 261 of 611

2522007 TUNDRA from Jul. ’07 Prod. (OM34463U)
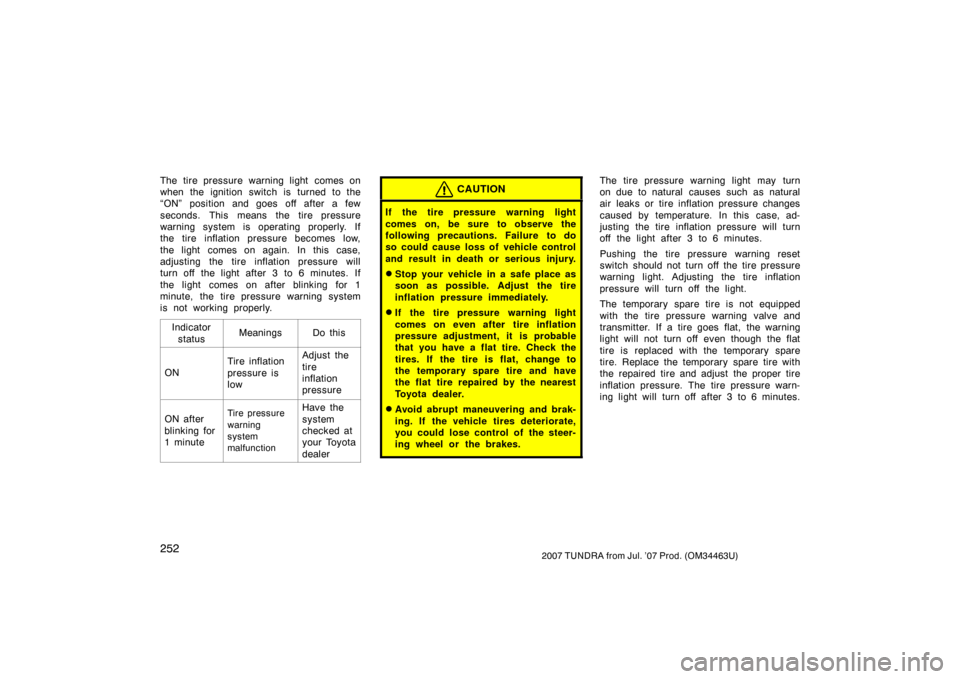
The tire pressure warning light comes on
when the ignition switch is turned to the
“ON” position and goes off after a few
seconds. This means the tire pressure
warning system is operating properly. If
the tire inflation pressure becomes low,
the light comes on again. In this case,
adjusting the tire inflation pressure will
turn off the light after 3 to 6 minutes. If
the light comes on after blinking for 1
minute, the tire pressure warning system
is not working properly.Indicatorstatus
MeaningsDo this
ON
Tire inflation
pressure is
lowAdjust the
tire
inflation
pressure
ON after
blinking for
1 minuteTire pressure
warning
system
malfunctionHave the
system
checked at
your Toyota
dealer
CAUTION
If the tire pressure warning light
comes on, be sure to observe the
following precautions. Failure to do
so could cause loss of vehicle control
and result in death or serious injury.
�Stop your vehicle in a safe place as
soon as possible. Adjust the tire
inflation pressure immediately.
�If the tire pressure warning light
comes on even after tire inflation
pressure adjustment, it is probable
that you have a flat tire. Check the
tires. If the tire is flat, change to
the temporary spare tire and have
the flat tire repaired by the nearest
Toyota dealer.
�Avoid abrupt maneuvering and brak-
ing. If the vehicle tires deteriorate,
you could lose control of the steer-
ing wheel or the brakes.
The tire pressure warning light may turn
on due to natural causes such as natural
air leaks or tire inflation pressure changes
caused by temperature. In this case, ad-
justing the tire inflation pressure will turn
off the light after 3 to 6 minutes.
Pushing the tire pressure warning reset
switch should not turn off the tire pressure
warning light. Adjusting the tire inflation
pressure will turn off the light.
The temporary spare tire is not equipped
with the tire pressure warning valve and
transmitter. If a tire goes flat, the warning
light will not turn off even though the flat
tire is replaced with the temporary spare
tire. Replace the temporary spare tire with
the repaired tire and adjust the proper tire
inflation pressure. The tire pressure warn-
ing light will turn off after 3 to 6 minutes.
Page 512 of 611

5032007 TUNDRA from Jul. ’07 Prod. (OM34463U)
LS40036
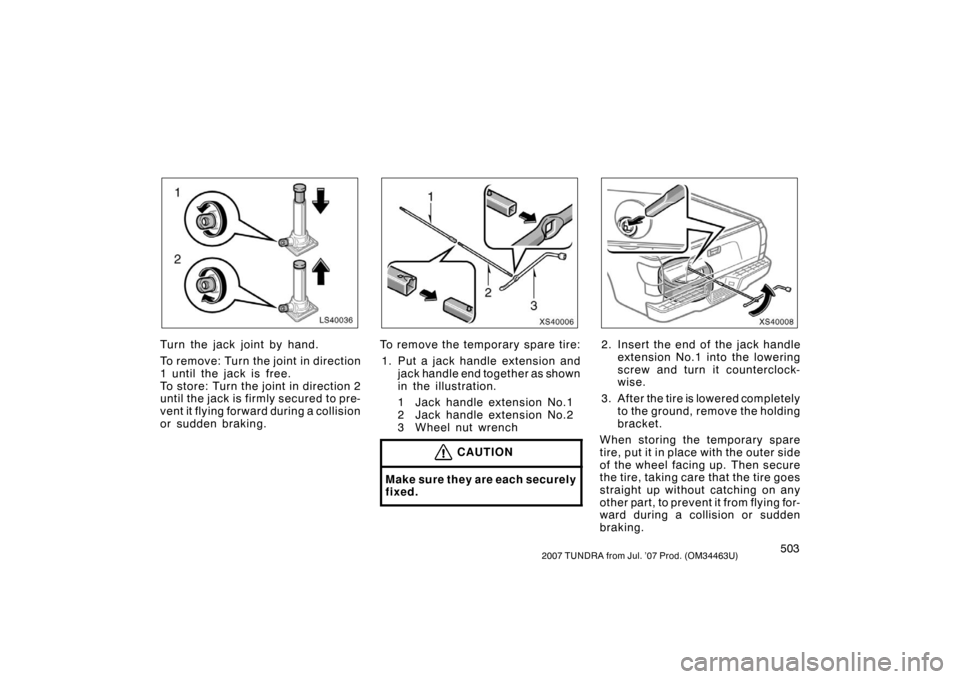
Turn the jack joint by hand.
To rem ov e: Tur n the joint in direction
1 until the jack is free.
To store: Turn the joint in direction 2
until the jack is fi rmly secured to pre-
vent it flying forward during a collision
or sudden braking.
XS40006
To remove the temporary spare tire:
1. Put a jack handle extension and jack handle end together as shown
in the illustration.
1 Jack handle extension No.1
2 Jack handle extension No.2
3 Wheel nut wrench
CAUTION
Make sure they are each securely
fixed.
XS40008
2. Insert the end of the jack handle
extension No.1 into the lowering
screw and turn it counterclock-
wise.
3. After the tire is lowered completely to the ground, remove the holding
bracket.
When storing the temporary spare
tire, put it in place with the outer side
of the wheel facing up. Then secure
the tire, taking care that the tire goes
straight up without catching on any
other part, to prevent it from flying for-
ward during a collision or sudden
braking.
Page 516 of 611
5072007 TUNDRA from Jul. ’07 Prod. (OM34463U)
XS40018
7. Remove the wheel nuts andchange tires.
Lift the flat tire straight off and put it
aside.
Roll the spare wheel into position and
align the holes in the wheel with the
bolts. Then lift up the wheel and get
at least the top bolt started through
its hole. Wiggle the tire and press it
back over the other bolts.
XS40019
Before putting on wheels, remove any
corrosion on the mounting surfaces
with a wire brush or such. Installation
of wheels without good metal− to−met-
al contact at the mounting surface can
cause wheel nuts to loosen and
eventually cause a wheel to come off
while driving.
XS40020
8. Reinstall all the wheel nuts fin- ger tight.
Reinstall the wheel nuts (tapered end
inward) and tighten them as much as
you can by hand. Press back on the
tire back and see if you can tighten
them more.
—Changing wheels —Reinstalling wheel nuts
Page 518 of 611
5092007 TUNDRA from Jul. ’07 Prod. (OM34463U)
�Have the wheel nuts tightened
with a torque wrench to the fol-
lowing torques, as soon as
possible after changing
wheels. Retighten the wheel
nuts within 160 km (100 miles)
of driving. Otherwise, the nuts
may loosen and the wheels
may fall off, which could cause
a serious accident.
Due to the higher torque
specification for these wheel
nuts, if in doubt about the
correct tightness, have them
checked by your Toyota deal-
er or at a service station.
XS40047
Taper type
(Steel wheels)
Flat washer type
(Aluminum wheels) Torque specification:
Taper type (Steel wheels)—
209 N· m (21. 3 kgf · m , 154 ft · lbf )
Flat washer type
(Aluminum wheels)—
131 N·m (13.4 kgf·m, 97 ft·lbf)
∗
∗
: When temporarily used on spare tire/wheel, apply 209 N·m (21.3
kgf·m, 154 ft·lbf)
Page 519 of 611

5102007 TUNDRA from Jul. ’07 Prod. (OM34463U)
10.Check the air pressure of the re-placed tire.
Adjust the air pressu re to the specifi-
cation designated on page 586 in
Section 8. If the pressure is lower,
drive slowly to the nearest service
station and fill to the correct pressure.
Do not forget to reinstall the tire infla-
tion valve cap as dirt and moisture
could get into th e valve core and
possibly cause air leakage. If the cap
is missing, have a new one put on as
soon as possible.
11. Restow all the tools, jack and flat tire securely.
As soon after changing wheels as
possible, tighten the wheel nuts to the
torque specified on page 509 with a
torque wrench. Have a technician re-
pair the flat tire and replace the tem-
porary spare tire with it. Initial adjustment of the tire
pressure warning system is
necessary after your have replaced
your tires or wheels. See “Tire
pressure warning system” on page
251 in Section 1�7.
CAUTION
Before driving, make sure all the
tools, jack and flat tire are se-
curely in place in their storage
location to reduce the possibility
of personal injury during a colli-
sion or sudden braking.
XS40035
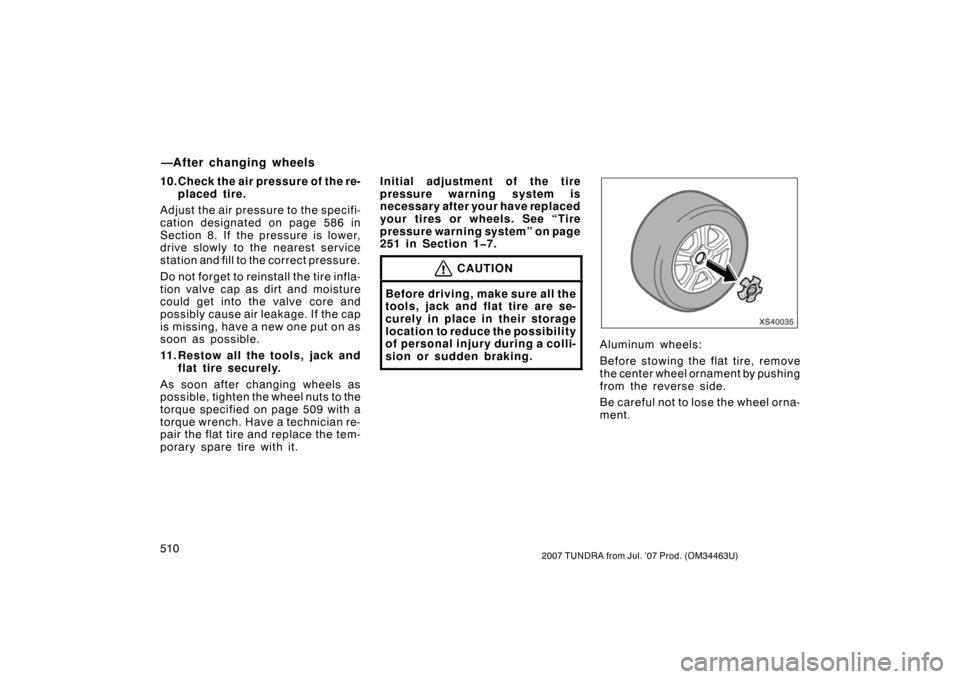
Aluminum wheels:
Before stowing the flat tire, remove
the center wheel ornament by pushing
from the reverse side.
Be careful not to lose the wheel orna-
ment.
—After changing wheels
Page 594 of 611
5862007 TUNDRA from Jul. ’07 Prod. (OM34463U)
Tire size, cold tire inflation pressure and wheel size:Ti r e siz e
Cold tire inflation pressurekPa (kgf/cm2 or bar, psi)Temporary spareWheel size
FrontRear
P255/70R18 112T210 (2.1, 30)230 (2.3, 33)230 (2.3, 33)18 �8J
P275/65R18 114T210 (2.1, 30)230 (2.3, 33)230 (2.3, 33)18 �8J
P275/55R20 111H210 (2.1, 30)230 (2.3, 33)230 (2.3, 33)20 �8J
Wheel nut torque, N·m (kgf·m, ft·lbf):
Steel wheels 209 (21.3, 154)
Aluminum wheels 131 (13.4, 97)
NOTE: For complete information on tires (e.g. replacing tires or replacing wheels), see “Checking tire inflation pressure” through “Wheel precautions”, pages 548 through 557, in Section 7 −2.
Tires