2007 SUZUKI AERIO display
[x] Cancel search: displayPage 32 of 232

Downloaded from www.Manualslib.com manuals search engine 2-19 BEFORE DRIVING
54G27-03E
Stowing Rear Center Lap-Shoulder
BeltBe sure to stow the belt after the belt is
retracted completely.
54G368
To stow the belt, insert the latch plate (A)
into the slot of the holder. To pull the belt
out, simply pull the latch plate.
Seat Belt ReminderDriver’s seat belt reminder light
54G530
Front passenger’s seat belt reminder
light
54G515
When the driver and front passenger don’t
buckle their seat belts, the driver’s seat belt
reminder light in the instrument cluster and
the front passenger’s seat belt reminder
light in the information display will come on
and a buzzer will sound as a reminder to
the driver and front passenger to buckle
their seat belts.
The seat belt reminder functions as shown
in the figure below. There are some differ-
ences between the driver’s seat belt
reminder and the front passenger’s seat
belt reminder. For more details, refer to the
explanation below.
WARNING
If you park your vehicle outdoors in
direct sunlight or in hot weather, an
exposed latch plate can get hot
enough to burn you. Be careful not to
touch a hot latch plate.
(A)
WARNING
It is absolutely essential that the
driver and passengers wear their seat
belts at all times. Persons who are
not wearing seat belts have a much
greater risk of injury if an accident
occurs. Make a regular habit of buck-
ling your seat belt before putting the
key in the ignition.
Seat Belts and Child Restraint Systems: 3
Page 51 of 232

Downloaded from www.Manualslib.com manuals search engine 2-38 BEFORE DRIVING
54G27-03E
52D258
When seated as shown in the above illus-
tration, the front passenger sensing sys-
tem senses a properly-seated occupant
and enables the air bag.
When using a seat belt extender, follow the
instructions in the “Seat Belt Extender”
section.
WARNING
The front passenger sensing system
may not work properly in the follow-
ing situations:
The occupant is not wearing the
seat belt properly.
The occupant is sitting near the
dashboard or is not sitting in the
proper position.
A rear seat occupant is pushing or
pulling on the seatback or is push-
ing up the seat cushion using their
feet.
Objects placed under the seat are
pushing up on the seat cushion.
Heavy objects are hanging on the
seatback.
WARNING
If the “AIR BAG” light in the instru-
ment cluster ever comes on and
stays on, it means that something
may be wrong with the air bag sys-
tem. If this ever happens, have the
vehicle inspected by an authorized
SUZUKI dealer immediately, because
the air bags may not offer the protec-
tion for which they were designed.
WARNING
If the “PASS AIRBAG OFF” indicator
on the information display turns on
even though there is no occupant or
an adult occupant in the front pas-
senger’s seat, it means that some-
thing may be wrong with the
passenger sensing system. Have the
system inspected by an authorized
SUZUKI dealer as soon as possible.
WARNING
Do not spill any liquids on the seat.
Liquids can damage the sensors
under the front seat.
Have the driver’s seat position sen-
sor and the front passenger’s seat
weight sensors inspected by an
authorized SUZUKI dealer after a
collision.
Do not replace the front seats. If
you replace them, the air bags and
front passenger sensing system
may not work properly.
Do not use a seat cover. If you use
a seat cover, the front passenger
sensing system may not work prop-
erly.
Supplemental Restraint System (advanced air bags):
3, 9, 12
Page 65 of 232

Downloaded from www.Manualslib.com manuals search engine INSTRUMENT PANEL
4
54G27-03E
60G406
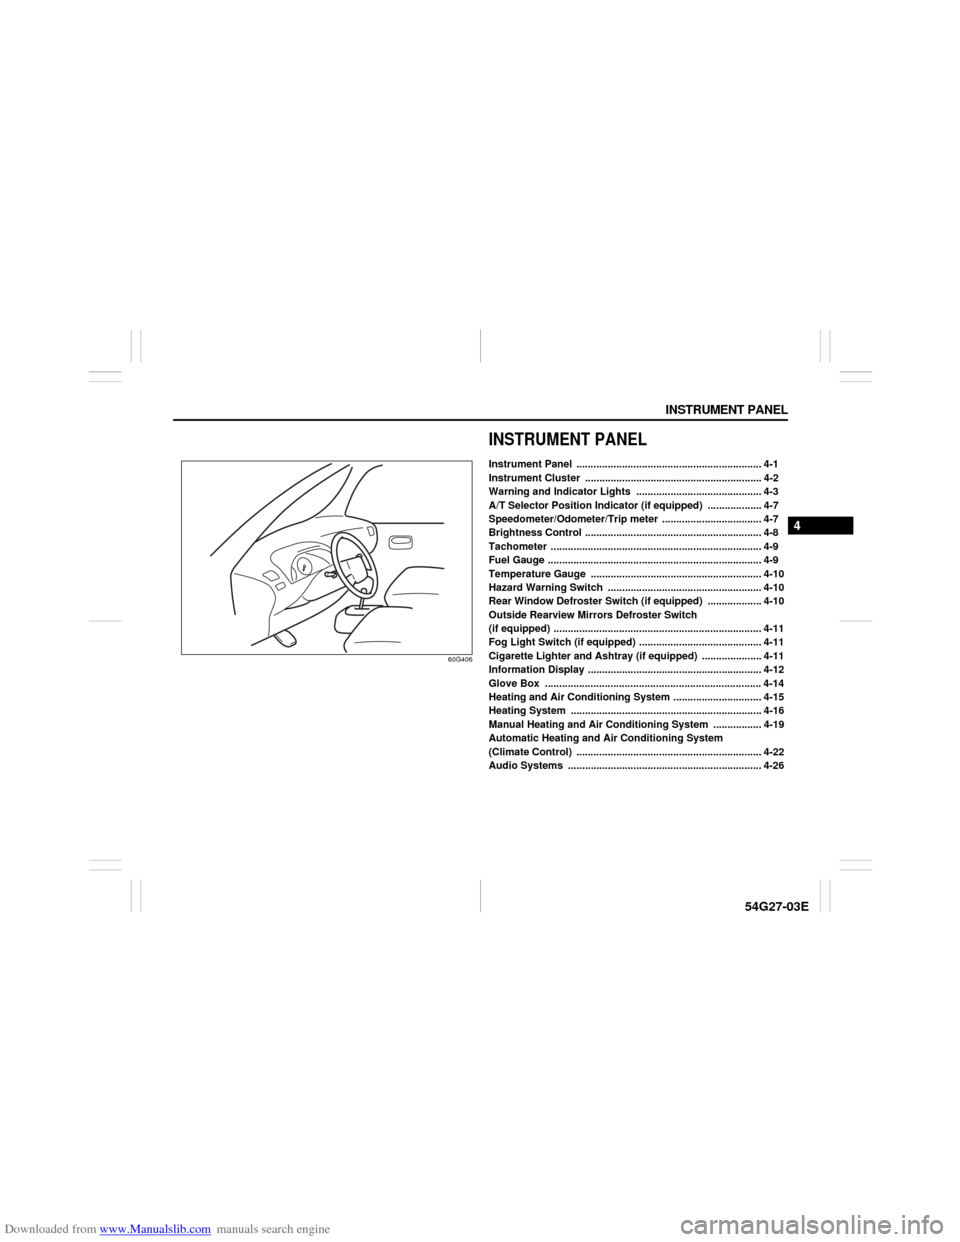
INSTRUMENT PANELInstrument Panel ................................................................. 4-1
Instrument Cluster .............................................................. 4-2
Warning and Indicator Lights ............................................ 4-3
A/T Selector Position Indicator (if equipped) ................... 4-7
Speedometer/Odometer/Trip meter ................................... 4-7
Brightness Control .............................................................. 4-8
Tachometer .......................................................................... 4-9
Fuel Gauge ........................................................................... 4-9
Temperature Gauge ............................................................ 4-10
Hazard Warning Switch ...................................................... 4-10
Rear Window Defroster Switch (if equipped) ................... 4-10
Outside Rearview Mirrors Defroster Switch
(if equipped) ......................................................................... 4-11
Fog Light Switch (if equipped) ........................................... 4-11
Cigarette Lighter and Ashtray (if equipped) ..................... 4-11
Information Display ............................................................. 4-12
Glove Box ............................................................................ 4-14
Heating and Air Conditioning System ............................... 4-15
Heating System ................................................................... 4-16
Manual Heating and Air Conditioning System ................. 4-19
Automatic Heating and Air Conditioning System
(Climate Control) ................................................................. 4-22
Audio Systems .................................................................... 4-26
Page 66 of 232

Downloaded from www.Manualslib.com manuals search engine 4-1 INSTRUMENT PANEL
54G27-03E
Instrument Panel1. Instrument cluster
2. Ignition switch
3. Lighting switch/Turn signal and dim-
mer switch
4. Windshield wiper and washer switch/
Rear window wiper and washer
switch (if equipped)
5. Hazard warning switch
6. Other switches (if equipped)
7. Heater control panel
8. Audio (if equipped)
9. Cigarette lighter/ashtray or storage
area
10. Hood release
11. Center ventilator
12. Side ventilator
13. Side defroster
14. Glove box
15. Fuse box
16. Air bag
17. Information display
54G522
EXAMPLE
12
13316
14
11
175
8161312
14 7
9
2
10
6 15
Instrument Panel: 3, 8
Page 72 of 232

Downloaded from www.Manualslib.com manuals search engine 4-7 INSTRUMENT PANEL
54G27-03E
Daytime Running Light (D.R.L.) Indi-
cator Light (if equipped)
60B245
With the D.R.L. system, the headlights
light, but are dimmer than the low beam,
when the following three conditions are all
met. Whenever the D.R.L. system is oper-
ating, the D.R.L. indicator light remains on.
Conditions for D.R.L. system operation
1) The engine is running.
2) The parking brake is released.
3) The lighting switch is at either the “OFF”
or the “middle” position.
A/T Selector Position
Indicator (if equipped)
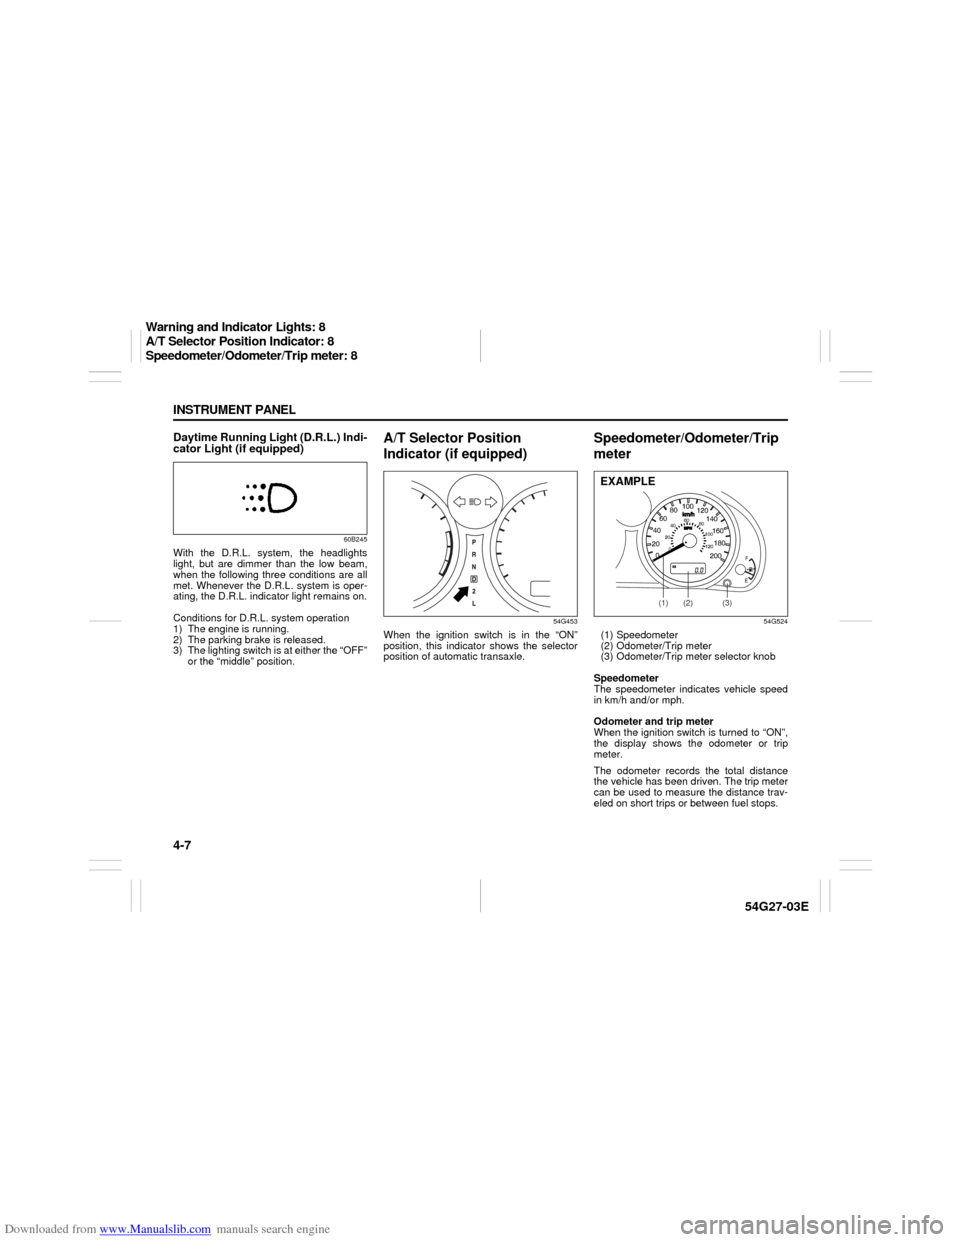
54G453
When the ignition switch is in the “ON”
position, this indicator shows the selector
position of automatic transaxle.
Speedometer/Odometer/Trip
meter
54G524
(1) Speedometer
(2) Odometer/Trip meter
(3) Odometer/Trip meter selector knob
Speedometer
The speedometer indicates vehicle speed
in km/h and/or mph.
Odometer and trip meter
When the ignition switch is turned to “ON”,
the display shows the odometer or trip
meter.
The odometer records the total distance
the vehicle has been driven. The trip meter
can be used to measure the distance trav-
eled on short trips or between fuel stops.
(1) (2) (3)
EXAMPLE
Warning and Indicator Lights: 8
A/T Selector Position Indicator: 8
Speedometer/Odometer/Trip meter: 8
Page 73 of 232

Downloaded from www.Manualslib.com manuals search engine 4-8 INSTRUMENT PANEL
54G27-03E
54G488
The display shows three types of indica-
tion; odometer, trip meter A and trip meter
B. Push the selector knob (3) quickly to
switch the indication among the three. You
can use the two trip meters (A and B) inde-
pendently.
65D481
Hold in the indication selector knob (3) for
about 2 seconds to reset the trip meter to
zero.
Brightness Control
54G455
(1) Brightness control knob
When the lighting switch is turned to the
second or third position, you can control
the brightness of instrument panel lights.
To change the brightness, push the bright-
ness control knob (1) quickly. Each time
you push the knob (1), the instrument
panel lights get dimmer then return to the
brightest condition after the meter lights
become the dimmest and the other instru-
ment panel lights are turned off.
CAUTION
Keep track of your odometer reading
and check the maintenance schedule
regularly for required services.
Increased wear or damage to certain
parts can result from failure to per-
form required services at the proper
mileage intervals.
(3)
(3)
About 2 seconds
(1)
EXAMPLE
Speedometer/Odometer/Trip meter: 8
Meter Illumination Control:
Page 77 of 232

Downloaded from www.Manualslib.com manuals search engine 4-12 INSTRUMENT PANEL
54G27-03E
AshtrayTo remove the front panel ashtray for
cleaning, pull the ashtray out of its holder.
54G157
To remove the rear ashtray, push down on
the tongue and pull the ashtray out of its
holder.
Information Display
54G525
(1) Clock
(2) Thermometer
(3) “PASS AIRBAG OFF” indicator
(4) Front passenger’s seat belt reminder
light
CAUTION
To avoid damage to the cigarette
lighter socket, do not use it as an
accessory power source. Some
accessories’ power plug can damage
the inner mechanism of the cigarette
lighter socket.
WARNING
Make sure tobacco is fully extin-
guished before closing the ashtrays.
Never throw waste in the ashtrays: it
could create a fire hazard.
(1)
(2)
(3)
(4)
Cigarette Lighter and Ashtray: 3, 8
Information Display:
Page 78 of 232

Downloaded from www.Manualslib.com manuals search engine 4-13 INSTRUMENT PANEL
54G27-03E
Clock and Thermometer
54G649
The time and outside temperature is
shown when the ignition switch is in the
“ACC” or “ON” position.
The background brightness is fixed to the
normal level of brightness whenever the
lighting switch is OFF. When the lighting
switch is turned to the second or third posi-
tion, the background brightness of the time
and outside temperature indication will be
reduced. To return the normal background
brightness, push the “ILLUMI” knob (a).
Each time you push the “ILLUMI” knob (a)
with the lighting switch in the second or
third position, the background brightness
will switch between normal and reduced
brightness.
When the lighting switch is turned to the
second or third position again after being
off, the background brightness level will bethe same level that was set the last time
that the lighting switch was in the second
or third position.
Clock (1)
To set the clock, push the “ILLUMI” knob
(a) and continue holding. Follow the
instructions below while holding the
“ILLUMI” knob (a).
To set the hour display, push the “H”
knob (b) repeatedly to advance the hour
display. To advance the hour display
quickly, hold in the “H” knob (b) for about
1 second and continue holding.
To set the minute display, push the “M”
knob (c) repeatedly to advance the
minute display. To advance the minute
display quickly, hold in the “M” knob (c)
for about 1 second and continue holding.
Thermometer (2)
The thermometer shows the outside tem-
perature. The indication is switched
between °F and °C each time you push the
“°F/°C” knob (d).
If the outside temperature nears freezing,
the mark (e) will come on.
NOTE:
The thermometer will not indicate the
actual outside temperature when driving at
low speed, or when stopped.
Front Passenger’s Seat Belt
Reminder Light
54G515
The front passenger’s seat belt reminder
light is located in the information display. If
there is a passenger in the front seat and
the front passenger’s seat belt is unbuck-
led about 10 seconds after the ignition
switch is turned to the “ON” position, this
light will come on and then blink. When the
light comes on, a buzzer will also sound
intermittently for about 6 seconds. The
reminder will repeat several times under
certain conditions until the front passen-
ger’s seat belt is buckled. After repeating
several times, the reminder will be can-
celed even if the front passenger’s seat
belt remains unbuckled.
For details about the seat belt reminder,
refer to “Seat Belts and Child Restraint
(a)
(b)
(1)
(2)
(c)
(d) (e)
Information Display: