Page 4 of 12

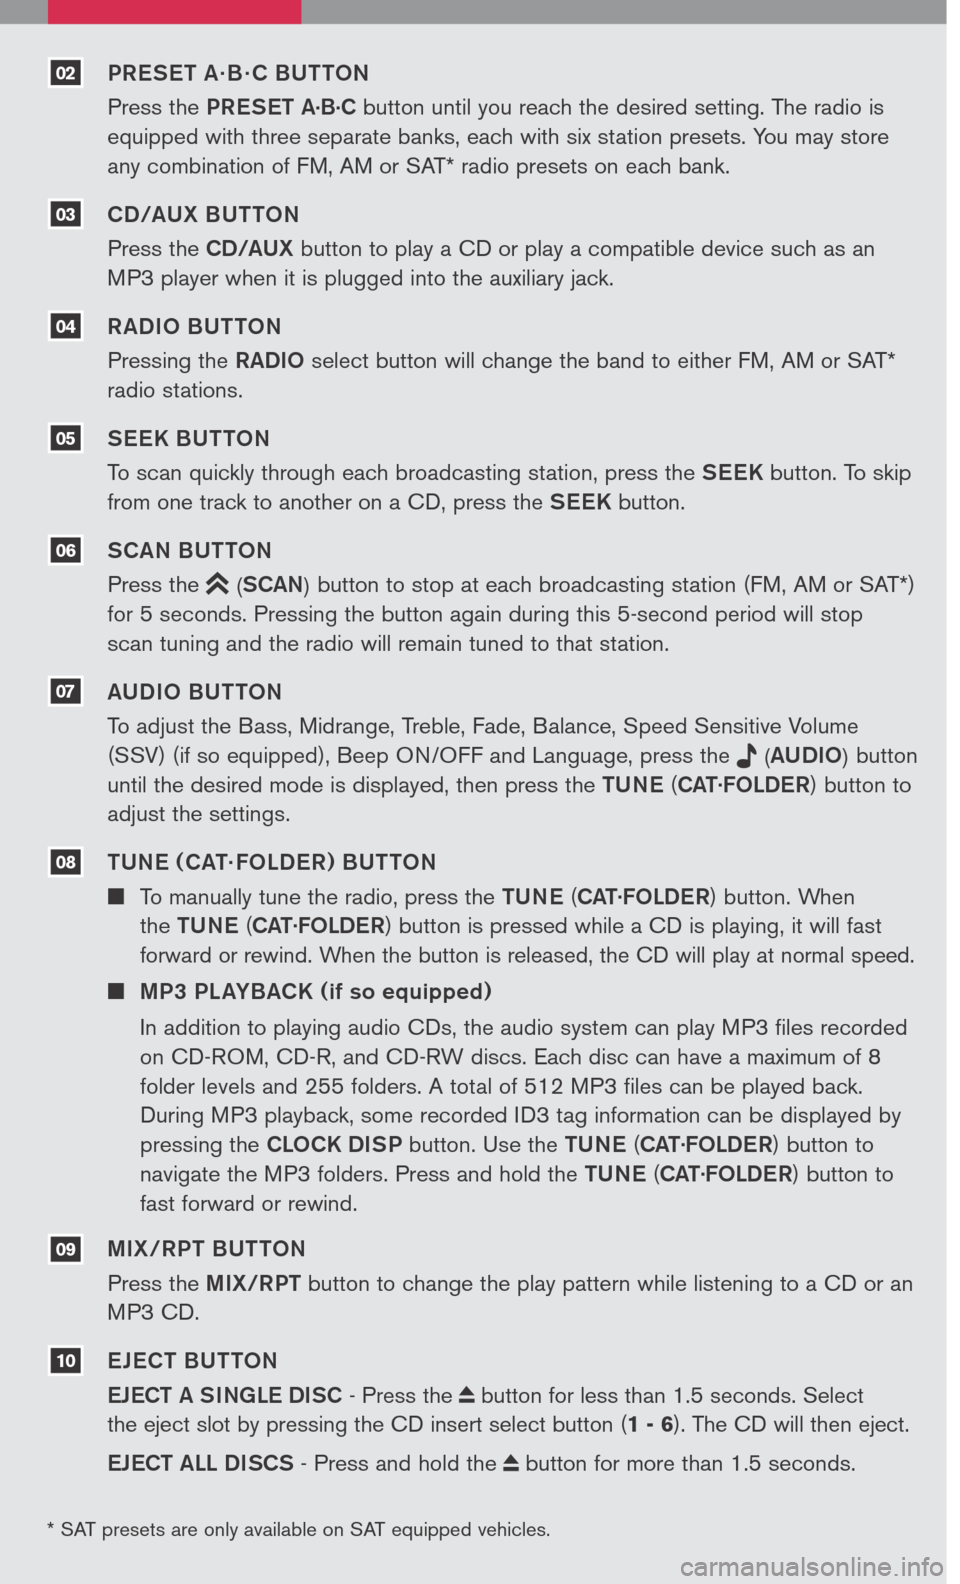
cruise control (if so equipped)
To activate the cruise control, push the ON.OFF
switch. The indicator light in the instrument panel
will illuminate.
To set cruising speed, accelerate the vehicle to
the desired speed, push the COAST/SET switch
and release it. The SET indicator light in the
instrument panel will illuminate.
To reset at a faster cruising speed, push and hold
the ACCEL/RES switch. When the vehicle reaches the speed you desire, release
the switch.
To reset at a slower cruising speed, push and hold the COAST/SET switch. Release
the switch when the vehicle slows to the desired speed.
To cancel cruise control, push the CANCEL switch or tap the brake pedal. The SET
indicator light in the instrument panel will go out.
To resume a preset speed, push and release the ACCEL/RES switch. The vehicle
returns to the last set cruising speed when the vehicle speed is over 24 MPH (38
km/h).
To turn off cruise control, push the ON.OFF switch. Both the CRUISE indicator light
and the SET light in the instrument panel will go out.
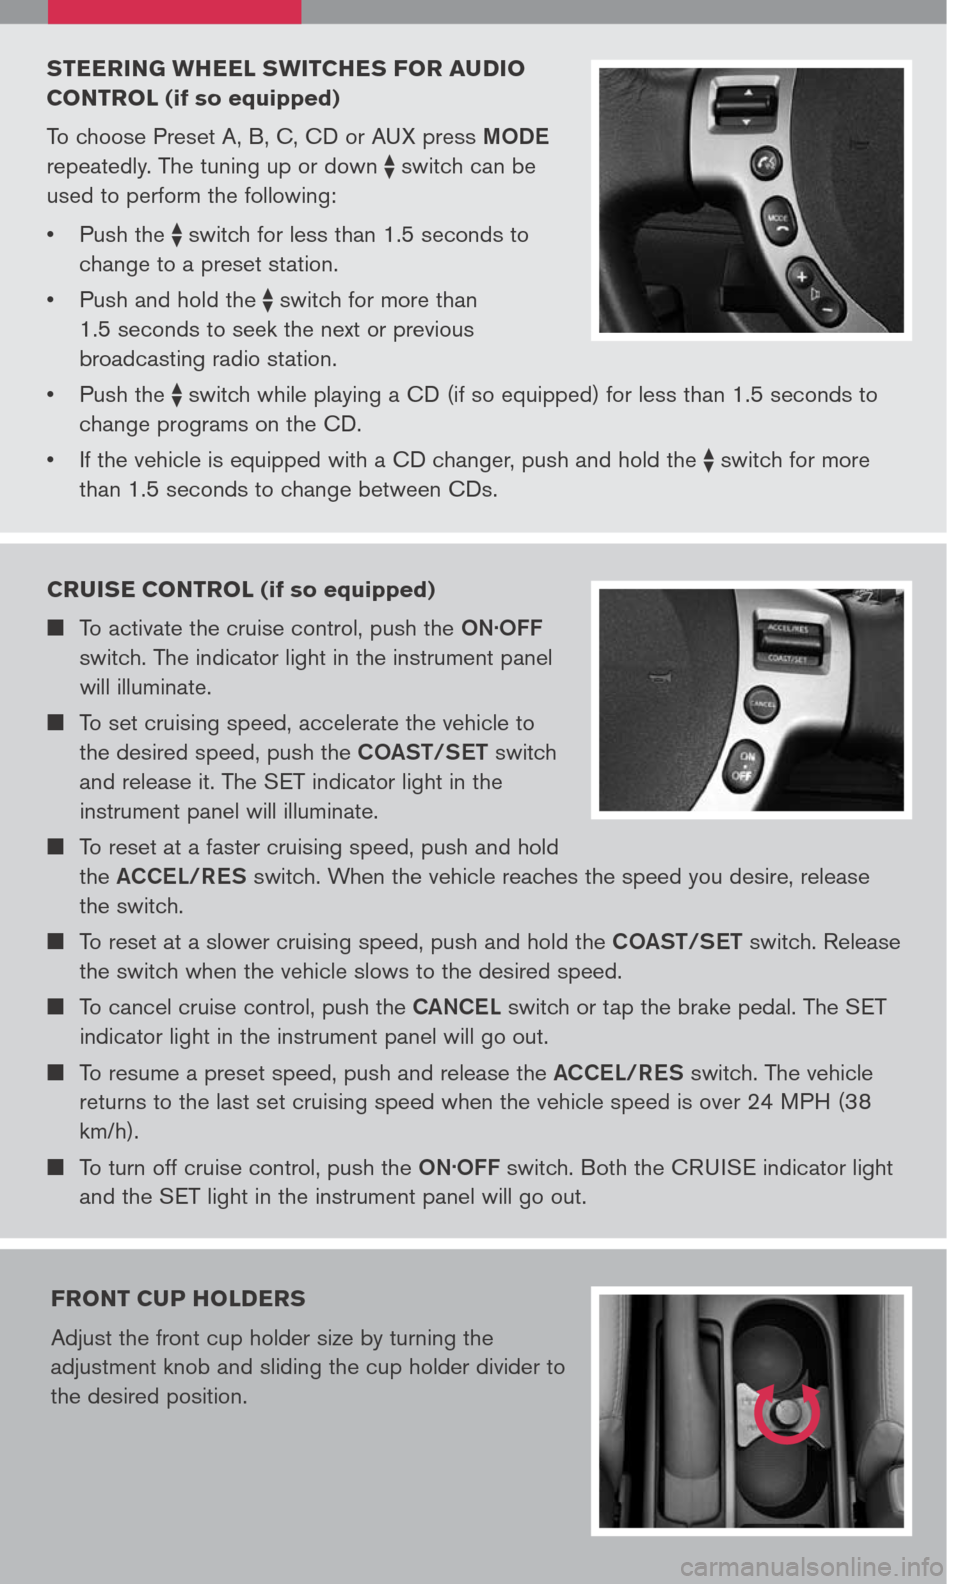
steering W heel sW itches F or audio
control (if so equipped)
To choose Preset A, B, C, CD or AUX press MODE
repeatedly. The tuning up or down switch can be
used to perform the following:
• Push the
switch for less than 1.5 seconds to
change to a preset station.
• Push and hold the
switch for more than
1.5 seconds to seek the next or previous
broadcasting radio station.
• Push the
switch while playing a CD (if so equipped) for less than 1.5 seconds to
change programs on the CD.
• If the vehicle is equipped with a CD changer, push and hold the
switch for more
than 1.5 seconds to change between CDs.
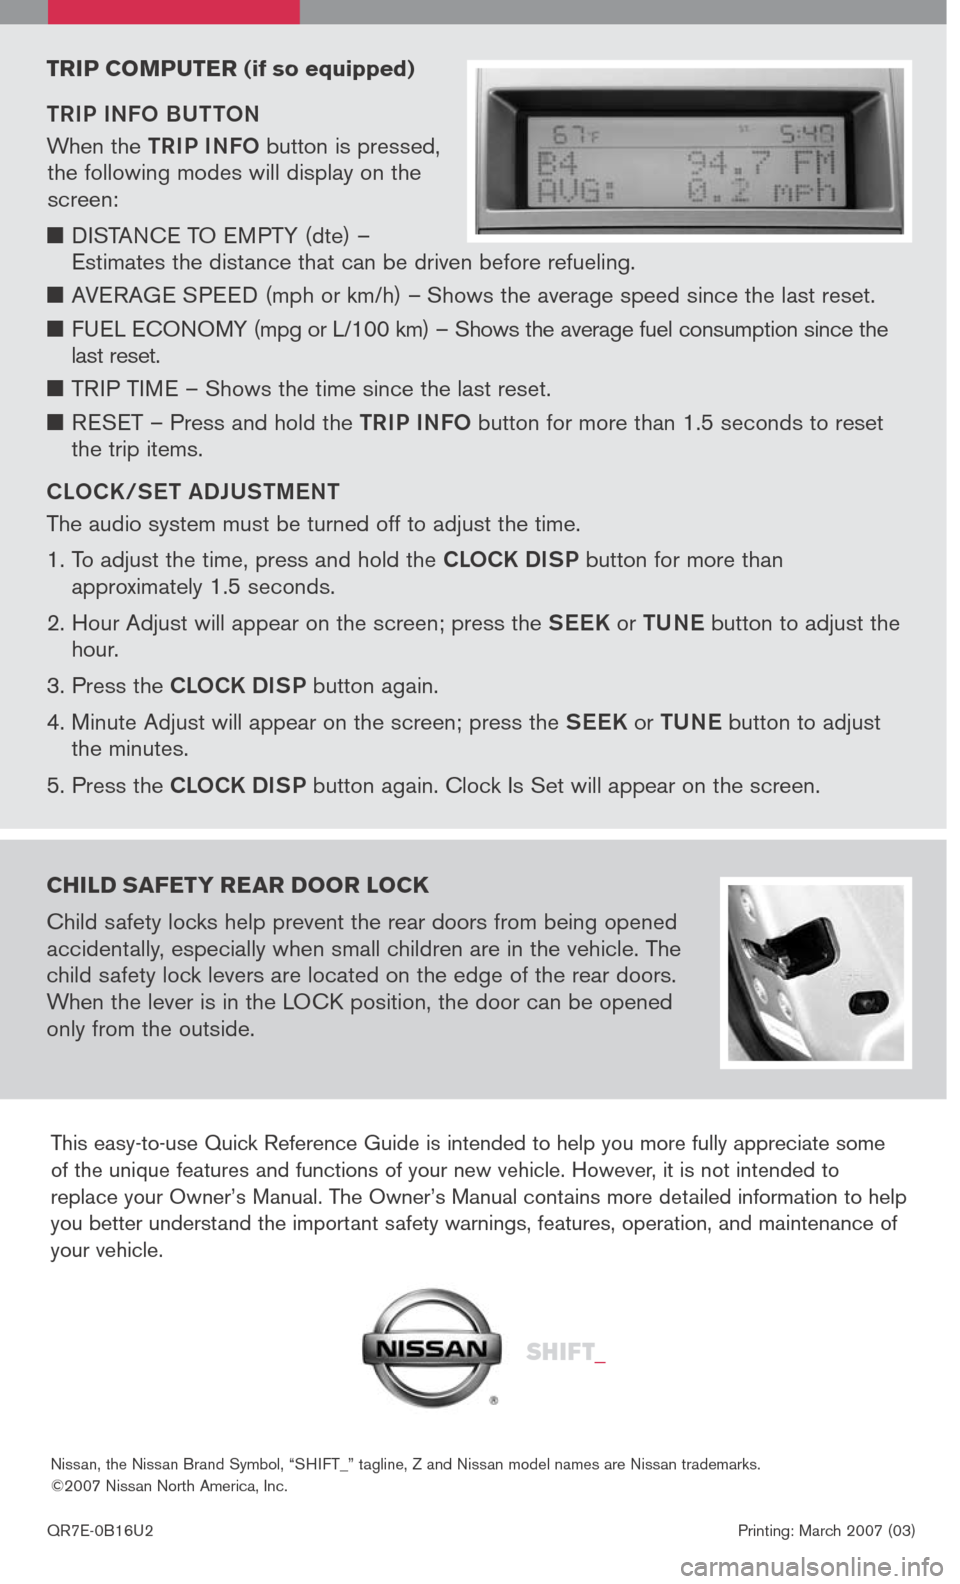
Front cup holders
Adjust the front cup holder size by turning the
adjustment knob and sliding the cup holder divider to
the desired position.
Page 6 of 12

PRESET A · B · C BUTTON
Press the PRESET A.B.C button until you reach the desired setting. The radio is
equipped with three separate banks, each with six station presets. You may store
any combination of FM, AM or SAT* radio presets on each bank.
CD/AUX BUTTON
Press the CD/AUX button to play a CD or play a compatible device such as an
MP3 player when it is plugged into the auxiliary jack.
R ADIO BUTTON
Pressing the RADIO select button will change the band to either FM, AM or SAT*
radio stations.
SEEK BUTTON
To scan quickly through each broadcasting station, press the SEEK button. To skip
from one track to another on a CD, press the SEEK button.
SCAN BUTTON
Press the (SCAN) button to stop at each broadcasting station (FM, AM or SAT*)
for 5 seconds. Pressing the button again during this 5-second period will stop
scan tuning and the radio will remain tuned to that station.
AUDIO BUTTON
To adjust the Bass, Midrange, Treble, Fade, Balance, Speed Sensitive Volume
(SSV) (if so equipped), Beep ON/OFF and Language, press the (AUDIO) button
until the desired mode is displayed, then press the TUNE (CAT·FOLDER) button to
adjust the settings.
TUNE ( CAT· FOLDER ) BUTTON
To manually tune the radio, press the TUNE (CAT·FOLDER) button. When
the TUNE (CAT·FOLDER) button is pressed while a CD is playing, it will fast
forward or rewind. When the button is released, the CD will play at normal speed.
MP3 PL AYBACK (if so equipped)
In addition to playing audio CDs, the audio system can play MP3 files recorded
on CD-ROM, CD-R, and CD-RW discs. Each disc can have a maximum of 8
folder levels and 255 folders. A total of 512 MP3 files can be played back.
During MP3 playback, some recorded ID3 tag information can be displayed by
pressing the CLOCK DISP button. Use the TUNE (CAT·FOLDER) button to
navigate the MP3 folders. Press and hold the TUNE (CAT·FOLDER) button to
fast forward or rewind.
MIX /RPT BUTTON
Press the MIX/RPT button to change the play pattern while listening to a CD or an
MP3 CD.
EJECT BUTTON
EJECT A SINGLE DISC - Press the button for less than 1.5 seconds. Select
the eject slot by pressing the CD insert select button (1 - 6). The CD will then eject.
EJECT ALL DISCS - Press and hold the button for more than 1.5 seconds.
02
* SAT presets are only available on SAT equipped vehicles.
03
04
05
06
07
08
10
09
Page 12 of 12

This easy-to-use Quick Reference Guide is intended to help you more fully appreciate some of the unique features and functions of your new vehicle. However, it is not intended to replace your Owner’s Manual. The Owner’s Manual contains more detailed information to help you better understand the important safety warnings, features, operation, and maintenance of your vehicle.
QR7E-0B16U2 Printing: March 2007 (03)
Nissan, the Nissan Brand Symbol, “SHIFT_” tagline, Z and Nissan model names are Nissan trademarks. ©2007 Nissan North America, Inc.
Sh ift_
trip co Mputer (if so equipped)
TRIP INFO BUTTON
When the TRIP INFO button is pressed, the following modes will display on the screen:
DISTANCE TO EMPTY (dte) – Estimates the distance that can be driven before refueling.
AVERAGE SPEED (mph or km/h) – Shows the average speed since the last reset.
FUEL ECONOMY (mpg or L/100 km) – Shows the average fuel consumption since the last reset.
TRIP TIME – Shows the time since the last reset.
RESET – Press and hold the TRIP INFO button for more than 1.5 seconds to reset the trip items.
CLOCK /SET ADJUSTMENT
The audio system must be turned off to adjust the time.
1. To adjust the time, press and hold the CLOCK DISP button for more than approximately 1.5 seconds.
2. Hour Adjust will appear on the screen; press the SEEK or TUNE button to adjust the hour.
3. Press the CLOCK DISP button again.
4. Minute Adjust will appear on the screen; press the SEEK or TUNE button to adjust the minutes.
5. Press the CLOCK DISP button again. Clock Is Set will appear on the screen.
child sa Fety rear door lock
Child safety locks help prevent the rear doors from being opened accidentally, especially when small children are in the vehicle. The child safety lock levers are located on the edge of the rear doors. When the lever is in the LOCK position, the door can be opened only from the outside.