2007 NISSAN QUEST radio controls
[x] Cancel search: radio controlsPage 130 of 384

The HomeLinkTUniversal Transceiver provides a
convenient way to consolidate the functions of up
to three individual hand-held transmitters into
one built-in device.
HomeLinkTUniversal Transceiver:
cWill operate most Radio Frequency (RF)
devices such as garage doors, gates, home
and office lighting, entry door locks and se-
curity systems.
cIs powered by your vehicle’s battery. No
separate batteries are required. If the vehi-
cle’s battery is discharged or is discon-
nected, HomeLinkTwill retain all program-
ming.
Once the HomeLinkTUniversal Transceiver
is programmed, retain the original trans-
mitter for future programming procedures
(Example: new vehicle purchases) . Upon
sale of the vehicle, the programmed
HomeLinkTUniversal Transceiver buttons
should be erased for security purposes. For
additional information refer to “Program-
ming HomeLinkT” later in this section.WARNING
cDo not use the HomeLinkTUniversal
Transceiver with any garage door
opener that lacks safety stop and re-
verse features as required by federal
safety standards. (These standards be-
came effective for opener models
manufactured after April 1, 1982) . A ga-
rage door opener which cannot detect
an object in the path of a closing garage
door and then automatically stop and
reverse, does not meet current federal
safety standards. Using a garage door
opener without these features in-
creases the risk of serious injury or
death.
cDuring the programming procedure
your garage door or security gate will
open and close (if the transmitter is
within range) . Make sure that people or
objects are clear of the garage door,
gate, etc. that you are programming.
cYour vehicle’s engine should be turned
off while programming the HomeLinkT
Universal Transceiver.
PROGRAMMING HOMELINKT
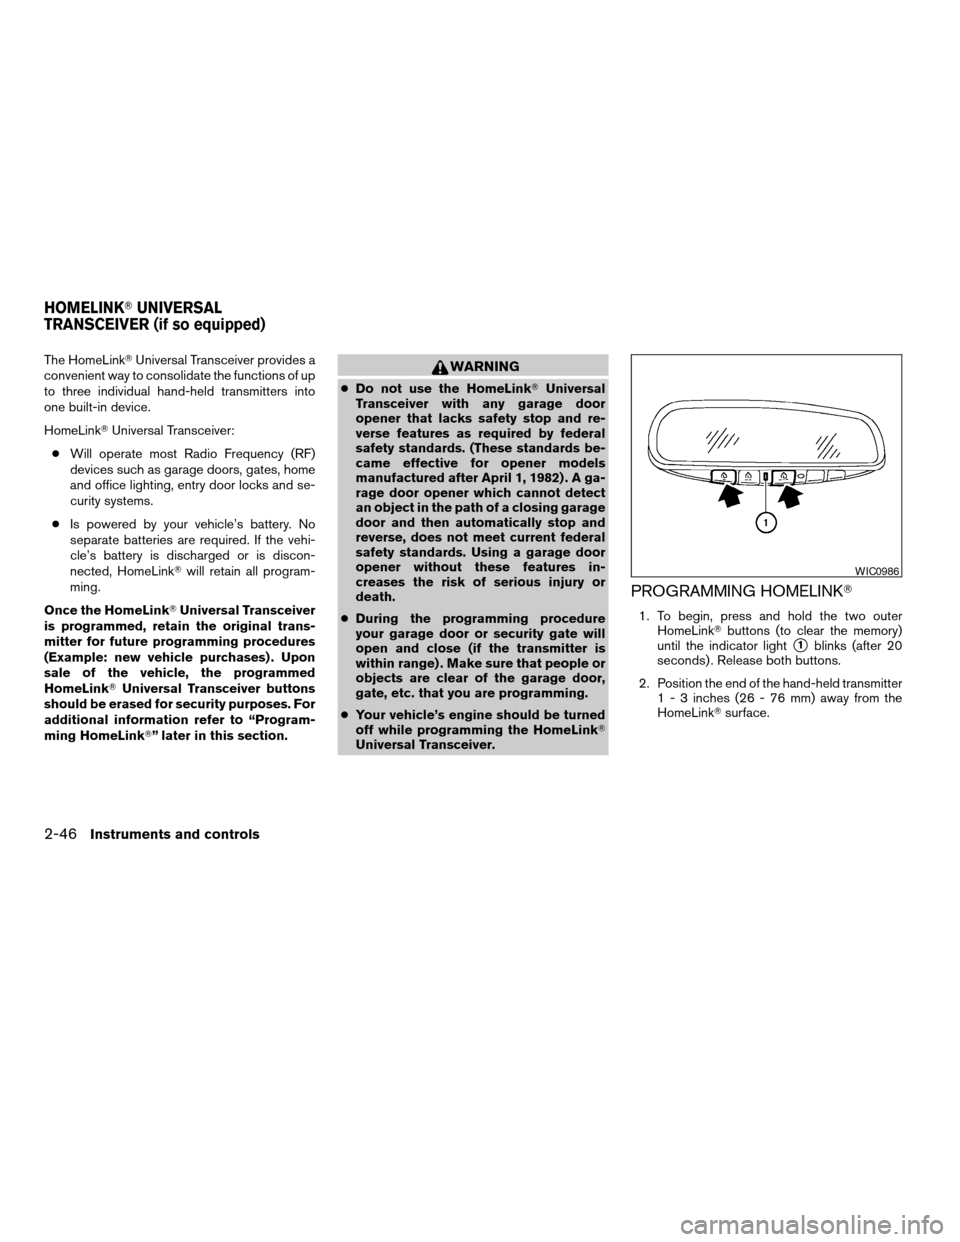
1. To begin, press and hold the two outer
HomeLinkTbuttons (to clear the memory)
until the indicator light
s1blinks (after 20
seconds) . Release both buttons.
2. Position the end of the hand-held transmitter
1 - 3 inches (26 - 76 mm) away from the
HomeLinkTsurface.
WIC0986
HOMELINKTUNIVERSAL
TRANSCEIVER (if so equipped)
2-46Instruments and controls
ZREVIEW COPYÐ2007 Quest(van)
Owners ManualÐUSA_English(nna)
02/27/06Ðdebbie
X
Page 164 of 384

4 Display screen, heater, air conditioner,
audio and phone systems
Control panel buttons — with monochrome screen....4-2
How to use the TRIP button.....................4-3
How to use the SETTING button.................4-5
button...................................4-6
Door warning..................................4-6
Control panel buttons — color screen without
navigation system.................................4-7
How to use the joystick and ENTER button........4-7
How to use the BACK button....................4-7
How to use the TRIP button.....................4-8
How to use the SETTING button................4-11
button..................................4-16
Control panel buttons — color screen with
navigation system................................4-17
How to use the joystick and ENTER button.......4-17
How to use the BACK button...................4-18
Setting up the start-up screen..................4-18
How to use the TRIP button....................4-18
How to use the SETTING button................4-22
button..................................4-28
Rearview monitor (if so equipped)..................4-29
How to read the displayed lines.................4-29
Adjusting the screen...........................4-30Operating tips.................................4-30
Ventilators.......................................4-31
Heater and air conditioner (manual).................4-31
Controls......................................4-32
Heater operation..............................4-33
Air conditioner operation.......................4-34
Air flow charts.................................4-35
Heater and air conditioner (automatic)
(if so equipped)..................................4-40
Automatic operation...........................4-40
Manual operation..............................4-41
Operating tips.................................4-41
Rear seat air conditioner..........................4-42
Controls......................................4-43
Servicing air conditioner...........................4-43
Audio system....................................4-43
Radio........................................4-43
FM radio reception............................4-44
AM radio reception............................4-44
Satellite radio reception (if so equipped).........4-44
Audio operation precautions....................4-45
FM-AM-SAT radio with compact disc (CD)
player (Type A)/CD changer (Type B and C)......4-51
ZREVIEW COPYÐ2007 Quest(van)
Owners ManualÐUSA_English(nna)
02/27/06Ðdebbie
X
Page 165 of 384

CD care and cleaning..........................4-58
Steering wheel switch for audio control..........4-59
Rear audio controls (if so equipped).............4-60
Antenna......................................4-61
DVD entertainment system (if so equipped)..........4-62
Digital video disc (DVD) player controls..........4-63
Remote control................................4-64
Flip-down screen..............................4-64
Playing a digital video disc (DVD)...............4-65
Care and maintenance.........................4-68How to handle the DVD........................4-69
Car phone or CB radio............................4-72
BluetoothTHands-Free Phone System
(if so equipped)..................................4-72
Using the system..............................4-74
Control buttons...............................4-76
Getting started................................4-76
List of voice commands........................4-78
Speaker adaptation (SA) mode..................4-83
Troubleshooting guide.........................4-84
ZREVIEW COPYÐ2007 Quest(van)
Owners ManualÐUSA_English(nna)
02/27/06Ðdebbie
X
Page 207 of 384

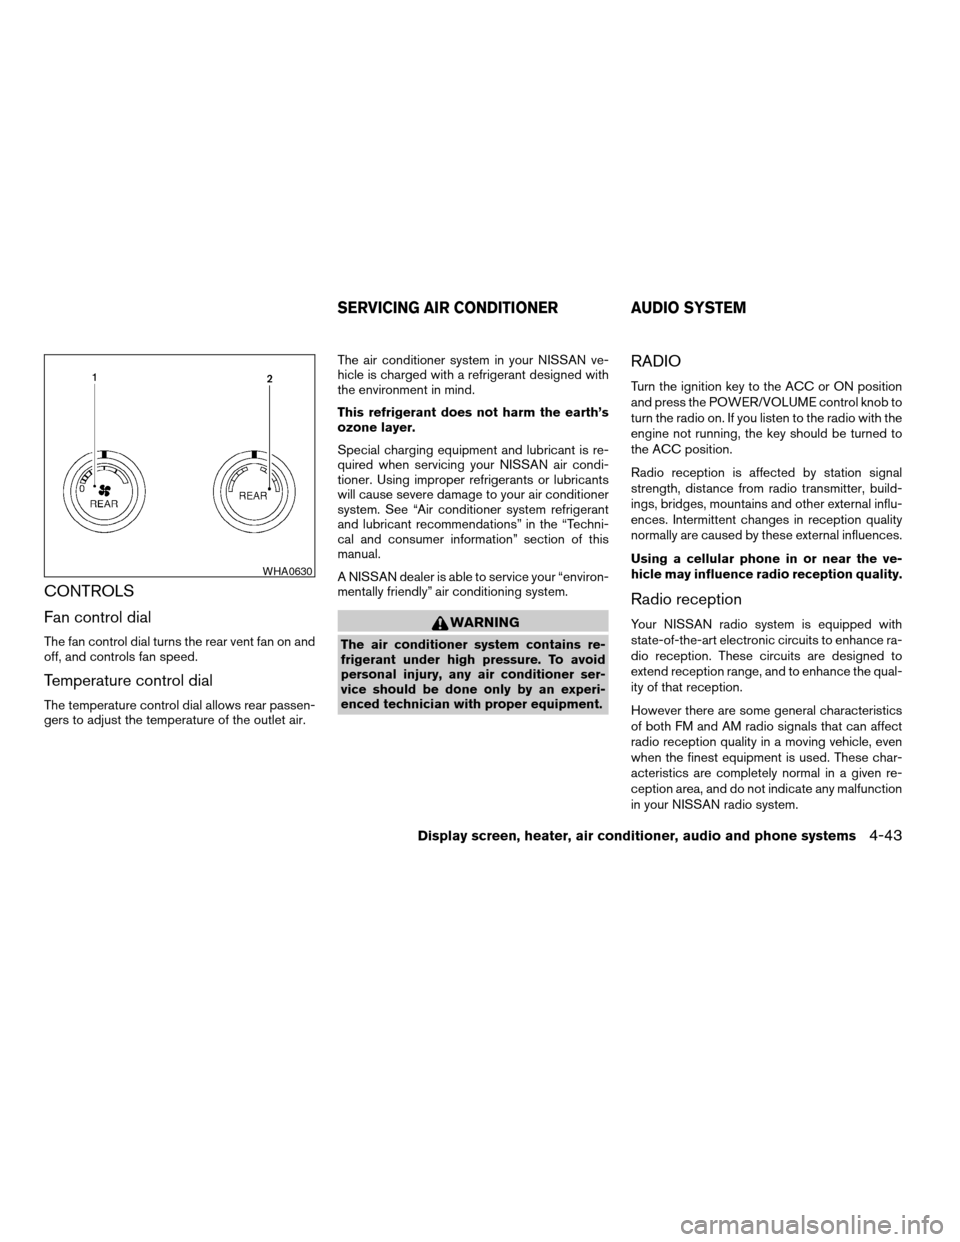
CONTROLS
Fan control dial
The fan control dial turns the rear vent fan on and
off, and controls fan speed.
Temperature control dial
The temperature control dial allows rear passen-
gers to adjust the temperature of the outlet air.The air conditioner system in your NISSAN ve-
hicle is charged with a refrigerant designed with
the environment in mind.
This refrigerant does not harm the earth’s
ozone layer.
Special charging equipment and lubricant is re-
quired when servicing your NISSAN air condi-
tioner. Using improper refrigerants or lubricants
will cause severe damage to your air conditioner
system. See “Air conditioner system refrigerant
and lubricant recommendations” in the “Techni-
cal and consumer information” section of this
manual.
A NISSAN dealer is able to service your “environ-
mentally friendly” air conditioning system.
WARNING
The air conditioner system contains re-
frigerant under high pressure. To avoid
personal injury, any air conditioner ser-
vice should be done only by an experi-
enced technician with proper equipment.
RADIO
Turn the ignition key to the ACC or ON position
and press the POWER/VOLUME control knob to
turn the radio on. If you listen to the radio with the
engine not running, the key should be turned to
the ACC position.
Radio reception is affected by station signal
strength, distance from radio transmitter, build-
ings, bridges, mountains and other external influ-
ences. Intermittent changes in reception quality
normally are caused by these external influences.
Using a cellular phone in or near the ve-
hicle may influence radio reception quality.
Radio reception
Your NISSAN radio system is equipped with
state-of-the-art electronic circuits to enhance ra-
dio reception. These circuits are designed to
extend reception range, and to enhance the qual-
ity of that reception.
However there are some general characteristics
of both FM and AM radio signals that can affect
radio reception quality in a moving vehicle, even
when the finest equipment is used. These char-
acteristics are completely normal in a given re-
ception area, and do not indicate any malfunction
in your NISSAN radio system.
WHA0630
SERVICING AIR CONDITIONER AUDIO SYSTEM
Display screen, heater, air conditioner, audio and phone systems4-43
ZREVIEW COPYÐ2007 Quest(van)
Owners ManualÐUSA_English(nna)
02/27/06Ðdebbie
X
Page 223 of 384

1. Volume control switch
2. Phone operation switch
3. POWER on and MODE select switch
4. Tuning switch
STEERING WHEEL SWITCH FOR
AUDIO CONTROL
The audio system can be operated using the
controls on the steering wheel.
POWER on/off switch
With the ignition key turned to the ACC or ON
position, push the POWER switch to turn the
audio system on or off.If you have the Type B switch, with the ignition key
turned to the ACC or ON position push the
MODE switch to turn the audio system on.
MODE select switch
Push the MODE select switch to change the
mode in the following sequence: PRESET A!
PRESET B!PRESET C!CD!DVD (if so
equipped)!AUX.
While in one of the preset radio station banks (A,
B or C) , use the tuning switch
orto
select one of the preset radio stations (1-6) .
Volume control switch
Push the volume control switch up or down to
increase or decrease the volume.
Tuning
Memory change (radio):
While in one of the preset radio station banks (A,
B or C) , push the tuning switch
orfor less than 1.5 seconds to change to the next
preset station in memory.
Seek tuning (radio):
Push the tuning switch
orfor more
than 1.5 seconds to seek the next or previous
radio station.Next/Previous track (CD):
Push the tuning switch
orfor less
than 1.5 seconds to return to the beginning of the
present track or skip to the next track. Push
several times to skip back or skip through tracks.
This system searches for the blank intervals be-
tween selections. If there is a blank interval within
1 program or there is no interval between pro-
grams, the system may not stop in the desired or
expected location.
Change disc (CD) (if so equipped):
Push the SEEK tuning switch
orfor
more than 1.5 seconds to change the playing
disc up or down.
Type B
WHA0637
Display screen, heater, air conditioner, audio and phone systems4-59
ZREVIEW COPYÐ2007 Quest(van)
Owners ManualÐUSA_English(nna)
02/27/06Ðdebbie
X
Page 224 of 384

1. VOL (volume) control button
2. MODE select button
3.
speaker control button
4. NEXT button
5. SEEK button
6. Headphone jacks7. Infrared headphone transmitter lens*
*Red transmitters will be visible when
infrared headphones are on.
REAR AUDIO CONTROLS (if so
equipped)
Press the REAR CTRL button on the front radio
control panel to turn the rear controls on. Press
the button again to turn rear controls off.
The headphones symbol illuminates on the front
display when the rear audio controls are on. Two
headphone jacks are provided so two rear seat
passengers may listen to the audio system pri-
vately.
The rear volume controls can only increase the
volume to the level at which the front radio volume
control is set.
One or two (if so equipped) infrared headphones
are included if the vehicle is equipped with the
DVD entertainment system. Most portable radio
headphones work with the rear audio controls.
For vehicles equipped with the FM/AM/SAT radio
with compact disc player, if the rear passengers
turn off the rear speakers and are using head-
phones they may choose to listen to a different
media than the front passengers. The rear pas-
sengers can listen to the radio along with the
front passengers or they can listen to a CD or
SAT radio (if so equipped) .
LHA0322
4-60Display screen, heater, air conditioner, audio and phone systems
ZREVIEW COPYÐ2007 Quest(van)
Owners ManualÐUSA_English(nna)
02/27/06Ðdebbie
X
Page 225 of 384

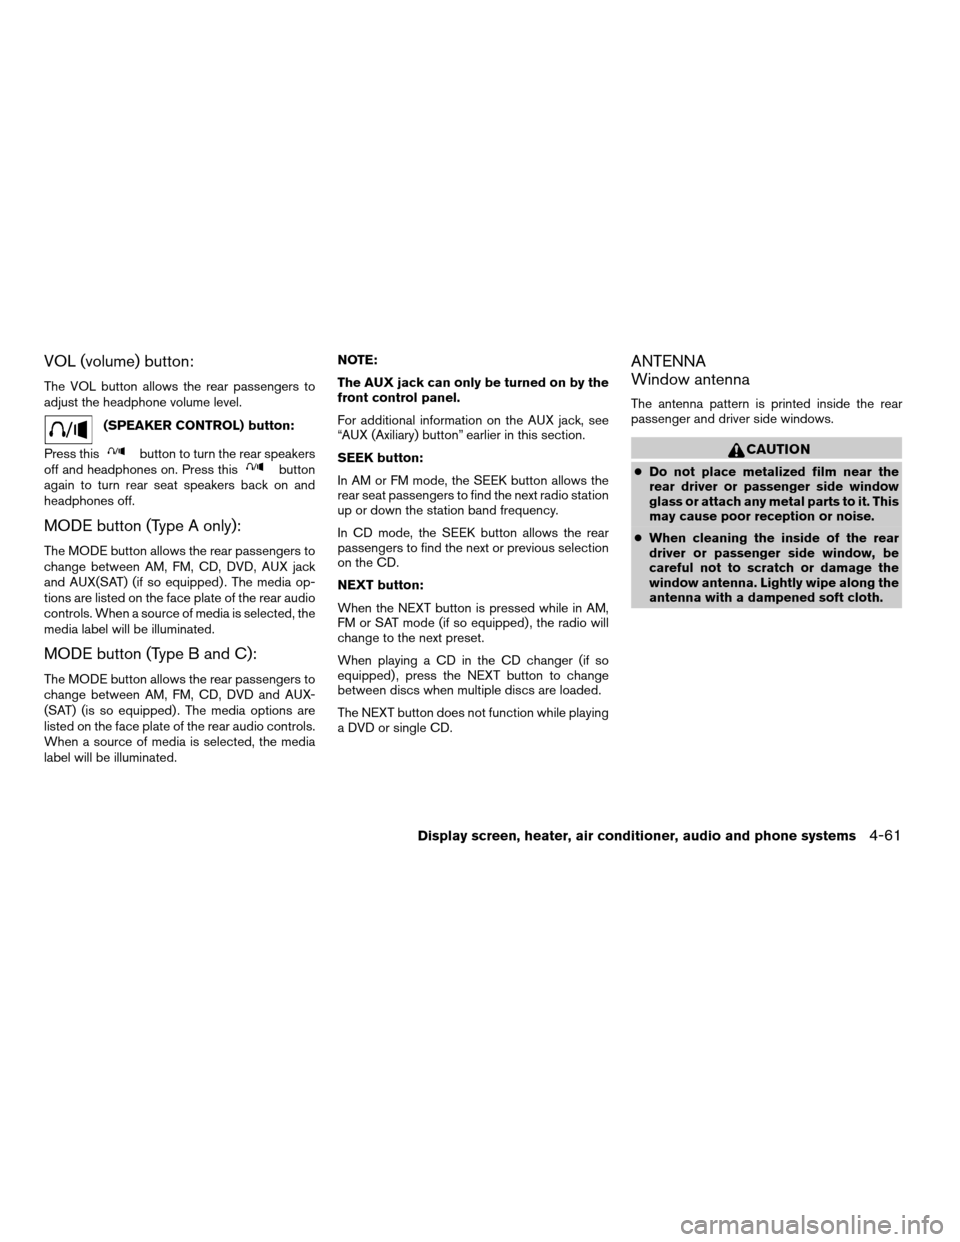
VOL (volume) button:
The VOL button allows the rear passengers to
adjust the headphone volume level.
(SPEAKER CONTROL) button:
Press this
button to turn the rear speakers
off and headphones on. Press thisbutton
again to turn rear seat speakers back on and
headphones off.
MODE button (Type A only):
The MODE button allows the rear passengers to
change between AM, FM, CD, DVD, AUX jack
and AUX(SAT) (if so equipped) . The media op-
tions are listed on the face plate of the rear audio
controls. When a source of media is selected, the
media label will be illuminated.
MODE button (Type B and C):
The MODE button allows the rear passengers to
change between AM, FM, CD, DVD and AUX-
(SAT) (is so equipped) . The media options are
listed on the face plate of the rear audio controls.
When a source of media is selected, the media
label will be illuminated.NOTE:
The AUX jack can only be turned on by the
front control panel.
For additional information on the AUX jack, see
“AUX (Axiliary) button” earlier in this section.
SEEK button:
In AM or FM mode, the SEEK button allows the
rear seat passengers to find the next radio station
up or down the station band frequency.
In CD mode, the SEEK button allows the rear
passengers to find the next or previous selection
on the CD.
NEXT button:
When the NEXT button is pressed while in AM,
FM or SAT mode (if so equipped) , the radio will
change to the next preset.
When playing a CD in the CD changer (if so
equipped) , press the NEXT button to change
between discs when multiple discs are loaded.
The NEXT button does not function while playing
a DVD or single CD.
ANTENNA
Window antenna
The antenna pattern is printed inside the rear
passenger and driver side windows.
CAUTION
cDo not place metalized film near the
rear driver or passenger side window
glass or attach any metal parts to it. This
may cause poor reception or noise.
cWhen cleaning the inside of the rear
driver or passenger side window, be
careful not to scratch or damage the
window antenna. Lightly wipe along the
antenna with a dampened soft cloth.
Display screen, heater, air conditioner, audio and phone systems4-61
ZREVIEW COPYÐ2007 Quest(van)
Owners ManualÐUSA_English(nna)
02/27/06Ðdebbie
X
Page 259 of 384

KEY POSITIONS
LOCK: Normal parking position (0)
OFF: (Not used) (1)
ACC: (Accessories) (2)
This position activates electrical accessories
such as the radio when the engine is not running.
ON: Normal operating position (3)
This position turns on the ignition system and the
electrical accessories.
START: (4)
This position starts the engine. As soon as the
engine has started, release the key. It automati-
cally returns to the ON position.
NISSAN VEHICLE IMMOBILIZER
SYSTEM
The NISSAN Vehicle Immobilizer System will not
allow the engine to start without the use of the
registered key.
If the engine fails to start using a registered key
(for example, when interference is caused by
another registered key, an automated toll road
device or automatic payment device on the key
ring) , restart the engine using the following pro-
cedures:1. Leave the ignition switch in the ON position
for approximately 5 seconds.
2. Turn the ignition switch to the OFF or LOCK
position, and wait approximately 10 sec-
onds.
3. Repeat steps 1 and 2.
4. Restart the engine while holding the device
(which may have caused the interference)
separate from the registered key.
If the no start condition re-occurs, NISSAN rec-
ommends placing the registered key on a sepa-
rate key ring to avoid interference from other
devices.cMake sure the area around the vehicle is
clear.
cCheck fluid levels such as engine oil, cool-
ant, brake fluid, and window washer fluid as
frequently as possible, or at least whenever
you refuel.
cCheck that all windows and lights are clean.
cVisually inspect tires for their appearance
and condition. Also check tires for proper
inflation.
cLock all doors.
cPosition seat and adjust head restraints.
cAdjust inside and outside mirrors.
cFasten seat belts and ask all passengers to
do likewise.
cCheck the operation of warning lights when
the key is turned to the ON (3) position. See
“Warning/indicator lights and audible re-
minders” in the “Instruments and controls”
section of this manual.
BEFORE STARTING THE ENGINE
Starting and driving5-9
ZREVIEW COPYÐ2007 Quest(van)
Owners ManualÐUSA_English(nna)
02/27/06Ðdebbie
X