2007 NISSAN PATHFINDER fuel
[x] Cancel search: fuelPage 6 of 14

To turn off cruise control, push the ON.OFF switch. Both the CRUISE indicator light
and the SET indicator light in the instrument panel will go out.
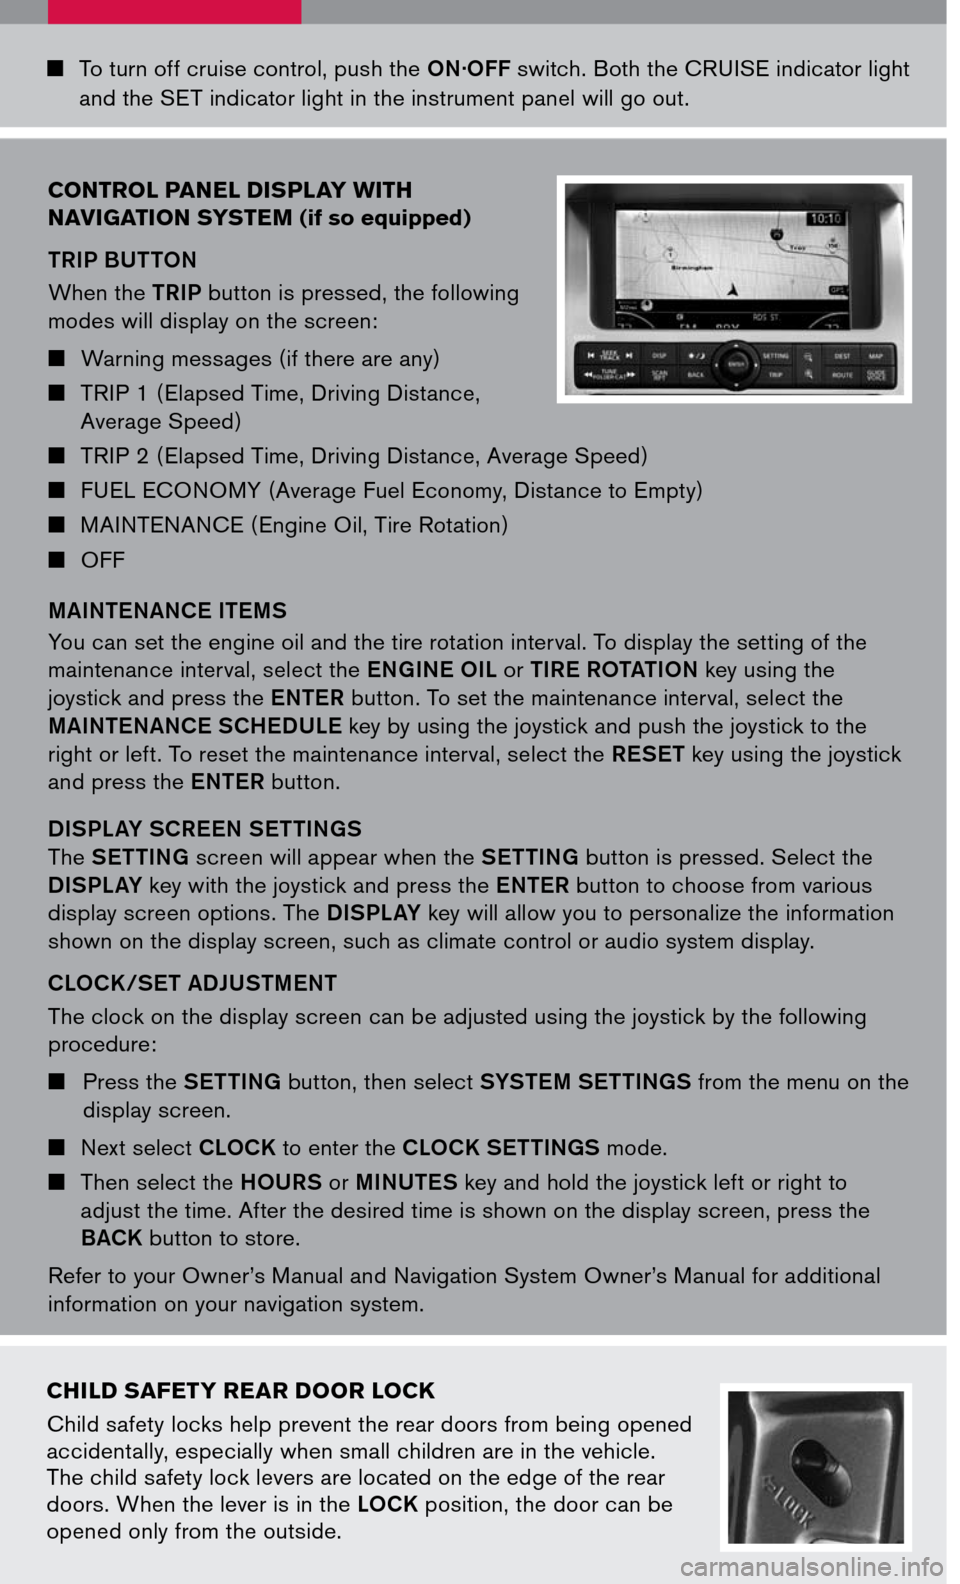
control Panel dis Pla Y with
n aV igation sYste M
(if so equipped)
TRIP BUTTON
When the TRIP button is pressed, the following
modes will display on the screen:
Warning messages (if there are any)
TRIP 1 ( Elapsed Time, Driving Distance,
Average Speed)
TRIP 2 ( Elapsed Time, Driving Distance, Average Speed)
FUEL ECONOMY (Average Fuel Economy, Distance to Empty)
MAINTENANCE ( Engine Oil, Tire Rotation)
OFF
MAINTENANCE ITEMS
You can set the engine oil and the tire rotation interval. To display the setting of the
maintenance interval, select the ENGINE O IL or TIRE R OTATION key using the
joystick and press the ENTER button. To set the maintenance interval, select the
M AINTENANCE
S CHEDULE key by using the joystick and push the joystick to the
right or left. To reset the maintenance interval, select the RESET key using the joystick
and press the ENTER button.
DISPLAY SCREEN SETTINGS
The SETTING screen will appear when the SETTING button is pressed. Select the
DISPLAY key with the joystick and press the ENTER button to choose from various
display screen options. The DISPLAY key will allow you to personalize the information
shown on the display screen, such as climate control or audio system display.
CLOCK /SET ADJUSTMENT
The clock on the display screen can be adjusted using the joystick by the following
procedure:
Press the SETTING button, then select SYSTEM SETTINGS from the menu on the
display screen.
Next select CLOCK to enter the CLOCK SETTINGS mode.
Then select the HOURS or MINUTES key and hold the joystick left or right to
adjust the time. After the desired time is shown on the display screen, press the
BACK button to store.
Refer to your Owner’s Manual and Navigation System Owner’s Manual for additional
information on your navigation system.
child safetY rear door lock
Child safety locks help prevent the rear doors from being opened accidentally, especially when small children are in the vehicle. The child safety lock levers are located on the edge of the rear doors. When the lever is in the LOCK position, the door can be opened only from the outside.
Page 11 of 14

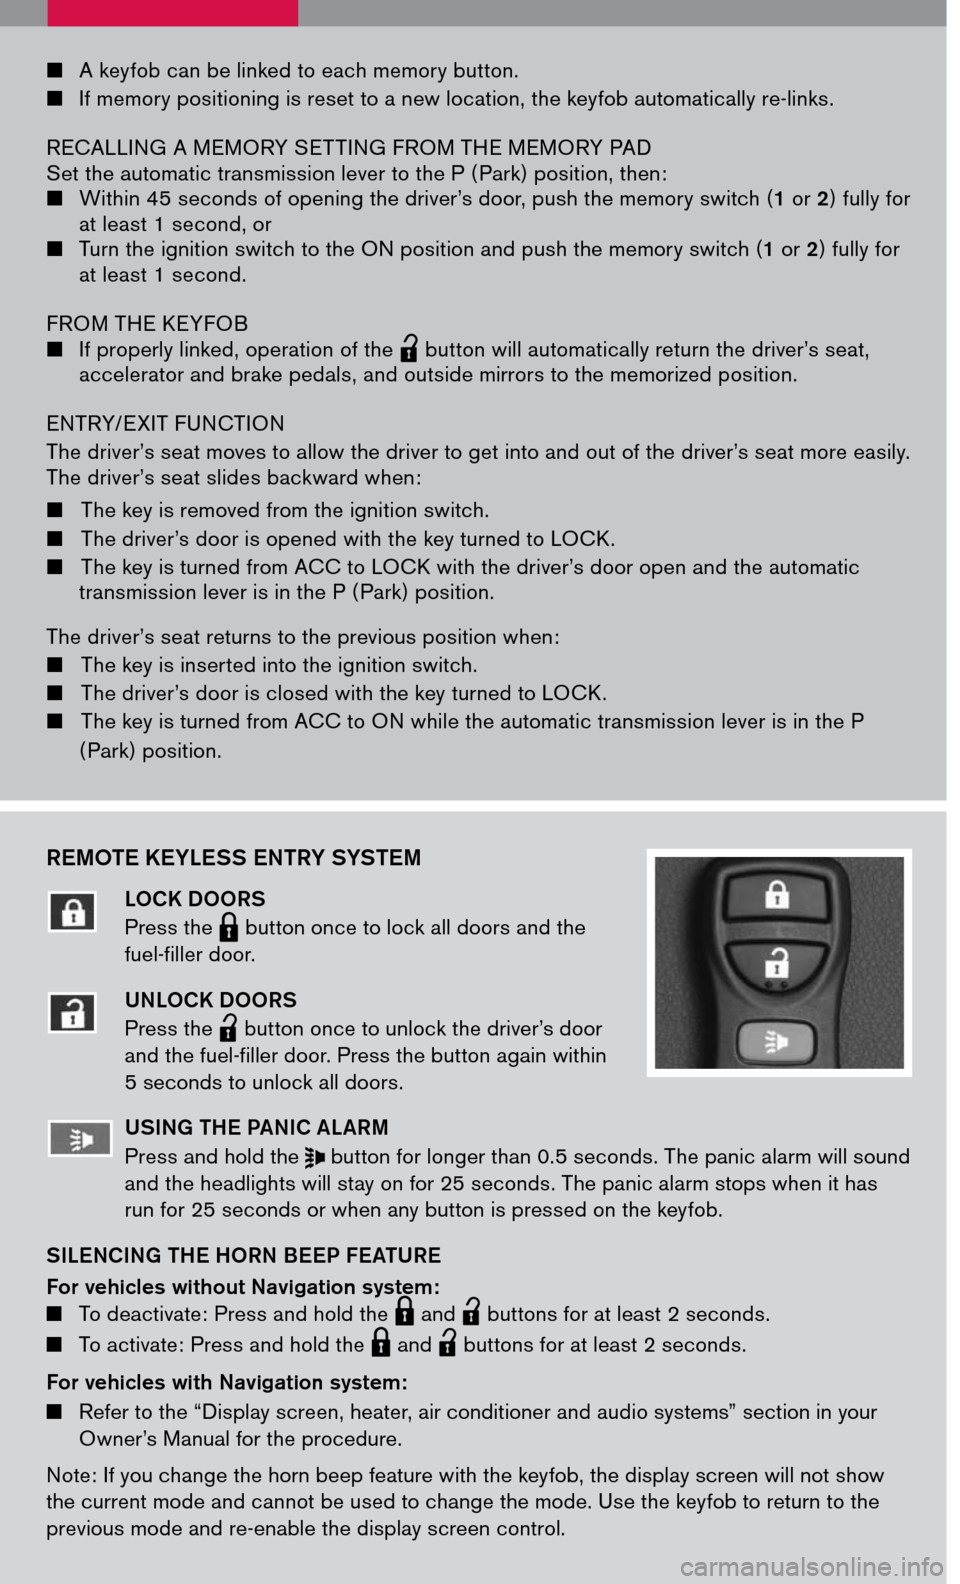
REMOTE KEYLESS ENTRY SYSTEM
LOCK DOORS
Press the LPD0150 button once to lock all doors and the
fuel-filler door.
UNLOCK DOORS
Press the
lpd0151
button once to unlock the driver’s door and the fuel-filler door. Press the button again within 5 seconds to unlock all doors.
U SING THE PANIC ALARM
Press and hold the button for longer than 0.5 seconds. The panic alarm will sound and the headlights will stay on for 25 seconds. The panic alarm stops when it has run for 25 seconds or when any button is pressed on the keyfob.
SILENCING THE HORN BEEP FEATURE
For vehicles without Navigation system: To deactivate: Press and hold the LPD0150 and
lpd0151
buttons for at least 2 seconds.
To activate: Press and hold the LPD0150 and
lpd0151
buttons for at least 2 seconds.
For vehicles with Navigation system:
Refer to the “Display screen, heater, air conditioner and audio systems” section in your Owner’s Manual for the procedure.
Note: If you change the horn beep feature with the keyfob, the display screen will not show the current mode and cannot be used to change the mode. Use the keyfob to return to the previous mode and re-enable the display screen control.
A keyfob can be linked to each memory button.
If memory positioning is reset to a new location, the keyfob automatically re-links.
RECALLING A MEMORY SET TING FROM THE MEMORY PAD Set the automatic transmission lever to the P ( Park) position, then: Within 45 seconds of opening the driver’s door, push the memory switch (1 or 2) fully for at least 1 second, or Turn the ignition switch to the ON position and push the memory switch (1 or 2) fully for at least 1 second.
FROM THE KEYFOB If properly linked, operation of the
lpd0151
button will automatically return the driver’s seat, accelerator and brake pedals, and outside mirrors to the memorized position.
ENTRY/ EXIT FUNCTION
The driver’s seat moves to allow the driver to get into and out of the driver’s seat more easily. The driver’s seat slides backward when:
The key is removed from the ignition switch.
The driver’s door is opened with the key turned to LOCK.
The key is turned from ACC to LOCK with the driver’s door open and the automatic transmission lever is in the P ( Park) position.
The driver’s seat returns to the previous position when:
The key is inserted into the ignition switch.
The driver’s door is closed with the key turned to LOCK.
The key is turned from ACC to ON while the automatic transmission lever is in the P
( Park) position.
Page 12 of 14

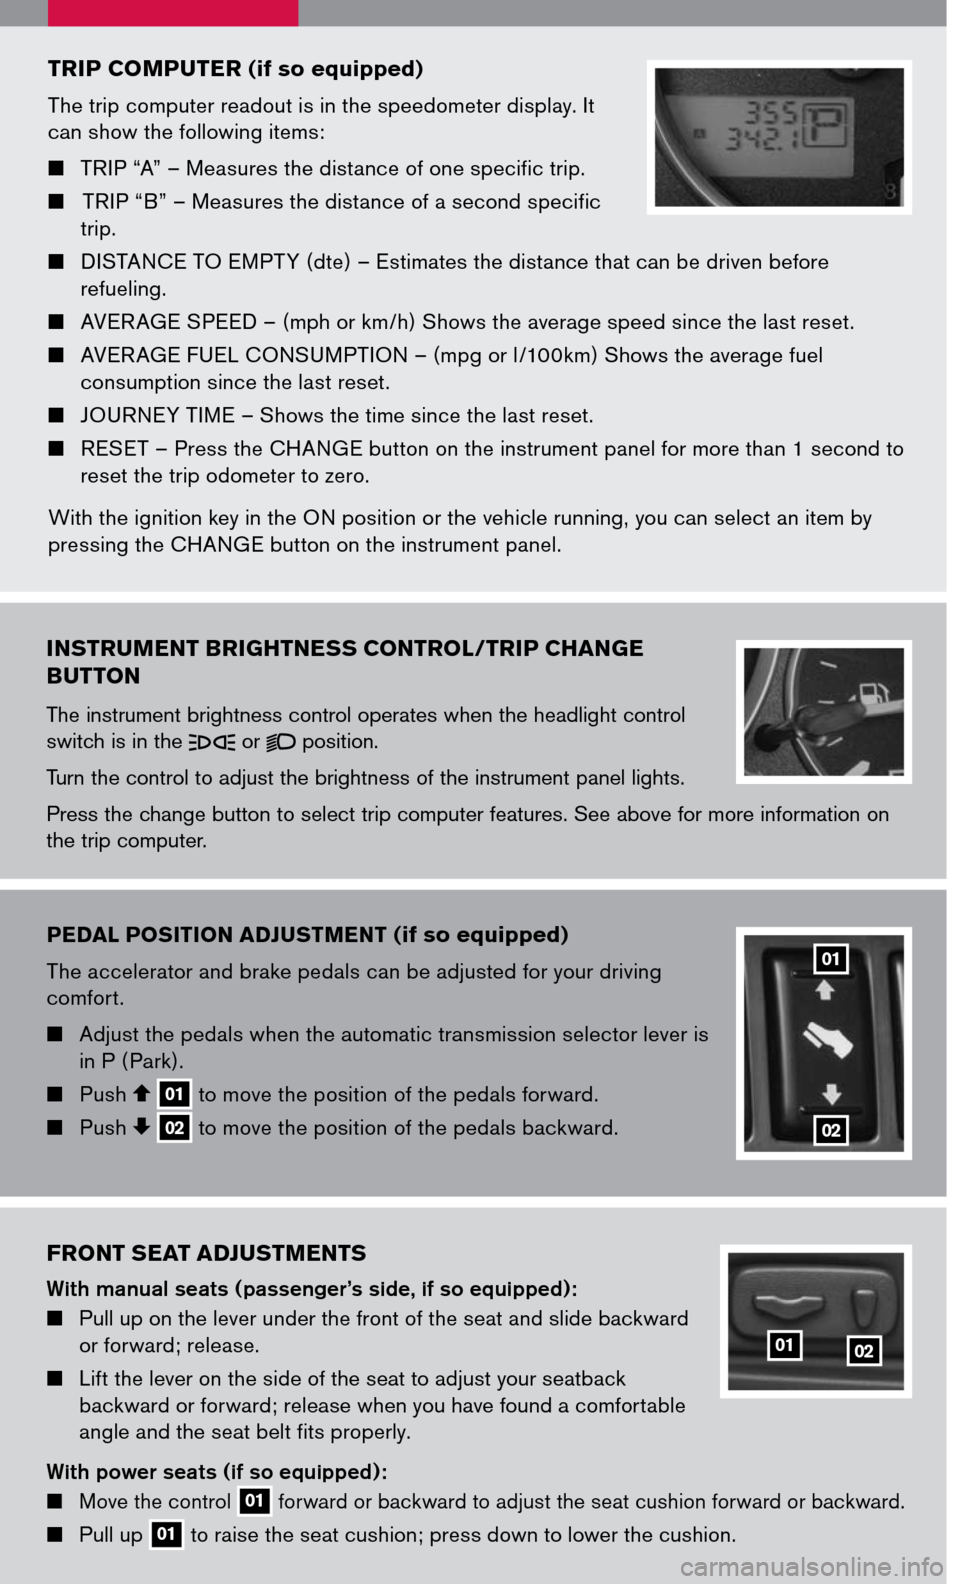
Pedal P osition adJust Ment (if so equipped)
The accelerator and brake pedals can be adjusted for your driving comfort.
Adjust the pedals when the automatic transmission selector lever is in P ( Park).
Push 01 to move the position of the pedals forward. Push 02 to move the position of the pedals backward.02
01
tri P co MP uter (if so equipped)
The trip computer readout is in the speedometer display. It can show the following items:
TRIP “A” – Measures the distance of one specific trip.
TRIP “B” – Measures the distance of a second specific trip.
DISTANCE TO EMPT Y (dte) – Estimates the distance that can be driven before refueling.
AVER AGE SPEED – (mph or km /h) Shows the average speed since the last reset.
AVER AGE FUEL CONSUMPTION – (mpg or l /100km) Shows the average fuel consumption since the last reset.
JOURNEY TIME – Shows the time since the last reset.
RESET – Press the CHANGE button on the instrument panel for more than 1 second to reset the trip odometer to zero.
With the ignition key in the ON position or the vehicle running, you can select an item by pressing the CHANGE button on the instrument panel.
instru Ment Brightness control /tri P change
B utton
The instrument brightness control operates when the headlight control switch is in the or position.
Turn the control to adjust the brightness of the instrument panel lights.
Press the change button to select trip computer features. See above for more information on the trip computer.
front seat ad Just Ments
With manual seats (passenger’s side, if so equipped):
Pull up on the lever under the front of the seat and slide backward or forward; release.
Lift the lever on the side of the seat to adjust your seatback backward or forward; release when you have found a comfortable
angle and the seat belt fits properly.
With power seats (if so equipped):
Move the control 01 forward or backward to adjust the seat cushion forward or backward.
Pull up 01 to raise the seat cushion; press down to lower the cushion.
0102
Page 14 of 14

This easy-to-use Quick Reference Guide is intended to help you more fully appreciate some of the unique features and functions of your new vehicle. However, it is not intended to replace your Owner’s Manual. The Owner’s Manual contains more detailed information to help you better understand the important safety warnings, features, operation, and maintenance of your vehicle.
QR7E-0R51U1 Printing: January 2007 (09)
Nissan, the Nissan Brand Symbol, “SHIFT_” tagline, Z and Nissan model names are Nissan trademarks. ©2007 Nissan North America, Inc.
Sh ift_
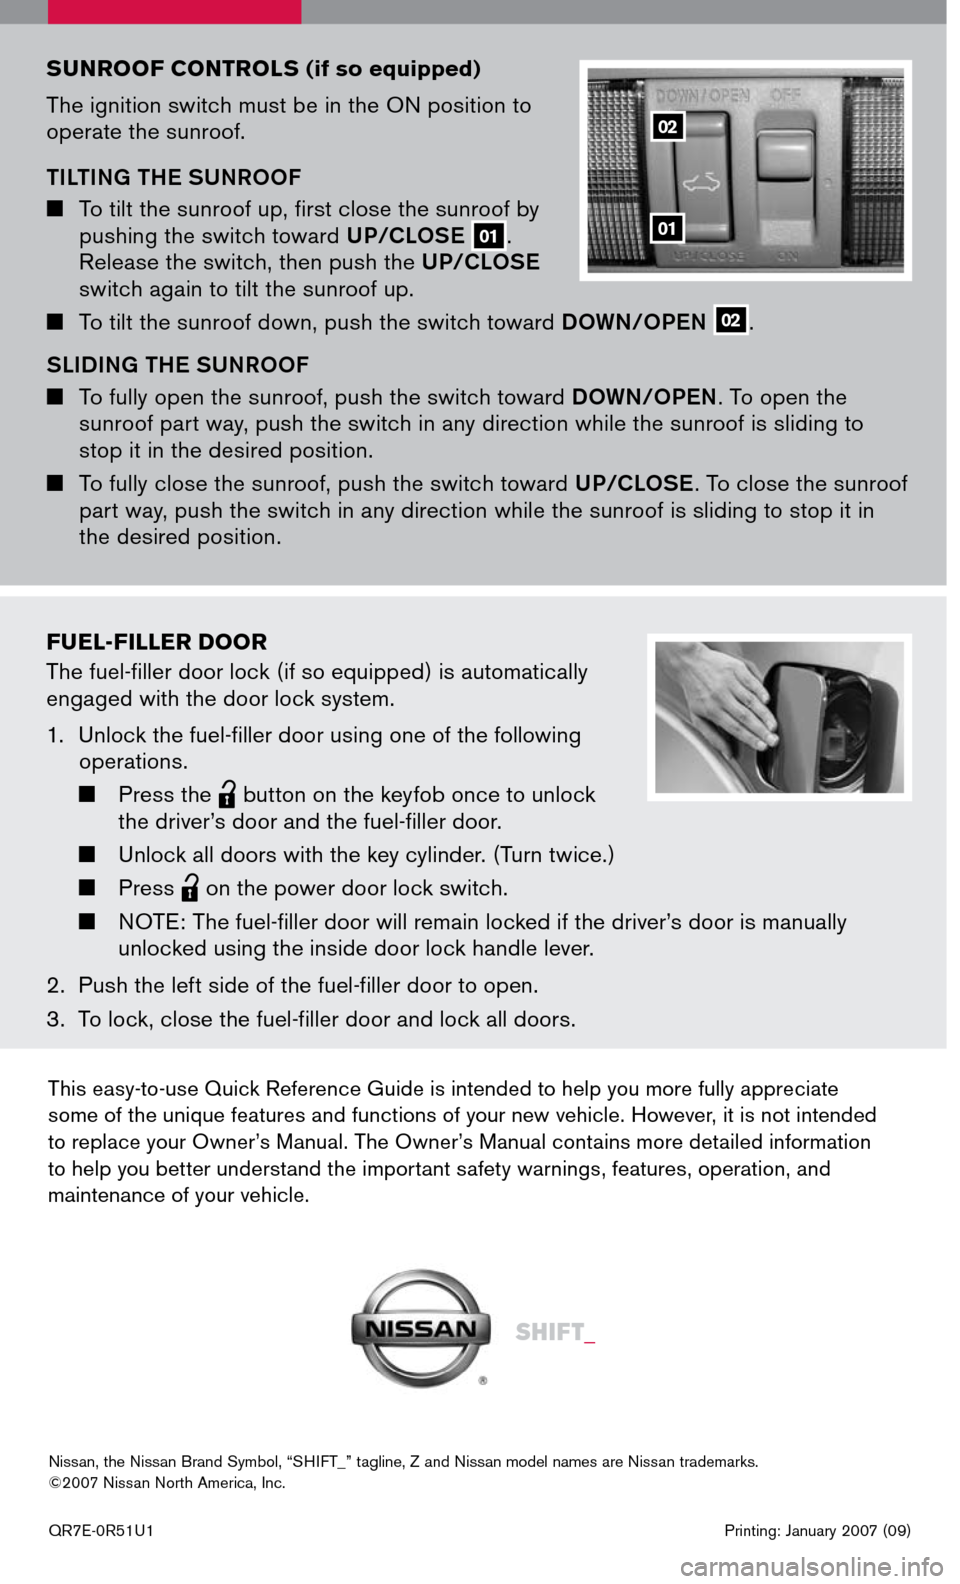
sunroof controls (if so equipped)
The ignition switch must be in the ON position to operate the sunroof.
TILTING THE SUNROOF
To tilt the sunroof up, first close the sunroof by pushing the switch toward UP/CLOSE 01. Release the switch, then push the UP/CLOSE switch again to tilt the sunroof up.
To tilt the sunroof down, push the switch toward DOWN/OPEN 02.
SLIDING THE SUNROOF
To fully open the sunroof, push the switch toward DOWN/OPEN. To open the sunroof part way, push the switch in any direction while the sunroof is sliding to stop it in the desired position.
To fully close the sunroof, push the switch toward UP/CLOSE. To close the sunroof part way, push the switch in any direction while the sunroof is sliding to stop it in the desired position.
02
01
fuel-filler door
The fuel-filler door lock (if so equipped) is automatically engaged with the door lock system.
1. Unlock the fuel-filler door using one of the following
operations.
Press the
lpd0151
button on the keyfob once to unlock
the driver’s door and the fuel-filler door.
Unlock all doors with the key cylinder. (Turn twice.)
Press
lpd0151
on the power door lock switch.
NOTE: The fuel-filler door will remain locked if the driver’s door is manually
unlocked using the inside door lock handle lever.
2. Push the left side of the fuel-filler door to open.
3. To lock, close the fuel-filler door and lock all doors.