Page 2 of 14
steering wheel switches for audio control
instru Ment
B rightness control /
tri P change Button
tri
P co MP uter
0203
05
steering wheel
tilt ad Just Ment *
P
edal Position
ad Just Ment
cruise control
06
0809
audio s Y ste M
control
P
anel dis Pla Y
1112
02
03
04
06
01
13
05
12
11
07
14
15
windshield wi Per /
washer switch
headlight
and turn
signal
control
01
04
front-Passenger
air Bag status light
07
hood release *
10
08
*See your Owner’s Manual for more information.
cliMate controls
13
four -wheel
dri Ve (4 wd )
shift switch
14
hill descent
control (hdc ) switch
15
10
09
16
auxiliar Y
a udio
i n Put Jack*
16
Page 5 of 14

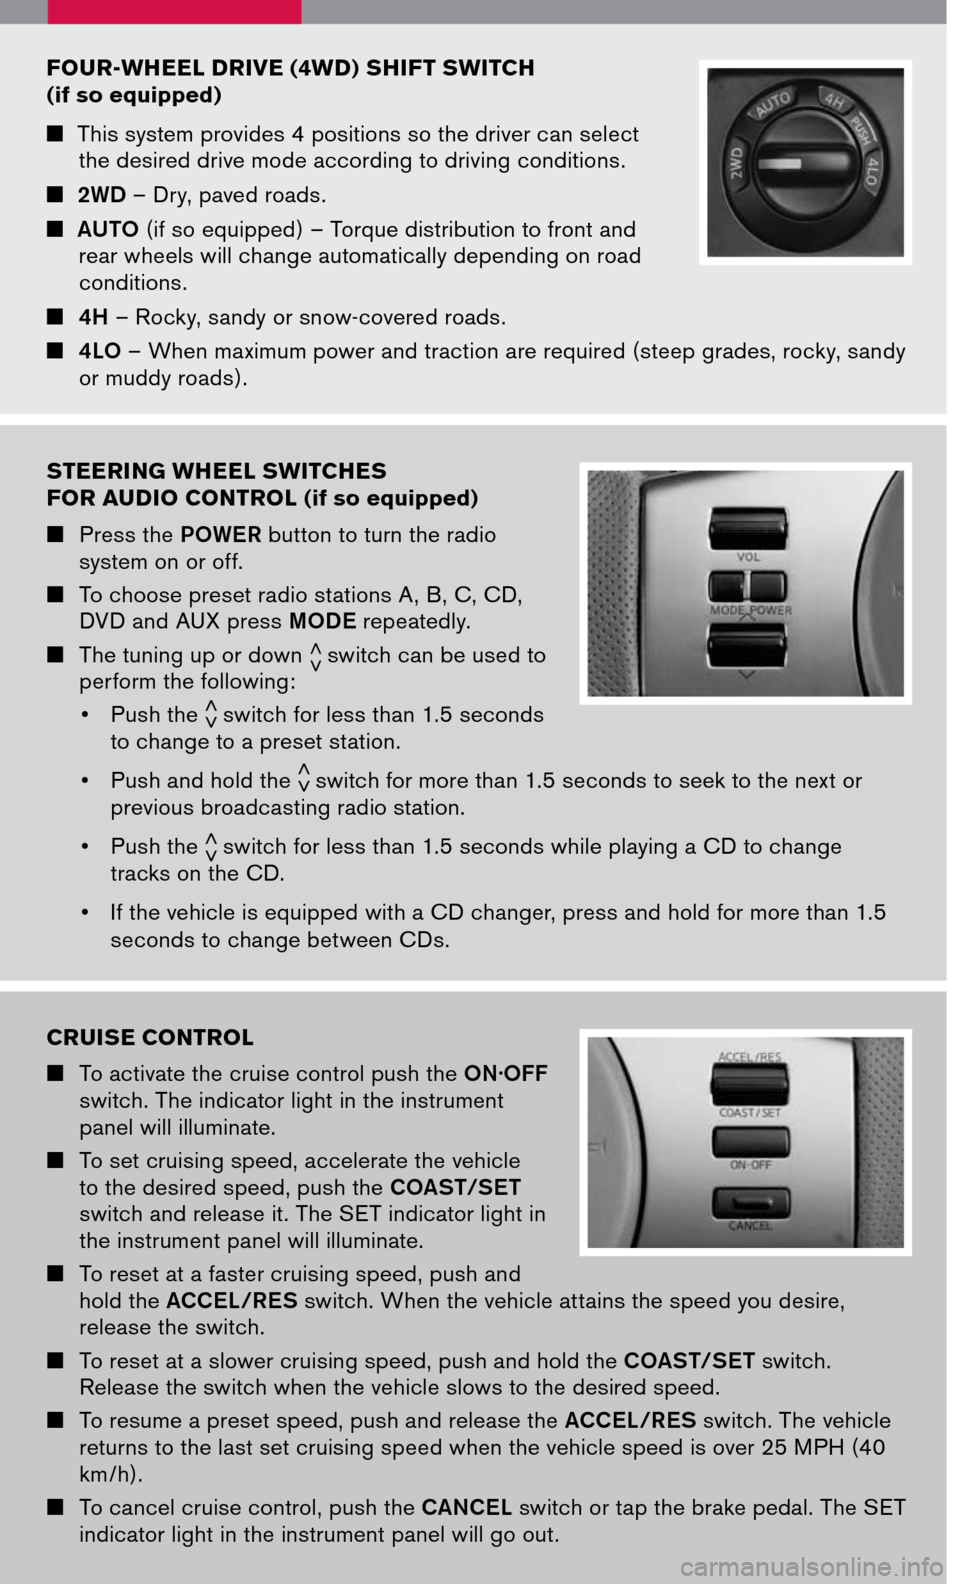
steering wheel switches
for audio control
(if so equipped)
Press the POWER button to turn the radio system on or off.
To choose preset radio stations A , B, C, CD, DVD and AUX press MODE repeatedly.
The tuning up or down < >switch can be used to perform the following:
• Push the < >switch for less than 1.5 seconds to change to a preset station.
• Push and hold the < >switch for more than 1.5 seconds to seek to the next or previous broadcasting radio station.
• Push the < >switch for less than 1.5 seconds while playing a CD to change tracks on the CD.
• If the vehicle is equipped with a CD changer, press and hold for more than 1.5
seconds to change between CDs.
four -wheel driVe (4 wd) shift switch
(if so equipped)
This system provides 4 positions so the driver can select the desired drive mode according to driving conditions.
2WD – Dry, paved roads.
AUTO (if so equipped) – Torque distribution to front and rear wheels will change automatically depending on road conditions.
4H – Rocky, sandy or snow-covered roads.
4LO – When maximum power and traction are required (steep grades, rocky, sandy or muddy roads).
cruise control
To activate the cruise control push the ON.OFF switch. The indicator light in the instrument panel will illuminate.
To set cruising speed, accelerate the vehicle to the desired speed, push the COAST/SET switch and release it. The SET indicator light in the instrument panel will illuminate.
To reset at a faster cruising speed, push and hold the ACCEL/RES switch. When the vehicle attains the speed you desire, release the switch.
To reset at a slower cruising speed, push and hold the COAST/SET switch. Release the switch when the vehicle slows to the desired speed.
To resume a preset speed, push and release the ACCEL/RES switch. The vehicle returns to the last set cruising speed when the vehicle speed is over 25 MPH (40 km /h).
To cancel cruise control, push the CANCEL switch or tap the brake pedal. The SET indicator light in the instrument panel will go out.
Page 10 of 14

07AUX BUTTON
Press the AUX button to play a compatible device such as an MP3 player when it is
plugged into the auxiliary jack.
STATION AND CD SELECT BUTTONS
To store a station in a preset you must first select the A , B, or C memory bank by
pressing the PRESET A · B · C button and tune to the desired FM, AM or SAT*
station. Then press and hold the desired station select button for at least 2 seconds.
When the preset indicator illuminates, a beep will sound, indicating memorization
is complete. To retrieve a previously set station, select the memory bank where the
preset was set, then press the corresponding station select button.
TUNING AND AUDIO CONTROL KNOB
To manually tune the radio, turn the TUNE knob. Adjust the Bass, Midrange, Treble,
Fade, Balance, and Speed Sensitive Volume ( SSV) (if so equipped), press the
AUDIO knob until the desired mode appears in the display. Then turn the TUNE knob
to adjust to the desired level.
09
* SAT presets are only available on SAT equipped vehicles.
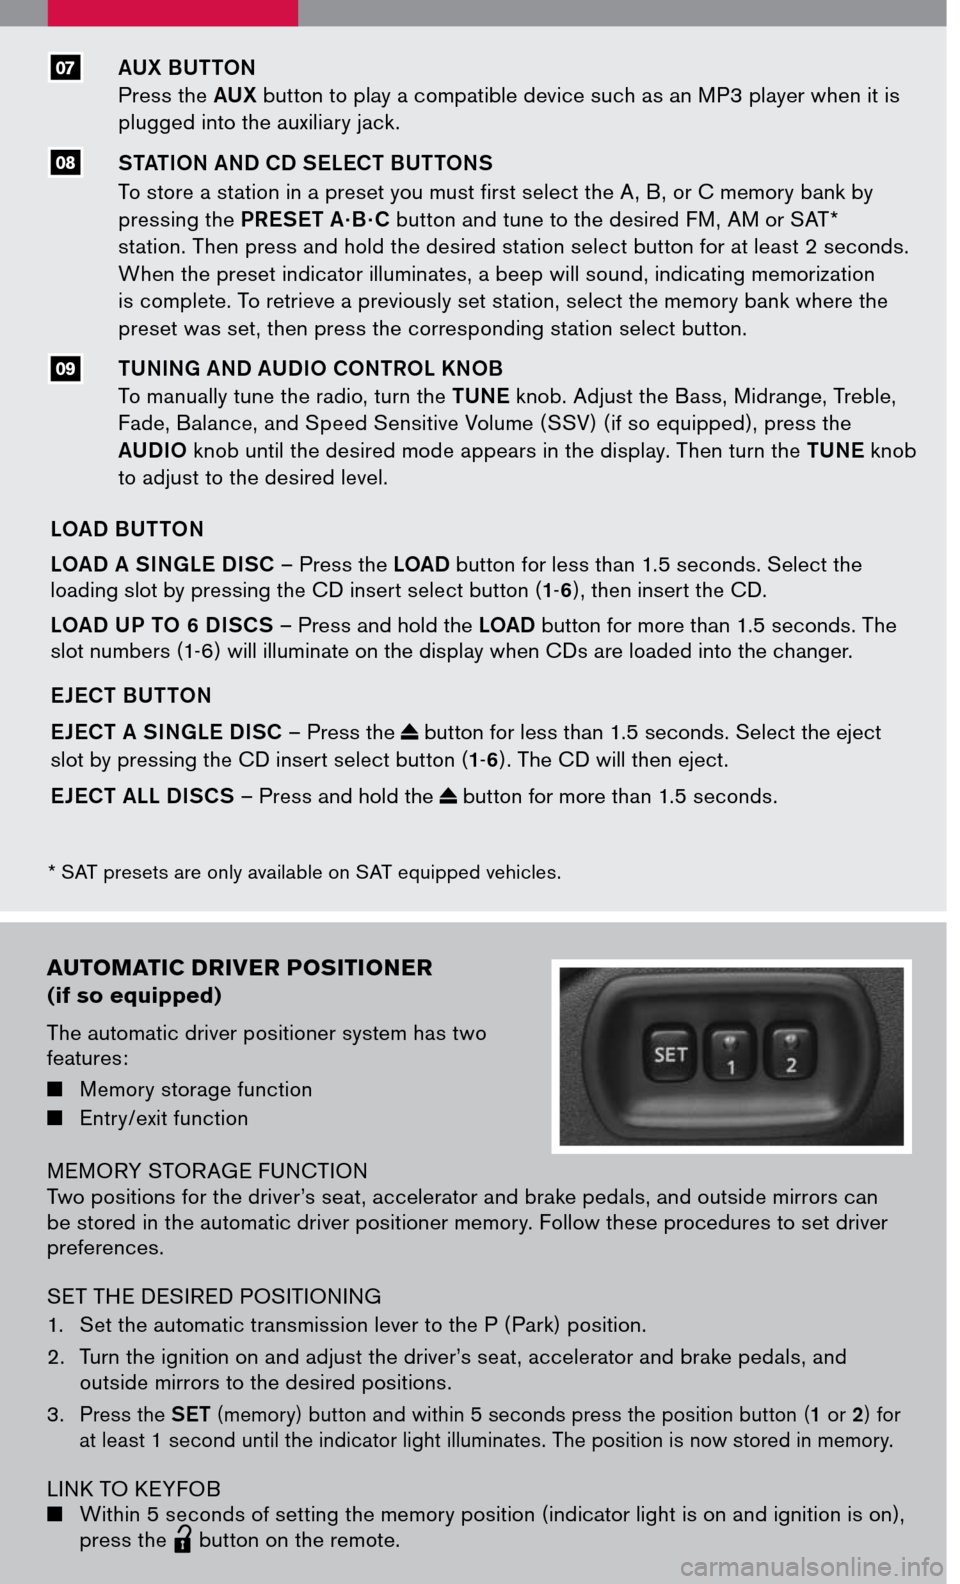
autoMatic driVer P ositioner
(if so equipped)
The automatic driver positioner system has two features:
Memory storage function
Entry/exit function
MEMORY STOR AGE FUNCTIONTwo positions for the driver’s seat, accelerator and brake pedals, and outside mirrors can be stored in the automatic driver positioner memory. Follow these procedures to set driver preferences.
SET THE DESIRED POSITIONING
1. Set the automatic transmission lever to the P ( Park) position.
2. Turn the ignition on and adjust the driver’s seat, accelerator and brake pedals, and
outside mirrors to the desired positions.
3. Press the SET (memory) button and within 5 seconds press the position button (1 or 2) for at least 1 second until the indicator light illuminates. The position is now stored in memory.
LINK TO KEYFOB Within 5 seconds of setting the memory position (indicator light is on and ignition is on), press the
lpd0151
button on the remote.
08
LOAD BUT TON
LOAD A SINGLE DISC – Press the LOAD button for less than 1.5 seconds. Select the loading slot by pressing the CD insert select button (1-6), then insert the CD.
LOAD UP TO 6 DISCS – Press and hold the LOAD button for more than 1.5 seconds. The slot numbers (1-6) will illuminate on the display when CDs are loaded into the changer.
EJECT BUT TON
EJECT A SINGLE DISC – Press the button for less than 1.5 seconds. Select the eject
slot by pressing the CD insert select button (1-6). The CD will then eject.
EJECT ALL DISCS – Press and hold the button for more than 1.5 seconds.