2007 NISSAN MAXIMA sensor
[x] Cancel search: sensorPage 93 of 336

NOTE:
Autolight activation sensitivity and the
time delay for autolight shutoff can be ad-
justed for vehicles with navigation system.
See “Vehicle electronic systems” in the
“Display screen, heater, air conditioner, au-
dio and phone systems” section later in this
manual.
To turn on the autolight system:
1. Turn the headlight switch to the AUTO posi-
tion
s1.
2. Turn the ignition key to ON.
3. The autolight system automatically turns the
headlights on and off.
Initially, if the ignition switch is turned OFF and a
door is opened and left open, the headlights
remain ON for 5 minutes. If another door is
opened during the 5 minutes, then the 5 minute
timer is reset.
To turn the autolight system off, turn the switch to
the OFF,
orposition.Be sure you do not put anything on top of
the autolight sensor
s1located in the top
side of the instrument panel. The autolight
sensor controls the autolight; if it is cov-
ered, the autolight sensor reacts as if it is
dark out and the headlights will illuminate.
If this occurs while parked with the engine
off and the key in the ON position, your
vehicle’s battery could become discharged.Headlight beam select
s1To select the high beam function, push the
lever forward. The high beam lights come on
and the
light illuminates.
s2Pull the lever back to select the low beam.
s3Pulling and releasing the lever flashes the
headlight high beams on and off.
Battery saver system
If the ignition switch is turned OFF while the
headlight switch is in theorposi-
tion, the headlights will turn off after 5 minutes.
WIC0996LIC0562
Instruments and controls2-23
ZREVIEW COPYÐ2007 Maxima(max)
Owners ManualÐUSA_English(nna)
01/26/07Ðarosenma
X
Page 99 of 336

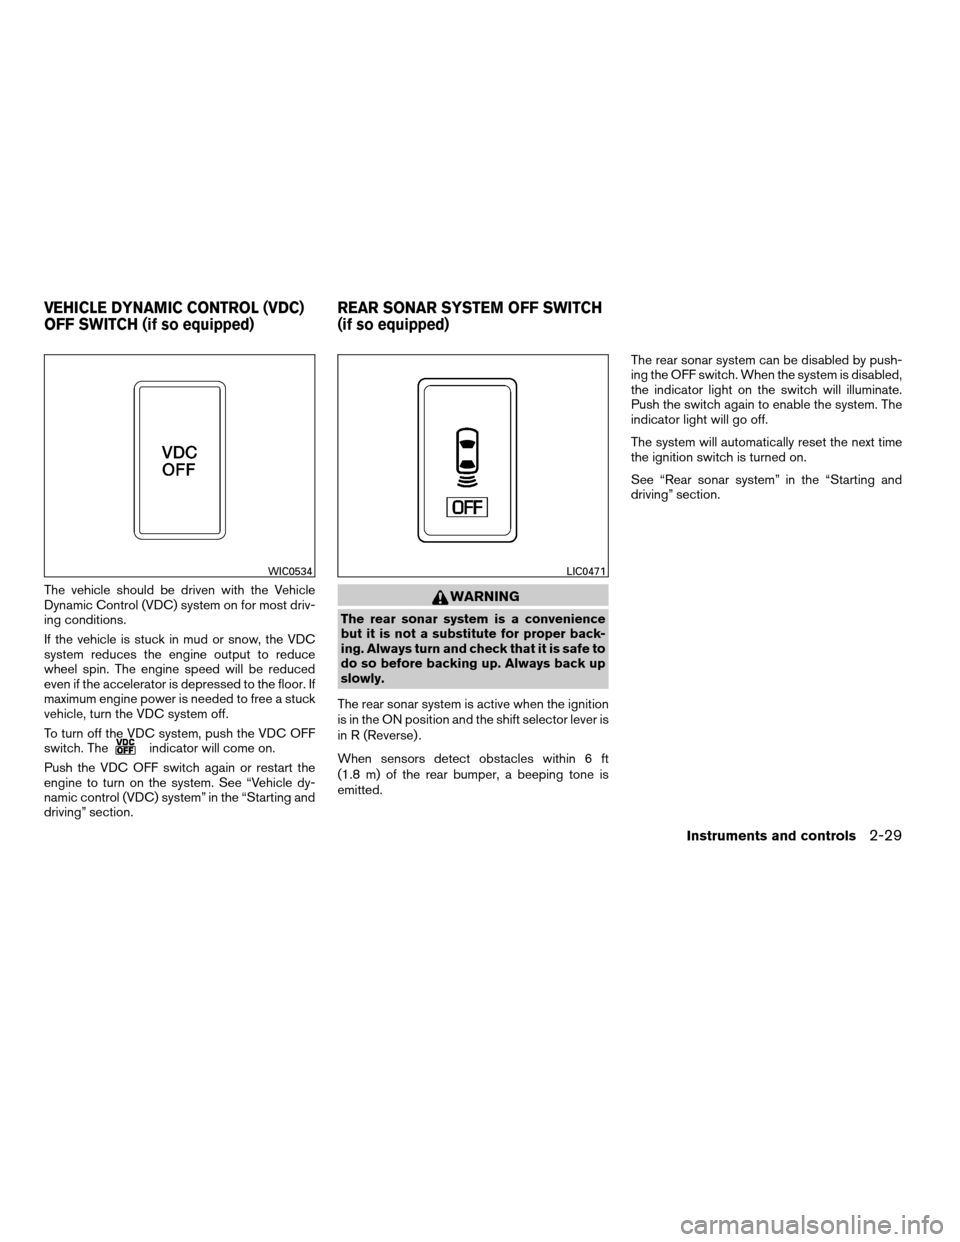
The vehicle should be driven with the Vehicle
Dynamic Control (VDC) system on for most driv-
ing conditions.
If the vehicle is stuck in mud or snow, the VDC
system reduces the engine output to reduce
wheel spin. The engine speed will be reduced
even if the accelerator is depressed to the floor. If
maximum engine power is needed to free a stuck
vehicle, turn the VDC system off.
To turn off the VDC system, push the VDC OFF
switch. The
indicator will come on.
Push the VDC OFF switch again or restart the
engine to turn on the system. See “Vehicle dy-
namic control (VDC) system” in the “Starting and
driving” section.
WARNING
The rear sonar system is a convenience
but it is not a substitute for proper back-
ing. Always turn and check that it is safe to
do so before backing up. Always back up
slowly.
The rear sonar system is active when the ignition
is in the ON position and the shift selector lever is
in R (Reverse) .
When sensors detect obstacles within 6 ft
(1.8 m) of the rear bumper, a beeping tone is
emitted.The rear sonar system can be disabled by push-
ing the OFF switch. When the system is disabled,
the indicator light on the switch will illuminate.
Push the switch again to enable the system. The
indicator light will go off.
The system will automatically reset the next time
the ignition switch is turned on.
See “Rear sonar system” in the “Starting and
driving” section.
WIC0534LIC0471
VEHICLE DYNAMIC CONTROL (VDC)
OFF SWITCH (if so equipped)REAR SONAR SYSTEM OFF SWITCH
(if so equipped)
Instruments and controls2-29
ZREVIEW COPYÐ2007 Maxima(max)
Owners ManualÐUSA_English(nna)
01/26/07Ðarosenma
X
Page 143 of 336

AUTOMATIC ANTI-GLARE
REARVIEW MIRROR
The inside mirror is designed so that it automati-
cally dims according to the intensity of the head-
lights of the vehicle following you. The automatic
anti-glare feature operates only when the ignition
switch is in the ON position.
The indicator light
s1will illuminate when the
automatic anti-glare feature is operating.
To turn off the automatic anti-glare feature, press:
cthe O button for inside mirrors without
compass.cthe
button for inside mirrors with
compass.
The indicator light will turn off.
To turn on the automatic anti-glare feature again,
press:
cthe | button for inside mirrors without
compass.
cthe
button for inside mirrors with
compass.
The indicator light will turn on.Some vehicles are also equipped with automatic
anti-glare outside mirrors. For additional informa-
tion, see “Automatic anti-glare outside mirrors”
later in this section.
For information on HomeLinkTUniversal Trans-
ceiver operation, see the “HomeLinkTUniversal
Transceiver” in the “Instrument and controls” sec-
tion of this manual.
For information on the compass display (if so
equipped) , see “Compass display” in the “Instru-
ments and controls” section of this manual.
NOTE:
Do not hang any objects over the sensors
s2or apply glass cleaner to the sensors.
Doing so will reduce the sensitivity of the
sensors, resulting in improper operation.Without compass
WPD0332
With compass
WPD0333
MIRRORS
Pre-driving checks and adjustments3-25
ZREVIEW COPYÐ2007 Maxima(max)
Owners ManualÐUSA_English(nna)
01/26/07Ðarosenma
X
Page 165 of 336

Sensitivity of automatic headlights:Select
to change the sensitivity setting of the automatic
headlights:
cLower: less sensitive, automatic headlights
will take longer to come on when the head-
light sensor senses less ambient light.
cHigher: more sensitive, automatic headlights
will come on quicker when the headlight
sensor senses less ambient light.
Automatic headlights off delay:Select to
change the setting for the length of time the
automatic headlights remain on after exiting the
vehicle.
Speed dependent wiper:Select to turn on or
turn off the driving speed dependent intermittent
wiper function.
Intelligent Key lock response — sound:Se-
lect to change the sound of the Intelligent Key
mode used when a request switch is pushed to
lock the doors.
Select to turn off all sounds made when a request
switch is pushed to lock the doors, by selecting
the “OFF” key using the joystick.Intelligent Key unlock response — beep
sound:Select to turn on or turn off the sound of
the Intelligent Key mode used when a request
switch is pushed to unlock the doors.
Intelligent Key lock/unlock function:Select
to turn on or turn off the door lock and unlock
modes used when a request switch is pushed.
Return all settings to default:Select to
change all VEHICLE ELECTRONICS SYSTEMS
to their default settings.
System settings
Select the “System Settings” key by using the
joystick and pressing the ENTER button. The
SYSTEM SETTINGS screen will be displayed.
Language/unit
The LANGUAGE/UNIT screen will appear when
selecting the “Language/Unit” key and pressing
the ENTER button.
Language: English or French
Unit: US — mile, °F, MPG
Metric — km, °C, L/100 km
LHA0561
Display screen, heater, air conditioner, audio and phone systems4-15
ZREVIEW COPYÐ2007 Maxima(max)
Owners ManualÐUSA_English(nna)
01/26/07Ðarosenma
X
Page 171 of 336

Air recirculation
Push the air recirculation button to recirculate
interior air inside the vehicle. The indicator light
on the button will come on.
The air recirculation cannot be activated when
the air conditioner is in the front defrosting mode.
Air flow control
Pushing the MODE button manually controls air
flow and selects the air outlet:
— Air flows from center and side
ventilators.
— Air flows from center and side
ventilators and foot outlets.
— Air flows mainly from foot outlets.
— Air flows from defroster and foot
outlets.
— Air flows from defroster outlets.
To turn system off
Press the OFF button.
OPERATING TIPS
cWhen the engine coolant temperature and
outside air temperature are low, the air flow
from the foot outlets may not operate for a
maximum of 150 seconds. However, this is
not a malfunction. After the coolant tempera-
ture warms up, air flow from the foot outlets
will operate normally.
The sunload sensor, located on the top passen-
ger side of the instrument panel, helps the system
maintain a constant temperature. Do not put any-
thing on or around this sensor.
WHA0209
Display screen, heater, air conditioner, audio and phone systems4-21
ZREVIEW COPYÐ2007 Maxima(max)
Owners ManualÐUSA_English(nna)
01/26/07Ðarosenma
X
Page 210 of 336

km/h) . Also, this system may not detect a
sudden drop in tire pressure (for example a
flat tire while driving) .
cThe low tire pressure warning light does not
automatically turn off when the tire pressure
is adjusted. After the tire is inflated to the
recommended pressure, the vehicle must be
driven at speeds above 16 MPH (25 km/h)
to activate the TPMS and turn off the low tire
pressure warning light. Use a tire pressure
gauge to check the tire pressure.
cTire pressure rises and falls depending on
the heat caused by the vehicle’s operation
and the outside temperature. Low outside
temperature can lower the temperature of
the air inside the tire which can cause a
lower tire inflation pressure. This may cause
the low tire pressure warning light to illumi-
nate. If the warning light illuminates in low
ambient temperature, check the tire pres-
sure for all four tires.
cYou can also check the pressure of all tires
(except the spare tire) on the display screen
(if so equipped) . The order of the tire pres-
sure figures displayed on the screen does
not correspond with the actual order of the
tire position. See “Tire pressure information”
in the “Display screen, heater, air conditioner
and audio and phone systems” section.For additional information, see “Low tire pressure
warning light” in the “Instruments and controls”
section and “Tire pressure monitoring system
(TPMS)” in the “In case of emergency” section.
WARNING
cIf the low tire pressure warning light
illuminates while driving, avoid sudden
steering maneuvers or abrupt braking,
reduce vehicle speed, pull off the road
to a safe location and stop the vehicle
as soon as possible. Serious vehicle
damage could occur and may lead to an
accident and could result in serious
personal injury. Check the tire pressure
for all four tires. Adjust the tire pressure
to the recommended COLD tire pres-
sure shown on the Tire and Loading
Information label to turn the low tire
pressure warning light OFF. If you have
a flat tire, replace it with a spare tire as
soon as possible. (See “Flat tire” in the
“In case of emergency” section for
changing a flat tire.)cWhen a spare tire is mounted or a wheel
is replaced, tire pressure will not be
indicated, the TPMS will not function
and the low tire pressure warning light
will flash for approximately 1 minute.
The light will remain on after 1 minute.
Contact your NISSAN dealer as soon as
possible for tire replacement and/or
system resetting.
cReplacing tires with those not originally
specified by NISSAN could affect the
proper operation of the TPMS.
cDo not inject any tire liquid or aerosol
tire sealant into the tires, as this may
cause a malfunction of the tire pressure
sensors.
CAUTION
Do not place metalized film or any metal
parts (antenna, etc.) on the windows. This
may cause poor reception of the signals
from the tire pressure sensors, and the
TPMS will not function properly.
Some devices and transmitters may temporarily
interfere with the operation of the TPMS and
cause the low tire pressure warning light to illu-
minate.
5-4Starting and driving
ZREVIEW COPYÐ2007 Maxima(max)
Owners ManualÐUSA_English(nna)
01/26/07Ðarosenma
X
Page 225 of 336

This procedure is described in the vehicle service
manual and can be performed by a NISSAN
dealer.
ANTI-LOCK BRAKING SYSTEM
(ABS)
WARNING
cThe Anti-lock Braking System (ABS) is a
sophisticated device, but it cannot pre-
vent accidents resulting from careless
or dangerous driving techniques. It can
help maintain vehicle control during
braking on slippery surfaces. Remem-
ber that stopping distances on slippery
surfaces will be longer than on normal
surfaces even with ABS. Stopping dis-
tances may also be longer on rough,
gravel or snow covered roads, or if you
are using tire chains. Always maintain a
safe distance from the vehicle in front
of you. Ultimately, the driver is respon-
sible for safety.
cTire type and condition may also affect
braking effectiveness.
– When replacing tires, install the
specified size of tires on all four
wheels.– When installing a spare tire, make
sure that it is the proper size and type
as specified on the Tire and Loading
Information label. See “Tire and
Loading Information label” in the
“Technical and consumer informa-
tion” section of this manual.
– For detailed information, see
“Wheels and tires” in the “Mainte-
nance and do-it-yourself” section of
this manual.
The Anti-lock Braking System (ABS) controls the
brakes so the wheels do not lock during hard
braking or when braking on slippery surfaces.
The system detects the rotation speed at each
wheel and varies the brake fluid pressure to pre-
vent each wheel from locking and sliding. By
preventing each wheel from locking, the system
helps the driver maintain steering control and
helps to minimize swerving and spinning on slip-
pery surfaces.
Using the system
Depress the brake pedal and hold it down. De-
press the brake pedal with firm steady pressure,
but do not pump the brakes. The ABS will oper-
ate to prevent the wheels from locking up. Steer
the vehicle to avoid obstacles.
WARNING
Do not pump the brake pedal. Doing so
may result in increased stopping
distances.
Self-test feature
The ABS includes electronic sensors, electric
pumps, hydraulic solenoids and a computer. The
computer has a built-in diagnostic feature that
tests the system each time you start the engine
and move the vehicle at a low speed in forward or
reverse. When the self-test occurs, you may hear
a “clunk” noise and/or feel a pulsation in the brake
pedal. This is normal and does not indicate a
malfunction. If the computer senses a malfunc-
tion, it switches the ABS off and illuminates the
ABS warning light on the instrument panel. The
brake system then operates normally, but without
anti-lock assistance.
If the ABS warning light illuminates during the
self-test or while driving, have the vehicle
checked by a NISSAN dealer.
Normal operation
The ABS operates at speeds above3-6MPH(5
- 10 km/h) .
Starting and driving5-19
ZREVIEW COPYÐ2007 Maxima(max)
Owners ManualÐUSA_English(nna)
01/26/07Ðarosenma
X
Page 226 of 336

When the ABS senses that one or more wheels
are close to locking up, the actuator rapidly ap-
plies and releases hydraulic pressure.
This action is similar to pumping the brakes very
quickly. You may feel a pulsation in the brake
pedal and hear a noise from under the hood or
feel a vibration from the actuator when it is oper-
ating. This is normal and indicates that the ABS is
operating properly. However, the pulsation may
indicate that road conditions are hazardous and
extra care is required while driving.When accelerating on slippery surfaces the tire
may spin or slip. With the vehicle traction control
system (TCS) , sensors detect these movements
and control the braking and engine output to help
improve vehicle stability while accelerating.
cWhen the traction control system is operat-
ing, the slip indicator in the instrument panel
blinks.
cIf the slip indicator blinks, the vehicle is un-
der slippery conditions. Be sure to drive
carefully. See “Slip indicator light” and “Trac-
tion control system (TCS) off indicator light”
in the “Instruments and controls” section of
this manual.
cIf a malfunction occurs in the system,
the
andindicator lights
come on in the instrument panel.
As long as these lights are on, the traction control
function is canceled. The vehicle will behave like
a vehicle without the system.
WARNING
cThe traction control system is designed
to help improve driving stability but
does not prevent accidents due to
abrupt steering operation at high
speeds or by careless or dangerous
driving techniques. Reduce vehicle
speed and be especially careful when
driving and cornering on slippery sur-
faces and always drive carefully.
cIf brake related parts such as brake
pads, rotors and calipers are not stan-
dard equipment or are extremely dete-
riorated, the traction control system
may not operate properly and the
indicator light may come on.
cDo not modify the vehicle’s suspension.
If suspension parts such as shock ab-
sorbers, struts, springs and bushings
are not standard equipment or are ex-
tremely deteriorated, the traction con-
trol system may not operate properly
and the
indicator light may come
on.
TRACTION CONTROL SYSTEM (TCS)
(if so equipped)
5-20Starting and driving
ZREVIEW COPYÐ2007 Maxima(max)
Owners ManualÐUSA_English(nna)
01/26/07Ðarosenma
X