2007 NISSAN MAXIMA key battery
[x] Cancel search: key batteryPage 81 of 336
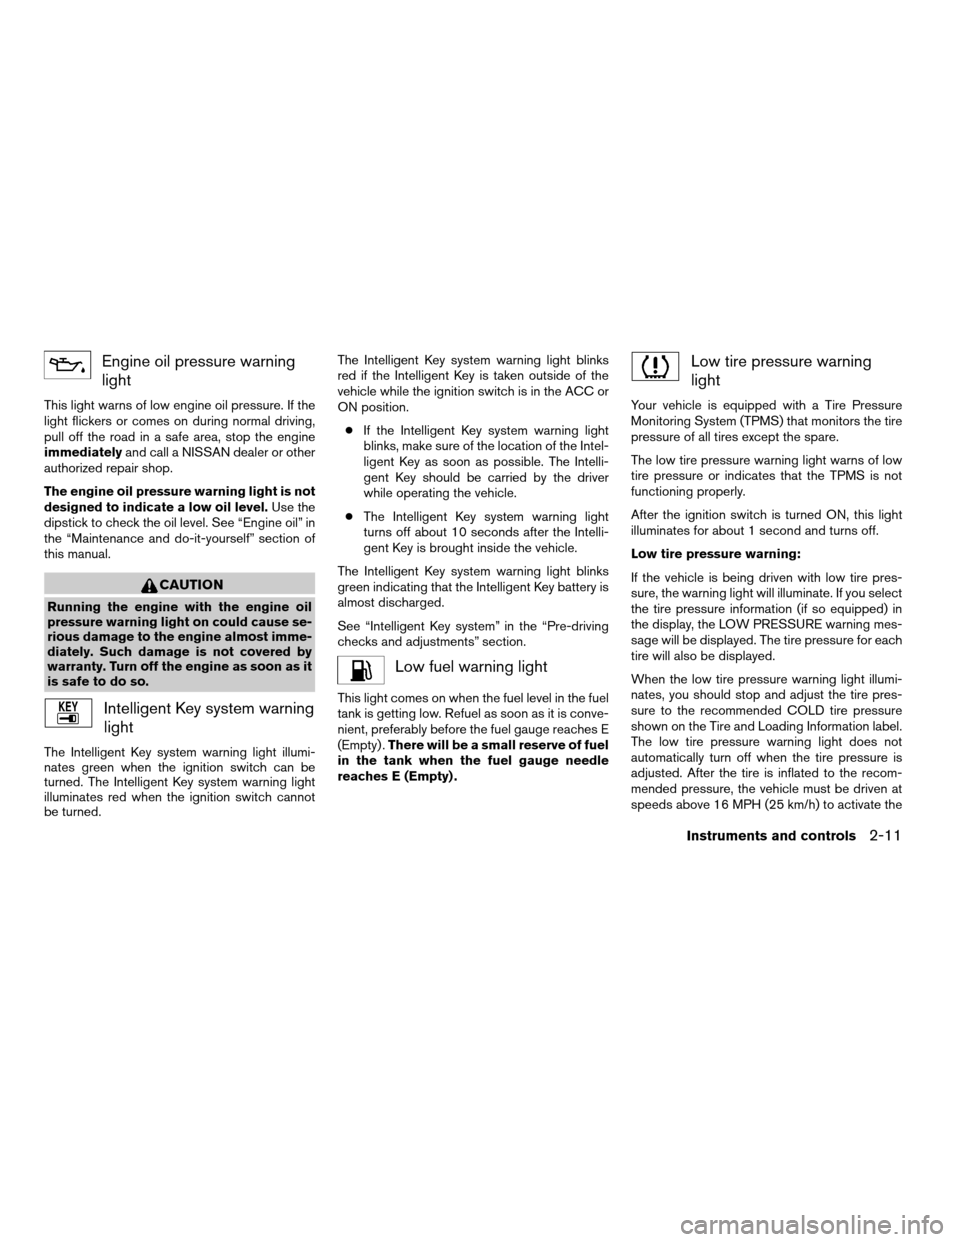
Engine oil pressure warning
light
This light warns of low engine oil pressure. If the
light flickers or comes on during normal driving,
pull off the road in a safe area, stop the engine
immediatelyand call a NISSAN dealer or other
authorized repair shop.
The engine oil pressure warning light is not
designed to indicate a low oil level.Use the
dipstick to check the oil level. See “Engine oil” in
the “Maintenance and do-it-yourself” section of
this manual.
CAUTION
Running the engine with the engine oil
pressure warning light on could cause se-
rious damage to the engine almost imme-
diately. Such damage is not covered by
warranty. Turn off the engine as soon as it
is safe to do so.
Intelligent Key system warning
light
The Intelligent Key system warning light illumi-
nates green when the ignition switch can be
turned. The Intelligent Key system warning light
illuminates red when the ignition switch cannot
be turned.The Intelligent Key system warning light blinks
red if the Intelligent Key is taken outside of the
vehicle while the ignition switch is in the ACC or
ON position.
cIf the Intelligent Key system warning light
blinks, make sure of the location of the Intel-
ligent Key as soon as possible. The Intelli-
gent Key should be carried by the driver
while operating the vehicle.
cThe Intelligent Key system warning light
turns off about 10 seconds after the Intelli-
gent Key is brought inside the vehicle.
The Intelligent Key system warning light blinks
green indicating that the Intelligent Key battery is
almost discharged.
See “Intelligent Key system” in the “Pre-driving
checks and adjustments” section.
Low fuel warning light
This light comes on when the fuel level in the fuel
tank is getting low. Refuel as soon as it is conve-
nient, preferably before the fuel gauge reaches E
(Empty) .There will be a small reserve of fuel
in the tank when the fuel gauge needle
reaches E (Empty) .
Low tire pressure warning
light
Your vehicle is equipped with a Tire Pressure
Monitoring System (TPMS) that monitors the tire
pressure of all tires except the spare.
The low tire pressure warning light warns of low
tire pressure or indicates that the TPMS is not
functioning properly.
After the ignition switch is turned ON, this light
illuminates for about 1 second and turns off.
Low tire pressure warning:
If the vehicle is being driven with low tire pres-
sure, the warning light will illuminate. If you select
the tire pressure information (if so equipped) in
the display, the LOW PRESSURE warning mes-
sage will be displayed. The tire pressure for each
tire will also be displayed.
When the low tire pressure warning light illumi-
nates, you should stop and adjust the tire pres-
sure to the recommended COLD tire pressure
shown on the Tire and Loading Information label.
The low tire pressure warning light does not
automatically turn off when the tire pressure is
adjusted. After the tire is inflated to the recom-
mended pressure, the vehicle must be driven at
speeds above 16 MPH (25 km/h) to activate the
Instruments and controls2-11
ZREVIEW COPYÐ2007 Maxima(max)
Owners ManualÐUSA_English(nna)
01/26/07Ðarosenma
X
Page 92 of 336
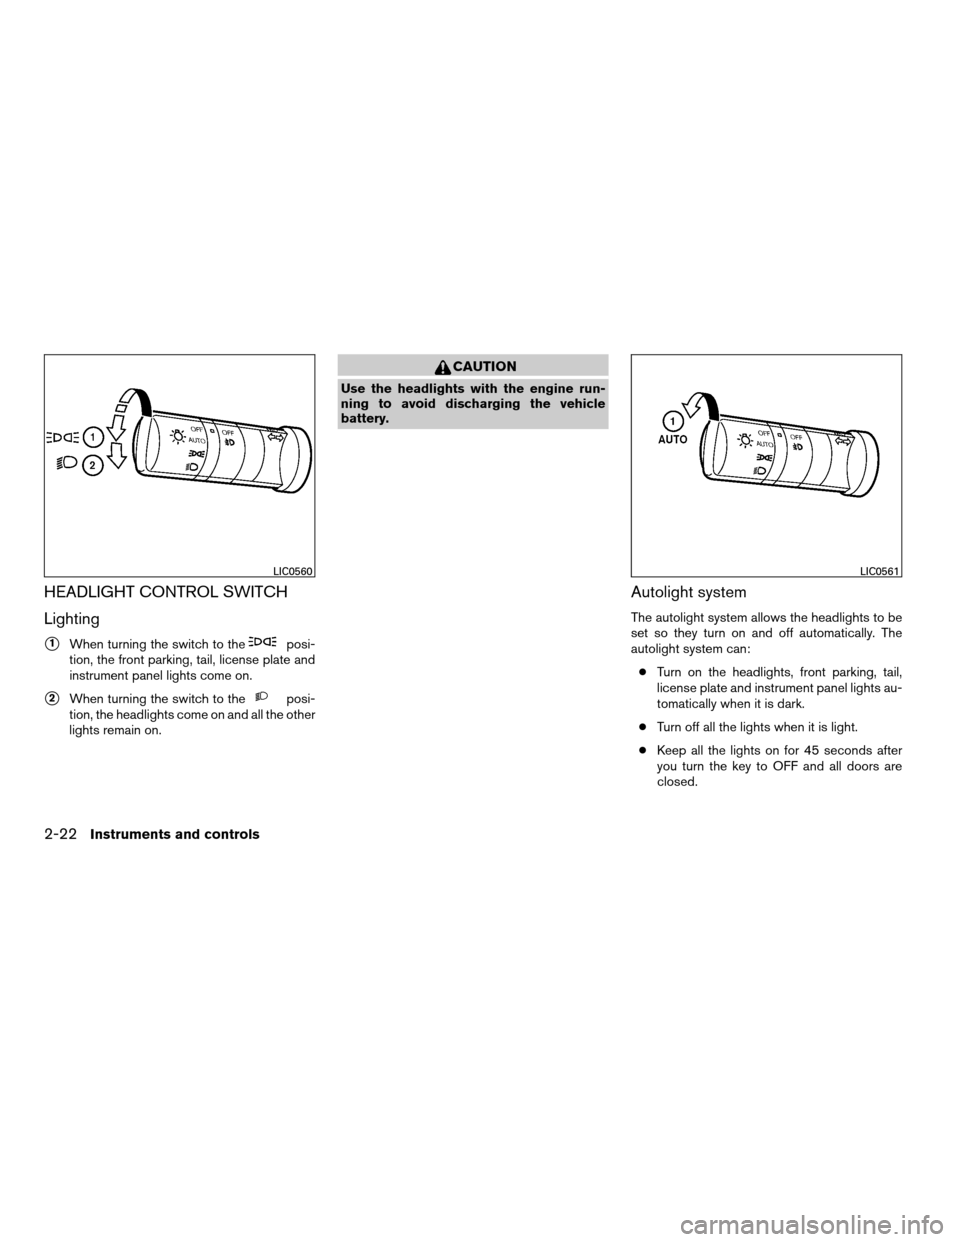
HEADLIGHT CONTROL SWITCH
Lighting
s1When turning the switch to theposi-
tion, the front parking, tail, license plate and
instrument panel lights come on.
s2When turning the switch to theposi-
tion, the headlights come on and all the other
lights remain on.
CAUTION
Use the headlights with the engine run-
ning to avoid discharging the vehicle
battery.
Autolight system
The autolight system allows the headlights to be
set so they turn on and off automatically. The
autolight system can:
cTurn on the headlights, front parking, tail,
license plate and instrument panel lights au-
tomatically when it is dark.
cTurn off all the lights when it is light.
cKeep all the lights on for 45 seconds after
you turn the key to OFF and all doors are
closed.
LIC0560LIC0561
2-22Instruments and controls
ZREVIEW COPYÐ2007 Maxima(max)
Owners ManualÐUSA_English(nna)
01/26/07Ðarosenma
X
Page 93 of 336

NOTE:
Autolight activation sensitivity and the
time delay for autolight shutoff can be ad-
justed for vehicles with navigation system.
See “Vehicle electronic systems” in the
“Display screen, heater, air conditioner, au-
dio and phone systems” section later in this
manual.
To turn on the autolight system:
1. Turn the headlight switch to the AUTO posi-
tion
s1.
2. Turn the ignition key to ON.
3. The autolight system automatically turns the
headlights on and off.
Initially, if the ignition switch is turned OFF and a
door is opened and left open, the headlights
remain ON for 5 minutes. If another door is
opened during the 5 minutes, then the 5 minute
timer is reset.
To turn the autolight system off, turn the switch to
the OFF,
orposition.Be sure you do not put anything on top of
the autolight sensor
s1located in the top
side of the instrument panel. The autolight
sensor controls the autolight; if it is cov-
ered, the autolight sensor reacts as if it is
dark out and the headlights will illuminate.
If this occurs while parked with the engine
off and the key in the ON position, your
vehicle’s battery could become discharged.Headlight beam select
s1To select the high beam function, push the
lever forward. The high beam lights come on
and the
light illuminates.
s2Pull the lever back to select the low beam.
s3Pulling and releasing the lever flashes the
headlight high beams on and off.
Battery saver system
If the ignition switch is turned OFF while the
headlight switch is in theorposi-
tion, the headlights will turn off after 5 minutes.
WIC0996LIC0562
Instruments and controls2-23
ZREVIEW COPYÐ2007 Maxima(max)
Owners ManualÐUSA_English(nna)
01/26/07Ðarosenma
X
Page 100 of 336
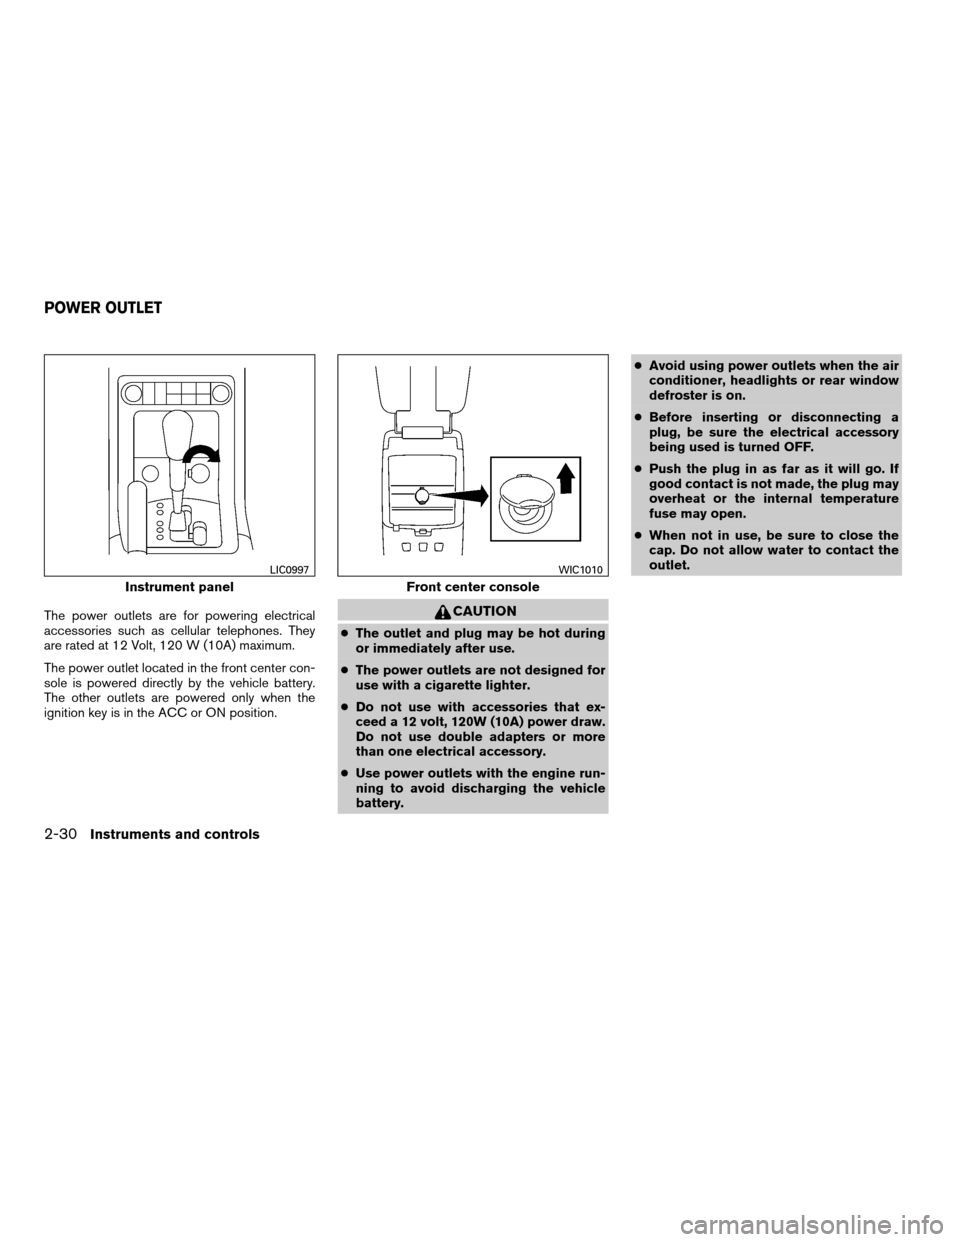
The power outlets are for powering electrical
accessories such as cellular telephones. They
are rated at 12 Volt, 120 W (10A) maximum.
The power outlet located in the front center con-
sole is powered directly by the vehicle battery.
The other outlets are powered only when the
ignition key is in the ACC or ON position.CAUTION
cThe outlet and plug may be hot during
or immediately after use.
cThe power outlets are not designed for
use with a cigarette lighter.
cDo not use with accessories that ex-
ceed a 12 volt, 120W (10A) power draw.
Do not use double adapters or more
than one electrical accessory.
cUse power outlets with the engine run-
ning to avoid discharging the vehicle
battery.cAvoid using power outlets when the air
conditioner, headlights or rear window
defroster is on.
cBefore inserting or disconnecting a
plug, be sure the electrical accessory
being used is turned OFF.
cPush the plug in as far as it will go. If
good contact is not made, the plug may
overheat or the internal temperature
fuse may open.
cWhen not in use, be sure to close the
cap. Do not allow water to contact the
outlet.
Instrument panel
LIC0997
Front center console
WIC1010
POWER OUTLET
2-30Instruments and controls
ZREVIEW COPYÐ2007 Maxima(max)
Owners ManualÐUSA_English(nna)
01/26/07Ðarosenma
X
Page 110 of 336
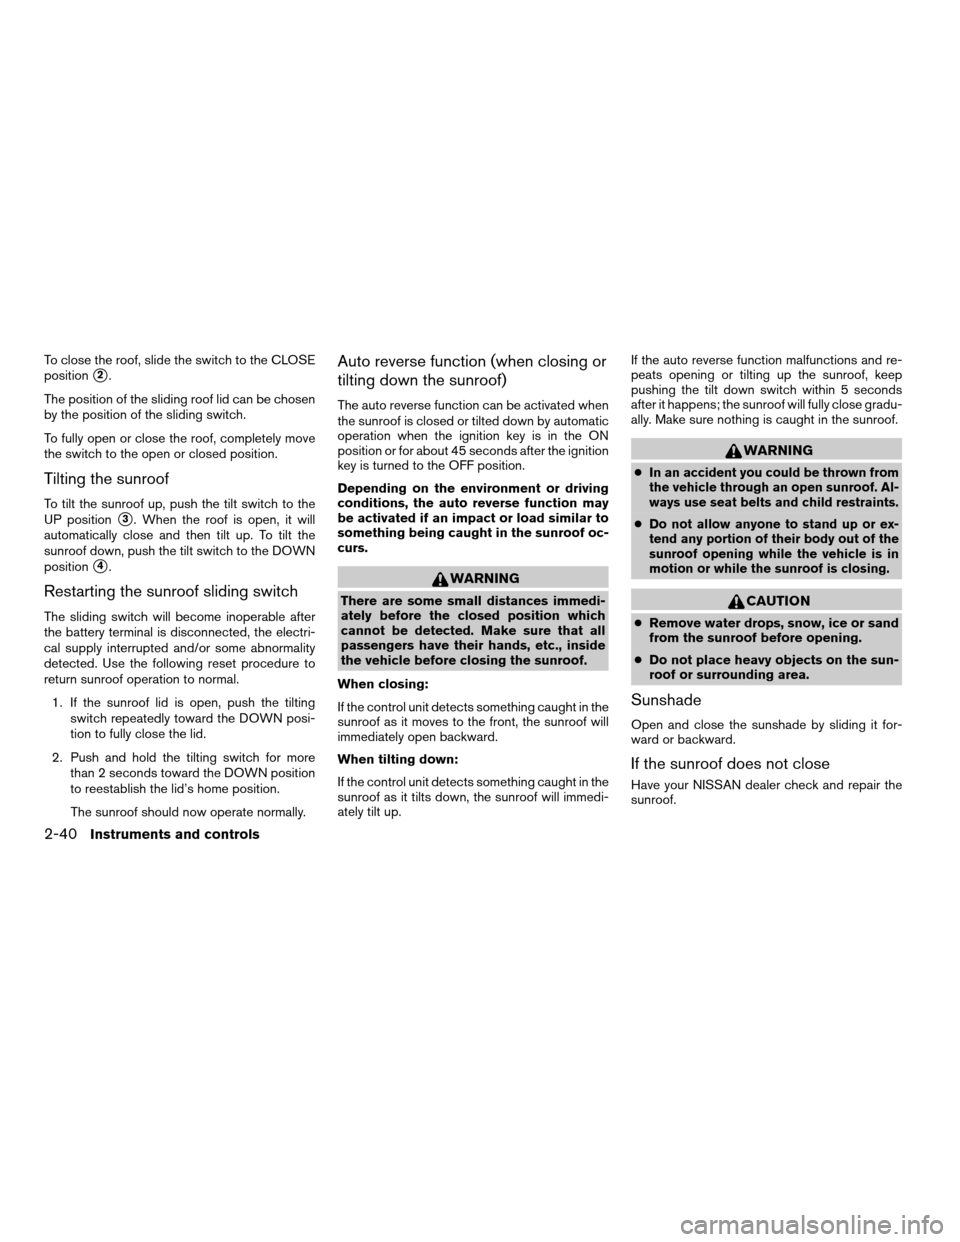
To close the roof, slide the switch to the CLOSE
position
s2.
The position of the sliding roof lid can be chosen
by the position of the sliding switch.
To fully open or close the roof, completely move
the switch to the open or closed position.
Tilting the sunroof
To tilt the sunroof up, push the tilt switch to the
UP position
s3. When the roof is open, it will
automatically close and then tilt up. To tilt the
sunroof down, push the tilt switch to the DOWN
position
s4.
Restarting the sunroof sliding switch
The sliding switch will become inoperable after
the battery terminal is disconnected, the electri-
cal supply interrupted and/or some abnormality
detected. Use the following reset procedure to
return sunroof operation to normal.
1. If the sunroof lid is open, push the tilting
switch repeatedly toward the DOWN posi-
tion to fully close the lid.
2. Push and hold the tilting switch for more
than 2 seconds toward the DOWN position
to reestablish the lid’s home position.
The sunroof should now operate normally.
Auto reverse function (when closing or
tilting down the sunroof)
The auto reverse function can be activated when
the sunroof is closed or tilted down by automatic
operation when the ignition key is in the ON
position or for about 45 seconds after the ignition
key is turned to the OFF position.
Depending on the environment or driving
conditions, the auto reverse function may
be activated if an impact or load similar to
something being caught in the sunroof oc-
curs.
WARNING
There are some small distances immedi-
ately before the closed position which
cannot be detected. Make sure that all
passengers have their hands, etc., inside
the vehicle before closing the sunroof.
When closing:
If the control unit detects something caught in the
sunroof as it moves to the front, the sunroof will
immediately open backward.
When tilting down:
If the control unit detects something caught in the
sunroof as it tilts down, the sunroof will immedi-
ately tilt up.If the auto reverse function malfunctions and re-
peats opening or tilting up the sunroof, keep
pushing the tilt down switch within 5 seconds
after it happens; the sunroof will fully close gradu-
ally. Make sure nothing is caught in the sunroof.
WARNING
cIn an accident you could be thrown from
the vehicle through an open sunroof. Al-
ways use seat belts and child restraints.
cDo not allow anyone to stand up or ex-
tend any portion of their body out of the
sunroof opening while the vehicle is in
motion or while the sunroof is closing.
CAUTION
cRemove water drops, snow, ice or sand
from the sunroof before opening.
cDo not place heavy objects on the sun-
roof or surrounding area.
Sunshade
Open and close the sunshade by sliding it for-
ward or backward.
If the sunroof does not close
Have your NISSAN dealer check and repair the
sunroof.
2-40Instruments and controls
ZREVIEW COPYÐ2007 Maxima(max)
Owners ManualÐUSA_English(nna)
01/26/07Ðarosenma
X
Page 125 of 336
WARNING
Radio waves could adversely affect elec-
tric medical equipment. Those who use a
pacemaker should contact the electric
medical equipment manufacturer for the
possible influences before use.
The Intelligent Key system can operate all the
door locks using the remote controller function or
pushing the request switch on the vehicle without
taking the key out from a pocket or purse. The
operating environment and/or conditions may af-
fect the Intelligent Key system operation.
Be sure to read the following before using the
Intelligent Key system.
CAUTION
cBe sure to carry the Intelligent Key with
you when operating the vehicle.
cNever leave the Intelligent Key in the
vehicle when you leave the vehicle.
The Intelligent Key is always communicating with
the vehicle as it receives radio waves. The Intel-
ligent Key system transmits weak radio waves.
Environmental conditions may interfere with the
operation of the Intelligent Key system under the
following operating conditions.cWhen operating near a location where
strong radio waves are transmitted, such as
a TV tower, power station and broadcasting
station.
cWhen in possession of wireless equipment,
such as a cellular telephone, transceiver,
and CB radio.
cWhen the Intelligent Key is in contact with or
covered by metallic materials.
cWhen any type of radio wave remote control
is used nearby.
cWhen the Intelligent Key is placed near an
electric appliance such as a personal com-
puter.
cWhen the vehicle is parked near a parking
meter.
In such cases, correct the operating conditions
before using the Intelligent Key function or use
the mechanical key.
Although the life of the battery varies depending
on the operating conditions, the battery’s life is
approximately 2 years. If the battery is dis-
charged, replace it with a new one.
When the Intelligent Key battery is low, the Intel-
ligent Key system warning light (
) will blink
green for about 30 seconds after the ignition
switch is turned to the ON position.Since the Intelligent Key is continuously receiving
radio waves, if the key is left near equipment
which transmits strong radio waves, such as sig-
nals from a TV and personal computer, the bat-
tery life may become shorter.
For information regarding replacement of a bat-
tery, see “Battery” in the “Maintenance and do-it-
yourself” section.
As many as 4 Intelligent Keys can be registered
and used with one vehicle. For information about
the purchase and use of additional Intelligent
Keys, contact a NISSAN dealer.
CAUTION
cDo not allow the Intelligent Key, which
contains electrical components, to
come into contact with water or salt
water. This could affect the system
function.
cDo not drop the Intelligent Key.
cDo not strike the Intelligent Key sharply
against another object.
cDo not change or modify the Intelligent
Key.
cWetting may damage the Intelligent
Key. If the Intelligent Key gets wet, im-
mediately wipe until it is completely dry.
INTELLIGENT KEY SYSTEM
Pre-driving checks and adjustments3-7
ZREVIEW COPYÐ2007 Maxima(max)
Owners ManualÐUSA_English(nna)
01/26/07Ðarosenma
X
Page 126 of 336
cDo not place the Intelligent Key for an
extended period in an area where tem-
peratures exceed 140°F (60°C) .
cDo not attach the Intelligent Key with a
key holder that contains a magnet.
cDo not place the Intelligent Key near
equipment that produces a magnetic
field, such as a TV, audio equipment and
personal computers.
If an Intelligent Key is lost or stolen, NISSAN
recommends erasing the ID code of that Intelli-
gent Key from the vehicle. This may prevent the
unauthorized use of the Intelligent Key to operate
the vehicle. For information regarding the erasing
procedure, contact a NISSAN dealer.
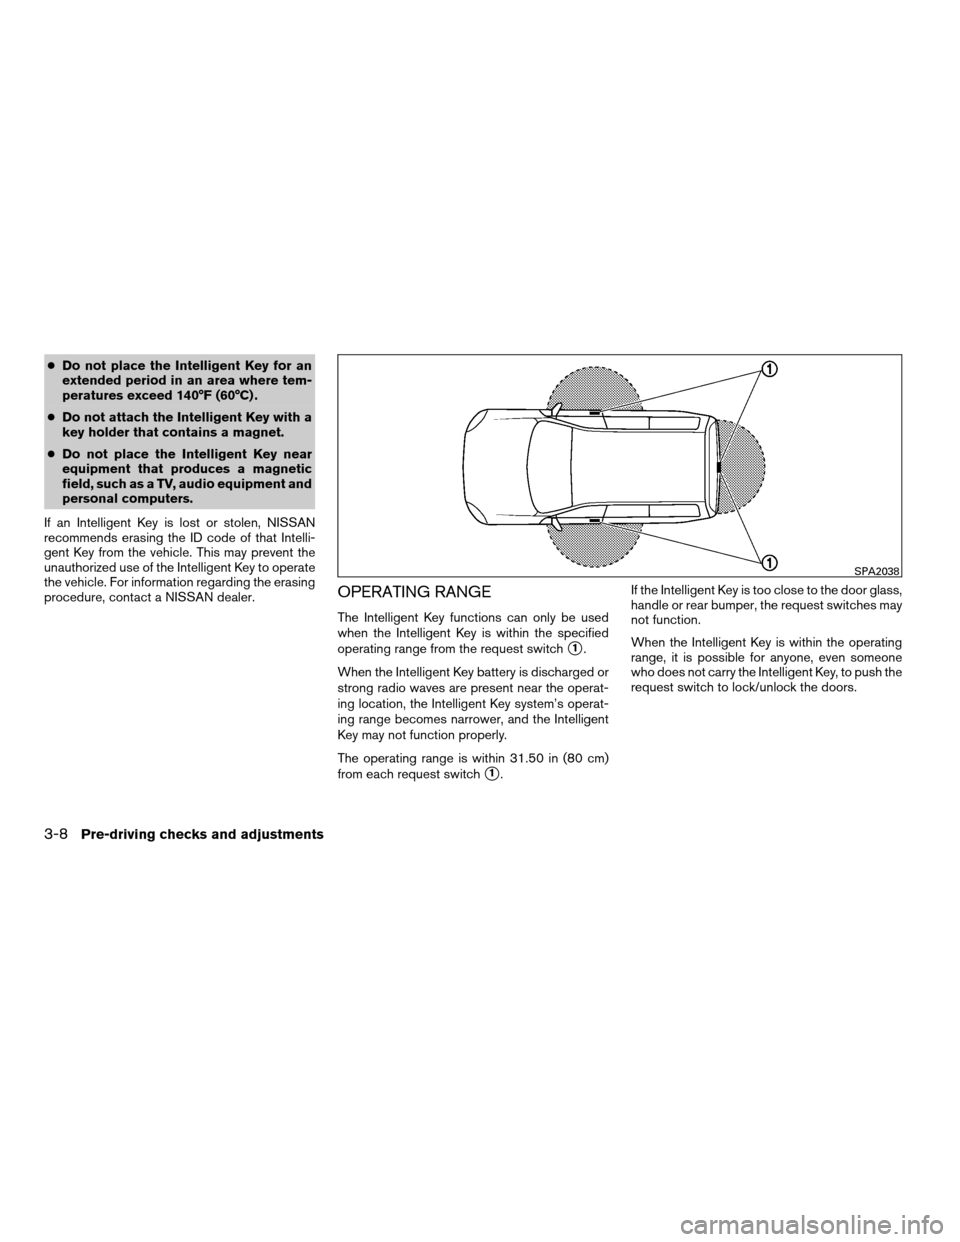
OPERATING RANGE
The Intelligent Key functions can only be used
when the Intelligent Key is within the specified
operating range from the request switch
s1.
When the Intelligent Key battery is discharged or
strong radio waves are present near the operat-
ing location, the Intelligent Key system’s operat-
ing range becomes narrower, and the Intelligent
Key may not function properly.
The operating range is within 31.50 in (80 cm)
from each request switch
s1.If the Intelligent Key is too close to the door glass,
handle or rear bumper, the request switches may
not function.
When the Intelligent Key is within the operating
range, it is possible for anyone, even someone
who does not carry the Intelligent Key, to push the
request switch to lock/unlock the doors.
SPA2038
3-8Pre-driving checks and adjustments
ZREVIEW COPYÐ2007 Maxima(max)
Owners ManualÐUSA_English(nna)
01/26/07Ðarosenma
X
Page 130 of 336
cTurning the ignition switch to the ON posi-
tion.
cLocking the doors with the remote controller.
cSwitching the room light switch to the OFF
position.
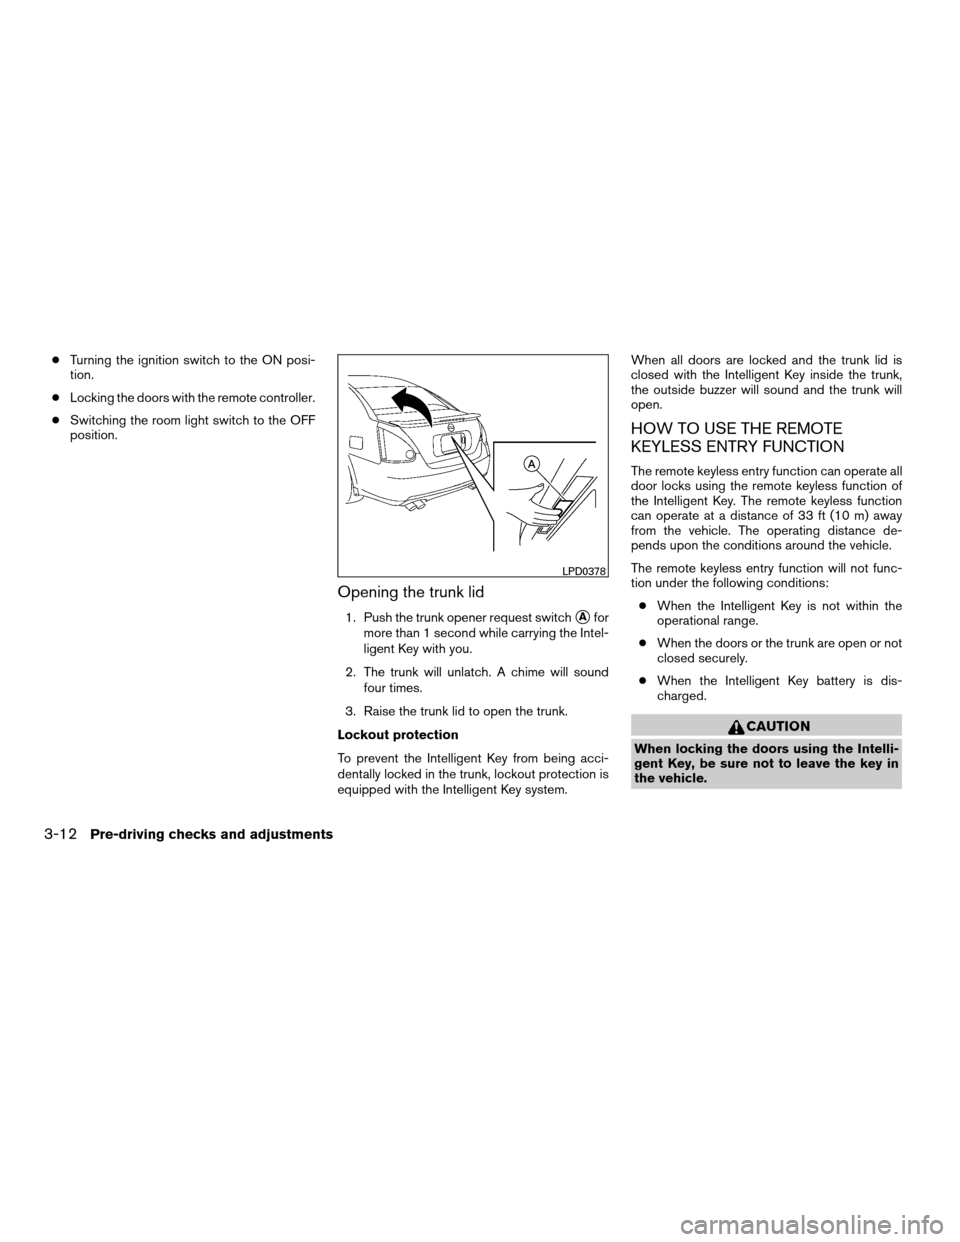
Opening the trunk lid
1. Push the trunk opener request switchsAfor
more than 1 second while carrying the Intel-
ligent Key with you.
2. The trunk will unlatch. A chime will sound
four times.
3. Raise the trunk lid to open the trunk.
Lockout protection
To prevent the Intelligent Key from being acci-
dentally locked in the trunk, lockout protection is
equipped with the Intelligent Key system.When all doors are locked and the trunk lid is
closed with the Intelligent Key inside the trunk,
the outside buzzer will sound and the trunk will
open.
HOW TO USE THE REMOTE
KEYLESS ENTRY FUNCTION
The remote keyless entry function can operate all
door locks using the remote keyless function of
the Intelligent Key. The remote keyless function
can operate at a distance of 33 ft (10 m) away
from the vehicle. The operating distance de-
pends upon the conditions around the vehicle.
The remote keyless entry function will not func-
tion under the following conditions:
cWhen the Intelligent Key is not within the
operational range.
cWhen the doors or the trunk are open or not
closed securely.
cWhen the Intelligent Key battery is dis-
charged.
CAUTION
When locking the doors using the Intelli-
gent Key, be sure not to leave the key in
the vehicle.
LPD0378
3-12Pre-driving checks and adjustments
ZREVIEW COPYÐ2007 Maxima(max)
Owners ManualÐUSA_English(nna)
01/26/07Ðarosenma
X