2007 NISSAN ARMADA maintenance
[x] Cancel search: maintenancePage 1 of 344
Welcome to the growing family of new NISSAN
owners. This vehicle is delivered to you with
confidence. It was produced using the latest
techniques and strict quality control.
This manual was prepared to help you under-
stand the operation and maintenance of your
vehicle so that you may enjoy many miles (kilome-
ters) of driving pleasure. Please read through this
manual before operating your vehicle.
A separate Warranty Information Booklet
explains details about the warranties cov-
ering your vehicle. The “NISSAN Service
and Maintenance Guide” explains details
about maintaining and servicing your ve-
hicle. Additionally, a separate Customer
Care/Lemon Law Booklet (U.S. only) will
explain how to resolve any concerns you
may have with your vehicle, as well as
clarify your rights under your state’s lemon
law.
Your NISSAN dealership knows your vehicle
best. When you require any service or have any
questions, they will be glad to assist you with the
extensive resources available to them.Before driving your vehicle please read this Own-
er’s Manual carefully. This will ensure familiarity
with controls and maintenance requirements, as-
sisting you in the safe operation of your vehicle.
WARNING
IMPORTANT SAFETY INFORMATION RE-
MINDERS FOR SAFETY!
Follow these important driving rules to
help ensure a safe and comfortable trip
for you and your passengers!
cNEVER drive under the influence of al-
cohol or drugs.
cALWAYS observe posted speed limits
and never drive too fast for conditions.
c
ALWAYS give your full attention to driving
and avoid using vehicle features or taking
other actions that could distract you.
cALWAYS use your seat belts and appro-
priate child restraint systems. Pre-teen
children should be seated in the rear seat.
cALWAYS provide information about the
proper use of vehicle safety features to
all occupants of the vehicle.
cALWAYS review this owner’s manual for
important safety information.For descriptions specified for four-wheel drive
models, a
mark is placed at the begin-
ning of the applicable sections/items.
As with other vehicles with features for
off-road use, failure to operate four-wheel
drive models correctly may result in loss of
control or an accident. Be sure to read
“Driving safety precautions” in the “Start-
ing and driving” section of this manual.
ON-PAVEMENT AND OFF-ROAD DRIVING
This vehicle will handle and maneuver
differently from an ordinary passenger
car because it has a higher center of
gravity for off-road use. As with other
vehicles with features of this type, fail-
ure to operate this vehicle correctly may
result in loss of control or an accident.
Be sure to read “On-pavement and off-
road driving precautions”, and “Avoid-
ing collision and rollover”, and “Driving
safety precautions”, in the “Starting and
driving” section of this manual.
FOREWORD READ FIRST—THEN DRIVE SAFELY
ZREVIEW COPYÐ2007 Armada(wzw)
Owners ManualÐUSA_English(nna)
07/08/06Ðtbrooks
X
Page 5 of 344
Table of
ContentsIllustrated table of contents
Safety—Seats, seat belts and supplemental restraint system
Instruments and controls
Pre-driving checks and adjustments
Display screen, heater, air conditioner and audio systems
Starting and driving
In case of emergency
Appearance and care
Maintenance and do-it-yourself
Technical and consumer information
Index
0
1
2
3
4
5
6
7
8
9
10
Page 17 of 344

1 Safety—Seats, seat belts and
supplemental restraint system
Seats............................................1-2
Front manual seat adjustment —
passenger’s side...............................1-2
Front power seat adjustment (for driver’s
seat and if so equipped for passenger’s
seat)..........................................1-4
2nd row captain’s chair adjustment
(if so equipped)................................1-5
2nd row bench seat adjustment
(if so equipped)................................1-6
Head restraint adjustment.......................1-8
Active head restraint (front seats).................1-9
Armrests......................................1-9
Flexible seating................................1-10
Seat belts.......................................1-15
Precautions on seat belt usage..................1-15
Child safety...................................1-17
Pregnant women..............................1-19
Injured persons................................1-19Three-point type seat belt with retractor..........1-19
Seat belt extenders............................1-25
Seat belt maintenance.........................1-25
Child restraints...................................1-25
Precautions on child restraints..................1-25
Lower Anchors and Tethers for CHildren
system (LATCH)...............................1-27
Top tether strap child restraint..................1-30
Child restraint installation using LATCH..........1-32
Child restraint installation using the seat
belts.........................................1-36
Booster seats....................................1-42
Precautions on booster seats...................1-42
Booster seat installation........................1-44
Supplemental restraint system.....................1-47
Precautions on supplemental restraint
system.......................................1-47
Supplemental air bag warning labels.............1-62
Supplemental air bag warning light..............1-62
ZREVIEW COPYÐ2007 Armada(wzw)
Owners ManualÐUSA_English(nna)
07/08/06Ðtbrooks
X
Page 41 of 344
SEAT BELT EXTENDERS
If, because of body size or driving position, it is
not possible to properly fit the lap-shoulder belt
and fasten it, an extender is available which is
compatible with the installed seat belts. The ex-
tender adds approximately 8 inches (200 mm) of
length and may be used for either the driver or
front passenger seating position. See a NISSAN
dealer for assistance if an extender is required.
WARNING
cOnly NISSAN seat belt extenders, made
by the same company which made the
original equipment seat belts, should
be used with NISSAN seat belts.
cAdults and children who can use the
standard seat belt should not use an
extender. Such unnecessary use could
result in serious personal injury in the
event of an accident.
cNever use seat belt extenders to install
child restraints. If the child restraint is
not secured properly, the child could be
seriously injured in a collision or a sud-
den stop.
SEAT BELT MAINTENANCE
cTo clean the seat belt webbing,apply a
mild soap solution or any solution recom-
mended for cleaning upholstery or carpet.
Then wipe with a cloth and allow the seat
belts to dry in the shade. Do not allow the
seat belts to retract until they are completely
dry.
cIf dirt builds up in the shoulder belt
guideof the seat belt anchors, the seat
belts may retract slowly. Wipe the shoulder
belt guide with a clean, dry cloth.
cPeriodically check to see that the seat
belt and the metal components,such as
buckles, tongues, retractors, flexible wires
and anchors, work properly. If loose parts,
deterioration, cuts or other damage on the
webbing is found, the entire seat belt as-
sembly should be replaced.
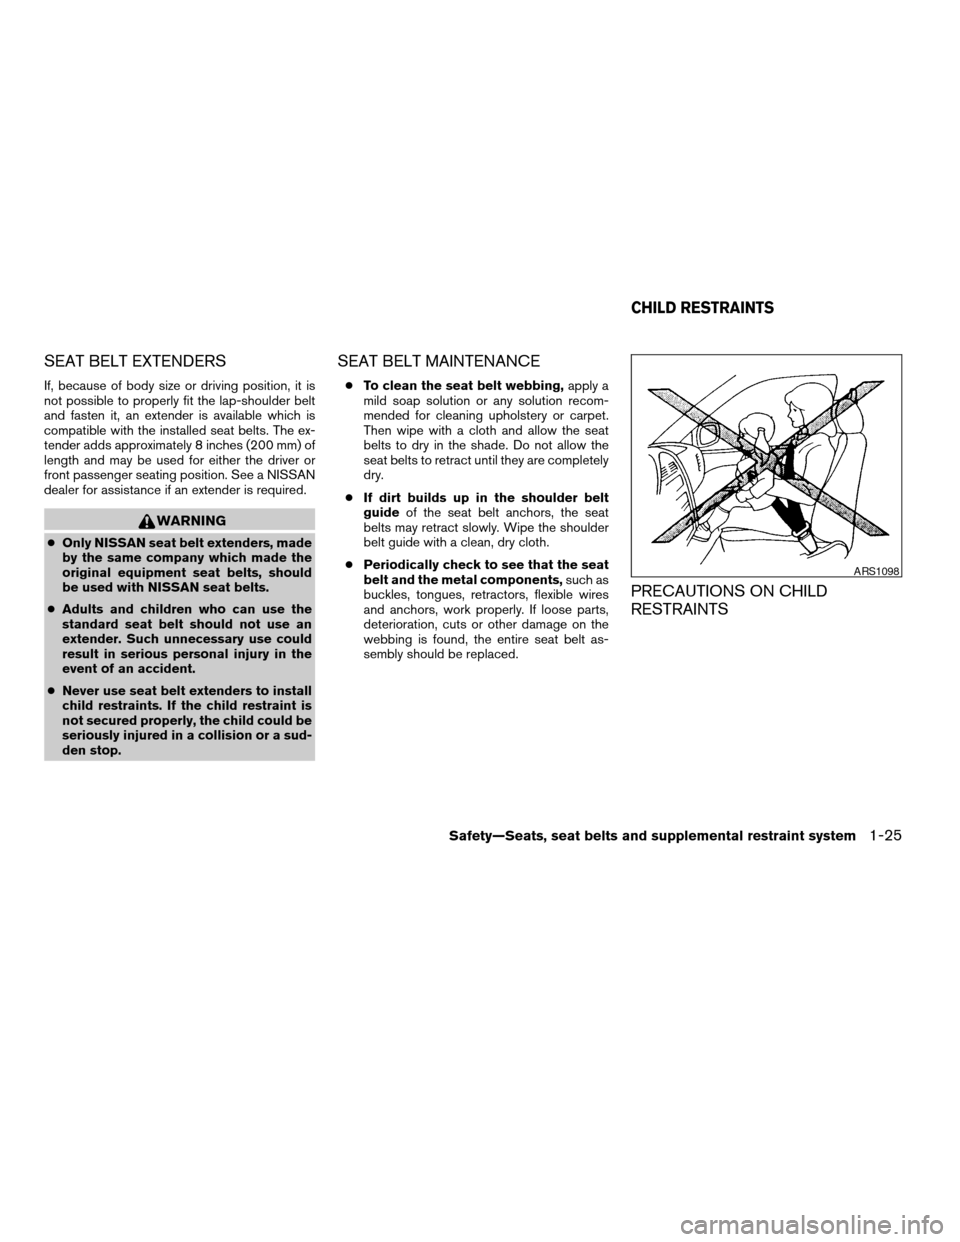
PRECAUTIONS ON CHILD
RESTRAINTS
ARS1098
CHILD RESTRAINTS
Safety—Seats, seat belts and supplemental restraint system1-25
ZREVIEW COPYÐ2007 Armada(wzw)
Owners ManualÐUSA_English(nna)
07/08/06Ðtbrooks
X
Page 79 of 344
WARNING
If the supplemental air bag warning light
is on, it could mean that the supplemental
front air bag, supplemental side air bag,
curtain air bag systems and/or pre-
tensioner seat belt systems will not oper-
ate in an accident. To help avoid injury to
yourself or others, have your vehicle
checked by a NISSAN dealer as soon as
possible.
Repair and replacement procedure
The supplemental front air bags, supplemental
side air bags, curtain air bags and pre-tensioner
seat belts are designed to inflate on a one-time-
only basis. As a reminder, unless it is damaged,
the supplemental air bag warning light remains
illuminated after inflation has occurred. Repair
and replacement of these supplemental air bag
systems should be done only by a NISSAN
dealer.
When maintenance work is required on the ve-
hicle, the supplemental front air bags, supple-
mental side air bags, curtain air bags, pre-
tensioner seat belts and related parts should be
pointed out to the person performing the mainte-
nance. The ignition key should always be in the
LOCK position when working under the hood or
inside the vehicle.
WARNING
cOnce a supplemental front air bag,
supplemental side air bag or curtain air
bag has inflated, the air bag module will
not function again and must be re-
placed. Additionally, if any of the
supplemental front air bags inflate, the
activated pre-tensioner seat belts must
also be replaced. The air bag module
and pre-tensioner seat belt system
should be replaced by a NISSAN dealer.
The air bag module and pre-tensioner
seat belt system cannot be repaired.
cThe supplemental front air bag, side air
bag and curtain air bag systems, and
the pre-tensioner seat belt system
should be inspected by a NISSAN
dealer if there is any damage to the
front end or side portion of the vehicle.
cIf you need to dispose of the supple-
mental air bag, pre-tensioner seat belt
system or scrap the vehicle, contact a
NISSAN dealer. Correct supplemental
air bag and pre-tensioner seat belt sys-
tem disposal procedures are set forth in
the appropriate NISSAN Service
Manual. Incorrect disposal procedures
could cause personal injury.
Safety—Seats, seat belts and supplemental restraint system1-63
ZREVIEW COPYÐ2007 Armada(wzw)
Owners ManualÐUSA_English(nna)
07/08/06Ðtbrooks
X
Page 86 of 344
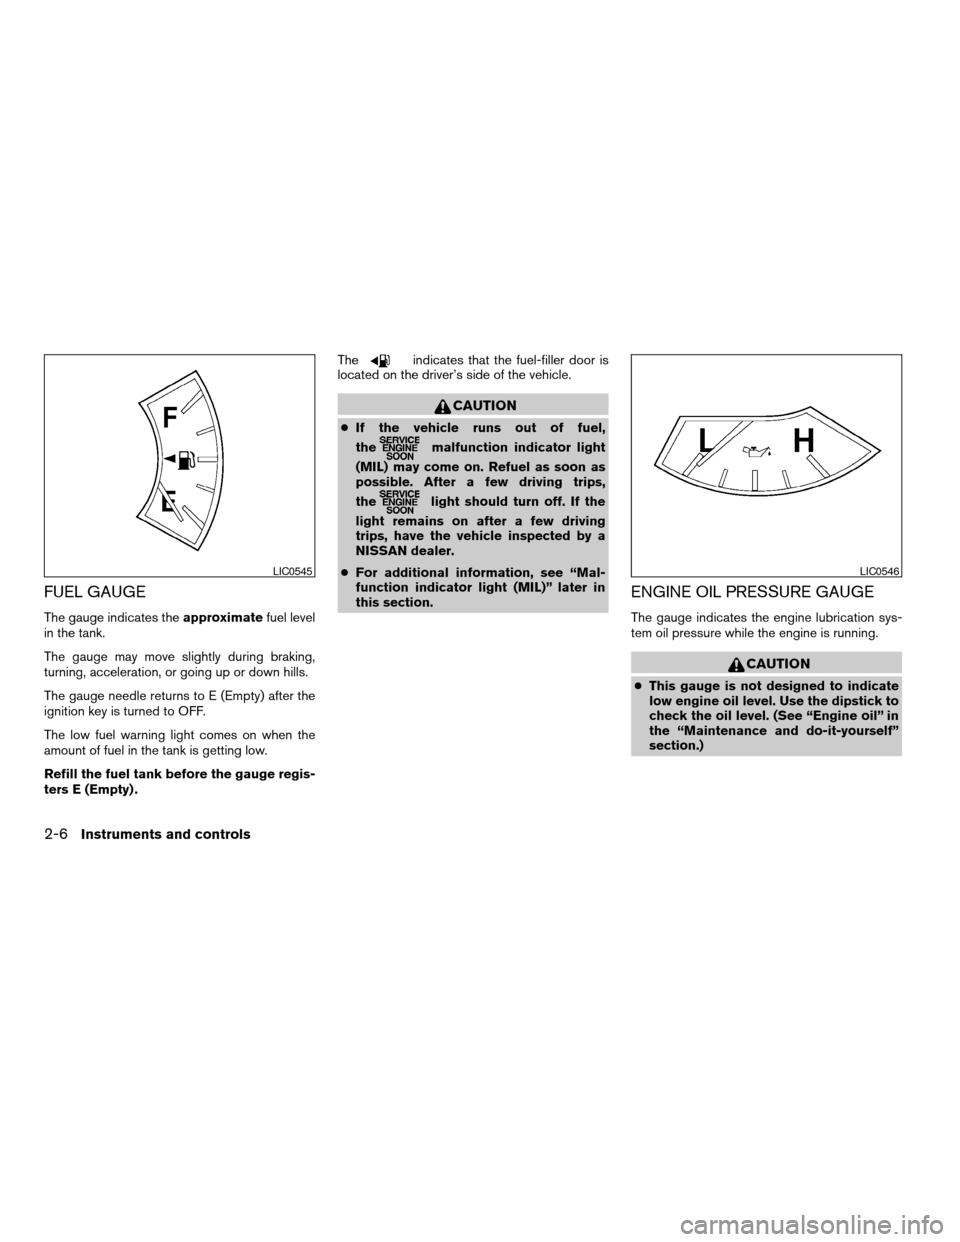
FUEL GAUGE
The gauge indicates theapproximatefuel level
in the tank.
The gauge may move slightly during braking,
turning, acceleration, or going up or down hills.
The gauge needle returns to E (Empty) after the
ignition key is turned to OFF.
The low fuel warning light comes on when the
amount of fuel in the tank is getting low.
Refill the fuel tank before the gauge regis-
ters E (Empty) .The
indicates that the fuel-filler door is
located on the driver’s side of the vehicle.
CAUTION
cIf the vehicle runs out of fuel,
the
malfunction indicator light
(MIL) may come on. Refuel as soon as
possible. After a few driving trips,
the
light should turn off. If the
light remains on after a few driving
trips, have the vehicle inspected by a
NISSAN dealer.
cFor additional information, see “Mal-
function indicator light (MIL)” later in
this section.
ENGINE OIL PRESSURE GAUGE
The gauge indicates the engine lubrication sys-
tem oil pressure while the engine is running.
CAUTION
cThis gauge is not designed to indicate
low engine oil level. Use the dipstick to
check the oil level. (See “Engine oil” in
the “Maintenance and do-it-yourself”
section.)
LIC0545LIC0546
2-6Instruments and controls
ZREVIEW COPYÐ2007 Armada(wzw)
Owners ManualÐUSA_English(nna)
07/08/06Ðtbrooks
X
Page 88 of 344
CAUTION
cThis gauge is not designed to indicate
low automatic transmission fluid level.
Use the dipstick to check the fluid level.
(See “5-speed automatic transmission
fluid” in the “Maintenance and do-it-
yourself” section.)
cIf the gauge indicates automatic trans-
mission fluid temperature over the nor-
mal range, stop the vehicle as soon as
safely possible. Have the vehicle
checked by a NISSAN dealer. Contin-
ued operation of the vehicle may seri-
ously damage the transmission.This unit has the following functions:
cMeasures terrestrial magnetism and indi-
cates heading direction of vehicle
cIndicates outside air temperature
cIndicates possible frozen road conditions
With the ignition switch in the ON position, press
the mode button as described in the chart below
to activate various features of the compass and
outside temperature display.
Push and hold
the mode button
for about:Feature:
(Push button again for about 1 sec-
ond to change settings)
1 secondCompass display toggles: °F!°C
!OFF!°F
5 secondsCompass zone can be changed to
correct false compass readings
10 seconds Compass enters calibration mode
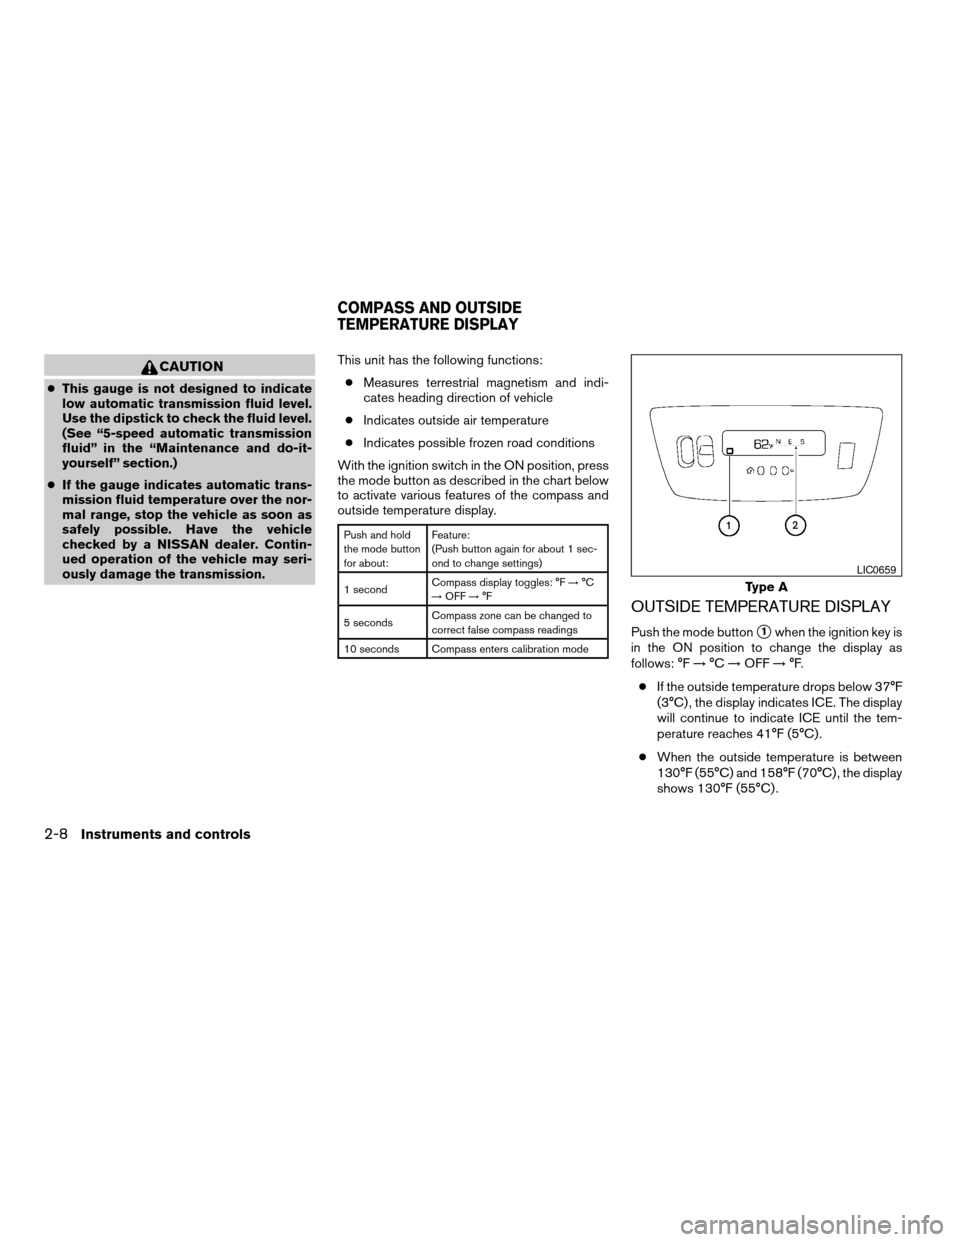
OUTSIDE TEMPERATURE DISPLAY
Push the mode buttons1when the ignition key is
in the ON position to change the display as
follows: °F!°C!OFF!°F.
cIf the outside temperature drops below 37°F
(3°C) , the display indicates ICE. The display
will continue to indicate ICE until the tem-
perature reaches 41°F (5°C) .
cWhen the outside temperature is between
130°F (55°C) and 158°F (70°C) , the display
shows 130°F (55°C) .
Type A
LIC0659
COMPASS AND OUTSIDE
TEMPERATURE DISPLAY
2-8Instruments and controls
ZREVIEW COPYÐ2007 Armada(wzw)
Owners ManualÐUSA_English(nna)
07/08/06Ðtbrooks
X
Page 95 of 344
This light is not designed to indicate a low
oil or low coolant level.Check the oil level
with the dipstick and check the coolant level on
the reservoir. See “Engine oil” and “Checking
engine coolant level” in the “Maintenance and
do-it-yourself” section of this manual. Also see “If
your vehicle overheats” in the “In case of emer-
gency” section of this manual.
CAUTION
cRunning the engine with the engine oil
pressure warning light on could cause
serious damage to the engine almost
immediately. Such damage is not cov-
ered by warranty. Turn off the engine as
soon as it is safe to do so.
cIf the gauge indicates engine coolant
temperature over the normal range,
stop the vehicle as soon as safely pos-
sible. If the engine is overheated, con-
tinued operation of the vehicle may se-
riously damage the engine. See “If your
vehicle overheats” in the “In case of
emergency” section for immediate ac-
tion required.
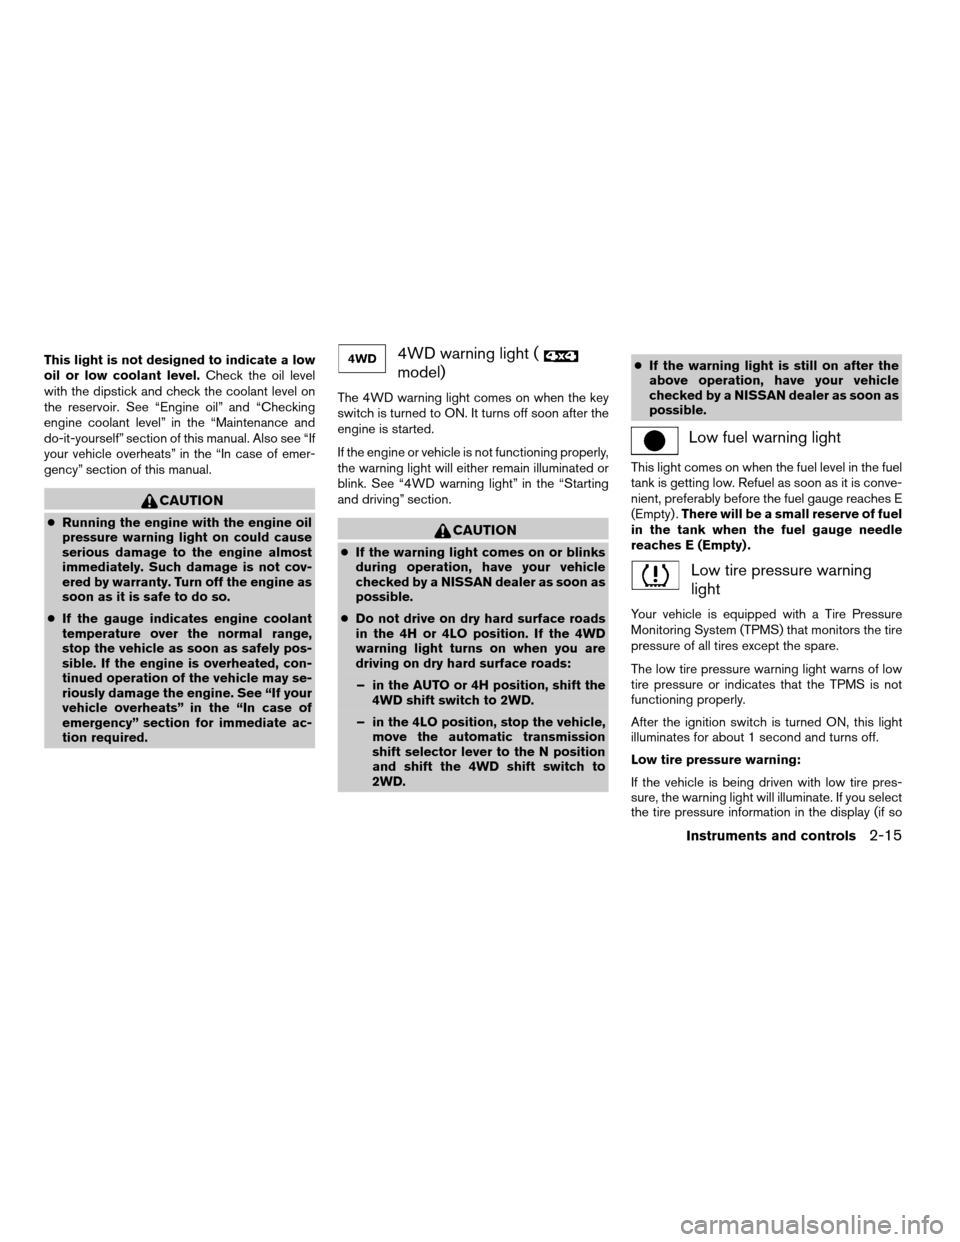
4WD warning light (
model)
The 4WD warning light comes on when the key
switch is turned to ON. It turns off soon after the
engine is started.
If the engine or vehicle is not functioning properly,
the warning light will either remain illuminated or
blink. See “4WD warning light” in the “Starting
and driving” section.
CAUTION
cIf the warning light comes on or blinks
during operation, have your vehicle
checked by a NISSAN dealer as soon as
possible.
cDo not drive on dry hard surface roads
in the 4H or 4LO position. If the 4WD
warning light turns on when you are
driving on dry hard surface roads:
– in the AUTO or 4H position, shift the
4WD shift switch to 2WD.
– in the 4LO position, stop the vehicle,
move the automatic transmission
shift selector lever to the N position
and shift the 4WD shift switch to
2WD.cIf the warning light is still on after the
above operation, have your vehicle
checked by a NISSAN dealer as soon as
possible.
Low fuel warning light
This light comes on when the fuel level in the fuel
tank is getting low. Refuel as soon as it is conve-
nient, preferably before the fuel gauge reaches E
(Empty) .There will be a small reserve of fuel
in the tank when the fuel gauge needle
reaches E (Empty) .
Low tire pressure warning
light
Your vehicle is equipped with a Tire Pressure
Monitoring System (TPMS) that monitors the tire
pressure of all tires except the spare.
The low tire pressure warning light warns of low
tire pressure or indicates that the TPMS is not
functioning properly.
After the ignition switch is turned ON, this light
illuminates for about 1 second and turns off.
Low tire pressure warning:
If the vehicle is being driven with low tire pres-
sure, the warning light will illuminate. If you select
the tire pressure information in the display (if so
Instruments and controls2-15
ZREVIEW COPYÐ2007 Armada(wzw)
Owners ManualÐUSA_English(nna)
07/08/06Ðtbrooks
X