2007 NISSAN ARMADA warning light
[x] Cancel search: warning lightPage 79 of 344

WARNING
If the supplemental air bag warning light
is on, it could mean that the supplemental
front air bag, supplemental side air bag,
curtain air bag systems and/or pre-
tensioner seat belt systems will not oper-
ate in an accident. To help avoid injury to
yourself or others, have your vehicle
checked by a NISSAN dealer as soon as
possible.
Repair and replacement procedure
The supplemental front air bags, supplemental
side air bags, curtain air bags and pre-tensioner
seat belts are designed to inflate on a one-time-
only basis. As a reminder, unless it is damaged,
the supplemental air bag warning light remains
illuminated after inflation has occurred. Repair
and replacement of these supplemental air bag
systems should be done only by a NISSAN
dealer.
When maintenance work is required on the ve-
hicle, the supplemental front air bags, supple-
mental side air bags, curtain air bags, pre-
tensioner seat belts and related parts should be
pointed out to the person performing the mainte-
nance. The ignition key should always be in the
LOCK position when working under the hood or
inside the vehicle.
WARNING
cOnce a supplemental front air bag,
supplemental side air bag or curtain air
bag has inflated, the air bag module will
not function again and must be re-
placed. Additionally, if any of the
supplemental front air bags inflate, the
activated pre-tensioner seat belts must
also be replaced. The air bag module
and pre-tensioner seat belt system
should be replaced by a NISSAN dealer.
The air bag module and pre-tensioner
seat belt system cannot be repaired.
cThe supplemental front air bag, side air
bag and curtain air bag systems, and
the pre-tensioner seat belt system
should be inspected by a NISSAN
dealer if there is any damage to the
front end or side portion of the vehicle.
cIf you need to dispose of the supple-
mental air bag, pre-tensioner seat belt
system or scrap the vehicle, contact a
NISSAN dealer. Correct supplemental
air bag and pre-tensioner seat belt sys-
tem disposal procedures are set forth in
the appropriate NISSAN Service
Manual. Incorrect disposal procedures
could cause personal injury.
Safety—Seats, seat belts and supplemental restraint system1-63
ZREVIEW COPYÐ2007 Armada(wzw)
Owners ManualÐUSA_English(nna)
07/08/06Ðtbrooks
X
Page 80 of 344

2 Instruments and controls
Instrument panel...................................2-2
Meters and gauges................................2-3
Speedometer and odometer.....................2-4
Tachometer....................................2-5
Engine coolant temperature gauge...............2-5
Fuel gauge....................................2-6
Engine oil pressure gauge.......................2-6
Voltmeter......................................2-7
Automatic transmission fluid temperature
gauge (if so equipped)..........................2-7
Compass and outside temperature display...........2-8
Outside temperature display.....................2-8
Compass display...............................2-9
Warning/indicator lights and audible reminders......2-12
Checking bulbs...............................2-13
Warning lights................................2-13
Indicator lights................................2-17
Audible reminders.............................2-20
Security systems.................................2-20
Vehicle security system.........................2-20
NISSAN vehicle immobilizer system.............2-21
Windshield wiper and washer switch...............2-22
Switch operation..............................2-22Rear window wiper and washer switch..............2-23
Rear window and outside mirror defroster switch.....2-24
Headlight and turn signal switch....................2-24
Headlight control switch........................2-24
Daytime running light system (Canada only)......2-26
Instrument brightness control...................2-27
Turn signal switch.............................2-27
Fog light switch (if so equipped)................2-28
Hazard warning flasher switch.....................2-28
Horn............................................2-29
Heated seat (if so equipped).......................2-29
Vehicle dynamic control (VDC) off switch............2-30
Rear sonar system off switch......................2-30
Tow mode switch.................................2-31
Power outlet.....................................2-31
Cigarette lighter..................................2-32
Storage.........................................2-33
Instrument panel storage trays..................2-33
Console box..................................2-33
Glove box....................................2-35
Sunglasses holder.............................2-35
Map pockets..................................2-36
Seatback pocket..............................2-36
ZREVIEW COPYÐ2007 Armada(wzw)
Owners ManualÐUSA_English(nna)
07/08/06Ðtbrooks
X
Page 82 of 344

1. Ventilators (P. 4-16)
2. Instrument brightness control (P. 2-27)
3. Headlight/fog light (if so equipped)/turn
signal switch (P. 2-24)
4. Steering wheel switch for audio control
(P. 4-36)
5. Driver supplemental air bag/horn
(P. 1-47, P. 2-29)
6. Meters, gauges and warning/indicator
lights (P. 2-3, 2-12)
7. Cruise control main/set switches
(P. 5-15)
8. Windshield wiper/washer switch and
rear window wiper/washer switch
(P. 2-22, P. 2-23)
9. Ignition switch (P. 5-8)
10. Navigation system* (if so equipped)
(P. 4-2)
11. Navigation system* controls
(if so equipped) (P. 4-2)
12. Audio system controls (P. 4-21)
13. Front passenger supplemental air bag
(P. 1-47)
14. Glove box (P. 2-35)
15. Climate controls (P. 4-17)
16. Aux jack (if so equipped) (P. 4-35)
WIC0851
INSTRUMENT PANEL
2-2Instruments and controls
ZREVIEW COPYÐ2007 Armada(wzw)
Owners ManualÐUSA_English(nna)
07/08/06Ðtbrooks
X
Page 83 of 344

17. Heated seat switch (if so equipped)
(P. 2-29)
18. Power outlet/cigarette lighter
(accessory) (P. 2-31/P. 2-32)
19. Vehicle dynamic control (VDC) off
switch (P. 2-30)
20. Tow mode switch (P. 2-31)
21. Shift selector lever (P. 5-10)
22. Power outlet (P. 2-31)
23. Front passenger air bag status light
(P. 1-56)
24. Hazard lights (P. 2-28)
25. 4WD shift switch (if so equipped)
(P. 5-18)
26. Tilt steering wheel control (P. 3-16)
27. Rear sonar system off switch (P. 2-30)
28. Pedal position adjustment switch
(P. 3-16)
29. Lift gate open/close switch
(if so equipped) (P. 3-10)
*: Refer to the separate Navigation System Own-
er’s Manual (if so equipped) .
See the page number indicated in paren-
theses for operating details.
1. Warning/indicator lights
2. Tachometer
3. Speedometer
4. Engine coolant temperature gauge
5. Fuel gauge
6. Engine oil pressure gauge7. Automatic transmission fluid tempera-
ture gauge (if so equipped)
8. Odometer/Twin trip odometer
9. Voltmeter
LIC0540
METERS AND GAUGES
Instruments and controls2-3
ZREVIEW COPYÐ2007 Armada(wzw)
Owners ManualÐUSA_English(nna)
07/08/06Ðtbrooks
X
Page 86 of 344

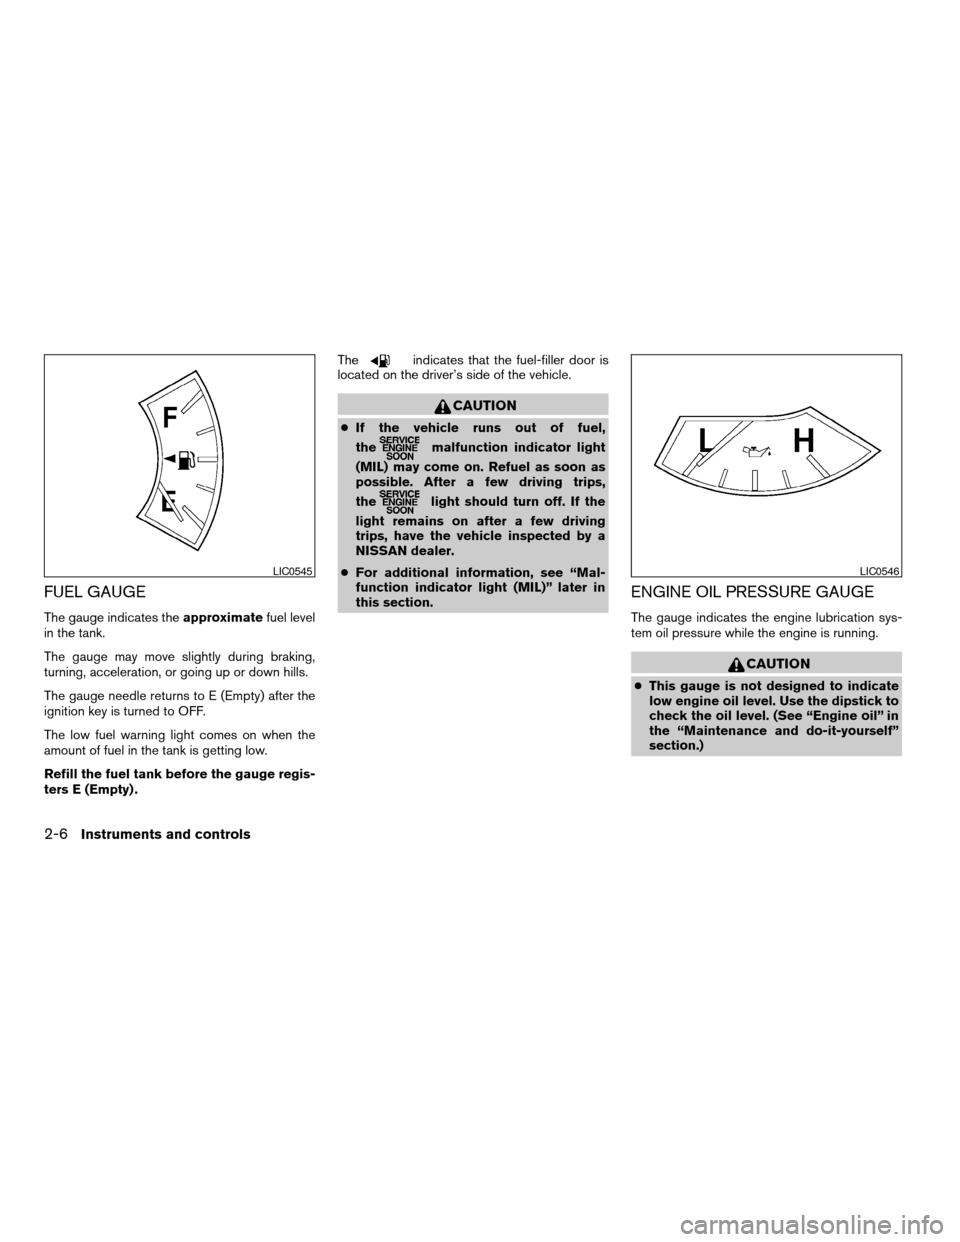
FUEL GAUGE
The gauge indicates theapproximatefuel level
in the tank.
The gauge may move slightly during braking,
turning, acceleration, or going up or down hills.
The gauge needle returns to E (Empty) after the
ignition key is turned to OFF.
The low fuel warning light comes on when the
amount of fuel in the tank is getting low.
Refill the fuel tank before the gauge regis-
ters E (Empty) .The
indicates that the fuel-filler door is
located on the driver’s side of the vehicle.
CAUTION
cIf the vehicle runs out of fuel,
the
malfunction indicator light
(MIL) may come on. Refuel as soon as
possible. After a few driving trips,
the
light should turn off. If the
light remains on after a few driving
trips, have the vehicle inspected by a
NISSAN dealer.
cFor additional information, see “Mal-
function indicator light (MIL)” later in
this section.
ENGINE OIL PRESSURE GAUGE
The gauge indicates the engine lubrication sys-
tem oil pressure while the engine is running.
CAUTION
cThis gauge is not designed to indicate
low engine oil level. Use the dipstick to
check the oil level. (See “Engine oil” in
the “Maintenance and do-it-yourself”
section.)
LIC0545LIC0546
2-6Instruments and controls
ZREVIEW COPYÐ2007 Armada(wzw)
Owners ManualÐUSA_English(nna)
07/08/06Ðtbrooks
X
Page 92 of 344

orAnti-lock braking warning lightLow fuel warning lightFront passenger air bag status light
Automatic transmission check warning lightLow tire pressure warning lightHigh beam indicator light (Blue)
Automatic transmission park warning light
(model)Low windshield washer fluid warning lightMalfunction indicator light (MIL)
orBrake warning lightSeat belt warning light and chimeSecurity indicator light
Charge warning lightSupplemental air bag warning lightSlip indicator light
Check suspension warning light (if so
equipped)Automatic transmission position indicator lightTransfer 4LO position indicator light
(model)
Door open warning lightCruise main switch indicator lightTurn signal/hazard indicator lights
Engine oil pressure low/engine coolant tem-
perature high warning lightCruise set switch indicator lightVehicle dynamic control off indicator light
4WD warning light (model)4WD shift indicator light (model)
WARNING/INDICATOR LIGHTS AND
AUDIBLE REMINDERS
2-12Instruments and controls
ZREVIEW COPYÐ2007 Armada(wzw)
Owners ManualÐUSA_English(nna)
07/08/06Ðtbrooks
X
Page 93 of 344

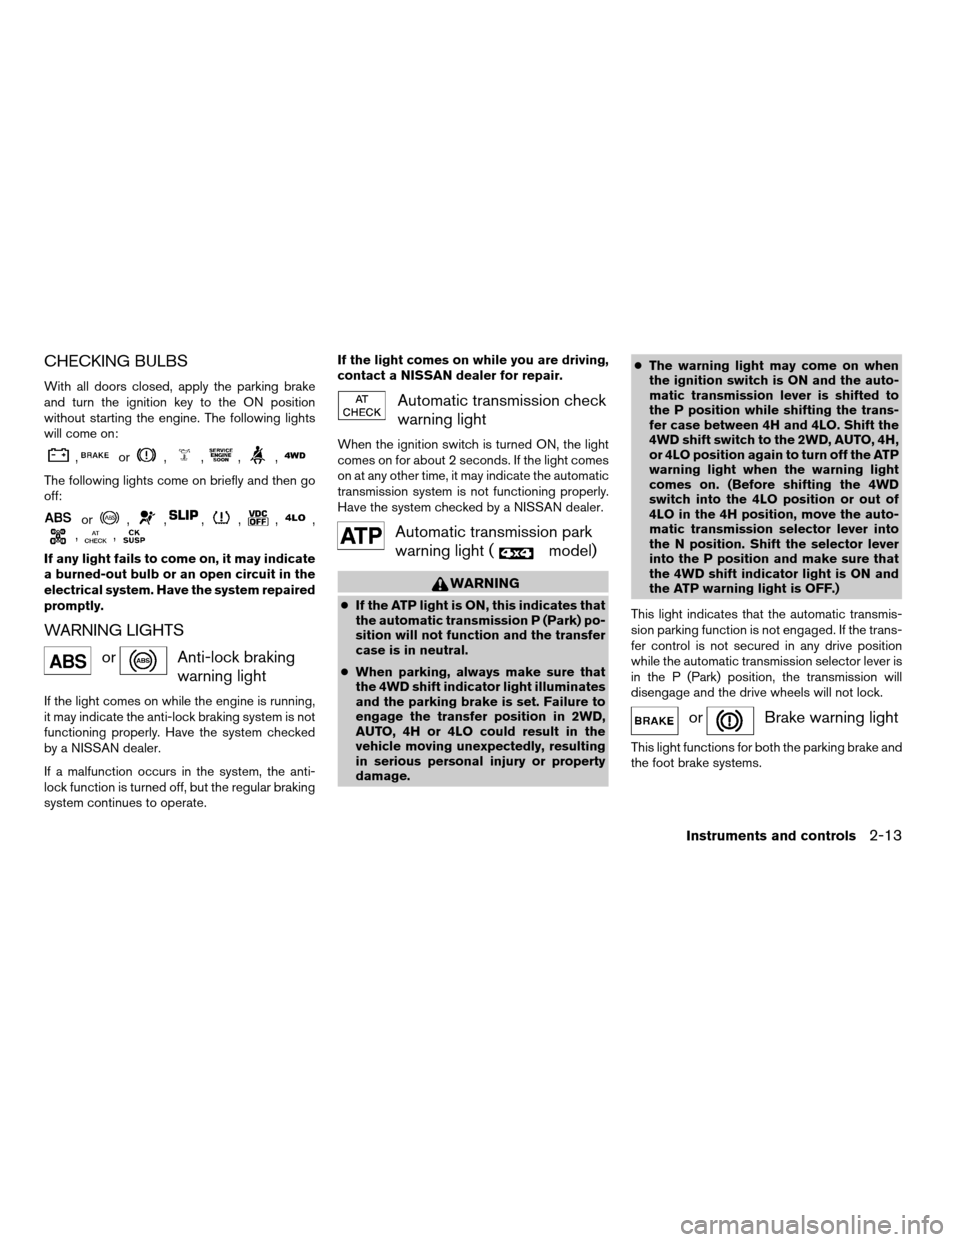
CHECKING BULBS
With all doors closed, apply the parking brake
and turn the ignition key to the ON position
without starting the engine. The following lights
will come on:
,or,,,,
The following lights come on briefly and then go
off:
or,,,,,,,,
If any light fails to come on, it may indicate
a burned-out bulb or an open circuit in the
electrical system. Have the system repaired
promptly.
WARNING LIGHTS
orAnti-lock braking
warning light
If the light comes on while the engine is running,
it may indicate the anti-lock braking system is not
functioning properly. Have the system checked
by a NISSAN dealer.
If a malfunction occurs in the system, the anti-
lock function is turned off, but the regular braking
system continues to operate.If the light comes on while you are driving,
contact a NISSAN dealer for repair.
Automatic transmission check
warning light
When the ignition switch is turned ON, the light
comes on for about 2 seconds. If the light comes
on at any other time, it may indicate the automatic
transmission system is not functioning properly.
Have the system checked by a NISSAN dealer.
Automatic transmission park
warning light (
model)
WARNING
cIf the ATP light is ON, this indicates that
the automatic transmission P (Park) po-
sition will not function and the transfer
case is in neutral.
cWhen parking, always make sure that
the 4WD shift indicator light illuminates
and the parking brake is set. Failure to
engage the transfer position in 2WD,
AUTO, 4H or 4LO could result in the
vehicle moving unexpectedly, resulting
in serious personal injury or property
damage.cThe warning light may come on when
the ignition switch is ON and the auto-
matic transmission lever is shifted to
the P position while shifting the trans-
fer case between 4H and 4LO. Shift the
4WD shift switch to the 2WD, AUTO, 4H,
or 4LO position again to turn off the ATP
warning light when the warning light
comes on. (Before shifting the 4WD
switch into the 4LO position or out of
4LO in the 4H position, move the auto-
matic transmission selector lever into
the N position. Shift the selector lever
into the P position and make sure that
the 4WD shift indicator light is ON and
the ATP warning light is OFF.)
This light indicates that the automatic transmis-
sion parking function is not engaged. If the trans-
fer control is not secured in any drive position
while the automatic transmission selector lever is
in the P (Park) position, the transmission will
disengage and the drive wheels will not lock.
orBrake warning light
This light functions for both the parking brake and
the foot brake systems.
Instruments and controls2-13
ZREVIEW COPYÐ2007 Armada(wzw)
Owners ManualÐUSA_English(nna)
07/08/06Ðtbrooks
X
Page 94 of 344

Parking brake indicator
When the ignition key is in the ON position, the
light comes on when the parking brake is applied.
Low brake fluid warning light
When the ignition key is in the ON position, the
light warns of a low brake fluid level. If the light
comes on while the engine is running with the
parking brake not applied, stop the vehicle and
perform the following:
1. Check the brake fluid level. Add brake fluid
as necessary. See “Brake fluid” in the “Main-
tenance and do-it-yourself” section of this
manual.
2. If the brake fluid level is correct, have the
warning system checked by a NISSAN
dealer.
WARNING
cYour brake system may not be working
properly if the warning light is on. Driv-
ing could be dangerous. If you judge it
to be safe, drive carefully to the nearest
service station for repairs. Otherwise,
have your vehicle towed because driv-
ing it could be dangerous.cPressing the brake pedal with the en-
gine stopped and/or a low brake fluid
level may increase your stopping dis-
tance and braking will require greater
pedal effort as well as pedal travel.
cIf the brake fluid level is below the
MINIMUM or MIN mark on the brake
fluid reservoir, do not drive until the
brake system has been checked at a
NISSAN dealer.
Charge warning light
If this light comes on while the engine is running,
it may indicate the charging system is not func-
tioning properly. Turn the engine off and check
the generator belt. If the belt is loose, broken,
missing, or if the light remains on, see a NISSAN
dealer immediately.
CAUTION
cDo not ground electrical accessories
directly to the battery terminal. Doing
so will bypass the variable control sys-
tem and the vehicle battery may not
charge completely. Refer to “Variable
voltage control system” in the “Mainte-
nance and do-it-yourself” section later
in this manual.cDo not continue driving if the generator
belt is loose, broken or missing.
Check suspension warning
light (if so equipped)
This light may indicate a malfunction in the auto-
leveling suspension.
For additional information, refer to “Jacking up
vehicle and removing the damaged tire” in the “In
case of emergency” section of this manual.
Door open warning light
This light comes on when any of the doors are not
closed securely while the ignition key is in the ON
position.
Engine oil pressure
low/Engine coolant
temperature high warning
light
This light warns of low engine oil pressure or high
engine coolant temperature.
If the light flickers or comes on during normal
driving, pull off the road in a safe area, stop the
engine and allow it to cool. If the light remains on
after checking the oil and coolant, stop the en-
gineimmediatelyand call a NISSAN dealer or
other authorized repair shop.
2-14Instruments and controls
ZREVIEW COPYÐ2007 Armada(wzw)
Owners ManualÐUSA_English(nna)
07/08/06Ðtbrooks
X