2007 NISSAN ALTIMA mirror controls
[x] Cancel search: mirror controlsPage 68 of 344

2 Instruments and controls
Instrument panel...................................2-2
Meters and gauges................................2-3
Speedometer and odometer.....................2-3
Tachometer....................................2-4
Engine coolant temperature gauge...............2-4
Fuel gauge....................................2-5
Compass display (if so equipped)...................2-6
Compass display...............................2-6
Warning/indicator lights and audible reminders.......2-9 ...................................2-9
Checking bulbs................................2-9
Warning lights.................................2-9
Indicator lights................................2-13
Audible reminders.............................2-15
Vehicle Information Display........................2-15
How to use the Vehicle Information Display.......2-16
Security systems.................................2-23
Vehicle security system (if so equipped)..........2-23
NISSAN vehicle immobilizer system.............2-24
Windshield wiper and washer switch...............2-25
Switch operation..............................2-25
Rear window and outside mirror (if so equipped)
defroster switch..................................2-26
Headlight and turn signal switch....................2-26Xenon headlights (if so equipped)...............2-26
Headlight control switch........................2-27
Daytime running light system (Canada only)......2-29
Instrument brightness control...................2-30
Turn signal switch.............................2-30
Fog light switch (if so equipped)................2-31
Hazard warning flasher switch.....................2-31
Horn............................................2-32
Heated seat (if so equipped).......................2-32
Traction control system (TCS) off switch
(if so equipped)..................................2-33
Vehicle dynamic control (VDC) off switch
(if so equipped)..................................2-34
Power outlet.....................................2-34
Storage.........................................2-35
Map pockets..................................2-35
Seatback pockets.............................2-36
Sunglasses holder.............................2-36
Cup holders..................................2-37
Glove box....................................2-38
Console box..................................2-38
Covered storage box...........................2-39
Grocery hooks (if so equipped).................2-40
ZREVIEW COPYÐ2007 Altima(alt)
Owners ManualÐUSA_English(nna)
10/26/06Ðdebbie
X
Page 74 of 344

This unit measures terrestrial magnetism and in-
dicates the direction of the vehicle’s heading.
With the ignition switch in the ON position, press
the
button as described in the chart below
to activate various features of the automatic anti-
glare rearview mirror.
Push and hold
the
button for about:Feature:
(Push button again for about 1 sec-
ond to change settings)
1 second Compass display toggles on/off
5 secondsCompass zone can be changed to
correct false compass readings
9 seconds Compass enters calibration mode
For information about the automatic anti-glare
feature, refer to “Automatic anti-glare rearview
mirror” in the “Pre-driving checks and adjust-
ments” section.Push thebutton for about 1 second when
the ignition key is in the ON position to toggle the
compass display
s1on or off. The display will
indicate the direction of the vehicle’s heading.
N: North
E: East
S: South
W: West
If the display reads “C”, calibrate the compass by
driving the vehicle in three complete circles at
less than 5 MPH (8 km/h) .You can also calibrate the compass by driving
your vehicle on your everyday route. The com-
pass will be calibrated once it has tracked three
complete circles.
COMPASS DISPLAY
Push the MODE buttons1when the ignition key
is in the ON position. The direction will be dis-
played
s2.
Zone variation change procedure
The difference between magnetic north and geo-
graphical north is known as variance. In some
areas, this difference can sometimes be great
enough to cause false compass readings. Follow
these instructions to set the variance for your
particular location if this happens:
1. Establish your location on the zone map.
Refer to the illustration. Record your zone
number.
2. Turn the ignition switch to the ON position.
3. Push the MODE button in for 5 seconds until
the current zone entry number and the
“VAR” icon is displayed.
4. Press the MODE button repeatedly until the
desired zone entry number is displayed.
LIC0583
COMPASS DISPLAY (if so equipped)
2-6Instruments and controls
ZREVIEW COPYÐ2007 Altima(alt)
Owners ManualÐUSA_English(nna)
10/26/06Ðdebbie
X
Page 76 of 344

cIf a magnet is located near the com-
pass or the vehicle is driven where the
terrestrial magnetism is disturbed, the
compass display may not indicate the
correct direction.
cIn places where the terrestrial magne-
tism is disturbed, the correction of the
direction starts automatically.
Inaccurate compass direction:
The compass display is equipped with automatic
correction function. If the correct direction is not
shown, follow this procedure.
1. With the display turned on, press and hold
the
switch for about 9 seconds. The
display will read “C.”
2. Calibrate the compass by driving the vehicle
in three complete circles at a maximum
speed of 5 MPH (8 km/h) .
3. After completing the circles the display
should return to normal.
cIf the compass deviates from the correct
indication soon after repeated adjustment,
have the compass checked at an authorized
dealer.
cThe compass may not indicate the correct
compass point in tunnels or while driving up
or down a steep hill. (The compass returnsto the correct compass point when the ve-
hicle moves to an area where the geomag-
netism is stabilized.)
CAUTION
cDo not install a ski rack, antenna, etc.,
which are attached to the vehicle by
means of a magnet. They affect the op-
eration of the compass.
cWhen cleaning the mirror, use a paper
towel or similar material dampened
with glass cleaner. Do not spray glass
cleaner directly on the mirror as it may
cause the liquid cleaner to enter the
mirror housing.
2-8Instruments and controls
ZREVIEW COPYÐ2007 Altima(alt)
Owners ManualÐUSA_English(nna)
10/26/06Ðdebbie
X
Page 94 of 344

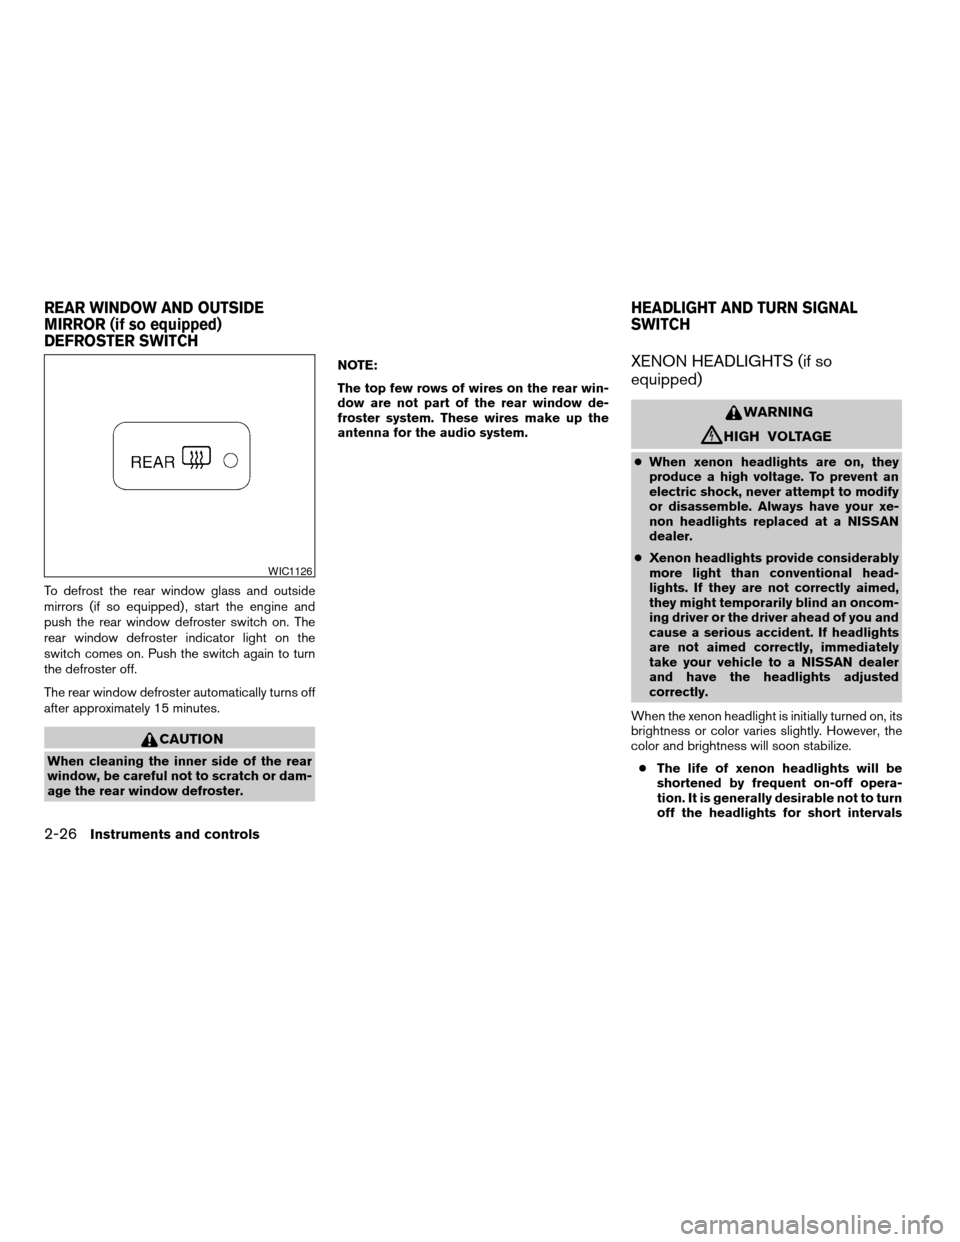
To defrost the rear window glass and outside
mirrors (if so equipped) , start the engine and
push the rear window defroster switch on. The
rear window defroster indicator light on the
switch comes on. Push the switch again to turn
the defroster off.
The rear window defroster automatically turns off
after approximately 15 minutes.
CAUTION
When cleaning the inner side of the rear
window, be careful not to scratch or dam-
age the rear window defroster.NOTE:
The top few rows of wires on the rear win-
dow are not part of the rear window de-
froster system. These wires make up the
antenna for the audio system.
XENON HEADLIGHTS (if so
equipped)
WARNING
cHIGH VOLTAGE
cWhen xenon headlights are on, they
produce a high voltage. To prevent an
electric shock, never attempt to modify
or disassemble. Always have your xe-
non headlights replaced at a NISSAN
dealer.
cXenon headlights provide considerably
more light than conventional head-
lights. If they are not correctly aimed,
they might temporarily blind an oncom-
ing driver or the driver ahead of you and
cause a serious accident. If headlights
are not aimed correctly, immediately
take your vehicle to a NISSAN dealer
and have the headlights adjusted
correctly.
When the xenon headlight is initially turned on, its
brightness or color varies slightly. However, the
color and brightness will soon stabilize.
cThe life of xenon headlights will be
shortened by frequent on-off opera-
tion. It is generally desirable not to turn
off the headlights for short intervals
WIC1126
REAR WINDOW AND OUTSIDE
MIRROR (if so equipped)
DEFROSTER SWITCHHEADLIGHT AND TURN SIGNAL
SWITCH
2-26Instruments and controls
ZREVIEW COPYÐ2007 Altima(alt)
Owners ManualÐUSA_English(nna)
10/26/06Ðdebbie
X
Page 141 of 344

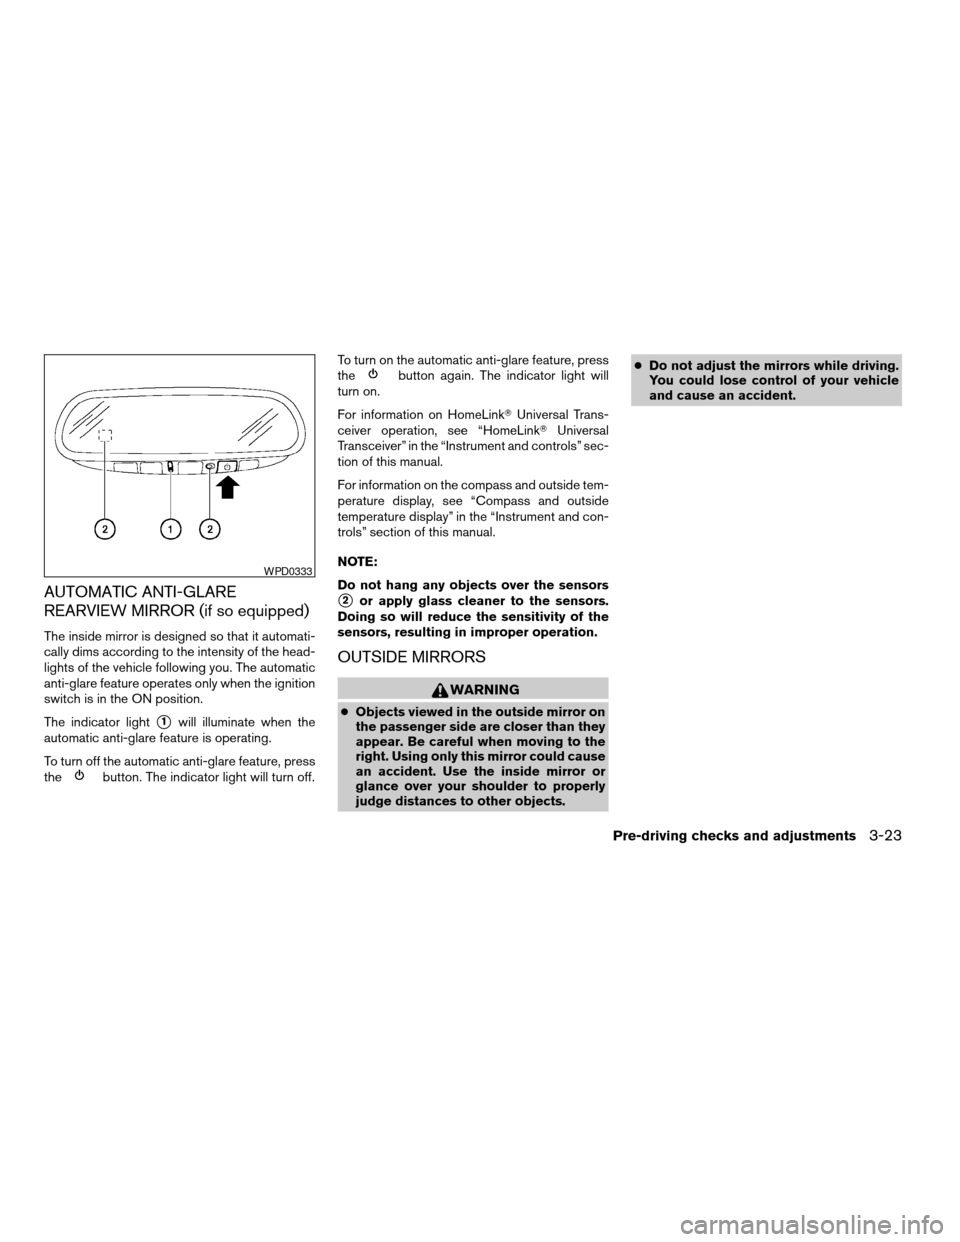
AUTOMATIC ANTI-GLARE
REARVIEW MIRROR (if so equipped)
The inside mirror is designed so that it automati-
cally dims according to the intensity of the head-
lights of the vehicle following you. The automatic
anti-glare feature operates only when the ignition
switch is in the ON position.
The indicator light
s1will illuminate when the
automatic anti-glare feature is operating.
To turn off the automatic anti-glare feature, press
the
button. The indicator light will turn off.To turn on the automatic anti-glare feature, press
the
button again. The indicator light will
turn on.
For information on HomeLinkTUniversal Trans-
ceiver operation, see “HomeLinkTUniversal
Transceiver” in the “Instrument and controls” sec-
tion of this manual.
For information on the compass and outside tem-
perature display, see “Compass and outside
temperature display” in the “Instrument and con-
trols” section of this manual.
NOTE:
Do not hang any objects over the sensors
s2or apply glass cleaner to the sensors.
Doing so will reduce the sensitivity of the
sensors, resulting in improper operation.
OUTSIDE MIRRORS
WARNING
cObjects viewed in the outside mirror on
the passenger side are closer than they
appear. Be careful when moving to the
right. Using only this mirror could cause
an accident. Use the inside mirror or
glance over your shoulder to properly
judge distances to other objects.cDo not adjust the mirrors while driving.
You could lose control of your vehicle
and cause an accident.
WPD0333
Pre-driving checks and adjustments3-23
ZREVIEW COPYÐ2007 Altima(alt)
Owners ManualÐUSA_English(nna)
10/26/06Ðdebbie
X
Page 142 of 344

Electric control type (if so equipped)
The outside mirror remote control only operates
when the ignition switch is in the ACC or ON
position.
Rotate the control lever to select the right or left
mirror. Adjust the mirror to the desired position by
moving the control lever.
Manual control type (if so equipped)
The outside mirror can be moved in any direction
for a better rear view.
Heated mirrors (if so equipped)
Some outside mirrors can be heated to defrost,
defog, or de-ice for improved visibility. For addi-
tional information, see “Rear window and outside
mirror (if so equipped) defroster switch” in the
“Instrument and controls” section of this manual.
Manual folding outside mirrors (if so
equipped)
Push the mirrors backward to fold them.
LPD0346WPD0170WPD0056
3-24Pre-driving checks and adjustments
ZREVIEW COPYÐ2007 Altima(alt)
Owners ManualÐUSA_English(nna)
10/26/06Ðdebbie
X
Page 156 of 344

cfor maximum cooling when using the air con-
ditioner.
Off position (Indicator light off):
Outside air is drawn into the passenger compart-
ment and distributed through the selected outlet.
Use the off position for normal heater or air con-
ditioner operation.
Air conditioner button (if so
equipped)
The button is provided only on vehicles equipped
with an air conditioner.
Start the engine, turn the fan control dial to the
desired position and push the
button to
turn on the air conditioner. The indicator light
comes on when the air conditioner is operating.
To turn off the air conditioner, push the
button again.
The air conditioner cooling function oper-
ates only when the engine is running.
Rear window defroster switch
For more information about the rear window de-
froster switch, see “Rear window and outside
mirror (if so equipped) defroster switch” in the
“Instruments and controls” section of this manual.
HEATER OPERATION
Heating
This mode is used to direct heated air to the foot
outlets. Some air also flows from the defrost
outlets.
1. Press the
button to the OFF position
for normal heating.
2. Press the
air flow control button.
3. Turn the fan control dial to the desired posi-
tion.
4. Turn the temperature control dial to the de-
sired position between the middle and the
hot position.
Ventilation
This mode directs outside air to the side and
center ventilators.
1. Press the
button to the OFF position.
2. Press the
air flow control button.
3. Turn the fan control dial to the desired posi-
tion.
4. Turn the temperature control dial to the de-
sired position.
Defrosting or defogging
This mode directs the air to the defrost outlets to
defrost/defog the windows.
1. Press the defrost/defog button
.
2. Turn the fan control dial to the desired posi-
tion.
3. Turn the temperature control dial to the de-
sired position between the middle and the
hot position.
cTo quickly remove ice or fog from the win-
dows, turn the fan control dial to the highest
setting and the temperature control to the
full HOT position.
cWhen the
position is selected, the air
conditioner automatically turns on if the out-
side temperature is more than 36°F (2°C) .
The air conditioning system will continue to
operate until the fan control dial is turned to
OFF or the vehicle is shut off, even if an air
flow control button other than
is se-
lected. This dehumidifies the air which helps
defog the windshield. The
mode au-
tomatically turns off, allowing outside air to
be drawn into the passenger compartment
to further improve the defogging perfor-
mance.
4-12Monitor, climate, audio, phone and voice recognition systems
ZREVIEW COPYÐ2007 Altima(alt)
Owners ManualÐUSA_English(nna)
10/26/06Ðdebbie
X
Page 222 of 344

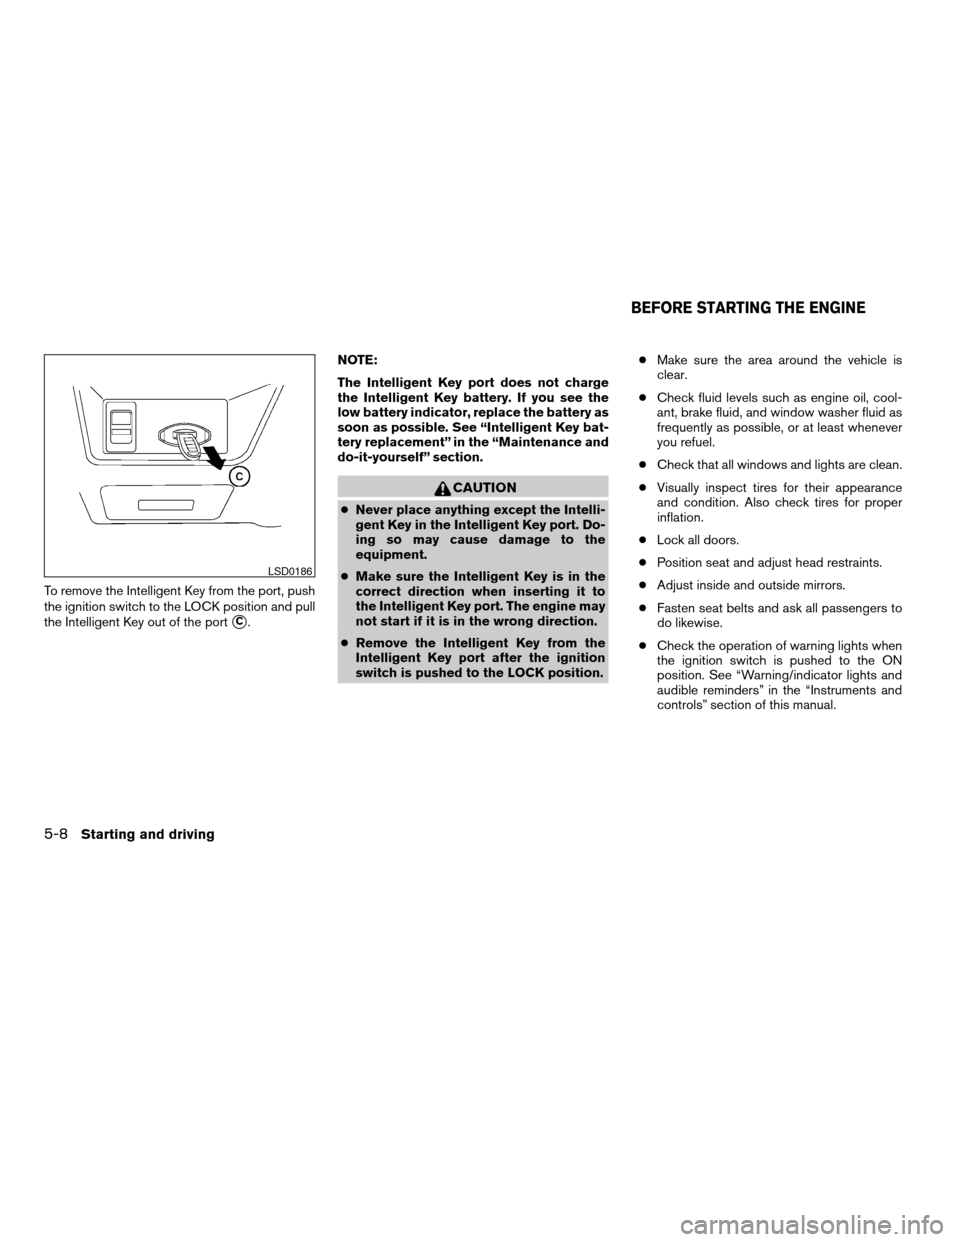
To remove the Intelligent Key from the port, push
the ignition switch to the LOCK position and pull
the Intelligent Key out of the port
sC.NOTE:
The Intelligent Key port does not charge
the Intelligent Key battery. If you see the
low battery indicator, replace the battery as
soon as possible. See “Intelligent Key bat-
tery replacement” in the “Maintenance and
do-it-yourself” section.
CAUTION
cNever place anything except the Intelli-
gent Key in the Intelligent Key port. Do-
ing so may cause damage to the
equipment.
cMake sure the Intelligent Key is in the
correct direction when inserting it to
the Intelligent Key port. The engine may
not start if it is in the wrong direction.
cRemove the Intelligent Key from the
Intelligent Key port after the ignition
switch is pushed to the LOCK position.cMake sure the area around the vehicle is
clear.
cCheck fluid levels such as engine oil, cool-
ant, brake fluid, and window washer fluid as
frequently as possible, or at least whenever
you refuel.
cCheck that all windows and lights are clean.
cVisually inspect tires for their appearance
and condition. Also check tires for proper
inflation.
cLock all doors.
cPosition seat and adjust head restraints.
cAdjust inside and outside mirrors.
cFasten seat belts and ask all passengers to
do likewise.
cCheck the operation of warning lights when
the ignition switch is pushed to the ON
position. See “Warning/indicator lights and
audible reminders” in the “Instruments and
controls” section of this manual.
LSD0186
BEFORE STARTING THE ENGINE
5-8Starting and driving
ZREVIEW COPYÐ2007 Altima(alt)
Owners ManualÐUSA_English(nna)
10/27/06Ðdebbie
X