Page 417 of 473

416 Practical hintsBatteries
Disconnecting the batteries�
Apply the parking brake (
�page 61).
�
Make sure the gear selector lever is set
to position P (
�page 168).
�
Close the retractable hardtop
(�page 199).
�
Turn off all electrical consumers.
�
Turn off the engine (
�page 62).
�
Remove the SmartKey from the starter
switch.�
Vehicles with KEYLESS-GO*: Open
the driver’s door.
�
Open the trunk.
�
Read and observe safety instructions
and precautions (
�page 281).
�
Open the luggage cover in the trunk
(�page 206).
�
Remove the trunk floor.
The battery for electrical consumers is
located in the right hand area of the
trunk (
�page 388).
�
Use the 10 mm open-end wrench from
the vehicle tool kit to disconnect the
negative lead from negative
terminal5 of the consumer battery
(�page 414).
Warning!
G
With a disconnected battery�
you will no longer be able to turn the
SmartKey in the starter switch and
pressing the KEYLESS-GO* start/stop
button on the gear selector lever will
have no effect
�
the gear selector lever will remain
locked in positionP
!
Always disconnect the batteries in the order
described below, even if you only want to charge
the starter battery, for example. Otherwise the
vehicle’s electronics can be damaged.
Page 421 of 473

420 Practical hintsJump startingThe starter battery is located on the right
side of the engine compartment.�
Make sure the two vehicles do not
touch.
�
Turn off all electrical consumers.
�
Apply the parking brake (
�page 61).
�
Make sure the gear selector lever is set
to position P (
�page 168).
�
Open the hood (
�page 274).
�
Remove the red cover from positive ter-
minal on both vehicles (
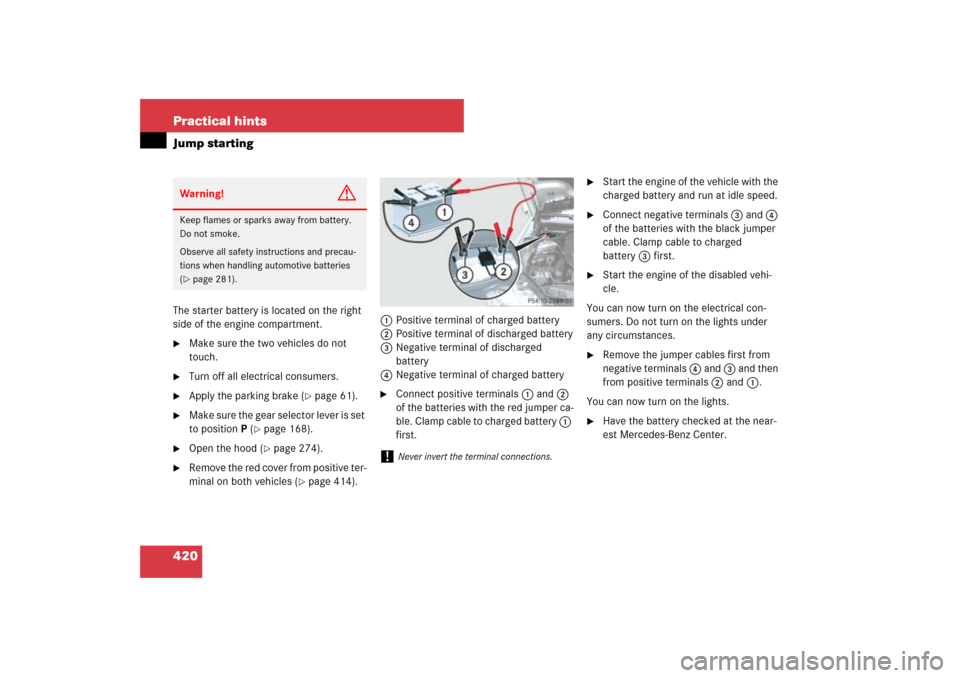
�page 414).1Positive terminal of charged battery
2Positive terminal of discharged battery
3Negative terminal of discharged
battery
4Negative terminal of charged battery
�
Connect positive terminals 1 and 2
of the batteries with the red jumper ca-
ble. Clamp cable to charged battery 1
first.
�
Start the engine of the vehicle with the
charged battery and run at idle speed.
�
Connect negative terminals 3 and 4
of the batteries with the black jumper
cable. Clamp cable to charged
battery3 first.
�
Start the engine of the disabled vehi-
cle.
You can now turn on the electrical con-
sumers. Do not turn on the lights under
any circumstances.
�
Remove the jumper cables first from
negative terminals 4 and 3 and then
from positive terminals 2 and 1.
You can now turn on the lights.
�
Have the battery checked at the near-
est Mercedes-Benz Center.
Warning!
G
Keep flames or sparks away from battery.
Do not smoke.
Observe all safety instructions and precau-
tions when handling automotive batteries
(�page 281).
!
Never invert the terminal connections.
Page 425 of 473

424 Practical hintsFusesThe electrical fuses in your vehicle serve to
switch off malfunctioning power circuits.
If a fuse is blown, the components and sys-
tems secured by that fuse will stop operat-
ing.If a newly inserted fuse blows again, have
the cause determined and rectified by an
authorized Mercedes-Benz Center.
The following aids are available to help you
replace fuses. They are located in the trunk
with the vehicle tool kit (
�page 388).
�
Fuse chart
The fuse chart explains the fuse alloca-
tion and fuse amperages.
�
Spare fuses
�
Fuse extractor
The electrical fuses are located in different
fuse boxes:
�
on the driver’s side of the engine com-
partment (
�page 425)
�
on the passenger side of the engine
compartment (
�page 425)
�
under passenger-side rear storage
compartment (
�page 426)
�
in the trunk (
�page 426)Before replacing fuses:
�
Apply the parking brake (
�page 61).
�
Make sure the gear selector lever is set
to position P (
�page 168).
�
Turn off all electrical consumers.
�
Turn off the engine (
�page 62).
�
Remove the SmartKey from the starter
switch.�
Vehicles with KEYLESS-GO*: Open
the driver’s door.
Warning!
G
Only use fuses approved by Mercedes-Benz
with the specified amperage for the system
in question and do not attempt to repair or
bridge a blown fuse. Using other than ap-
proved fuses or using repaired or bridged
fuses may cause an overload leading to a
fire, and/or cause damage to electrical
components and/or systems. Have the
cause determined and remedied by an
authorized Mercedes-Benz Centeri
A blown fuse must be replaced by an appro-
piate spare fuse (recognizable by its color or the
fuse rating given on the fuse) of the amperage
recommended in the fuse chart.
Any Mercedes-Benz Center will be glad to advise
you on this subject.
Page 464 of 473

463 Index
P
Paintwork code see Certification label
Panic alarm 86
Panic button on SmartKey 86
Panorama roof*
Sunshade 208
Sunshade closing 208
Sunshade opening 208
Parcel net
In front passenger footwell 236
Parcel net in trunk 237
Parking 263
Parking assistance (Parktronic*) 228
Parking brake
Engaging 61
Releasing 54
Parking brake pedal 25
Parking lamps 398
Switching on 128
Parktronic* 32, 228
Activating 231
Cleaning system sensors 326
Malfunctioning 231
Minimum distance 230
Range 229Rear sensors 230
System sensors 326
Warning indicators 25, 230
Parktronic* deactivation switch 32
Parts service 428
PASS AIR BAG OFF indicator lamp see
Front passenger front air bag off
indicator lamp
Passenger side
Front air bag 72
Pedals 259
Phone book* 166
Loading 167
Quick search 167
Phone number*
Dialing 166
Redialing 167
Plastic parts, cleaning 328
Poly-V-belt drive
Layout 432
Potential problems associated with under-
inflated and overinflated tires 301
Power assistance 260
Power closing assist for trunk lid 118
Power outlet 242Power seat
Adjusting backrest tilt 44
Adjusting head restraint height 44
Adjusting head restraint tilt 44
Adjusting seat cushion depth 44
Adjusting seat cushion tilt 44
Adjusting seat height 44
Power windows 196
Cleaning 326
Closing with KEYLESS-GO* 198
Side windows 196
Synchronizing 198
Problems while driving 59
Production options weight 313
Program mode selector switch
Automatic transmission 32, 173
PSI 313
PULSE function (Massage function) 122
Q
Quick search
Phone book* 167
Page 470 of 473

469 Index
V
Vehicle
Locking 31
Locking in an emergency 393
Minimum distance (Parktronic*) 230
Towing 421
Unlocking 31
Unlocking in an emergency 391
Vehicle capacity weight 314
Vehicle care
Leather upholstery 329
Ornamental moldings 325
Upholstery 329
Wood trims 329
Vehicle Identification Number see VIN
Vehicle level
Changing 227
Setting 227
Vehicle level control (ABC) 225
Vehicle level control switch 32
Vehicle lighting
Checking 273
Vehicle loading terminology 312
Vehicle maximum load on the tire 314
Vehicle status messages 347
Vehicle tool kit 388VIN 431
Voice control system* 25
W
Warning sounds
Distance warning function* 224
Distronic* 216
Drivers seat belts 80
Parking brake 55
Warranty coverage 429
Washing the vehicle 324
Wear pattern (tires) 315
Wheel bolts
Tightening torque 412
Wheel change 405
Tightening torque 412
Wheel wrench 389
Wheels
Tires and wheels 283
Wind screen 204
Installing 204
Removing 205
Windows see Side windows
Windows, cleaning 326
Windshield
Cleaning wiper blades 326
Defogging 191Refilling washer fluid 282
Washer fluid 58, 282
Washer system 282
Windshield and headlamp washer
system 452
Windshield washer and headlamp cleaning
system 272, 273
Windshield washer fluid 58
Filler neck 282
Messages in display 387
Mixing ratio 452
Refilling 282
Windshield wipers 25, 57
Fast wiper speed 57
Intermittent wiping 57
Replacing wiper blades 403
Wiping with windshield washer
fluid 58
Winter driving
Snow chains 318
Tires 316
Winter driving instructions 266
Winter tires 316
Wood trims
Cleaning 329